Calibrating your studio speakers is crucial for achieving accurate mixing results, and it involves a careful assessment of room acoustics, speaker placement, and the use of measurement tools. By following a systematic approach, you can ensure that your mixes sound great on any playback system. This guide will walk you through the essential steps to effectively calibrate your studio speakers, allowing you to create professional-quality music with confidence.
Understanding Room Acoustics

The first step in calibrating your studio speakers is to understand the acoustic properties of your mixing environment. Room acoustics can significantly influence the sound you hear, so it’s essential to assess factors such as reflections, absorptions, and resonances. Start by walking around your room and listening for areas where sound might bounce off walls or be absorbed by furniture and carpets. These reflections can create uneven sound fields, leading to muddied mixes.
For instance, if your room has hard surfaces like concrete or glass, you may experience excessive high-frequency reflections. On the other hand, carpets and curtains can absorb sound, dulling the mix. Identifying problematic areas in your room is key; consider using acoustic panels to treat these spaces. A well-balanced room can enhance clarity, allowing for more accurate mixing and better translation of your music across different systems.
Speaker Placement

Next up is speaker placement, which is vital for achieving an optimal listening experience. A popular method is the equilateral triangle setup: position your speakers and your listening position so that each corner of the triangle is equal in distance. Ideally, your speakers should be positioned at ear level and angled slightly toward your listening position.
Avoid placing your speakers too close to walls or corners, as this can lead to unwanted bass build-up and reflections that muddy your sound. A good rule of thumb is to place your speakers at least 1-2 feet away from walls. Additionally, experiment with the distance between your speakers. The right spacing can create a more accurate stereo image, allowing you to hear the nuances in your mix.
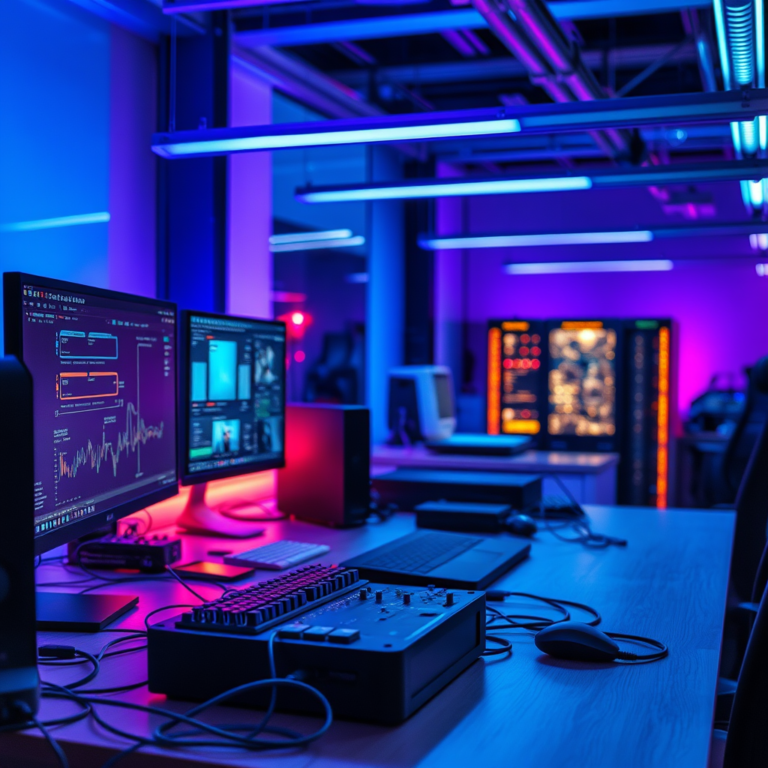
Using Measurement Tools
Once you’ve taken care of the room acoustics and speaker placement, it’s time to dive into measurement tools. Utilizing a measurement microphone and specialized software can help analyze your frequency response, revealing any imbalances or issues that need addressing. This step is crucial for achieving a scientifically backed calibration.
To get started, position the measurement microphone at your listening position and play pink noise through your speakers. The software will analyze the sound and provide you with a visual representation of your frequency response. Look for peaks and dips in the graph, which indicate areas where your room may be enhancing or cancelling certain frequencies. Understanding how to read and interpret this data will empower you to make informed adjustments to your setup for a more accurate and balanced sound.
Calibration Techniques
With the data from your measurement tools in hand, it’s time to explore calibration techniques. One effective method is using room correction software, which can automatically adjust your speakers to compensate for frequency imbalances detected during the measurement phase. This software can help to smooth out the frequency response, ensuring a more accurate mix.
Additionally, it’s important to adjust the gain and crossover settings on your speakers. The gain controls the volume level, while crossover settings determine how frequencies are distributed between your speakers and any subwoofers. Aim for a balanced mix, where all frequency ranges are represented accurately without overpowering one another. This attention to detail will help your mixes translate better across various playback systems, from headphones to club speakers.
Fine-Tuning Your Setup
Calibrating your studio speakers isn’t a one-time task; it’s an ongoing process. Regularly check and refine your setup as room conditions change or you introduce new gear. For example, if you add new furniture or acoustic treatments, it may affect how sound travels in your space.
Moreover, consider implementing acoustic treatment solutions to further enhance sound quality. Bass traps can help manage low-frequency build-up in corners, while diffusion panels can scatter sound waves, reducing harsh reflections. These treatments can create a more controlled mixing environment, allowing you to make better-informed decisions while working on your tracks.
Listening Tests
Finally, conducting critical listening tests is essential to evaluate the accuracy of your calibrated setup. Use reference tracks—songs you know well and trust—to compare how your mixes sound against professionally produced music. Listen for clarity in vocals, depth in the bass, and balance across the frequency spectrum.
After listening, make any necessary adjustments based on your findings. If something sounds off, revisit your room acoustics or speaker placement. The goal is to create a mixing environment where your music translates well, no matter where it’s played. Trust your ears, and remember that even the best setups may require fine-tuning over time.
By following these steps to calibrate your studio speakers, you can establish a more accurate mixing environment, leading to professional-sounding results. Take the time to assess, adjust, and listen critically to ensure the best possible outcome for your mixes. With a bit of patience and effort, you’ll create music that resonates beautifully across all platforms. Happy mixing!
Frequently Asked Questions
What are the key steps to calibrate studio speakers for accurate mixing?
Calibrating studio speakers involves several key steps to ensure accurate sound reproduction. First, position your speakers at ear level and form an equilateral triangle with your mixing position. Next, use a measurement microphone and software to analyze the frequency response of your speakers in your room. Adjust the speaker levels and EQ settings based on the measurements to achieve a flat frequency response, ensuring that your mixes translate well across different playback systems.
How can room acoustics affect speaker calibration?
Room acoustics can significantly influence the sound quality and accuracy of your studio speakers. Factors such as wall reflections, standing waves, and room dimensions can create peaks and dips in the frequency response. To mitigate these issues, consider adding acoustic treatment like bass traps and diffusers, and adjusting speaker placement based on room characteristics. Properly treating your room will enhance the calibration process, leading to more reliable mixing decisions.
Why is it important to calibrate studio speakers before mixing?
Calibrating studio speakers is crucial for achieving accurate mixes that translate well across various playback systems. If your speakers are not calibrated, you may miss critical details in your mix, leading to imbalances in frequency response and dynamics. Accurate calibration ensures that what you hear in the studio is what listeners will experience, helping to avoid unpleasant surprises when your tracks are played on different speakers or devices.
What is the best SPL level for calibrating studio speakers?
The best sound pressure level (SPL) for calibrating studio speakers is typically around 75-85 dB SPL. This level strikes a balance between providing enough headroom to hear nuances in your mix and preventing ear fatigue during long mixing sessions. Using a calibrated SPL meter can help ensure that you maintain this level consistently, allowing for more accurate assessments of your audio.
Which tools are recommended for calibrating studio speakers?
Several tools can aid in the calibration of studio speakers, including measurement microphones, software like Room EQ Wizard (REW), and SPL meters. A measurement microphone will help capture the frequency response of your speakers, while software like REW allows you to visualize and analyze the acoustic data. Additionally, using an SPL meter can help set consistent volume levels during calibration, ensuring a more accurate mixing environment.
References
- Studio monitor
- https://www.izotope.com/en/learn/how-to-calibrate-your-studio-monitors.html
- https://www.soundonsound.com/techniques/monitoring-studio-sound
- https://www.adobe.com/content/dam/acom/en/devnet/sound/pdfs/audio-monitoring.pdf
- https://www.recordingrevolution.com/2014/05/21/how-to-calibrate-your-studio-monitors/
- https://www.earlevel.com/blog/monitor-setup-and-calibration/