Mounting a soundbar to the wall is an efficient way to enhance your audio experience while creating a streamlined, modern look in your living space. This guide provides a comprehensive, step-by-step method to properly install your soundbar, ensuring that both functionality and aesthetics are at the forefront of your setup.
Choosing the Right Location

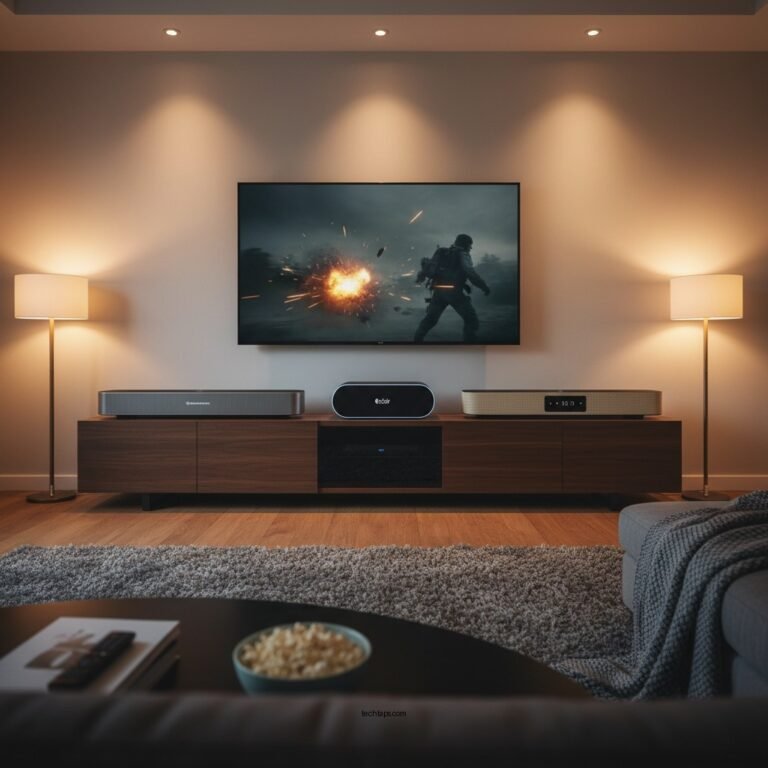
Selecting the right location for your soundbar is crucial for optimal audio performance. Ideally, the soundbar should be mounted at ear level when seated, which typically translates to a height of 42 to 48 inches from the floor. This positioning allows for better sound projection and clarity. Additionally, consider the proximity to your television; ideally, the soundbar should be mounted directly below or above the TV to create a cohesive look and enhance the audio-visual experience.
Power outlets are another important factor in site selection. Ensure that the chosen location is near an electrical outlet, as most soundbars require power. If an outlet is not directly available, you may need to consider using an extension cord or a power bridge kit that runs electrical wiring through the wall.
Gathering the Necessary Tools and Materials
Before you begin the installation process, gather all necessary tools and materials to ensure a smooth experience. Essential tools include:
– Drill: For making holes in the wall.
– Level: To ensure that your soundbar is mounted straight.
– Measuring Tape: For accurate height and distance measurements.
– Screwdriver: For securing screws and brackets.
In terms of materials, you will need:
– Mounting Brackets: These can be purchased separately or may come with the soundbar.
– Screws and Anchors: Make sure to choose screws that are appropriate for your wall type (drywall, brick, etc.).
– Cable Management Solutions: Consider raceways or clips to help organize and conceal wires.
Preparing the Wall for Mounting
Before you install the mounting brackets, it is essential to check for wall studs, as these provide the necessary support for your soundbar. Use a stud finder to locate the studs in the wall. Mark their positions lightly with a pencil. If your soundbar is particularly heavy, it’s best to mount it directly to a stud rather than relying on drywall anchors.
Once you’ve located the studs, measure and mark the desired position for the mounting brackets. Use your measuring tape to ensure that the marks are level. Taking your time with this step can save you from having to re-drill holes later.
Top 7 Soundbar Brands by Features (2024)
| # | Brand | Power Output | Connectivity | Price | User Rating |
|---|---|---|---|---|---|
| 1 | Sonos | 110W | Wi-Fi, Bluetooth | $799 | ★★★★☆ |
| 2 | Bose | 100W | Wi-Fi, Optical | $699 | ★★★★☆ |
| 3 | Samsung | 200W | HDMI, Bluetooth | $499 | ★★★★★ |
| 4 | LG | 150W | HDMI, Optical | $399 | ★★★★☆ |
| 5 | Vizio | 180W | HDMI, Bluetooth | $299 | ★★★★★ |
| 6 | Yamaha | 120W | Optical, Bluetooth | $399 | ★★★★☆ |
| 7 | Polk Audio | 130W | HDMI, Bluetooth | $349 | ★★★★☆ |
Installing the Mounting Brackets
Once the wall is prepared, you can proceed to installing the mounting brackets. Start by drilling pilot holes at the marked locations, ensuring that they are level. If you are mounting directly into studs, use a drill bit that is slightly smaller than the screws you are using to ensure a tight fit. If using drywall anchors, follow the manufacturer’s instructions for installation.
After drilling the pilot holes, securely fasten the brackets using the appropriate screws. It is advisable to double-check the level of the brackets before fully tightening the screws, as this will ensure that the soundbar is mounted straight.
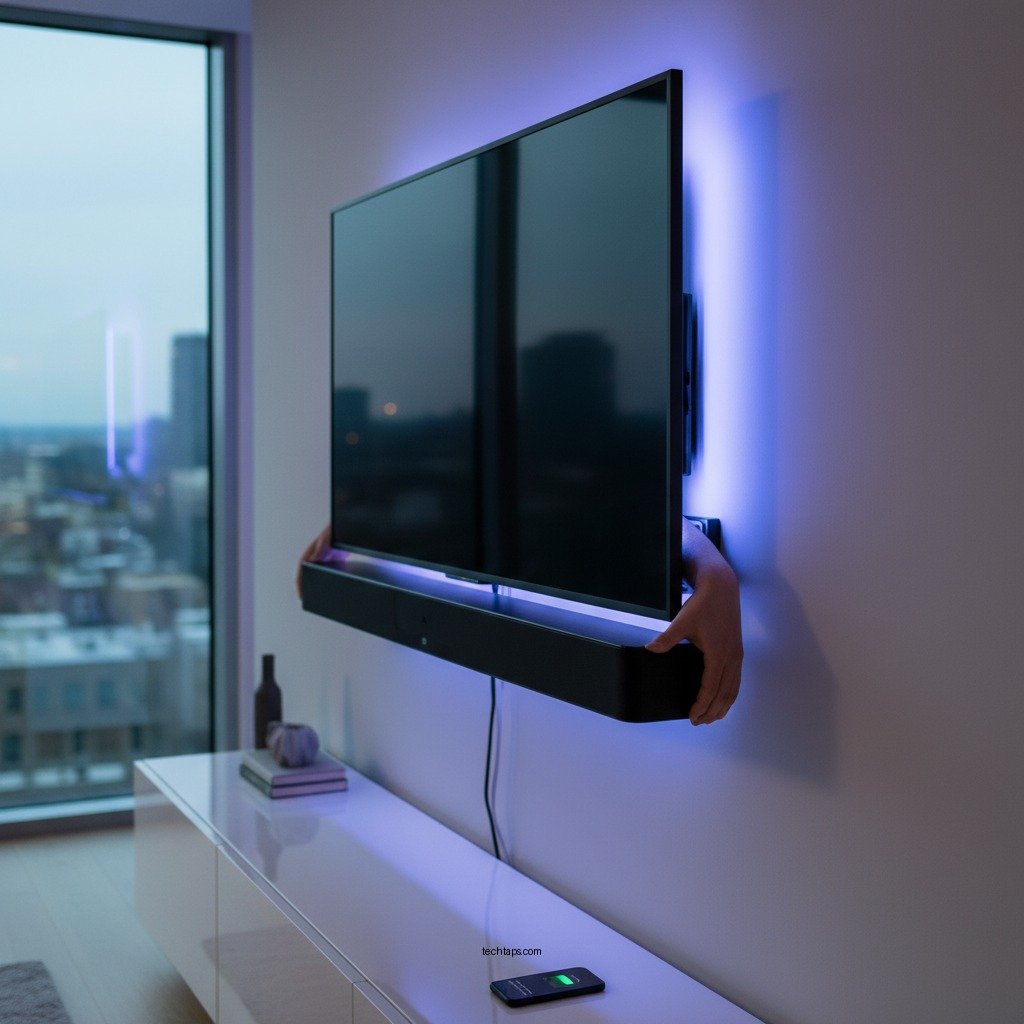
Mounting the Soundbar
Now that the brackets are securely installed, it is time to mount your soundbar. Align the soundbar with the installed brackets, making sure it fits snugly. Depending on the design of your soundbar and brackets, you may need to slide or hook the soundbar onto the brackets. Ensure that it is securely in place before stepping back to assess the overall alignment.
Hiding Cables for a Clean Look
To maintain a sleek appearance, it is essential to address any visible cables. Utilize cable management solutions such as raceways or adhesive clips to conceal wires. Raceways can be painted to match your wall color, creating an even more seamless look. Ensure that all cables are secured and organized, as this not only enhances aesthetics but also reduces the risk of tripping hazards.
Testing and Adjusting
After mounting the soundbar and managing the cables, power on the device and test the audio quality. Listen for clarity, bass response, and overall sound performance. If necessary, make adjustments to the positioning of the soundbar to optimize the listening experience. You may also want to tweak the sound settings on your audio device to ensure that it complements your room’s acoustics.
By following these steps, you will successfully mount your soundbar to the wall, enhancing both your audio setup and the overall aesthetic of your room. This process not only improves sound quality but also contributes to a cleaner, more organized living space. Don’t hesitate to share your experience or seek further advice on home audio setups!
Frequently Asked Questions
What tools do I need to mount a soundbar to the wall?
To mount a soundbar to the wall, you will typically need a drill, a level, a stud finder, a screwdriver, and wall anchors. Additionally, having a measuring tape and a pencil for marking can ensure precise placement for a sleek look.
How do I determine the best height to mount my soundbar?
The best height to mount your soundbar is generally at ear level when seated, which is usually 36 to 42 inches from the floor. This positioning enhances audio experience and ensures that sound is directed towards the listener, creating a more immersive environment.
Why should I consider wall mounting my soundbar instead of placing it on furniture?
Wall mounting your soundbar helps create a clean, clutter-free look in your living space while optimizing sound quality. It positions the soundbar at the ideal height for audio projection and reduces the risk of accidental damage from pets or children compared to placing it on furniture.
What is the best way to hide cables when mounting a soundbar?
The best way to hide cables when mounting a soundbar is by using cable management systems, such as cable covers or in-wall cable kits. These solutions not only conceal unsightly wires but also contribute to a sleek and polished appearance in your home entertainment setup.
Which mounting brackets should I use for my soundbar?
When choosing mounting brackets for your soundbar, ensure they are compatible with the model and weight of your soundbar. Universal brackets are often a good choice, as they provide flexibility and can support various soundbar designs, ensuring a secure and stylish installation.
References
- Soundbar
https://en.wikipedia.org/wiki/Sound_bar - https://www.cdc.gov/niosh/docs/2015-100/pdfs/2015-100.pdf
https://www.cdc.gov/niosh/docs/2015-100/pdfs/2015-100.pdf - Google Scholar Google Scholar
https://scholar.google.com/scholar?q=How+to+Mount+a+Soundbar+to+the+Wall+for+a+Sleek+Look - https://www.sciencedirect.com/topics/engineering/sound-bar
https://www.sciencedirect.com/topics/engineering/sound-bar - https://www.nytimes.com/2020/02/04/technology/personaltech/soundbar-mounting.html
https://www.nytimes.com/2020/02/04/technology/personaltech/soundbar-mounting.html - https://www.bbc.com/news/technology-51386966
https://www.bbc.com/news/technology-51386966 - https://www.theguardian.com/technology/2021/mar/05/soundbar-mounting-guide
https://www.theguardian.com/technology/2021/mar/05/soundbar-mounting-guide - Google Scholar Google Scholar
https://scholar.google.com/scholar?q=Mounting+Soundbar+Wall+Installation - https://www.nature.com/articles/s41599-021-00745-1
https://www.nature.com/articles/s41599-021-00745-1 - https://pubmed.ncbi.nlm.nih.gov/33028010
https://pubmed.ncbi.nlm.nih.gov/33028010