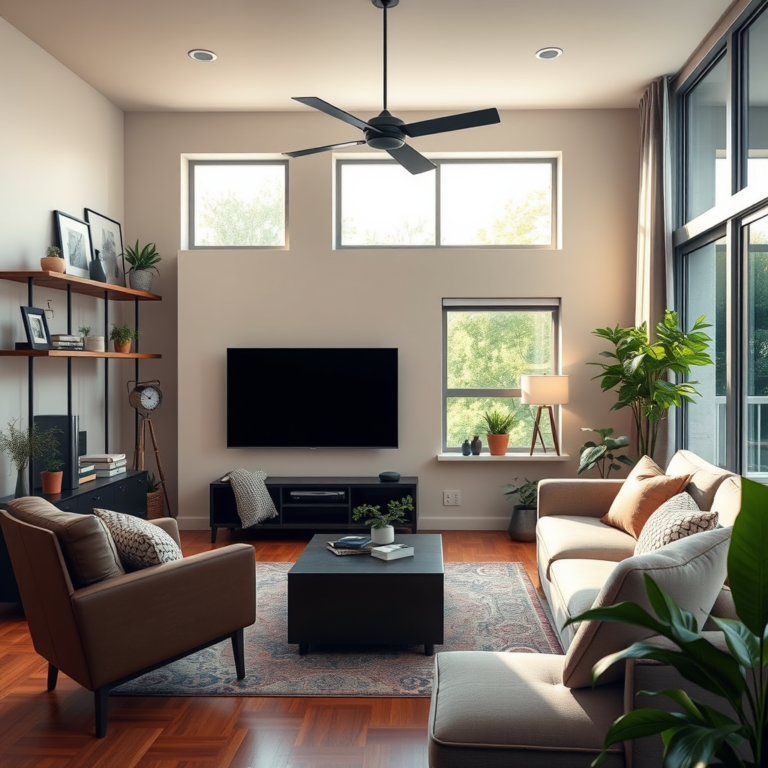
Cleaning your home audio system is crucial for maintaining its performance and extending its lifespan. Regular cleaning can significantly enhance sound quality and prevent potential damage to your equipment. From dusting and inspecting connections to using the right cleaning products, this guide will provide you with essential steps to effectively clean your audio setup and ensure it delivers the best possible sound experience.
Understanding Your Audio System Components

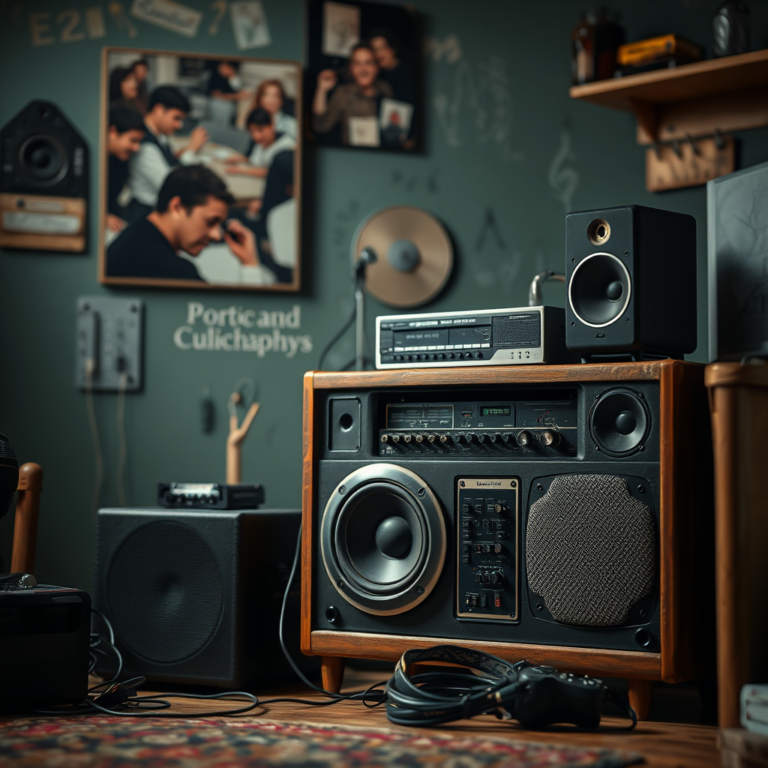
Before diving into the cleaning process, it’s essential to familiarize yourself with the various components of your audio system. A typical home audio system includes speakers, receivers, amplifiers, and cables, each playing a vital role in sound reproduction.
Speakers are responsible for converting electrical signals into sound, while receivers manage audio signals and often serve as the control hub for your system. Amplifiers boost these signals, ensuring that your speakers can produce sound at the desired volume. The cables connect these components, carrying signals between them.
Recognizing that each component may require different cleaning techniques and products is key. For instance, speakers might need special attention to their grilles and drivers, while receivers should be cleaned carefully to avoid damaging sensitive circuitry. Understanding these differences will help you tailor your cleaning approach, ensuring that each component is properly maintained.
Gathering the Right Cleaning Supplies
To effectively clean your audio equipment, you’ll need to gather the right cleaning supplies. Start with microfiber cloths, which are gentle on surfaces and designed to trap dust without scratching. Soft brushes, such as paintbrushes or small upholstery brushes, can help dislodge dirt from hard-to-reach areas, especially around speaker grilles.
When it comes to cleaning solutions, opt for those specifically designed for electronics. Isopropyl alcohol is excellent for cleaning connectors and ports, while anti-static sprays can help keep dust at bay. Always avoid harsh chemicals or abrasive materials, as these can damage the finishes of your equipment or leave residues that could affect performance.
Dusting and Cleaning the Exterior
The first step in cleaning your audio system is to unplug all equipment to ensure safety. Once everything is disconnected, use a microfiber cloth to gently dust the surfaces of your speakers, receivers, and any other visible components. Pay special attention to areas where dust tends to accumulate, such as vents and crevices.
For stubborn dirt or fingerprints, slightly dampen the cloth with water or a suitable cleaning solution, being careful not to allow moisture to seep into any openings. For components with a matte finish, consider using a dry cloth to avoid streaks.
In addition to regular dusting, schedule thorough cleanings every few months depending on your usage, as this will help maintain the aesthetic and performance of your audio system.
Top 7 Home Audio Brands by Customer Satisfaction (2024)
| # | Brand | Customer Satisfaction (%) | Reliability Rating | Average Price ($) |
|---|---|---|---|---|
| 1 | Bose | 92% | ★★★★☆ | $799 |
| 2 | Sonos | 90% | ★★★★☆ | $499 |
| 3 | Yamaha | 88% | ★★★★☆ | $649 |
| 4 | Sony | 85% | ★★★☆☆ | $399 |
| 5 | Klipsch | 84% | ★★★★☆ | $849 |
| 6 | Pioneer | 80% | ★★★☆☆ | $299 |
| 7 | JBL | 75% | ★★★☆☆ | $199 |
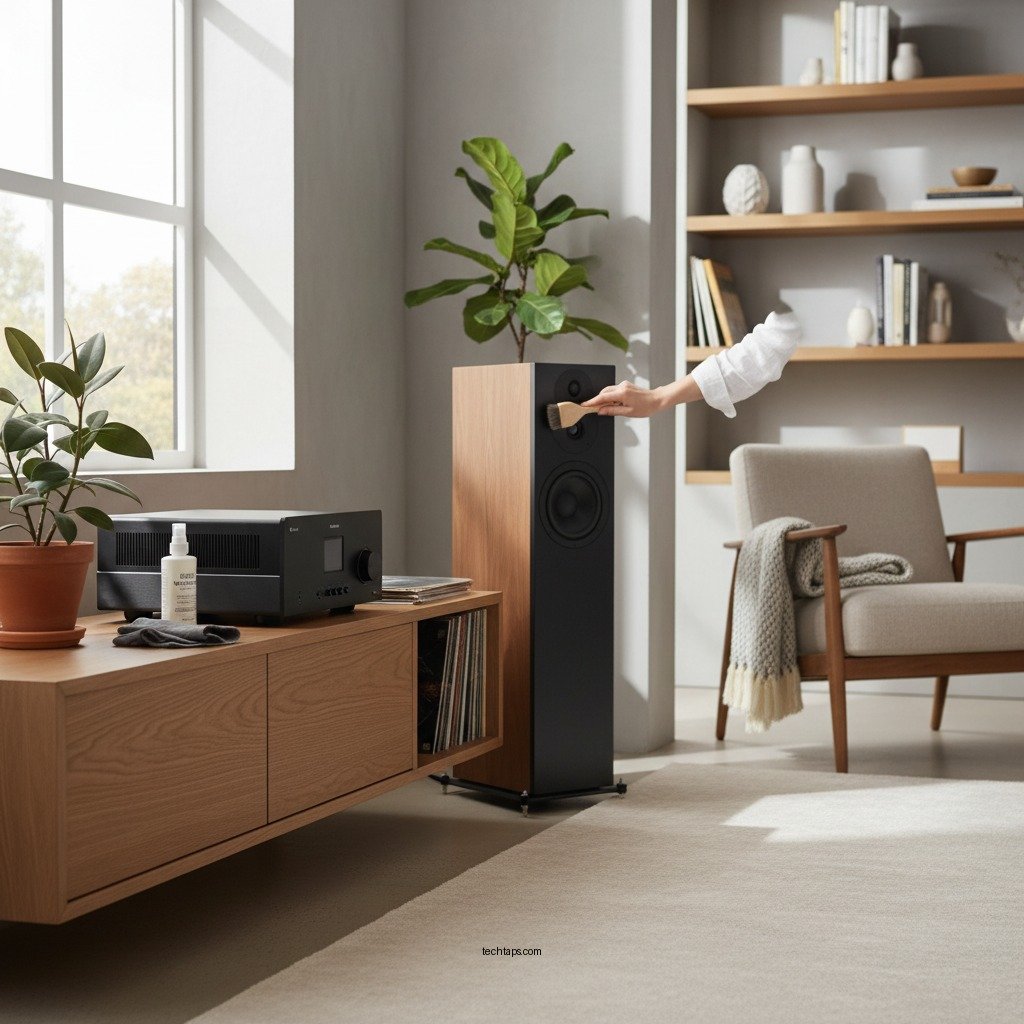
Cleaning Speaker Grilles and Drivers
Speaker grilles can accumulate dust and grime, which not only detracts from the appearance of your audio system but can also affect sound quality. If your speakers have removable grilles, start by taking them off. Use a soft brush or a vacuum with a brush attachment to gently clean the grille, ensuring that you don’t damage the material.
Once the grilles are clean, it’s time to address the speaker drivers. These are sensitive components, so avoid getting them wet. Instead, use a damp microfiber cloth to wipe the edges of the driver, being careful not to touch the cone or diaphragm. For stubborn dirt, a soft brush can be used to gently dislodge debris, ensuring that the driver remains free from obstructions.
Checking and Cleaning Connections
Connections are critical points in your audio system that can affect sound quality. Dust, dirt, and corrosion can accumulate on connectors and ports, leading to poor performance. Start by unplugging all cables and inspecting them for any visible signs of wear or dirt.
For cleaning, use isopropyl alcohol on a cotton swab to gently clean the connectors, ensuring that you remove any buildup without damaging the contacts. For ports, a small brush or compressed air can be effective in clearing dust. Be sure to allow everything to dry thoroughly before reconnecting your components to avoid any electrical issues.
Maintaining the Environment
The environment where your audio system is located plays a significant role in its longevity and performance. Keeping your equipment in a dust-free area is essential; consider investing in dust covers for when your system is not in use. Dust covers can significantly reduce the amount of dust that settles on your equipment.
Additionally, controlling humidity and temperature is crucial. High humidity can lead to corrosion, while extreme temperatures can negatively affect electronics. Aim to keep your audio equipment in a climate-controlled environment to mitigate these risks. Regularly check for any signs of moisture or heat buildup, especially if your system is located in a less ventilated area.
Regular Maintenance Tips
Establishing a regular maintenance schedule is key to keeping your audio system in top shape. Depending on your usage, aim for a thorough cleaning every three to six months. Documenting any maintenance performed can also help you track improvements and identify when your equipment might need repairs or upgrades.
Consider creating a checklist that includes dusting, inspecting connections, and cleaning speaker drivers as part of your routine. This proactive approach will help you identify potential issues early and ensure that your audio system continues to deliver high-quality sound.
In conclusion, by incorporating these cleaning practices into your routine, you can ensure that your home audio system remains in peak condition. Regular maintenance not only enhances sound quality but also extends the life of your equipment, allowing you to enjoy your favorite music and movies without interruption. Start cleaning today to experience the difference in your audio experience!
Frequently Asked Questions
What are the best methods to clean my home audio system components?
To clean your home audio system components effectively, use a microfiber cloth to gently wipe down surfaces and remove dust. For deeper cleaning, use isopropyl alcohol on a cotton swab for knobs and buttons, while ensuring to avoid excess moisture. Regular maintenance can enhance performance and longevity.
How often should I clean my home audio system for optimal sound quality?
It’s advisable to clean your home audio system every 3 to 6 months to maintain optimal sound quality. Dust and grime can accumulate over time, affecting the performance of speakers and other components. Regular cleaning helps prevent issues and ensures that your audio system delivers the best sound experience.
Why is it important to clean the speakers of my home audio system?
Cleaning the speakers of your home audio system is crucial because dust and debris can muffle sound quality and impact performance. Accumulated dirt can also cause overheating or damage to delicate components. By regularly cleaning your speakers, you ensure clear sound reproduction and extend the lifespan of your audio equipment.
Which cleaning products are safe for my home audio system?
When cleaning your home audio system, it’s best to use gentle, non-abrasive cleaning products such as microfiber cloths and isopropyl alcohol. Avoid harsh chemicals, as they can damage sensitive electronics and finishes. Always check the manufacturer’s recommendations for specific cleaning guidelines tailored to your audio components.
How can I prevent dust buildup on my home audio system?
To prevent dust buildup on your home audio system, keep the area around your equipment clean and dust-free. Using dust covers when the system is not in use and keeping the system in a closed cabinet can also help. Regularly maintaining your audio equipment will not only improve performance but also reduce the frequency of cleaning required.
References
- https://en.wikipedia.org/wiki/Home_audio_system
https://en.wikipedia.org/wiki/Home_audio_system - Google Scholar Google Scholar
https://scholar.google.com/scholar?q=cleaning+home+audio+system - https://www.ncbi.nlm.nih.gov/pmc/articles/PMC7319471/
https://www.ncbi.nlm.nih.gov/pmc/articles/PMC7319471/ - https://www.sciencedirect.com/topics/engineering/audio-systems
https://www.sciencedirect.com/topics/engineering/audio-systems - Google Scholar Google Scholar
https://scholar.google.com/scholar?q=improving+audio+system+performance - https://www.bbc.com/future/article/20210326-the-importance-of-cleaning-your-audio-gear
https://www.bbc.com/future/article/20210326-the-importance-of-cleaning-your-audio-gear - https://www.reuters.com/article/us-audio-cleaning-idUSKBN2A20Y4
https://www.reuters.com/article/us-audio-cleaning-idUSKBN2A20Y4 - https://www.theguardian.com/music/2020/sep/15/how-to-clean-your-audio-gear
https://www.theguardian.com/music/2020/sep/15/how-to-clean-your-audio-gear - https://www.nature.com/articles/s41598-020-64018-1
https://www.nature.com/articles/s41598-020-64018-1 - https://www.pubmed.ncbi.nlm.nih.gov/32687264/
https://www.pubmed.ncbi.nlm.nih.gov/32687264/