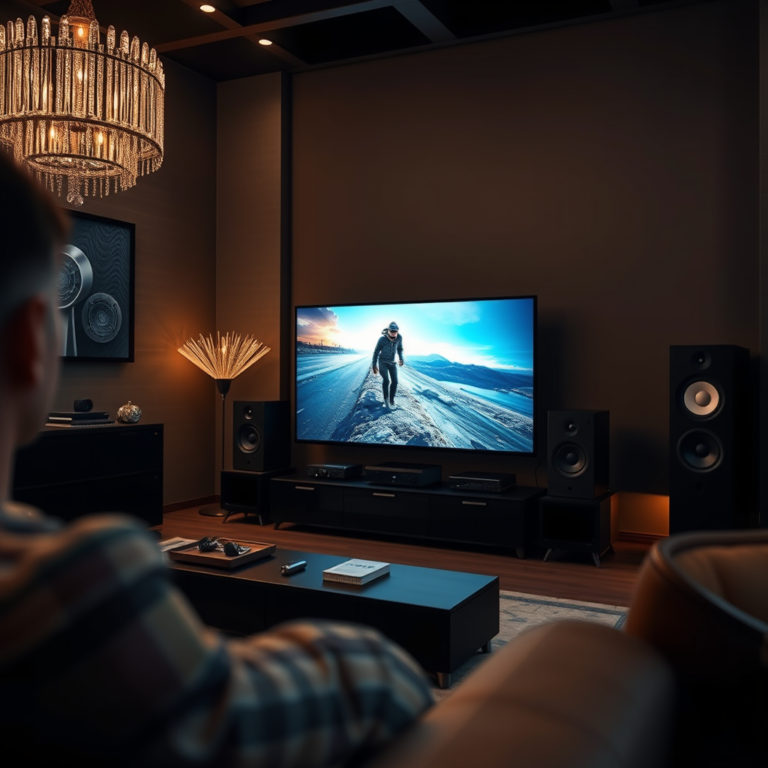
To repair a blown speaker, you’ll need to assess the problem, gather the right tools, and follow a straightforward procedure to bring your audio equipment back to life. Whether it’s a cherished vintage speaker or a modern sound system, understanding how to troubleshoot and fix it can save you money and enhance your DIY skills. This guide will take you through each step, ensuring you’ll be able to enjoy your favorite tunes once again.
Diagnosing the Issue

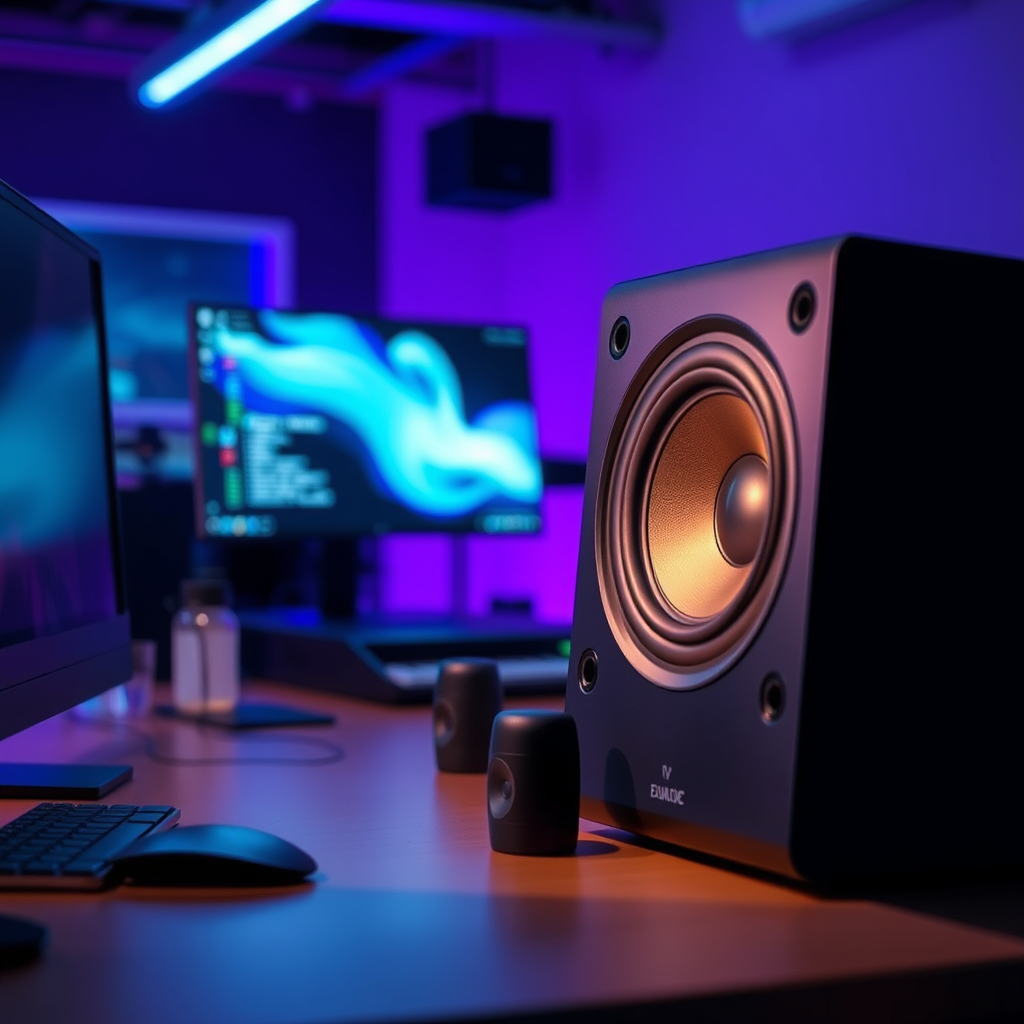
Before diving into repairs, it’s crucial to confirm that your speaker is indeed blown. The first step is to perform a sound test. Connect the speaker to an audio source, and listen for any distortion, buzzing, or lack of sound altogether. If the speaker emits a dull thud rather than clear audio, it’s likely damaged.
Next, visually inspect the speaker for any obvious signs of damage. Look for torn cones, which are typically made from paper or plastic, as well as burnt voice coils, which may appear discolored or have a burnt smell. If you find any of these issues, it’s a strong indication that your speaker requires repair.
Gathering Necessary Tools

Having the right tools on hand makes the repair process smoother and more efficient. Here are some essential tools you’ll need:
– Multimeter: This handy device helps you check for continuity and measure resistance in the speaker’s components.
– Soldering Iron: Necessary for reconnecting any wires that may have come loose or need replacing.
– Adhesive Materials: Depending on the damage, you might need speaker glue or epoxy to fix torn cones or reattach components.
– Screwdriver Set: A variety of screwdrivers will help you disassemble the speaker without damaging it.
Don’t forget to equip yourself with safety gear! Gloves and goggles are essential to protect your hands and eyes from sharp components and soldering accidents.
Disassembling the Speaker
Once you’ve diagnosed the issue and gathered your tools, it’s time to disassemble the speaker. Start by carefully removing the speaker from its housing or enclosure. Take your time here; using a screwdriver, gently unscrew any screws without stripping them, and handle the speaker with care to avoid further damage.
As you remove the speaker, pay attention to how the components are connected. A smartphone camera can be handy for taking pictures of the wiring and setup, ensuring you have a reference for reassembly. If your speaker has multiple drivers or components, label them as you go to keep track of their placement.
Repairing the Blown Speaker
Now comes the most critical part of the process: the repair itself. If you’ve found a torn cone, you can use adhesive materials to patch it up. Clean the area around the tear first, then apply a thin layer of glue and press the cone back together. Allow sufficient time for the adhesive to dry according to the manufacturer’s instructions.
For issues with the voice coil, you may need to replace it entirely. This involves carefully desoldering the damaged coil from the speaker terminals, and then soldering in the new coil. Make sure to secure any wires tightly to prevent shorts or loose connections. Always double-check that the polarity of the connections matches what it was before disassembly.
If you come across broken or corroded connectors, replacing them is also vital. A poor connection can lead to further issues, so ensure everything is securely reattached before moving forward.
Testing the Repair
After completing the repairs, it’s time to reassemble your speaker and put it to the test. Carefully reconnect all components and place the speaker back into its housing, ensuring everything is snug and secure. Now, connect it to an audio source and perform a sound test once again.
Play a variety of audio tracks—preferably ones you know well—to evaluate the sound quality. Listen for clarity, depth, and volume. If you notice any distortion or issues, you may need to revisit your connections or the repairs you made.
Preventing Future Damage
Once you’ve successfully repaired your speaker, consider ways to protect it from future damage. Overloading your speakers can lead to blown components, so ensure you’re using an appropriate amplifier that matches the speaker’s power handling. Avoid cranking the volume to the max for long periods; your ears will thank you, and your speakers will last longer!
Environmental factors can also play a role in speaker damage. Keep your speakers in a dry, cool place away from direct sunlight and moisture. Regularly dust them to prevent buildup that could cause overheating or other issues.
Finally, consider periodic maintenance checks, especially if you use your speakers frequently. Inspecting for loose wires or signs of wear can help catch problems early before they escalate.
Repairing a blown speaker can be a rewarding project that not only saves you money but also allows you to enhance your audio experience. By following these steps, you’ll not only fix your speaker but also gain valuable skills for future repairs. If you encounter any specific challenges during your repair, don’t hesitate to reach out to audio repair communities or professionals for further assistance. Your favorite music deserves to be heard in all its glory!
Frequently Asked Questions
What are the signs of a blown speaker?
A blown speaker often exhibits several telltale signs, including distorted sound, rattling noises, or a complete lack of sound output. You may also notice a lack of bass response or an unusual buzzing sound. If your speaker produces these symptoms, it’s crucial to assess whether it can be repaired or if replacement is the better option.
How do I check if my speaker is blown?
To check if your speaker is blown, start by testing it with different audio sources and cables to rule out other issues. If the distortion persists, visually inspect the speaker cone for tears or damage, and gently push on the cone to see if it moves freely without resistance. If the speaker feels stuck, it’s likely blown and may need repair or replacement.
What tools do I need to repair a blown speaker?
To repair a blown speaker, you’ll need a few essential tools, including a soldering iron and solder for electrical connections, a screwdriver set for disassembling the speaker, and adhesive or speaker glue for cone repairs. Additionally, you may require a multimeter to test the speaker’s impedance and ensure proper functionality after the repair.
Why is my speaker buzzing even though it’s not blown?
A buzzing noise from a speaker, even when it’s not blown, could be due to several factors, including interference from nearby electronic devices, loose connections, or damaged wiring. Additionally, an issue with the amplifier or the audio source may cause distortion. To resolve this, check all connections and try repositioning the speaker away from potential interference sources.
Which methods are best for repairing a blown speaker cone?
The best methods for repairing a blown speaker cone depend on the extent of the damage. For small tears, you can use adhesive tape or a specialized speaker repair glue to seal the tear. In cases of larger damage, replacing the cone or the entire speaker might be necessary. Always ensure that any repair materials are suitable for audio equipment to maintain sound quality.