Using a sound meter is essential for achieving accurate audio calibration in any recording or live sound environment. This device measures sound levels and helps you make informed adjustments to ensure optimal audio quality. In this article, you will learn why sound meters are crucial and how to effectively use them for your audio projects.
Understanding the Importance of Audio Calibration

Audio calibration is a critical process that ensures sound levels are balanced across various playback systems. This is particularly important in environments such as recording studios, concert venues, and home theaters, where sound fidelity is paramount. Proper calibration enhances the listener experience by eliminating distortion and improving clarity, allowing for a more enjoyable auditory experience. When sound is calibrated correctly, it ensures that audio elements are rendered as intended, maintaining the integrity of the original recording or live performance.
Additionally, calibrated audio can prevent listener fatigue, which can occur with poorly balanced sound. This is particularly relevant in professional environments where long listening sessions are common, such as in film editing or music production. By using a sound meter, you can ensure that your audio equipment is not only functioning optimally but also providing the best possible experience for your audience.
What is a Sound Meter?

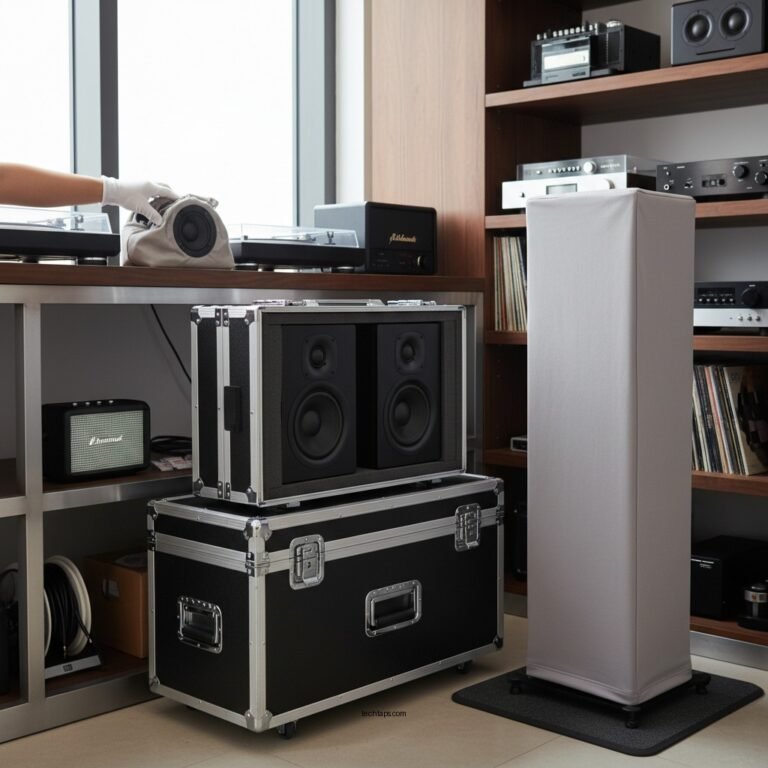
A sound meter, also known as a sound level meter (SLM), is a device that measures sound pressure levels in decibels (dB). These measurements help audio professionals assess the environment’s acoustics and make necessary adjustments to achieve the desired sound quality. Sound meters come in various forms, including handheld devices, smartphone applications, and professional equipment designed for specific environments.
Handheld sound meters are portable and easy to use, making them ideal for quick assessments in different locations. Smartphone apps have become increasingly popular due to their convenience, although they may lack some precision compared to professional models. On the other hand, professional sound meters offer advanced features such as frequency weighting and time weighting, making them suitable for detailed sound analysis in complex audio environments.
Choosing the Right Sound Meter
When selecting a sound meter, it is essential to consider the features that best meet your needs. Key features to evaluate include:
– Frequency Weighting: A-weighting is commonly used for general sound measurements, while C-weighting is utilized for measuring peak sound levels.
– Time Weighting: Fast and slow response times can affect how the meter responds to sudden changes in sound levels, which is crucial for live sound settings.
– Measurement Range: Ensure that the sound meter can measure the dB levels relevant to your work, whether it be quiet environments or loud concerts.
If you are a beginner, look for user-friendly options that provide clear readings and basic functionalities. Conversely, advanced models are better suited for professionals who require detailed measurements and analysis.
Here’s a comparison of some popular sound meters available in the market:
Popular Sound Meters Comparison (2024)
| # | Model | Type | Frequency Weighting | Price |
|---|---|---|---|---|
| 1 | Extech 407730 | Handheld | A, C | $99 |
| 2 | B&K Type 2250 | Professional | A, C | $1,500 |
| 3 | Tascam DR-05X | Recorder | N/A | $119 |
| 4 | Smartphone App (Sound Meter) | App | N/A | Free |
| 5 | Casio CA-2000 | Handheld | A | $179 |
| 6 | REED R8050 | Handheld | A, C | $89 |
| 7 | Kestrel 5500 | Professional | A | $399 |
How to Use a Sound Meter Effectively
To utilize a sound meter effectively, proper positioning and methodology are critical. Start by placing the sound meter at the listener’s ear level, ensuring that the readings reflect what the audience will experience. This positioning is essential for both studio settings and live performances.
When taking measurements, it is advisable to conduct multiple readings from various locations within the space. This practice helps ensure that sound levels are consistent and balanced throughout the area. Variations in acoustics, such as reflections or absorptions from walls and furniture, can drastically affect sound quality. By gathering data from different points, you can make necessary adjustments to achieve a uniform sound experience.
Additionally, familiarize yourself with your sound meter’s settings, such as response time (fast or slow) and frequency weighting, to ensure accurate measurements tailored to the environment.
Typical Audio Levels for Various Sources (dB)
Common Mistakes in Audio Calibration
One of the most common mistakes in audio calibration is relying solely on subjective listening. While personal taste and experience are valuable, they can lead to inconsistencies. Always validate your adjustments with a sound meter to ensure accuracy. This practice helps avoid misjudgments that could negatively impact sound quality.
Another common pitfall is neglecting to account for environmental noise. Background sounds from air conditioning units, traffic, or even conversations can affect your readings. Ensure that measurements are taken in a controlled environment or during quiet periods to obtain the most accurate results possible.
Best Practices for Audio Calibration
To maintain consistent sound quality, regular calibration of your equipment is essential. This can be especially important in environments where equipment is frequently moved or adjusted. Establish a routine calibration schedule to ensure that your audio setup remains optimized.
In addition to using a sound meter, consider incorporating reference tones and pink noise into your calibration process. Pink noise, which contains equal energy per octave, can help you identify frequency imbalances and adjust your system accordingly. Using these tools in conjunction will enhance your ability to create a balanced audio environment.
Troubleshooting Audio Calibration Issues
If you notice discrepancies in sound levels during playback, it’s crucial to check your equipment setup and connections. Loose cables or improper settings can lead to distorted audio or inconsistent sound levels. Ensuring that all connections are secure and that equipment is correctly configured will help mitigate these issues.
Additionally, reassess your room acoustics, as reflections and absorption can significantly impact audio quality. Use acoustic treatment solutions, such as sound panels or bass traps, to help manage unwanted reflections and improve sound clarity.
By understanding the importance of sound meters and audio calibration, you can create a more professional audio environment that enhances the listening experience.
Summarizing the importance of using a sound meter, this tool is indispensable for achieving precise audio calibration. By following the outlined steps and best practices, you can ensure your audio quality is consistently top-notch. Take the next step in enhancing your audio projects by investing in a sound meter and applying these techniques today!
Frequently Asked Questions
Why is it important to use a sound meter for audio calibration?
Using a sound meter for audio calibration is crucial because it provides precise measurements of sound levels, ensuring that your audio equipment is performing optimally. This accuracy helps to avoid distortion, enhances sound clarity, and ensures a balanced listening experience across various environments.
How do I choose the best sound meter for audio calibration?
When selecting the best sound meter for audio calibration, consider factors such as frequency range, accuracy, and ease of use. Look for models that offer A-weighting and C-weighting options, as these are essential for measuring sound in different contexts, from music production to live events.
What steps should I follow to calibrate my audio equipment using a sound meter?
To calibrate your audio equipment using a sound meter, first set up your sound meter at the listening position, then play a reference tone or pink noise. Adjust the output levels on your audio equipment while monitoring the sound meter’s readings to achieve the desired decibel levels, ensuring that all speakers are balanced and calibrated to the same level.
Which settings on a sound meter are best for audio calibration?
For audio calibration, the best settings on a sound meter typically include A-weighting for general sound level measurements and C-weighting for peak levels. Additionally, set the meter to slow response time to capture averages over time, providing a more stable reading during audio playback.
Why do I need to periodically recalibrate my audio system with a sound meter?
Periodically recalibrating your audio system with a sound meter is necessary to account for changes in equipment, room acoustics, and environmental factors that can affect sound quality. Regular calibration ensures that your audio remains consistent and accurate, providing the best listening experience over time.
References
- Sound level meter
https://en.wikipedia.org/wiki/Sound_level_meter - https://www.ncbi.nlm.nih.gov/pmc/articles/PMC6293758/
https://www.ncbi.nlm.nih.gov/pmc/articles/PMC6293758/ - https://www.sciencedirect.com/topics/engineering/sound-level-meter
https://www.sciencedirect.com/topics/engineering/sound-level-meter - https://www.cdc.gov/niosh/topics/noise/soundlevel.html
https://www.cdc.gov/niosh/topics/noise/soundlevel.html - Detail
https://www.who.int/news-room/fact-sheets/detail/noise - https://www.ncbi.nlm.nih.gov/pmc/articles/PMC6814252/
https://www.ncbi.nlm.nih.gov/pmc/articles/PMC6814252/ - Sound-level meter | Noise Measurement, Decibel Levels & Acoustic Analysis | Britannica
https://www.britannica.com/science/sound-level-meter - https://www.nychealthandhospitals.org/wp-content/uploads/2021/08/noise-hazards-guide.pdf
https://www.nychealthandhospitals.org/wp-content/uploads/2021/08/noise-hazards-guide.pdf - Google Scholar Google Scholar
https://scholar.google.com/scholar?q=Sound+Meter+for+Audio+Calibration - Google Scholar Google Scholar
https://scholar.google.com/scholar?q=Audio+Calibration+with+Sound+Meter