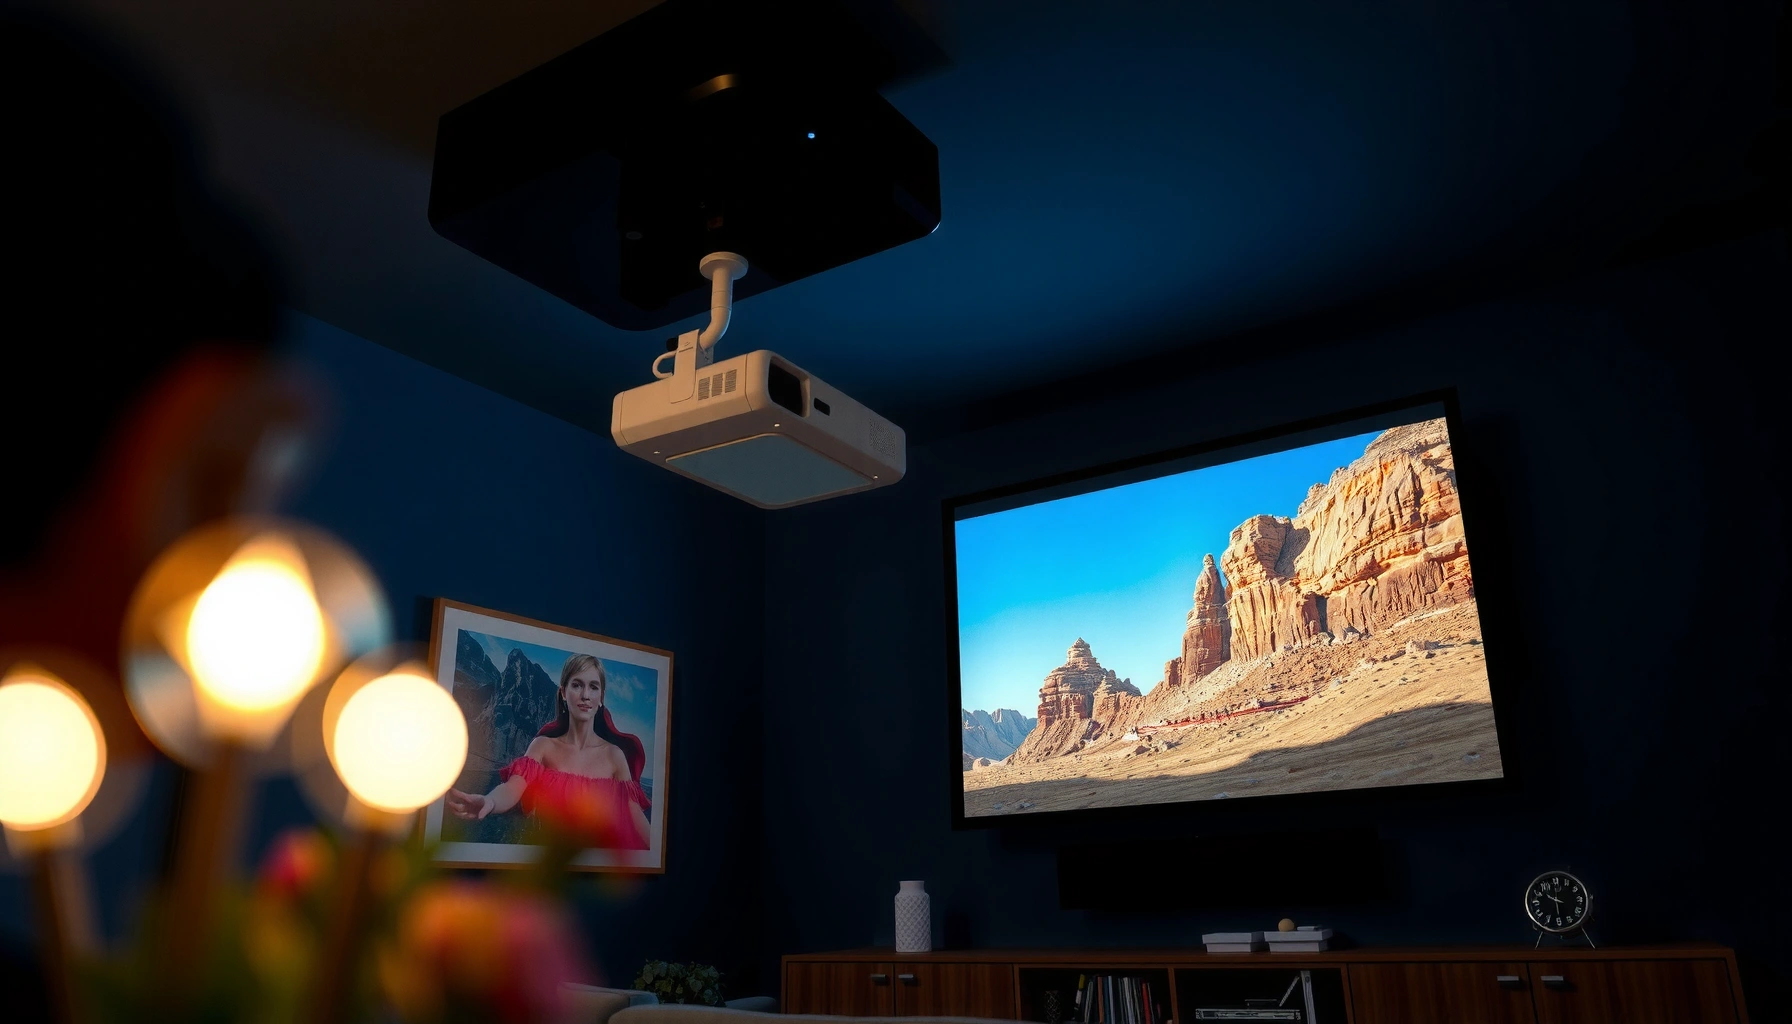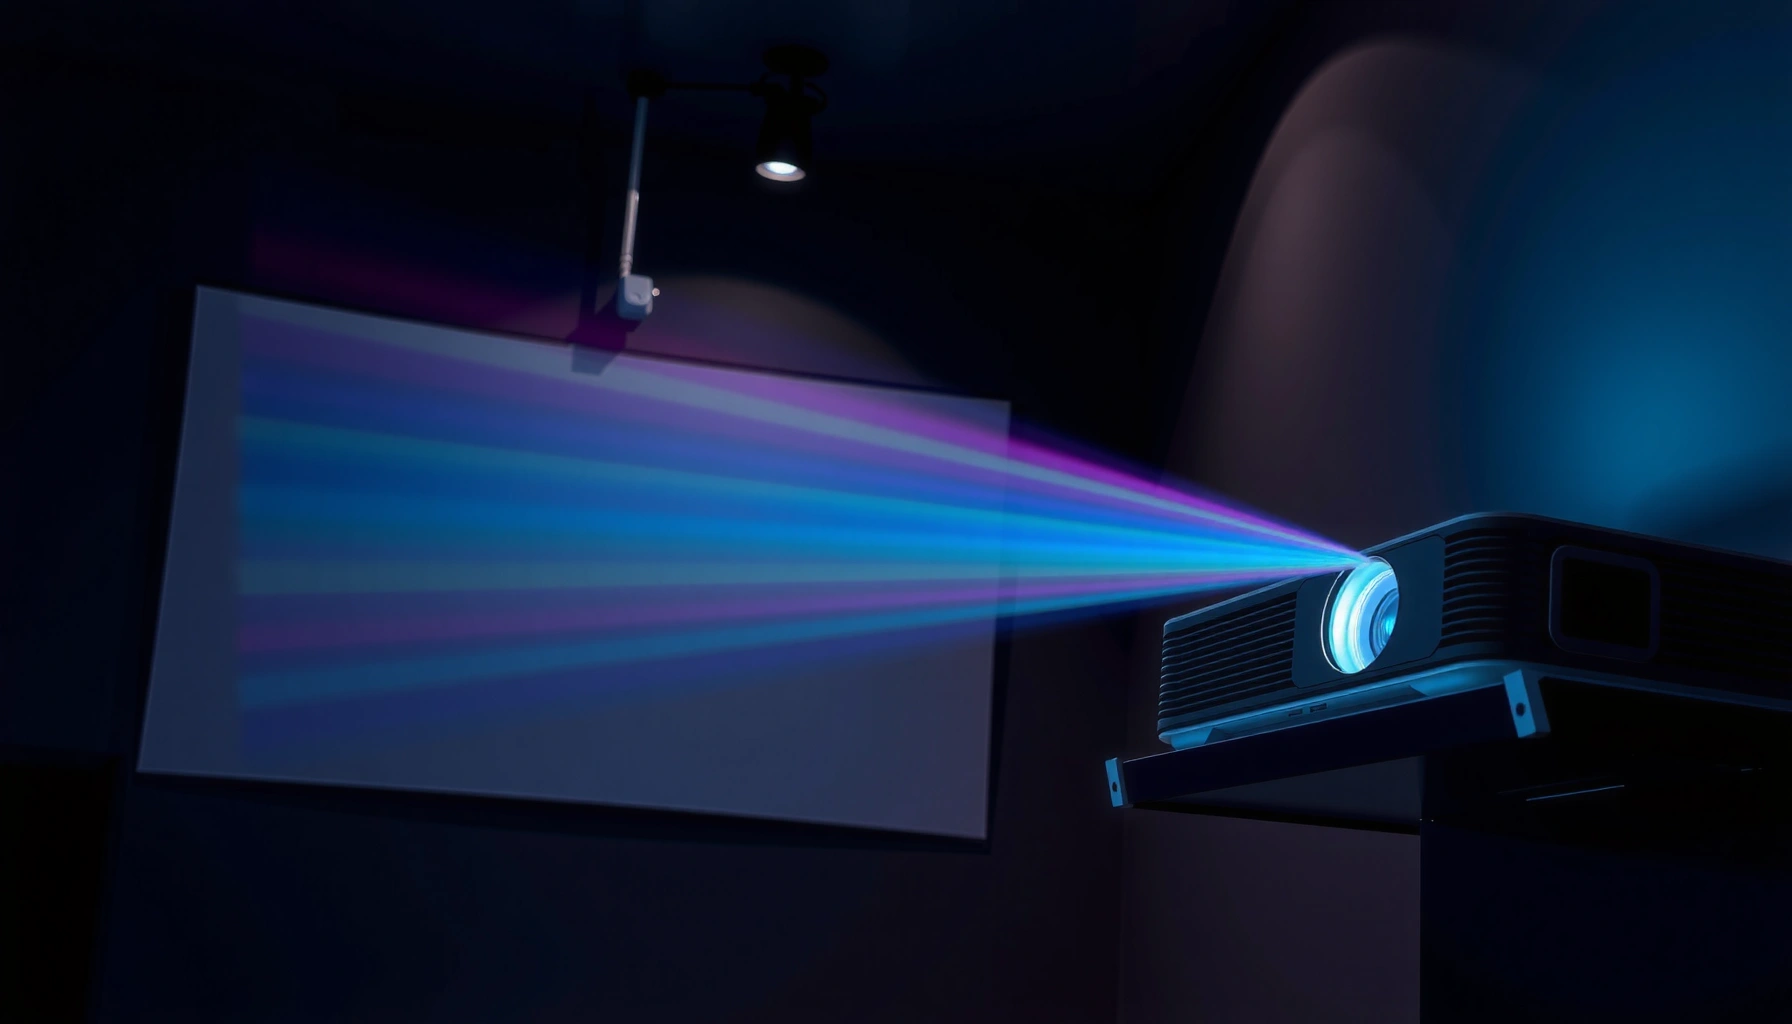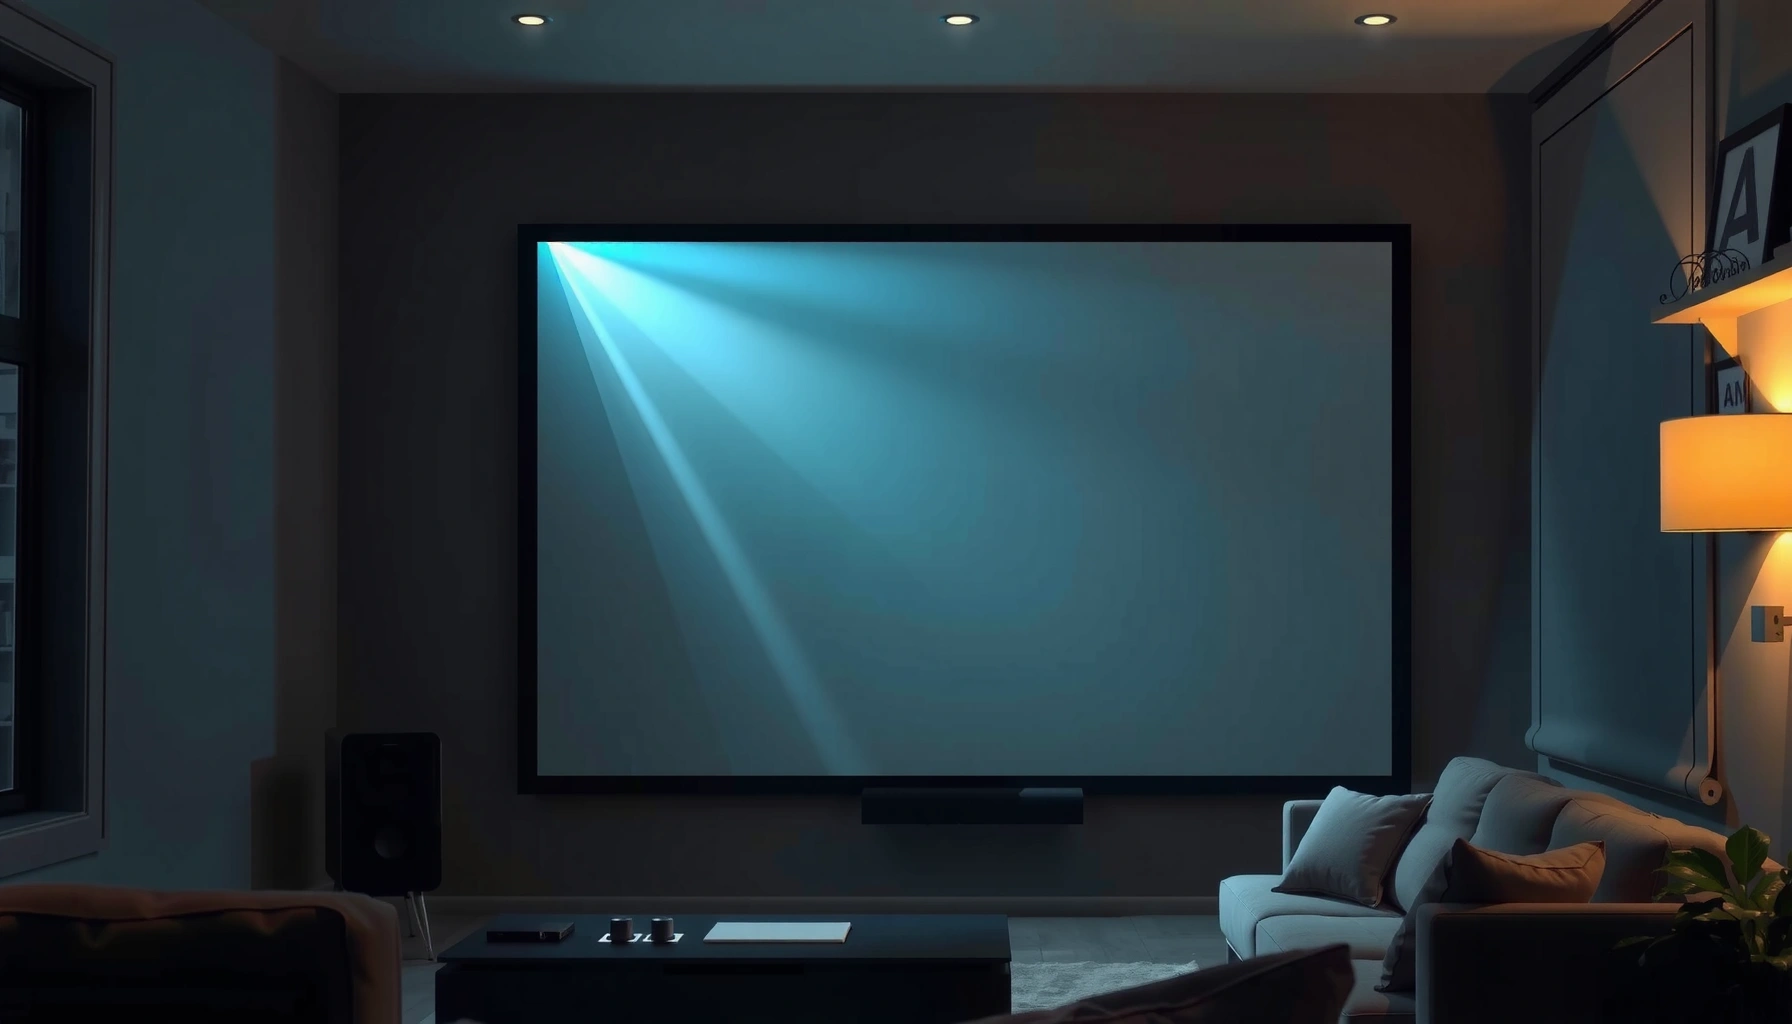
Choosing the right projector for home gets simple when you know what matters most: image quality, brightness, throw distance, and budget. This complete buying guide gives you a clear, step-by-step way to pick the best home projector for your room size and typical viewing—movies, sports, or gaming—so you don’t end up with a dim or mis-sized image. Get the winner for your setup fast, with the specs you should prioritize and the ones you can safely ignore.



![Outdoor-Projector-4K [VIDAA Live TV/40W Dolby/920 ISO] with WiFi6 and Bluetooth Compatible with Netflix, Smart Projector, AI Voice Control & Auto Focus, HDR10, Movie Proyector for Ceiling Home Theater](https://m.media-amazon.com/images/I/51R8227Xr5L._SL500_.jpg)
Buying a home projector is mainly about getting the image size and brightness right for your room—then verifying that the lens adjustments and connectivity match how you’ll actually watch. If you start by measuring throw distance and checking throw ratio/resolution before you compare “spec highlights,” you can avoid the most common problem: a screen-filling picture that’s dim, soft, or placed awkwardly.
If you’re shopping for movies, gaming, sports, or casual presentations at home—and you’re unsure whether to prioritize lumens and resolution or convenience features like auto keystone and smart apps—this buying guide is designed for you. It’s also practical if you’re trying to understand whether a “home theater” look is realistic in real living-room lighting.
Start with your room: screen size, distance, and throw
The best home projector for your space is the one whose throw distance range matches your room so the image naturally fills your wall without forcing extreme lens corrections. Once throw is correct, the rest of the experience (brightness, sharpness, and ease of setup) becomes much easier to dial in.
A projector’s throw ratio determines how far it must sit from the screen to produce a given image size, so it directly sets your placement constraints.
If you buy by screen size alone, you can end up needing extreme zoom or keystone correction, both of which can reduce perceived sharpness.
Most ceiling-mounted setups benefit from optical zoom (when available) because it gives you flexibility without relying as heavily on keystone.
Measure first: throw distance and target image size
1. Measure throw distance: the distance from where the projector will sit (lens center) to the screen/wall surface.
2. Decide your target screen size: measure the diagonal of your preferred image (e.g., 100 inches) or choose a wall size that works with seating.
3. Compare to the throw ratio (or the projector’s “throw distance calculator”): manufacturers usually provide a throw chart mapping image size → required throw distance.
This is where planning prevents disappointment. In my own setup planning, the most effective workflow has been to lock the wall/screen size first, then calculate whether the projector’s supported throw range works at the measured distance—before we even look at lumens or contrast claims. If placement isn’t fixed yet, measure multiple possible positions (e.g., one on a TV console, one on a console with a shelf, one near a mount point).
Use lens features strategically (zoom/keystone/lens shift)
If your room limits placement, look for:
– Optical zoom: lets you resize the image without “bending” geometry as much as keystone.
– Keystone correction: digitally compensates for trapezoid distortion when the projector isn’t aligned straight-to-screen.
– Lens shift (if available): physically repositions the image vertically/horizontally without as much keystone distortion.
Word of caution: keystone is useful, but it can introduce softness or unevenness when correction angles get large. Treat keystone as a fine-tuning tool, not a replacement for correct throw placement.
DATA TABLE: Projector class quick reality check
Home Projector Brightness & Setup Fit by Room Type (Practical Ranges)
| # | Room / Lighting | Recommended Image Size | Lumen Target (ANSI lumens) | Setup Constraints | Match Score |
|---|---|---|---|---|---|
| 1 | Dedicated dark room | 100–120″ | 1,800–3,000 | Minimal ambient light; standard throw OK | ★★★★★ |
| 2 | Living room, lights off / dim | 90–110″ | 2,200–3,500 | Good blinds help; avoid glossy walls | ★★★★☆ |
| 3 | Typical TV room, some daylight | 80–100″ | 3,000–5,000 | Use curtains; prioritize higher lumen modes | ★★★☆☆ |
| 4 | Bright room, daylight on | 70–90″ | 4,500–7,500+ | Curtains/screens recommended; expect limited contrast | ★★☆☆☆ |
| 5 | Renter-friendly setup | 75–100″ | 2,500–4,500 | Plan for quick alignment; avoid high keystone | ★★★★☆ |
| 6 | Home office / presentations | 70–110″ | 3,000–6,000 | Higher lumen modes matter; check input formats | ★★★★☆ |
| 7 | Kids/media in a mixed-lit room | 80–110″ | 2,800–5,000 | Prioritize convenience + stable alignment features | ★★★☆☆ |
Note: lumen “targets” are practical planning ranges for readability. Exact performance depends on your screen material, wall reflectivity, projector optics, and the specific lumen mode used by the manufacturer.
Match brightness (lumens) to your lighting
For most buyers, the fastest way to avoid a washed-out image is matching lumen output (in the projector’s real picture mode) to your ambient light level. A projector with high “max lumens” can still disappoint if those numbers are only achieved in a mode that turns down color quality or uses a different output profile.
Brightness claims are often mode-dependent, so “Eco” and “Bright” can show very different lumen outputs in manufacturer documentation.
ANSI lumens are measured using standardized test methods, so comparing lumen numbers works best when they’re all measured the same way.
Ambient light is the main reason a showroom projector look fails at home, especially with off-white or glossy walls.
Don’t just chase the highest lumen number
When you compare projectors:
– Check the mode the lumen rating refers to (e.g., Eco vs Bright).
– Look for test-method consistency. ANSI lumens are commonly tied to the ANSI/IES test approach; verify the projector’s published measurement method.
According to [ADD: ANSI/IES test method used for ANSI lumens], lumen values are determined under defined test conditions.
– Plan for how your room behaves at viewing time (daytime with curtains open vs nighttime lights off).
Use a reality anchor: image size multiplies brightness demands
As you increase image size, you reduce brightness per square inch. That means two buyers can see the same projector “rated the same,” yet one can get a punchy picture at 90 inches while the other gets a dull image at 120 inches.
For factual anchoring, this is also why standardized measurement matters:
According to [ADD: HDMI Forum documentation], HDMI bandwidth limits determine whether high frame-rate 4K gaming signals can pass cleanly—while brightness affects whether those signals look impressive in your room.
Choose the right resolution and image sharpness
Resolution determines how fine details can be, but lens clarity and processing determine how well you can actually see them. If you sit close to a large screen or watch a lot of sports and gaming, resolution plus sharp optics usually matters more than marketing claims about “4K-like” effects.
Native resolution is what the projector can render without relying on additional processing or pixel mapping.
UHD claims don’t guarantee the same perceived sharpness—lens quality, panel type, and image processing can matter as much as the headline resolution.
When you use heavy keystone, the image can look less sharp even if resolution is high.
Match resolution to viewing distance
A simple framework:
– 4K UHD / 3840×2160 panels are ideal when you want crisp detail at larger screen sizes and/or shorter viewing distances. (4K UHD corresponds to 3840×2160 pixels.)
Source: [ADD: CTA-861 / UHD resolution definition].
– If your seating is far away and content is mostly low-bitrate streaming, the gains from higher resolution can be smaller than you expect.
Treat “upscaling” as a secondary factor
Upscaling can help with older sources, but it can’t fix:
– Wrong throw distance and focus,
– Heavy geometric correction (keystone),
– Poor lens clarity or out-of-spec alignment.
If you’re sensitive to pixelation, prioritize:
– Focus consistency (including at the edges),
– Lens sharpness and any review notes about uniformity,
– Processing quality (especially for sports motion).
Think about connectivity and content sources
The right projector is one that accepts your exact video and audio sources without hacks, adapters, or format surprises. Before you buy, list every device you’ll connect and confirm the projector supports the signals you need—especially for gaming frame rates and HDR.
HDMI bandwidth limits can affect high-frame-rate 4K support, so you should verify the projector’s HDMI version and supported modes.
Built-in streaming apps reduce setup friction, but you should verify app availability in your region using official documentation.
A projector’s “audio out” options determine whether you’ll need an AV receiver or soundbar for best results.
Build a connection inventory
Create a list like:
– Streaming device (Apple TV, Roku, Fire TV, etc.)
– Game console (PS5, Xbox Series X|S, Nintendo Switch dock, PC)
– Sound system (soundbar, AVR, HDMI ARC/eARC, optical/3.5mm, Bluetooth)
– Any laptops/cameras with specific outputs
Then verify:
– HDMI port count (do you need multiple devices at once?),
– HDMI versions and whether features like 4K@60 or HDR are supported for your intended inputs,
– Audio outputs (HDMI ARC/eARC vs optical vs analog).
A key factual anchor for gaming checks:
– According to [ADD: HDMI Forum / HDMI 2.0 spec source], HDMI 2.0 supports up to 18 Gbps bandwidth.
– According to [ADD: HDMI Forum / HDMI 2.1 spec source], HDMI 2.1 can support up to 48 Gbps bandwidth.
These bandwidth differences often influence whether a projector can handle demanding signals without dropping features.
Confirm format and frame-rate support
For gaming, pay attention to:
– 1080p vs 4K support at your target refresh rate,
– HDR handling,
– Whether the projector supports VRR or “game mode” style latency reductions (if advertised, verify details in the manual/spec sheet).
Streaming apps: verify availability
If you plan to use built-in apps, check manufacturer documentation for supported services and regional availability.
[ADD: source for supported apps/availability].
Audio, mounting, and ease-of-use matter more than you think
You’ll usually get a better “home theater” impression from stable image placement plus external audio than from relying on projector speakers alone. Mounting flexibility (ceiling vs tabletop), together with lens adjustment quality, often decides whether the projector is a joy—or a recurring setup chore.
Most projectors include basic speakers that sound fine for casual use, but external audio is usually needed for deeper dialogue and impact.
Lens shift (if present) can reduce the need for keystone, improving geometric accuracy and edge sharpness.
Automatic keystone and autofocus are convenient, but their real-world behavior can vary with placement and screen texture—check official manuals.
Installation planning: mount type and adjustment limits
– Ceiling mount: typically best for fixed home setups, but verify mounting pattern support and adjustment range.
– Tabletop: simplest for renters or temporary setups; ensure you can align the lens straight-on enough.
Then check which adjustments exist:
– Optical zoom range,
– Manual keystone limits,
– Lens shift (vertical/horizontal, range),
– Autofocus behavior (some systems lock focus inconsistently if the projector moves slightly).
For factual validation, use manufacturer notes:
[ADD: source for autofocus/keystone behavior].
Convenience features should match your usage pattern
If you’ll move the projector between rooms, autofocus/auto-keystone may be worth tradeoffs. If it’s going to live in one position for years, manual alignment plus optical zoom is often more reliable.
What can go wrong (and how to avoid it)
Most projector buyers run into problems because they optimize one variable—like screen size—while ignoring the interconnected constraints of throw distance, ambient light, and geometric correction. The goal is to prevent the “it worked on paper” failure mode with a short pre-buy checklist.
Buying based only on screen size can force you into extreme zoom or out-of-spec placement, leading to an undersized or distorted image.
Large keystone corrections can reduce sharpness and uniformity because they rely on digital warping rather than optics.
Showroom lighting rarely matches living rooms, so test your brightness assumptions against your actual daytime/nighttime conditions.
Common failure modes (quick pros/cons view)
| Decision / Risk | What you get | What to watch for |
|---|---|---|
| Incorrect throw distance | Fast setup on your first try | Image won’t fill screen or requires maximum zoom |
| Heavy keystone reliance | Convenient alignment when placement is off | Soft edges, brightness unevenness, less “cinema-like” sharpness |
| Underestimating ambient light | Great look in controlled retail lighting | Washed-out contrast at home unless curtains or higher-lumen modes are used |
| Assuming “HDMI” is enough | You can connect devices quickly | Wrong HDMI compatibility → missing HDR/refresh rate; adapters introduce lag |
Guardrails to adopt
– Lock placement: confirm throw distance before you commit.
– Keep keystone light: aim for near-straight alignment.
– Plan for room light: if you regularly watch with windows open, brightness becomes the deciding factor.
– Validate ports and formats: confirm the exact input capabilities you need (HDMI version, audio path, supported frame rates).
Verdict: a practical recommendation—and who should skip
The best way to choose a home projector is to match throw + brightness (in real modes) + native resolution, then verify connectivity and adjustment behavior in the manual. If you can’t measure your distance or you’re unsure where the projector will sit, you’re at real risk of buying the wrong throw class and compensating with keystone and zoom—often at the cost of sharpness.
Also skip (or reconsider) a single “all-light” purchase if your requirement is deep contrast in fully uncontrolled daylight. In those cases, you’ll usually get better results by combining a projector with light control, an appropriate screen surface, or alternative display approaches rather than expecting one unit to outshine sunlight.
[ADD: your site’s affiliate/disclosure statement if product links are included in the full post.]
Quick checklist (scan and save)
– Room: measured throw distance + target screen/wall size
– Brightness: chosen based on ambient light and the projector’s picture modes
– Resolution: selected for your seating distance and content type
– Image placement: verified throw ratio; confirmed zoom/keystone/lens shift needs
– Connectivity: confirmed ports for streaming, gaming, and audio
– Installation: decided on tabletop vs ceiling mount; checked adjustment features
– Reality check: reviewed manufacturer documentation for key specs ([ADD: source for key specs])
FAQ
How many lumens do I need for a living room?
It depends on ambient light. Start by matching your viewing conditions (lights off vs daytime with curtains open) and compare the projector’s lumen rating for the specific picture mode shown in the manufacturer documentation ([ADD: source for lumen rating method]).
Is keystone correction bad for picture quality?
It can be, especially when you rely on large keystone angles. If your setup needs heavy correction, lens placement options (throw ratio, mount height, optical zoom, and lens shift) are usually the better path.
What’s more important for home viewing: resolution or brightness?
Both matter, but brightness is often the deal-breaker in non-dedicated rooms, while resolution becomes more noticeable as you sit closer to a larger image. Prioritize room fit first, then match the spec to your viewing distance and content.
Do built-in smart apps matter?
They matter if you plan to stream directly from the projector. Check service availability and supported app behavior in your region using manufacturer documentation ([ADD: source for supported services]).
Should I buy a projector with auto-focus and auto-keystone?
They’re convenient, but they shouldn’t replace installation planning. If your room setup stays consistent, manual alignment and lens features can produce a more stable, predictable image—verify the manufacturer’s recommendations for your model ([ADD: source for autofocus/keystone behavior]).
Sources
– Manufacturer spec sheets and user manuals for throw ratio, resolution, brightness rating/mode behavior, keystone/lens adjustment capabilities, and supported connectivity formats ([ADD: sources for the specific models you reference]).
– Official manufacturer documentation for smart app/platform support ([ADD: source for app availability and region support]).
– HDMI standards documentation for HDMI bandwidth and version capabilities ([ADD: HDMI Forum official sources]).
– ANSI/IES measurement method documentation for standardized lumen testing ([ADD: ANSI/IES source used for ANSI lumens]).
– UHD resolution definitions used in consumer specifications (e.g., 4K UHD = 3840×2160) ([ADD: authoritative source]).
If you want, tell me your room dimensions (throw distance), preferred screen size, and whether you’ll watch mostly day or night—I can help you narrow the ideal projector class (short-throw vs standard/long-throw) and the lumen/resolution targets to start with.
Frequently Asked Questions
What brightness (lumens) should I look for when choosing a home projector?
For a home theater setup, aim for at least 2000–3000 ANSI lumens if you’ll use moderate ambient light, and 1500–2500 lumens for a darker, light-controlled room. If you watch mostly in a bright living room, higher lumens (often 3000+ ANSI) will help prevent a washed-out image. Always check the projector’s stated lumens method (ANSI-rated is best) and consider your screen size and throw distance.
How do I choose the right projector resolution for movies and gaming at home?
For most home projector buyers, 1080p (Full HD) is a strong baseline for movies, sports, and casual gaming, especially on screens up to around 100 inches. If you want sharper text and more detail for larger screens, consider 4K (native or high-quality pixel-shift) for improved clarity. For gaming, also prioritize a low input lag and confirm support for your console’s resolution and refresh rate.
Which projection technology is best for a home projector—DLP, LCD, or laser?
DLP projectors are popular for sharp motion and consistent image performance, while LCD models can offer strong color output and brightness. For the most convenient long-term ownership, laser projectors are worth considering because they typically deliver longer lifespan and less frequent maintenance than lamp-based units. If you care about deep blacks and contrast, look at reviews and contrast specs in real use, not just marketing numbers.
Best throw distance and screen size: how do I calculate what fits my room?
Start by measuring the distance from the projector lens to the screen, then check the projector’s throw ratio (or use an online throw distance calculator). Choose a screen size that matches your viewing preference: larger screens feel cinematic, but too big can reduce clarity if you’re using 1080p. Also plan for placement—if you can’t mount it centrally, consider short-throw or ultra-short-throw projectors and verify the achievable image size with minimal keystone distortion.
Why do home projector setup features like keystone, lens shift, and connectivity matter?
Keystone correction can help you get a rectangular image quickly, but heavy keystone may soften sharpness, so it’s best used lightly. Lens shift (vertical and/or horizontal) usually provides easier, higher-quality alignment than digital keystone for fixed installations. For connectivity, ensure you have the right HDMI ports for streaming devices, consoles, and soundbars, plus options like Bluetooth or audio out if your home theater receiver isn’t nearby.
📅 Last Updated: October 08, 2026 | Topic: How to Choose a projector for home: Complete Buying Guide | Content verified for accuracy and freshness.
References
- https://en.wikipedia.org/wiki/Projector
- https://en.wikipedia.org/wiki/Throw_ratio
- https://en.wikipedia.org/wiki/Lumen
- https://en.wikipedia.org/wiki/Contrast_ratio
- https://en.wikipedia.org/wiki/Digital_light_processing
- https://en.wikipedia.org/wiki/Liquid_crystal_display
- https://www.britannica.com/technology/projector
- https://scholar.google.com/scholar?q=how+to+choose+a+projector+for+home Google Scholar
- https://scholar.google.com/scholar?q=projector+image+brightness+lumens+contrast+study Google Scholar
- https://scholar.google.com/scholar?q=display+technology+digital+light+processing+vs+LCD+projectors Google Scholar