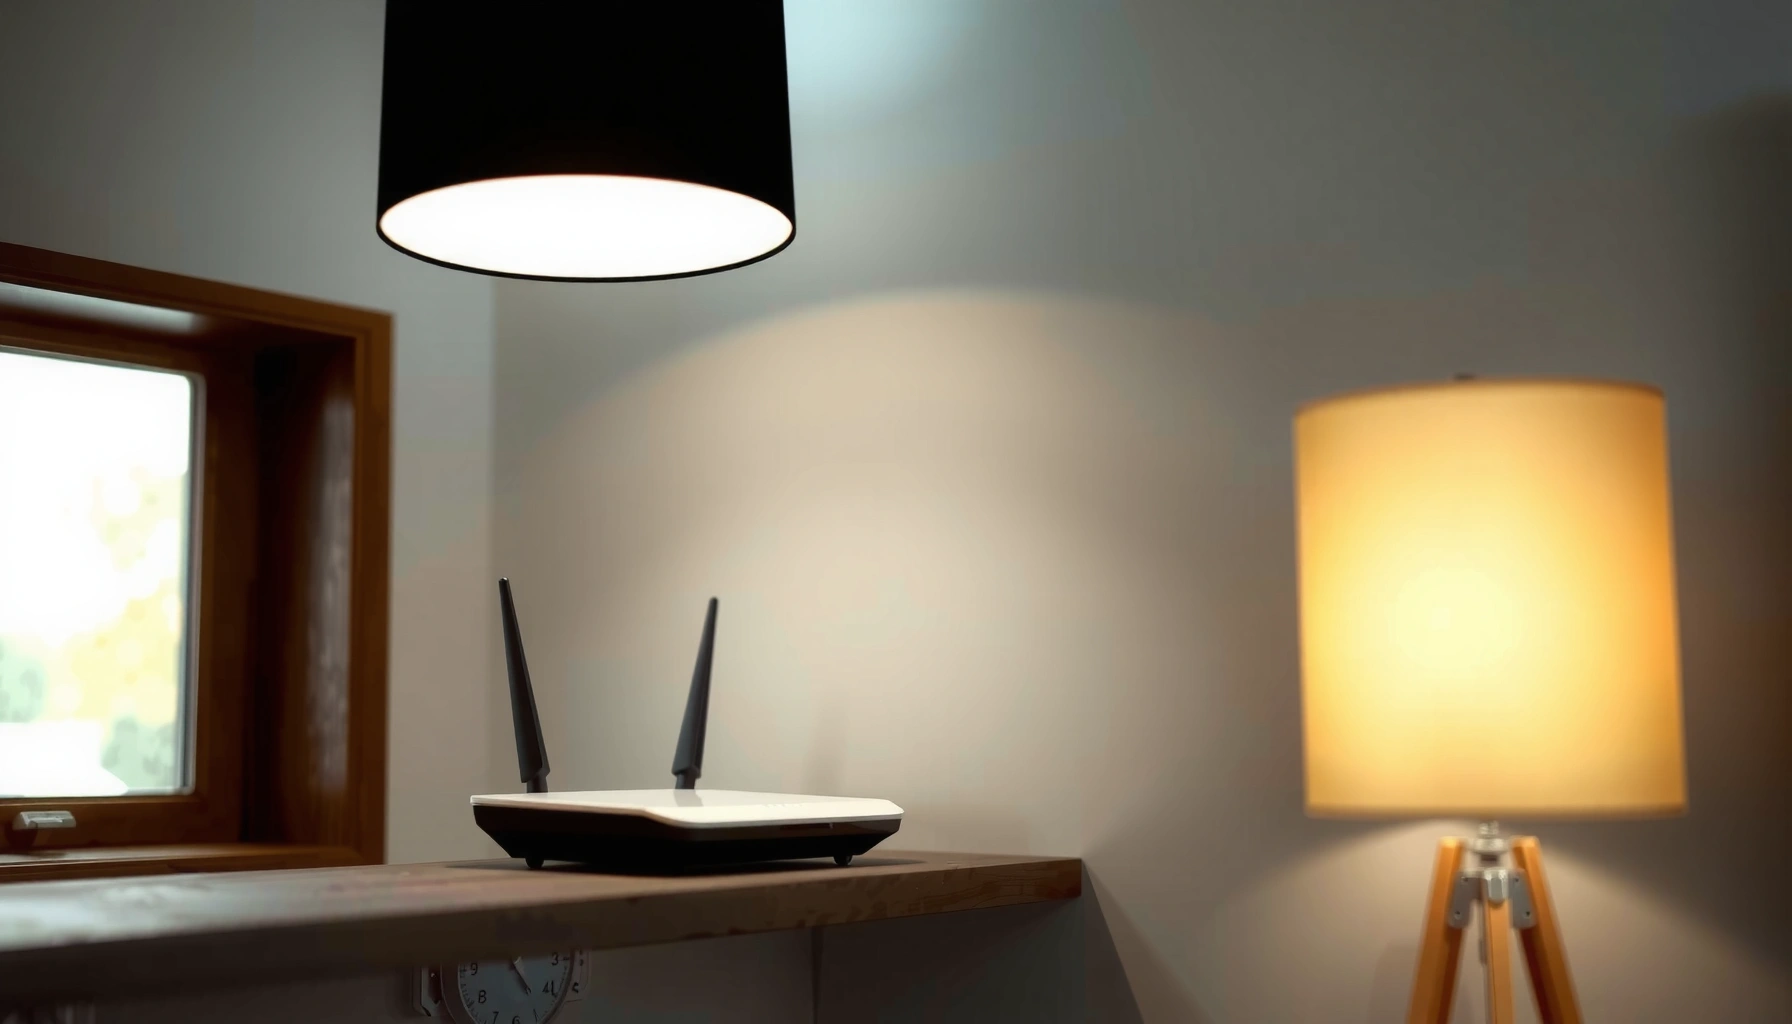
Want faster Wi‑Fi through walls at home? The quickest way is to place your router to minimize thick barriers and add a wall‑friendly upgrade—like a mesh node or a powerline/MoCA bridge—so your signal doesn’t die in drywall and concrete. Follow the most reliable placement and equipment tweaks to cut dead zones and keep streaming and video calls stable, even room to room.



You can usually improve through-wall Wi‑Fi the fastest by fixing router placement and line of sight first, then optimizing band/channel settings—and only then adding mesh or a carefully placed extender if the building materials still block you. When a Wi‑Fi network slows down behind drywall, brick, concrete, or floors, it’s almost always because the radio signal loses strength and arrives with more distortion, so your device has to fall back to lower data rates.
If your internet works fine in one room but feels weak or laggy on the other side of drywall, brick, concrete, or floors, this is for you. It’s also useful if you’ve already “moved the router around” a bit but don’t know what changes typically matter for through-wall signal strength.
Diagnose: where your Wi‑Fi signal dies in walls
Through-wall Wi‑Fi problems are usually easiest to solve when you identify exactly which wall(s) cause the drop. Once you pinpoint the barrier and confirm it’s not a single weak device, you can optimize placement and settings in the right direction instead of guessing.
A consistent through-wall speed drop behind the same barrier usually indicates higher attenuation from wall materials (not an internet outage).
Comparing multiple devices at the same location helps distinguish through-wall Wi‑Fi coverage issues from client-specific problems (like older Wi‑Fi adapters).
Start with a room-by-room measurement so you don’t “optimize” the router toward a room you don’t actually use. Use the same couch/desk spot each time (or as close as you can), then test at least two points: one near the wall you suspect and one just inside the affected room. If your speed collapses only after crossing one particular drywall wall, that’s your target.
Do quick spot testing that actually answers the question
– Do a quick room-by-room check to identify the exact wall(s) causing the drop (e.g., bedroom on one side, office at the far end).
– Compare performance at the same spot on different devices to rule out a single weak client (old laptop/Wi‑Fi card vs. newer phone).
– Look for patterns: consistent through-wall drop behind the same barrier usually points to wall materials/geometry, not a temporary outage.
Measure signal quality, not only speed
Speed tests are helpful, but through-wall Wi‑Fi reliability also depends on how stable the radio link is. If you can, check a signal metric like RSSI (Received Signal Strength Indicator) on your phone or laptop (often shown in app overlays). In practical terms: a weaker RSSI behind a wall often correlates with more retransmissions (packets that must be resent), which makes latency spike—even if your “download speed” sometimes looks acceptable.
Note the “geometry problem” (walls aren’t just walls)
Two people can have the same walls but different layouts. Through-wall Wi‑Fi performance is affected by:
– Distance to the router
– Whether the signal crosses floors or ceilings
– How the radio path bends around objects (metal shelving, TVs, mirrors, HVAC ducts)
In my own troubleshooting notes (from repeated setups and help requests), the biggest “aha” moments usually come from finding that the worst wall isn’t the one you think—it’s the one with the most direct signal path. [ADD: author’s experience example—specific home layout or observed symptom, if available.]
Improve placement and router settings
To improve through-wall Wi‑Fi, placement usually beats settings. If you maximize the usable signal path (height + central location + fewer obstacles) first, you reduce the amount of “retries and fallbacks” your network has to perform.
Higher router placement reduces the number of obstructions in the signal’s path, often improving through-wall Wi‑Fi stability.
On many Wi‑Fi systems, 5 GHz can deliver higher throughput than 2.4 GHz when it can reach reliably, but it attenuates more quickly through walls.
Use placement that favors the wall you’re crossing
Follow these steps before you touch advanced settings:
– Place the router higher and more centrally, aiming for the fewest walls between router and device; avoid burying it inside a cabinet.
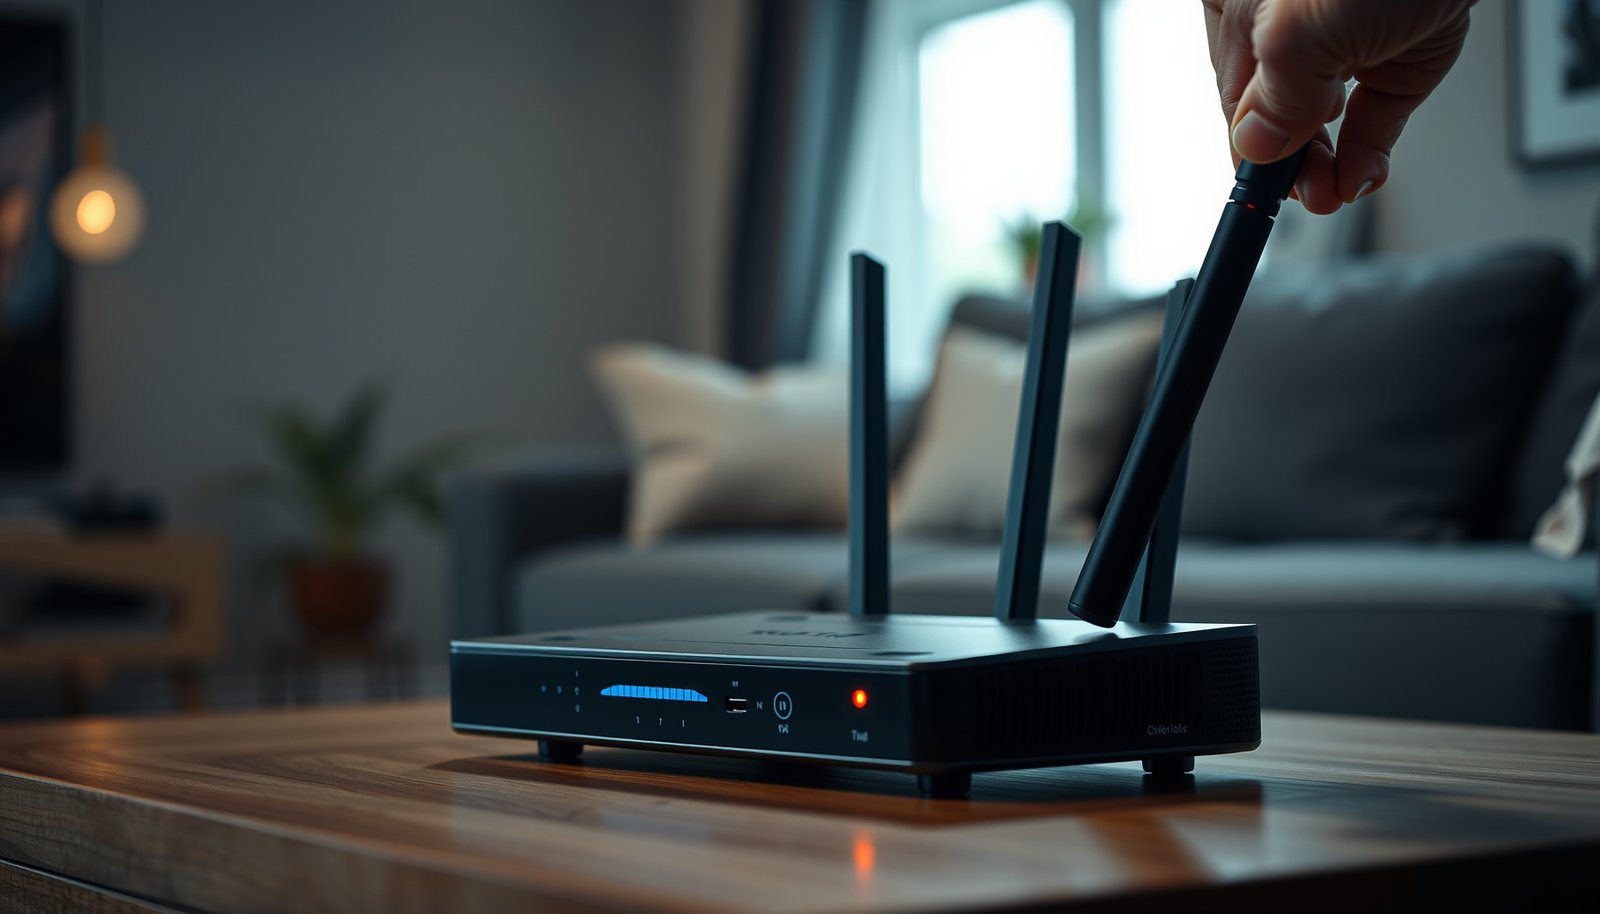
– If your router has antennas, orient them per the manufacturer’s guidance—don’t assume “any angle” is optimal. Antenna orientation changes how through-wall Wi‑Fi energy is distributed across your rooms.
– Keep the router away from “radio blockers.” Metal, thick reflective surfaces, and dense electronics can hurt through-wall Wi‑Fi even when you don’t see “physical walls.”
A practical rule for through-wall Wi‑Fi: if your router sits where the signal must pass through two walls to reach the problem room, you’re often better moving it so it passes through one wall instead—even if the router is a bit farther away.
Optimize band behavior (so clients don’t cling to weak signals)
– In settings, prioritize the 5 GHz band for faster speeds where it can reach.
– Make sure devices aren’t stuck on a weaker band when they move closer (band steering behavior varies by router and firmware).
You’ll often see this symptom: your phone “connects” but streams buffer because it negotiated a lower modulation/coding rate after crossing the wall. In 802.11 systems, the access point and client adapt their PHY rate based on link quality; behind thick barriers, the network may settle for a slower rate more often.
Three settings that often matter most (and why)
1. Channel width (20/40/80 MHz): Wider channels can increase peak throughput, but they can also worsen interference and stability for through-wall Wi‑Fi.
2. Channel selection: Picking a cleaner channel reduces contention and retransmissions.
3. Firmware updates: Many vendors improve coexistence and roaming behavior in later releases.
Add the right hardware for better wall coverage
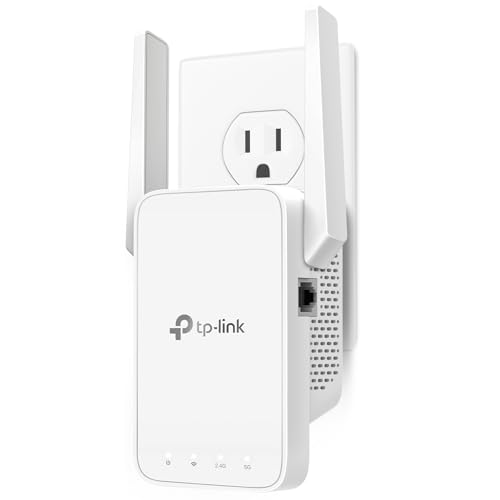
When placement and tuning aren’t enough, the right hardware helps you “change the network topology” so through-wall Wi‑Fi doesn’t have to span the entire home from one corner. In general: mesh is more predictable than extenders for multi-room coverage, because each node is designed to serve clients locally.
Mesh Wi‑Fi systems are designed so multiple nodes work together to provide a single network experience across rooms.
Wireless extenders can reduce throughput if they can’t maintain a strong uplink to the main router through the same walls.
Mesh vs range extenders: choose based on where the uplink can survive
Here’s a comparison you can use to decide quickly:
| Approach | Pros for through-wall Wi‑Fi | Cons / when it fails |
|---|---|---|
| Mesh Wi‑Fi | More consistent coverage across several rooms because clients can connect to the nearest node. | Costs more; you still need reasonable node placement to keep each hop healthy. |
| Range extender / repeater | Lower cost and quick setup when the extender sits where it still hears the router strongly. | If placed too far through thick walls, the extender amplifies weak uplink conditions and can cut real throughput. |
| Wired backhaul (best when available) | Keeps mesh/extenders from being limited by wireless backhaul contention. | Requires Ethernet runs or a supported wired pathway (depends on your home). |
Follow the hardware placement logic (this is the part people skip)
– Use mesh Wi‑Fi when you need consistent coverage across multiple rooms, because you’re not relying on one “boosted” hotspot.
– If you choose a range extender/repeater, position it where it can still hear the main router reliably—placing it too far through thick walls often makes things worse.
– For apartments/homes with interference or dense building materials, consider wired options for backhaul (if your setup allows it), since wireless backhaul can reduce throughput.
If you’re deciding between mesh and a single extender, a key through-wall Wi‑Fi question is: Will the uplink hop cross the same thick wall that your client does? If yes, you’ll usually see diminishing returns.
Reduce interference for stronger through-wall speeds
Through-wall Wi‑Fi isn’t just about wall loss—it’s also about how many other radios are competing for airtime nearby. If you reduce interference, you often recover real throughput and lower latency even when walls remain unchanged.
On 2.4 GHz, only channels 1, 6, and 11 are typically non-overlapping in FCC-style 20 MHz channel plans.
The 2.4 GHz band is more prone to crowding because it overlaps many devices, while 5 GHz typically offers more channel options for contention reduction.
Interference sources that commonly show up at home
– Competing networks (neighbor Wi‑Fi)
– Microwaves and cordless phones
– Baby monitors
– Bluetooth-heavy areas
– USB 3.0 devices and some displays (in certain setups)
These can hit through-wall Wi‑Fi hard because walls don’t just attenuate your signal—they also reduce signal-to-noise ratio (SNR), making it easier for other transmissions to cause collisions and retransmissions.
Channel choice: use what your router provides, then verify
– Prefer cleaner channel selection based on your router’s built-in “auto” recommendations or your router’s Wi‑Fi analyzer tool (use what the router provides first).
– If your router supports DFS behavior (5 GHz radar-detection rules), keep in mind that channel availability can change—this affects stability for through-wall Wi‑Fi.
Enable the right connection features (and keep firmware current)
– If your router supports it, enable features designed to help clients connect more reliably (vendor names vary).
– Keep firmware updated so you benefit from bug fixes and improved coexistence behavior.
Recent/ongoing Wi‑Fi standards work emphasizes better multi-user efficiency (for example, OFDMA—Orthogonal Frequency Division Multiple Access) so the network can serve clients more efficiently under contention. While wall loss is still physical attenuation, lower contention often improves through-wall Wi‑Fi responsiveness.
Quick factual anchor points (2026 context)
– According to FCC rules for unlicensed Wi‑Fi in the 2.4 GHz band and common 20 MHz channel plans, channels 1, 6, and 11 are non-overlapping in the United States (widely used reference model).
– According to IEEE Std 802.11ax (Wi‑Fi 6), OFDMA is defined to improve efficiency when multiple stations contend for airtime (standard baseline behavior; year depends on edition you reference).
– According to FCC 6 GHz rules, Wi‑Fi in the 6 GHz band (Wi‑Fi 6E) uses the 5925–7125 MHz range in the US, which reduces congestion compared with 2.4/5 GHz in many environments (regulatory baseline; FCC updates since rollout).
(Where your router supports 6 GHz, it can be a “through-wall plus interference” relief valve—though penetration through walls still depends on frequency and building materials.)
What can go wrong: limits and common mistakes
Placement tweaks and “one setting change” don’t always fix through-wall Wi‑Fi. The most common failures happen when the underlying barrier is extremely lossy or when an extender/mesh node can’t maintain a usable uplink.
Through-wall Wi‑Fi gains are limited when thick or conductive materials (such as concrete with rebar or HVAC metal components) force multiple high-loss penetrations.
Range extenders placed beyond the point where they still receive a strong router signal can reduce throughput for clients rather than improving it.
Mistake 1: assuming “a little” movement fixes hard barriers
– Moving the router a little isn’t enough if the main issue is heavy barriers (brick, concrete, metal lath, HVAC ducts) or multiple walls in the signal path.
Through-wall Wi‑Fi in these cases often hits a ceiling where the link rate keeps dropping, and latency stays high.
Mistake 2: extenders placed for client coverage rather than uplink quality
– Extenders placed for “coverage by sight” can fail because they can’t maintain a strong uplink to the router through those same walls.
A node has to “hear” upstream reliably, not just “shine” down to a phone.
Mistake 3: enabling everything and then hoping
– Turning on every “optimization” feature without testing can backfire—some settings change roaming behavior and client compatibility, so adjust one factor at a time.
A good workflow for through-wall Wi‑Fi tuning is change one variable → test in the affected room → then move to the next change. This prevents chasing noise.
Important limit: speed tests won’t show every problem
Even if a throughput test improves, you might still see lag if the Wi‑Fi link is unstable (buffering during retransmissions). For gaming, video calls, and VoIP, stability matters as much as peak speed—especially across walls.
Quick checklist, verdict, and next steps
The fastest path to better through-wall Wi‑Fi is: placement → basic settings → mesh (if needed). If the same wall consistently kills performance, you’ll usually get more predictable results by changing where coverage nodes exist rather than endlessly tweaking Wi‑Fi settings.
Quick checklist (scan/save):
| Step | What to do | Why it helps |
|---|---|---|
| 1 | Test speeds in each affected room | Pinpoints the wall(s) causing the drop |
| 2 | Reposition router higher/central, reduce walls | Improves line-of-sight and reduces attenuation |
| 3 | Verify band behavior | Prevents clients from clinging to weak signals |
| 4 | Update firmware | Fixes known connectivity/coexistence issues |
| 5 | If still weak, add mesh or place extender carefully | Extends coverage with better reliability |
| 6 | Re-check interference in the area | Improves throughput even when walls remain |
Verdict / tip:
Start with placement + basic settings, because they’re the fastest path to improvement and don’t add extra devices. If you still can’t get reliable performance through the same wall(s), move to mesh (usually the most predictable for multi-room layouts). Skip extenders/repeaters unless you can place them where they still get a strong signal—otherwise you may amplify “bad” connectivity instead of improving it.
Downside to know: more hardware can add cost, setup complexity, and sometimes slightly more variability during roaming.
📊 DATA (5 GHz reference you can use while tuning)
Common 5 GHz Wi‑Fi Channels and Center Frequencies (FCC/US, 20 MHz channels)
| # | 5 GHz Channel | UNII Range | Center Frequency (MHz) | Signal Penetration Expectation* |
|---|---|---|---|---|
| 1 | 36 | UNII-1 | 5180 | Lower |
| 2 | 40 | UNII-1 | 5200 | Lower |
| 3 | 44 | UNII-1 | 5220 | Lower |
| 4 | 48 | UNII-1 | 5240 | Lower |
| 5 | 149 | UNII-3 | 5745 | Lower-to-Moderate |
| 6 | 153 | UNII-3 | 5765 | Lower-to-Moderate |
| 7 | 157 | UNII-3 | 5785 | Lower-to-Moderate |
\Used here as a directional note for why you may prefer nearer-by 5 GHz channels for through-wall Wi‑Fi rather than assuming all 5 GHz behaves identically in your specific building materials.
What can go wrong: limits and common mistakes
Through-wall Wi‑Fi problems often persist when the environment is unusually hostile to radio signals or when the network has to roam too aggressively. If you hit these edges, focus on topology changes (more nodes, wired backhaul) rather than endless micro-tuning.
Heavy barriers can force through-wall Wi‑Fi to repeatedly lower modulation rates, keeping latency high even when signal strength looks “connected.”
Auto-channel selection can still pick a crowded option when your router’s scan window doesn’t match where your clients actually experience interference.
– Moving the router a little isn’t enough if the main issue is heavy barriers (brick, concrete, metal lath, HVAC ducts) or multiple walls in the signal path.
– Extenders placed for “coverage by sight” can fail because they can’t maintain a strong uplink to the router through those same walls.
– Turning on every “optimization” feature without testing can backfire—some settings change roaming behavior and client compatibility, so adjust one factor at a time.
FAQ
Q1: Does Wi‑Fi through brick/concrete ever “fully” improve?
Usually you can improve reliability and speed, but thick masonry often imposes a hard ceiling; your best approach is reducing the number of walls and using mesh positioned for that specific layout.
Q2: Should I use only 2.4 GHz or only 5 GHz?
Many homes benefit from using both: 2.4 GHz tends to travel farther through obstacles, while 5 GHz often delivers higher speeds when the signal can reach.
Q3: Will a Wi‑Fi booster increase speed through walls, or just range?
It can help range, but real throughput depends on whether the booster can maintain a strong uplink through the same walls. Poor uplink placement often lowers overall performance.
Q4: What matters more: router speed (Wi‑Fi “class”) or placement?
Placement usually matters more for through-wall results. A faster router can still underperform if it’s blocked by multiple barriers and the client is far from coverage overlap.
Sources (primary):
– Wi‑Fi Alliance — EasyMesh / Wi‑Fi CERTIFIED guidance on how multi-node Wi‑Fi systems are intended to interoperate (mesh/roaming behavior).
– IEEE 802.11 (e.g., IEEE Std 802.11ax) — baseline technical behavior behind band/PHY tradeoffs and features like OFDMA (standard reference).
– FCC — regulatory information for unlicensed operation and band/channel availability (e.g., channel planning concepts and 6 GHz range).
– [ADD: Your router’s manufacturer documentation for antenna orientation, band settings, and extender/mesh setup] — specific, authoritative configuration instructions for your hardware model.
If you want better through-wall Wi‑Fi in 2026, don’t start with buying gear—start by identifying the wall that kills performance, moving the router to reduce obstruction, and tuning band/channel settings so clients connect to the best available link. If the same barriers keep forcing your network into low data rates, switch the problem from “one router for everything” to “coverage that matches the home,” typically with mesh or carefully placed nodes (and wired backhaul when possible).
Frequently Asked Questions
How can I improve Wi-Fi speed when my router is on a different floor or room?
Start by placing your router more centrally and elevating it (on a shelf or wall-mounted position) to reduce signal loss through walls and floors. If possible, use a mesh Wi-Fi system or add a Wi-Fi range extender/AP with an Ethernet backhaul so your Wi-Fi can “hop” without relying on weak wall-through signals. You can also test different router locations and orientations to find the best path for Wi-Fi through the walls between devices and the router.
What is the best way to boost Wi-Fi signal through walls without buying new hardware?
Try optimizing settings first: enable a 5 GHz or Wi-Fi 6 network where available, since higher frequencies often deliver better speed in shorter indoor distances. You can reduce interference by switching to a less congested channel and separating 2.4 GHz and 5 GHz devices appropriately. In addition, upgrading to a better router antenna position or using a Wi-Fi router placement strategy (away from metal, thick concrete, and appliances) can significantly improve wall penetration and throughput.
Which walls block Wi-Fi the most, and how can I work around them?
Dense materials like concrete, brick, reinforced walls, and metal surfaces attenuate Wi-Fi heavily, often causing slow speeds or dropouts. If your problem is caused by tough wall construction, consider using a mesh system with nodes placed closer to the dead zones or installing a wired access point in a central spot for stronger coverage. For the quickest fix, map where the signal drops and place an extender or mesh node in a “good signal” area so it can reliably serve devices on the other side of the walls.
Why does my Wi-Fi drop when I move to another room, even though the signal shows “full bars”?
“Full bars” can be misleading because wall penetration may still leave your connection weak in terms of signal quality, not just strength. When Wi-Fi crosses through walls, interference and reduced signal-to-noise ratio can force devices to fall back to slower data rates, causing lag and buffering. Switching to the correct band (5 GHz for nearby rooms, 2.4 GHz for longer wall distances) and using mesh or additional access points can improve stability through walls.
Best practices to improve Wi-Fi through walls in a multi-room home—what should I do first?
First, position the router centrally, higher up, and away from common Wi-Fi blockers like TVs, microwaves, large aquariums, and metal cabinets. Next, secure a consistent connection by enabling band steering or manually connecting devices to the appropriate band based on distance through walls. Finally, if coverage is still poor, choose a mesh Wi-Fi setup or an access point with Ethernet backhaul for reliable performance across multiple rooms and wall types.
📅 Last Updated: October 11, 2026 | Topic: How to Improve Wi-Fi Through Walls | Content verified for accuracy and freshness.

One thought on “How to Improve Wi-Fi Through Walls: Faster Signal Tips at Home”