To achieve the best audio experience from your home theater system, sound calibration is essential. This process ensures that your speakers are finely tuned to the unique acoustics of your room, enhancing your enjoyment of movies, music, and games. By calibrating your system correctly, you can enjoy sound as it was intended by the creators, immersing yourself fully in every scene and song.
Understanding Sound Calibration

Sound calibration is the process of adjusting the settings of your home theater speakers to achieve a balanced and harmonious audio experience. Proper calibration is crucial because every room has its own set of acoustics, which can dramatically affect how sound is perceived. Factors such as wall materials, furniture placement, and room size can create echoes or dead spots, leading to uneven sound quality. By taking the time to calibrate your system, you ensure that each speaker delivers sound that is clear, balanced, and immersive. This not only enhances dialogue in films but also enriches the overall ambiance of your favorite songs and games.

Tools Needed for Calibration

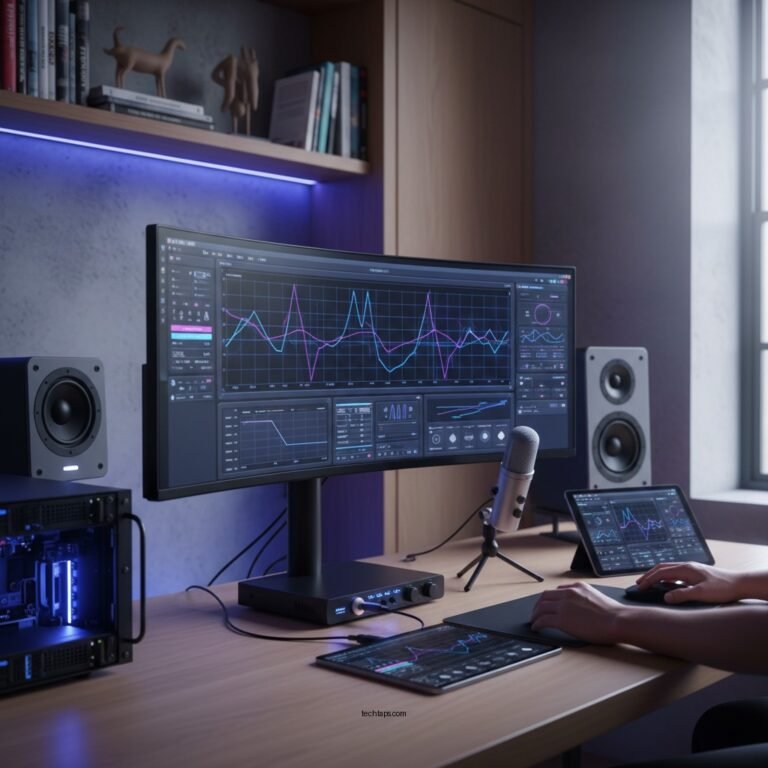
To effectively calibrate your home theater sound, you will need some essential tools. A high-quality microphone is crucial for capturing accurate sound measurements. Many audiophiles recommend using measurement microphones, such as the UMIK-1, which connect directly to your computer via USB and provide precise data. Additionally, software like Room EQ Wizard (REW) can analyze the sound captured and help you identify areas that need adjustment.
Calibration receivers also play a vital role in the process. These devices often come with built-in calibration software that automates the tuning process. Popular brands like Denon and Yamaha include features such as MultEQ or YPAO, which analyze the room’s acoustics and adjust speaker levels accordingly. Investing in a reliable calibration receiver can simplify the process and yield excellent results.
Step-by-Step Calibration Process
1. Set Up Your Calibration Equipment: Begin by placing your microphone at ear level in your primary listening position. Ensure that the microphone is stable and not obstructed by furniture or decor.
2. Run the Calibration Software: Most modern receivers have an automatic calibration feature. Follow the on-screen instructions to initiate the calibration process. This typically involves playing test tones through each speaker while the microphone captures the sound.
3. Adjust Speaker Levels and Distances: After the calibration software has completed its analysis, it will recommend adjustments for each speaker’s level and distance from the listening position. Be sure to check these settings against the actual distances and levels to make any necessary manual tweaks.
4. Fine-Tune for Personal Preference: Once the initial calibration is complete, listen to a variety of content—movies, music, and games—to determine if further adjustments are needed. Sometimes, personal preference may dictate slight modifications to the settings.
5. Save Your Settings: After achieving the desired sound, save your settings in the receiver’s memory. This will ensure that your adjustments are not lost and can be easily recalled.
Common Mistakes to Avoid
Calibrating your home theater sound can be tricky, and there are several common pitfalls to watch out for. One frequent mistake is placing the microphone too close to walls or furniture, which can distort sound measurements. Always position the microphone in an open space that accurately represents your listening position.
Another common error is relying solely on automatic calibration without any manual adjustments. While automated systems can provide a great starting point, they may not account for individual preferences or specific room anomalies. Always take the time to listen and adjust manually if needed.
Additionally, neglecting to check speaker placement can lead to poor sound quality. Ensure that all speakers are positioned correctly and at the appropriate height for optimal sound dispersion.
Fine-Tuning Your Sound
Once you’ve completed the initial calibration, fine-tuning your sound settings is where the real magic happens. One effective technique is adjusting the equalization (EQ) settings to better match your personal listening preferences. For instance, if you enjoy bass-heavy music, you might want to boost the lower frequencies slightly. Most receivers offer a variety of presets, but creating a custom EQ setting can significantly enhance your audio experience.
Subwoofer placement also plays a crucial role in achieving a well-rounded sound profile. Ideally, your subwoofer should be positioned in a corner or along a wall to maximize bass response. However, experimenting with placement is key; sometimes, moving the subwoofer just a few inches can lead to a noticeable improvement in sound quality.
Maintaining Your Sound System
To keep your home theater audio experience at its best, regular checks and recalibrations are essential. Changes in furniture layout, new decor, or even seasonal changes can affect room acoustics. It’s a good practice to recalibrate your system every six months or whenever you make significant changes to your setup.
Additionally, different types of content can benefit from tailored sound settings. For example, movies often require a different EQ setting compared to music or video games. Many modern receivers allow you to save multiple profiles for various content types, so don’t hesitate to experiment and find the best settings for each.
By maintaining your sound system with regular checks and tailored adjustments, you ensure a consistently enjoyable audio experience.
Your home theater experience can be dramatically improved through effective sound calibration. By following the steps and insights outlined in this article, you’ll be well on your way to enjoying the best audio your system can deliver. Don’t hesitate to explore specialized calibration tools or consult with professionals for the most accurate results. Happy listening!
Frequently Asked Questions
What is home theater sound calibration and why is it important?
Home theater sound calibration involves adjusting your audio system to ensure optimal sound quality and balance based on your room’s acoustics and speaker placement. This process is crucial because it enhances the listening experience by eliminating distortion, ensuring that dialogue is clear, and that sound effects are accurately reproduced, creating an immersive environment that mimics a real cinema.
How can I calibrate my home theater sound system on my own?
You can calibrate your home theater sound system by using a sound level meter or a calibration app to measure the sound levels from each speaker. Start by adjusting the volume levels so that all speakers emit sound at the same level. Additionally, consider using built-in calibration tools found in many AV receivers, which often utilize test tones and microphone measurements to automatically adjust settings for optimal performance based on your room’s layout.
Which tools or equipment do I need for effective home theater sound calibration?
For effective home theater sound calibration, you typically need a sound level meter, calibration microphone (often provided with AV receivers), and possibly calibration software or apps. While a sound level meter helps in measuring sound levels accurately, some modern receivers come equipped with advanced calibration systems like Audyssey or MCACC, which automatically optimize your audio settings based on the room’s specific acoustics.
Why does my home theater sound quality vary from movie to movie?
The sound quality in your home theater can vary from movie to movie due to differences in the audio mixing and mastering processes used by filmmakers. Some films may have a more dynamic range, while others may prioritize dialogue clarity, leading to disparities in volume levels and sound clarity. Calibration helps mitigate these issues by ensuring that your system reproduces sound consistently across various audio formats, but you may still need to make minor adjustments based on individual film soundtracks.
What are the best practices for maintaining home theater sound calibration?
To maintain optimal sound calibration in your home theater, regularly check and re-calibrate your audio system, especially after moving equipment or making significant changes to your room’s layout. Additionally, ensure that your speakers are positioned correctly, away from walls and corners, and that any furniture or decorations do not obstruct sound pathways. Keeping your audio equipment updated with the latest firmware can also enhance performance and ensure compatibility with new audio formats.
References
- https://en.wikipedia.org/wiki/Audio_calibration
- https://www.cnet.com/home/theater/how-to-calibrate-your-home-theater-sound/
- https://www.soundandvision.com/content/how-calibrate-your-home-theater-audio
- https://www.theverge.com/2020/4/13/21217468/home-theater-sound-calibration-guide-tips-setup
- https://www.techhive.com/article/3233343/how-to-calibrate-your-tv-and-home-theater-system.html
- https://www.tomsguide.com/how-to/how-to-calibrate-your-home-theater-system
- https://www.whathifi.com/advice/how-to-set-up-a-home-theater-sound-system
- https://www.audioholics.com/tweaks/5-steps-to-a-better-home-theater-sound-calibration