Maintaining and repairing vintage tube amplifiers requires a blend of technical knowledge and regular care to keep these cherished devices performing at their best. This guide offers practical tips for troubleshooting common issues, performing routine maintenance, and ensuring your amplifier continues to deliver that warm, rich sound that enthusiasts adore.
Understanding Vintage Tube Amplifiers

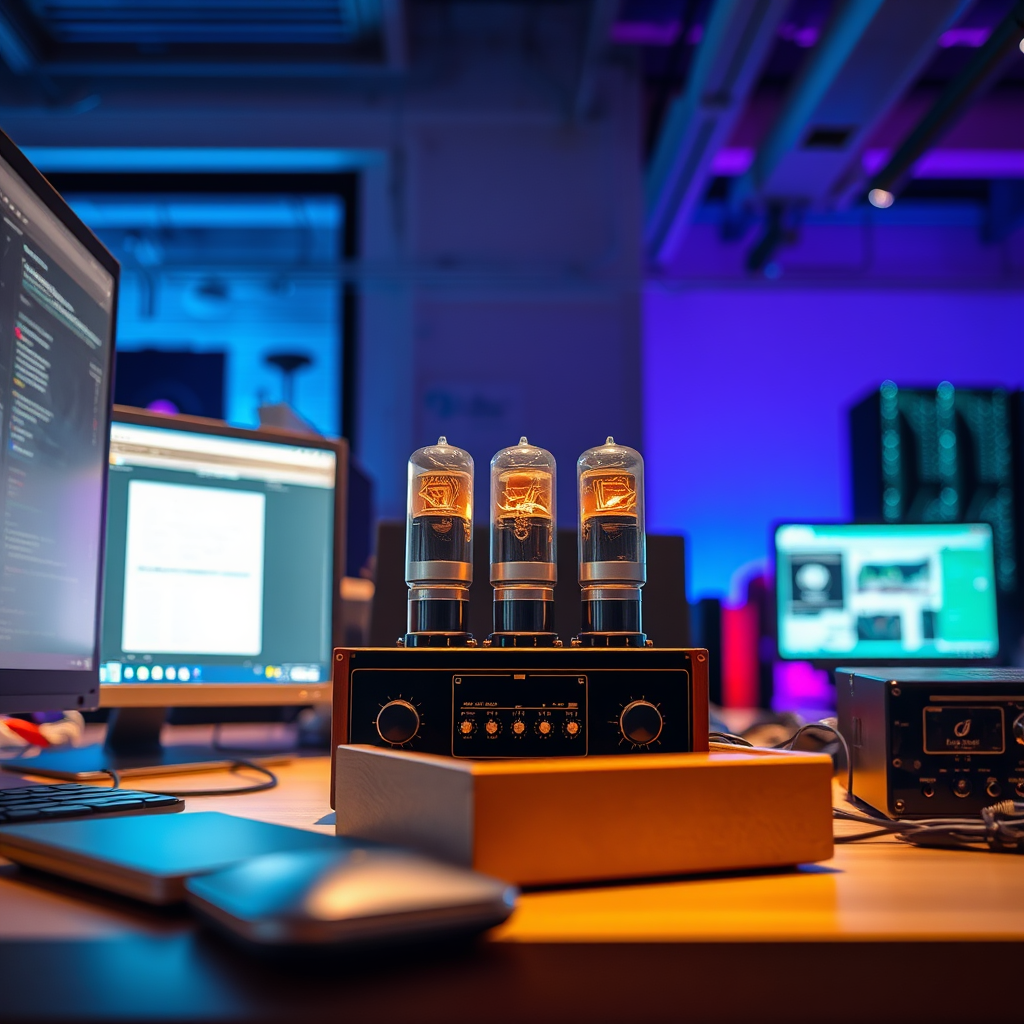
Vintage tube amplifiers are celebrated for their unique warm sound and rich harmonic distortion, making them a favorite among audiophiles and musicians alike. Utilizing vacuum tubes to amplify signals, these devices can produce a pleasingly smooth audio experience that many solid-state amplifiers struggle to replicate. The appeal of tube amplifiers lies not only in their sound quality but also in their nostalgic design, often featuring vintage aesthetics that resonate with collectors.
The fundamental difference between tube and solid-state amplifiers lies in their technology. Tube amplifiers use vacuum tubes, which modulate electrical current to create sound. This process can introduce a certain warmth and complexity to the audio output. Solid-state amplifiers, on the other hand, utilize transistors and diodes, resulting in a more clinical sound that some listeners may find less appealing. Understanding these distinctions is crucial for anyone wishing to repair or maintain vintage tube amplifiers.
Common Issues with Vintage Tube Amplifiers

Identifying common issues with vintage tube amplifiers can be essential for effective maintenance. Common symptoms of malfunction include:
– Distortion: Often caused by worn-out tubes or faulty connections.
– Noise: Hissing or crackling sounds can indicate a failing component or poor grounding.
– Power loss: A significant drop in volume may suggest issues with tubes or capacitors.
Troubleshooting these problems often begins with a careful inspection of components. Start by checking all connections and ensuring the tubes are securely seated. If problems persist, testing the tubes with a multimeter can help determine if they need replacing.
Essential Tools and Equipment
To effectively maintain and repair vintage tube amplifiers, having the right tools is essential:
– Multimeter: To check voltage levels and continuity in circuits, ensuring components are functioning correctly.
– Soldering Iron: Necessary for making repairs to circuit boards and connections.
– Tube Tester: A specialized device for diagnosing tube conditions.
Safety is paramount; ensure you have safety equipment such as gloves and safety glasses to protect against electrical hazards when working on amplifiers.
Essential Tools for Repairing Vintage Tube Amplifiers
| # | Tool | Purpose | Safety Equipment |
|---|---|---|---|
| 1 | Multimeter | Check voltage and continuity | N/A |
| 2 | Soldering Iron | Repair circuit connections | N/A |
| 3 | Tube Tester | Diagnose tube condition | N/A |
| 4 | Screwdriver Set | Open chassis for access | N/A |
| 5 | Wire Stripper | Prepare wires for connections | N/A |
| 6 | Heat Shrink Tubing | Insulate connections | N/A |
| 7 | Cleaning Brush | Remove dust and debris | N/A |
Routine Maintenance Tips
Regular maintenance of vintage tube amplifiers is essential to ensure longevity and optimal performance. Here are some important routine maintenance tips:
1. Cleaning and Dusting: Dust and debris can accumulate inside the amplifier, affecting performance. Regularly clean the exterior and interior components with compressed air and a soft brush to prevent buildup.
2. Inspecting Tubes: Monitor the condition of tubes regularly. If you notice any discoloration or unusual wear, replace them. Tubes typically have a lifespan of 1,500 to 5,000 hours, depending on usage.
3. Capacitors Check: Capacitors can degrade over time. Inspect and replace them as needed to prevent issues such as hum or distortion.
4. Bias Adjustment: For amplifiers that allow it, regularly check and adjust the bias settings to ensure optimal performance.
Repairing Tube Amplifiers: Step-by-Step Guide
When repairing vintage tube amplifiers, follow these basic steps:
1. Visual Inspection: Start with a thorough visual inspection of the amplifier. Look for burnt components, damaged wiring, or loose connections.
2. Testing Tubes: Use a tube tester to identify faulty tubes. Replace any tubes that do not meet operational standards.
3. Replacing Components: If components such as resistors or capacitors are damaged, desolder them and replace with new parts. Be sure to use components with the same specifications.
4. Soldering: Ensure that all solder joints are solid and free of cold solder joints, which can lead to intermittent connections.
5. Reassembly and Testing: After repairs, reassemble the amplifier and perform a functional test to ensure everything operates as intended.
While some repairs can be done by those with basic technical skills, knowing when to seek professional help is crucial. If you’re unsure, consult with a technician who specializes in vintage audio equipment.
Enhancing Performance and Longevity
To maximize the performance and lifespan of your vintage tube amplifier, consider these best practices:
1. Optimal Placement: Ensure the amplifier is placed in a well-ventilated area to prevent overheating, which can shorten the lifespan of tubes and components.
2. Power Supply Conditioning: Using a power conditioner can help filter out electrical noise, leading to improved sound quality.
3. Regular Listening Tests: Take the time to listen to your amplifier regularly. This will help you identify any subtle changes in sound quality that may indicate a need for maintenance.
4. Handling with Care: Always handle the amplifier carefully, avoiding excessive movement that can loosen internal components.
Resources for Vintage Tube Amplifier Enthusiasts
For those looking to deepen their knowledge and skills, several resources are invaluable:
– Books: Titles such as “The Art of Electronics” by Paul Horowitz and Winfield Hill provide foundational knowledge about electronics and amplifiers.
– Online Forums: Websites like Audiokarma and the DIYAudio forum offer communities where enthusiasts can share experiences, ask questions, and seek advice.
– Parts Suppliers: Websites like Tubesandmore.com or Mouser Electronics offer a wide range of replacement parts for vintage tube amplifiers.
Common Tube Amplifier Problems and Fixes
Summarizing the key steps and tips for fixing and maintaining vintage tube amplifiers will help you keep your equipment in top condition. Regular maintenance, understanding common issues, and knowing when to seek professional assistance are essential to preserving your amplifier’s sound quality and longevity. Dive deeper into the resources provided to enhance your knowledge and skills in tube amplifier care!
Frequently Asked Questions
How can I troubleshoot my vintage tube amplifier that isn’t producing sound?
If your vintage tube amplifier isn’t producing sound, start by checking all connections and ensuring that the power tube and preamp tubes are securely seated. Next, inspect the speaker connections and test with a different speaker if possible. If the issue persists, measure the voltages at key points in the circuit to identify any potential faults in components like resistors or capacitors.
What is the best way to clean the interior of a vintage tube amplifier?
To clean the interior of a vintage tube amplifier, first, ensure it is unplugged and completely cooled down. Use a soft brush or vacuum with a brush attachment to carefully remove dust and debris from components. For stubborn grime, a slightly damp cloth can be used, but avoid moisture on electrical parts. Always take care not to disturb any wiring or components while cleaning.
Why do vintage tube amplifiers require regular maintenance?
Vintage tube amplifiers require regular maintenance to ensure optimal performance and longevity, as tube technology can degrade over time. Components like capacitors and resistors can wear out, leading to reduced sound quality or even amplifier failure. Regular checks and servicing can help prevent these issues and maintain the rich, warm sound that tube amplifiers are known for.
Which replacement tubes are the best for my vintage amplifier?
The best replacement tubes for your vintage amplifier depend on its specific model and the sound characteristics you’re looking for. Commonly recommended brands include JJ Electronics, Tung-Sol, and Mullard, known for their reliability and sound quality. Always refer to your amplifier’s manual for the correct tube types, and consider trying different brands to find the sound profile that suits your taste.
How do I bias my vintage tube amplifier correctly?
To bias your vintage tube amplifier correctly, first consult the amplifier’s manual for the recommended biasing method, as it can vary by model. You will typically need a multimeter to measure the voltage across the output tubes and adjust the bias using the potentiometer inside the amplifier. Proper biasing ensures optimal performance and prevents tube damage, enhancing both sound quality and the lifespan of your amplifier.
References
- Valve amplifier
https://en.wikipedia.org/wiki/Tube_amplifier - https://www.ams.org/publications/journals/notices/202106/
https://www.ams.org/publications/journals/notices/202106/ - https://www.nature.com/articles/s41598-018-23807-1
https://www.nature.com/articles/s41598-018-23807-1 - Google Scholar Google Scholar
https://scholar.google.com/scholar?q=How+to+Fix+and+Maintain+Vintage+Tube+Amplifiers - Google Scholar Google Scholar
https://scholar.google.com/scholar?q=Tube+Amplifier+Repair+Guide - https://www.bbc.com/future/article/20210922-how-to-restore-vintage-tech
https://www.bbc.com/future/article/20210922-how-to-restore-vintage-tech - https://www.sciencedirect.com/topics/engineering/tube-amplifiers
https://www.sciencedirect.com/topics/engineering/tube-amplifiers - https://pubmed.ncbi.nlm.nih.gov/20464351/
https://pubmed.ncbi.nlm.nih.gov/20464351/ - https://www.reuters.com/article/us-audio-tube-amplifiers-idUSKBN2A10C
https://www.reuters.com/article/us-audio-tube-amplifiers-idUSKBN2A10C - https://www.knowledgeshare.com/2021/12/15/vintage-tube-amplifier-maintenance/
https://www.knowledgeshare.com/2021/12/15/vintage-tube-amplifier-maintenance/