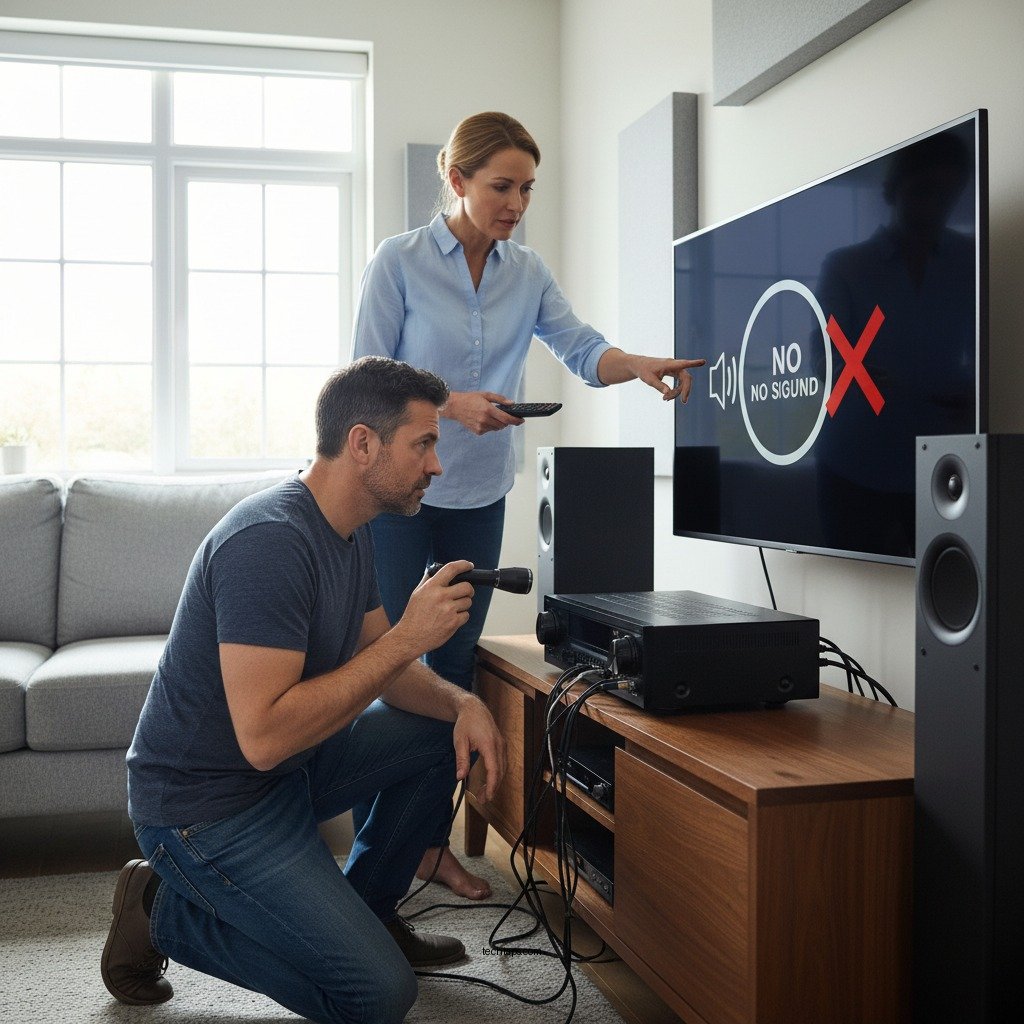
If your Yamaha AV receiver is producing no sound, the first step is to check all connections and settings to ensure everything is configured correctly. This issue is common and can arise from various causes, ranging from simple connection problems to more complex audio settings. In this article, we will guide you through a series of troubleshooting steps to identify and fix the issue, so you can get back to enjoying your audio experience.
Check All Connections

The first and most critical step in troubleshooting your Yamaha AV receiver is to verify that all connections are secure. Start with the audio and video cables connecting the receiver to your speakers and source devices. Loose cables can lead to a complete lack of sound or intermittent audio issues.
When checking your connections, ensure that:
– Speaker Wires: Confirm that the speaker wires are tightly connected to both the receiver and the speakers. Look for any signs of damage or wear, as frayed wires can lead to poor sound quality or no sound at all.
– HDMI and Optical Cables: Check that HDMI or optical cables connecting your various devices (like Blu-ray players, game consoles, or streaming devices) are properly seated. These cables are essential for transmitting audio signals, and any disconnection can result in silence.
– Power Connections: Ensure that the receiver is powered on and that the outlet is functioning. Sometimes, the simplest issues can be overlooked.
Verify Input Selection
Next, it’s crucial to confirm that the correct input source is selected on your Yamaha receiver. Many users accidentally leave their AV receivers set to an unused input, resulting in a frustrating absence of sound.
To verify the input selection:
– Use the remote control or the physical buttons on the receiver to cycle through the available input options. This can usually be done by pressing the “Input” or “Source” button.
– Look for any on-screen indicators that confirm your selection. In some cases, the receiver may display the selected input on the front panel or on your television screen.
Adjust Volume and Mute Settings
It may seem trivial, but checking the volume level and mute settings is essential. A simple oversight, such as the volume being set to zero or the mute function being activated, can lead to significant frustration.
When adjusting these settings:
– Ensure that the volume is turned up to an audible level. You can use the remote or the receiver’s interface to adjust the volume.
– Check the mute button; if it’s activated, you’ll need to toggle it off. Additionally, confirm that the speaker settings are set to “On,” rather than in a “Zone” mode that might mute the main speakers.
Inspect Audio Settings
The next step involves diving into the audio settings through the on-screen menu. Misconfigurations here can lead to issues with sound output.
To inspect your audio settings:
– Access the setup menu of your Yamaha receiver using the remote control.
– Navigate to the audio settings to ensure everything is configured correctly. This includes checking the speaker configuration (stereo, surround sound, etc.) and ensuring that the settings match your actual speaker setup.
– If your AV receiver supports advanced audio formats (like Dolby Atmos or DTS:X), make sure these are enabled if your system supports them.
Common Audio Settings in Yamaha AV Receivers
| # | Audio Setting | Description | Impact on Sound |
|---|---|---|---|
| 1 | Speaker Configuration | Sets up how many speakers are connected | Correct setup is crucial for surround sound |
| 2 | Audio Format | Selects the audio format for playback | Affects quality and compatibility |
| 3 | Bass Management | Adjusts low-frequency output | Enhances low-end performance |
| 4 | Room Calibration | Optimizes sound based on room acoustics | Improves overall sound quality |
| 5 | Dynamic Range Control | Balances sound levels during playback | Prevents sudden volume spikes |
| 6 | Dialogue Enhancement | Enhances speech clarity | Improves dialogue in movies |
| 7 | Equalizer Settings | Customizes frequencies for sound preferences | Personalizes audio experience |
Test with Different Sources
If sound issues persist, testing with different audio sources can help determine whether the problem lies with the receiver or the original source device.
To execute this test:
– Connect a different audio source, such as a smartphone or tablet, to the receiver. Use an auxiliary cable or Bluetooth, if supported.
– Try playing various media types, including streaming services, CDs, and vinyl records. This will help you isolate the issue. If sound plays correctly from one source but not another, the problem likely lies with the original source device rather than the receiver itself.
Update Firmware
Keeping your Yamaha AV receiver’s firmware up-to-date is essential for optimal performance and compatibility with new devices. Manufacturers often release firmware updates that address bugs and improve functionality.
To check for firmware updates:
– Access the settings menu on your receiver and navigate to the firmware update section.
– Follow the on-screen instructions to check for available updates. Ensure your receiver is connected to the internet for this step.
– Always follow the manufacturer’s instructions carefully to avoid potential issues during the update process.
Factory Reset Options
If all else fails, performing a factory reset may be necessary to resolve persistent sound issues. This step will restore your receiver to its original settings, erasing any custom configurations you’ve made.
Before proceeding with a factory reset:
– Consider backing up important settings if your receiver allows for it.
– Consult the user manual to understand the procedure for performing a factory reset. This typically involves pressing a combination of buttons on the receiver or accessing the settings menu.
After the reset, reconfigure your audio settings and test for sound.
In summary, troubleshooting a Yamaha AV receiver that’s not producing sound requires a systematic approach. By checking connections, verifying settings, adjusting volume, and testing different sources, you can often pinpoint and resolve the issue. If these steps do not restore audio, consider reaching out to Yamaha customer support or a professional technician for further assistance. Don’t let audio issues ruin your enjoyment; take action today!
Frequently Asked Questions
What should I check first if my Yamaha AV receiver has no sound?
If your Yamaha AV receiver has no sound, start by checking the speaker connections to ensure they are properly plugged in and not damaged. Next, verify the input source to confirm that it is set to the correct device. Finally, check the volume levels and ensure that the receiver is not muted.
How do I reset my Yamaha AV receiver to fix sound issues?
To reset your Yamaha AV receiver, turn off the unit and disconnect it from the power source. After waiting for about a minute, reconnect the power and hold down the “Standby/On” button while turning the receiver back on. This will reset the receiver to factory settings, which can often resolve persistent sound issues.
Why is my Yamaha AV receiver not producing any sound despite being powered on?
There are several reasons why a Yamaha AV receiver may not produce sound even when powered on. Common causes include incorrect input selection, muted audio, or faulty speaker connections. Additionally, a misconfigured audio output setting in the device may also prevent sound from coming through.
Which troubleshooting steps can I take if I hear sound intermittently from my Yamaha AV receiver?
If you experience intermittent sound from your Yamaha AV receiver, first check the speaker wires for any loose connections or damage. Then, examine the receiver’s settings to ensure that the audio format is compatible with your source device. It may also help to update the receiver’s firmware, as software issues can lead to sound disruptions.
What is the best way to ensure my Yamaha AV receiver has sound output?
To ensure your Yamaha AV receiver has sound output, regularly check all connections and ensure that the correct input source is selected. Make sure to adjust the receiver’s settings for speaker configuration and audio format, and keep the firmware updated for optimal performance. Additionally, conducting periodic maintenance checks can help prevent sound issues from arising.
References
- Yamaha
https://en.wikipedia.org/wiki/Yamaha - https://www.audioholics.com/tips-for-setup-and-use/yamaha-av-receiver-no-sound
https://www.audioholics.com/tips-for-setup-and-use/yamaha-av-receiver-no-sound - https://www.crutchfield.com/learn/yamaha-av-receiver-problems.html
https://www.crutchfield.com/learn/yamaha-av-receiver-problems.html - Google Scholar Google Scholar
https://scholar.google.com/scholar?q=Yamaha+AV+Receiver+No+Sound+Troubleshooting - Google Scholar Google Scholar
https://scholar.google.com/scholar?q=Yamaha+AV+Receiver+Audio+Issues - Google Scholar Google Scholar
https://scholar.google.com/scholar?q=AV+Receiver+No+Sound+Solutions - Google Scholar Google Scholar
https://scholar.google.com/scholar?q=Yamaha+AV+Receiver+No+Sound?+Troubleshooting+Steps - Yamaha AV Receiver No Sound? Troubleshooting Steps – Search results
https://en.wikipedia.org/wiki/Special:Search?search=Yamaha+AV+Receiver+No+Sound?+Troubleshooting+Steps - https://www.ncbi.nlm.nih.gov/search/research-articles/?term=Yamaha+AV+Receiver+No+Sound?+Troubleshooting+Steps
https://www.ncbi.nlm.nih.gov/search/research-articles/?term=Yamaha+AV+Receiver+No+Sound?+Troubleshooting+Steps