Setting up a 5.1 surround sound system in your living room significantly enhances your audio experience, immersing you in vibrant soundscapes for movies, music, and gaming. By strategically placing speakers, properly connecting your equipment, and fine-tuning settings, you can achieve an audio environment that brings entertainment to life. This guide will walk you through the essential steps to create an engaging surround sound setup.
Understanding the Components

A 5.1 surround sound system consists of five speakers and one subwoofer, designed to create an immersive audio experience. The components include:
– Front Left and Front Right Speakers: These speakers are positioned on either side of your television and are responsible for creating a stereo sound field. They deliver the majority of the soundtrack and music.
– Center Speaker: Located directly above or below the television, the center speaker handles dialogue in movies and is crucial for providing clarity and focus to conversations.
– Rear Left and Rear Right Speakers: These speakers are placed behind the listening area and are responsible for ambient sounds and effects, enhancing the surround sound experience.
– Subwoofer: This speaker produces deep bass sounds, adding weight and depth to the overall audio. It can be positioned in various locations, such as a corner or near the front speakers, to optimize bass response.
Understanding these components is vital for success in setting up your surround sound system, as each plays a specific role in delivering a comprehensive audio experience.
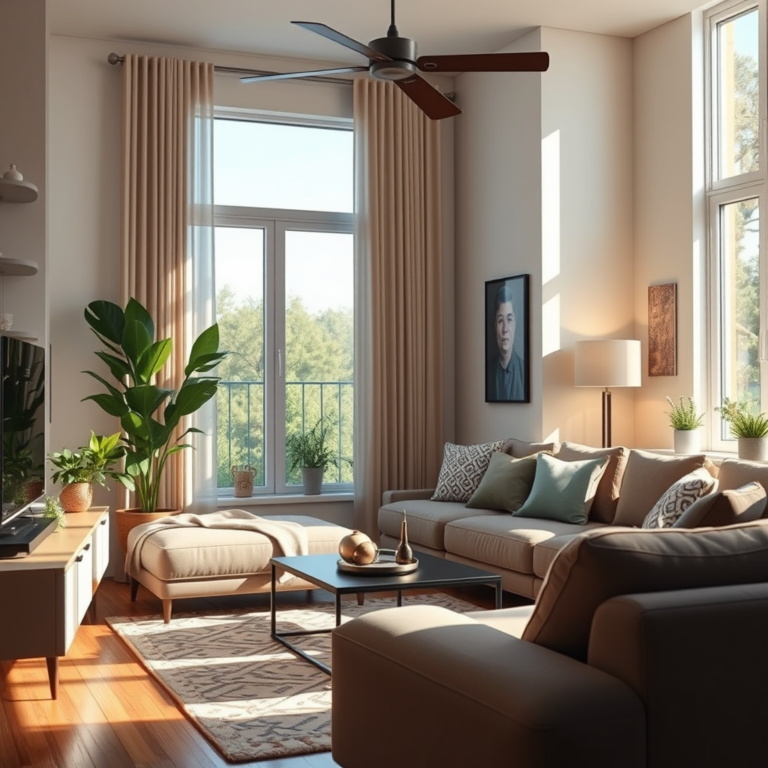
Choosing the Right Location
The placement of your speakers is crucial for achieving the best audio quality. Here are some guidelines to follow:
– Front Speakers: Position the front left and right speakers at ear level, ideally forming an equilateral triangle with the central listening position. This ensures that sound reaches the listener directly and produces a balanced soundstage.
– Center Speaker: The center speaker should also be at ear level or slightly angled towards the listening area for maximum clarity in dialogue.
– Rear Speakers: Place the rear left and right speakers slightly above ear level, angled down towards the listening area, about 1-2 feet from the back wall. This positioning helps create a more enveloping sound environment.
– Subwoofer: The subwoofer can be placed in a corner or along a wall, as this can enhance bass response. However, you may need to experiment with different locations to find the sweet spot where the bass sounds the best.
Proper placement of your speakers will ensure that you achieve the most immersive audio experience possible.
Connecting Your Equipment
Once you have selected the ideal locations for your speakers, it’s time to connect them to your AV receiver. Here are the steps to follow:
1. Speaker Wiring: Use high-quality speaker wire to connect each speaker to the AV receiver. Ensure that the connections are secure and that the positive and negative terminals are correctly matched to avoid phase issues.
2. AV Receiver Setup: After connecting the speakers, connect the AV receiver to your television or media player using HDMI or optical cables. HDMI connections are preferable due to their ability to transmit both audio and video signals in high quality.
3. Powering the System: Once everything is connected, plug in the AV receiver and speakers, ensuring they are powered on before proceeding to configure the settings.
By following these connection steps, you lay the foundation for a powerful audio experience.
Top 7 5.1 Surround Sound Systems (2024)
| # | Model | Power Output | Connectivity | Price |
|---|---|---|---|---|
| 1 | Sony HT-A7000 | 500W | HDMI, Bluetooth | $1,299 |
| 2 | Bose Lifestyle 650 | 600W | Wi-Fi, Bluetooth | $3,999 |
| 3 | Yamaha YAS-209 | 200W | HDMI, Optical | $349 |
| 4 | Klipsch Reference Theater Pack | 150W | HDMI, Bluetooth | $699 |
| 5 | Onkyo HT-S3900 | 1000W | HDMI, Optical | $349 |
| 6 | Samsung HW-Q800A | 360W | HDMI, Wi-Fi | $799 |
| 7 | LG SN11RG | 770W | HDMI, Bluetooth | $1,199 |
Configuring the AV Receiver
After connecting all your equipment, the next step is to configure your AV receiver. Follow these guidelines:
1. Access the Setup Menu: Use the remote control to access the receiver’s setup menu. This is where you can calibrate your system for optimal sound.
2. Speaker Configuration: Input the number of speakers in your setup, and designate which speakers are being used. This allows the receiver to direct audio correctly.
3. Speaker Levels and Distances: Measure the distance from each speaker to the primary listening position and input these distances into the receiver. This allows for precise timing adjustments that improve sound balance.
4. Calibration Tools: Many modern receivers come with built-in calibration tools, often using a microphone to assess the room acoustics. Follow the instructions specific to your model to automatically adjust settings for optimal sound.
By carefully configuring your AV receiver, you can ensure that your system is tailored to your living room’s dimensions and acoustics.
Testing and Fine-Tuning
Once your system is set up and configured, it’s time to test and fine-tune the audio experience. Here’s how:
1. Diverse Audio Content: Play a variety of audio and video content, including movies, music, and soundtracks. This allows you to assess how well the system handles different sound profiles.
2. Adjust Speaker Levels: Use the receiver’s settings to adjust the levels of each speaker. If certain speakers sound too loud or too soft, make the necessary adjustments to achieve a balanced sound.
3. Check for Clarity and Balance: Pay attention to dialogue clarity and the balance between ambient sounds and effects. If something sounds off, revisit your speaker configuration or positioning.
4. Room Acoustics: Consider the acoustics of your room. If there are echoes or muddiness, you might need to adjust speaker placements or consider adding acoustic treatments, like rugs or wall panels.
By testing and fine-tuning your system, you can achieve a sound experience that meets your personal preferences and complements your living room’s acoustics.
Common Troubleshooting Tips
Even with careful setup, you may encounter issues with your surround sound system. Here are some common troubleshooting tips:
1. No Sound from Certain Speakers: If sound is missing from particular speakers, double-check all connections. Ensure that wires are securely attached and that the correct speaker settings are selected in the AV receiver.
2. Incorrect Audio Mode: Make sure the receiver is set to the correct audio mode for surround sound playback. If it’s set to stereo or a different mode, you may not hear audio from all speakers.
3. Volume Levels: Check the volume levels on both the AV receiver and the individual speakers. Sometimes, settings may inadvertently lower the output from specific channels.
4. Firmware Updates: Ensure your AV receiver’s firmware is up to date. Manufacturers often release updates that enhance performance and fix bugs.
By being aware of these troubleshooting tips, you can quickly resolve common issues and enjoy your surround sound system without frustration.
Enhancing Your Surround Sound Experience
To further enhance your surround sound experience, consider the following upgrades and adjustments:
1. Acoustic Treatments: Adding acoustic panels or rugs can significantly improve sound quality by reducing echo and reverberation in your living room. This helps create a cleaner audio signal.
2. High-Quality Cables: Invest in high-quality cables for your connections. Good cables can minimize signal loss and interference, resulting in a clearer audio experience.
3. Speaker Stands: If possible, use speaker stands to position your speakers at the optimal height. This can improve sound dispersion and make a noticeable difference in audio quality.
4. Regular Maintenance: Keep your system clean and perform regular checks on connections and settings. Dust and cable tangles can affect performance over time.
By implementing these enhancements, you can elevate your surround sound experience, allowing for a richer and more immersive listening environment.
Summarizing the setup process, creating a 5.1 surround sound system in your living room is achievable with careful planning and the right equipment. By following these steps—from understanding the components and choosing the right locations, to connecting your equipment and fine-tuning your settings—you’ll enjoy a fully immersive audio experience. Ready to elevate your home entertainment? Start setting up your surround sound system today!
Frequently Asked Questions
What is the best layout for a 5.1 surround sound system in my living room?
The best layout for a 5.1 surround sound system typically involves placing the center speaker directly below or above your TV, with the front left and right speakers positioned at an angle of about 30 degrees from your viewing position. The surround speakers should be placed to the sides or slightly behind the listening area, ideally 1-2 feet above ear level. This arrangement enhances the immersive experience by creating a balanced sound stage.
How do I connect my 5.1 surround sound system to my TV?
To connect your 5.1 surround sound system to your TV, use an HDMI cable for the best audio quality, plugging it into the TV’s HDMI ARC port and the receiver’s HDMI output. Alternatively, you can use optical or coaxial cables if HDMI is not available. Ensure that your TV’s audio settings are configured to output sound through the external speakers instead of the TV’s built-in speakers.
Why is my 5.1 surround sound system not producing sound?
If your 5.1 surround sound system is not producing sound, first check all connections to ensure they are secure and properly plugged in. Next, verify that the receiver is set to the correct input source and that the volume levels are adjusted appropriately. Additionally, check the speaker settings in your receiver’s menu to confirm that all speakers are enabled and functioning.
What type of speakers do I need for a 5.1 surround sound setup?
For a 5.1 surround sound setup, you will need a combination of speakers: one center speaker for dialogue, two front speakers for left and right audio, and two surround speakers for ambient sounds. It’s recommended to choose speakers that match in brand and specifications for a cohesive sound experience. Subwoofers are also essential for low-frequency effects, providing depth to your audio.
Which receiver is best for a 5.1 surround sound system?
The best receiver for a 5.1 surround sound system should offer enough power to drive your speakers effectively and support the latest audio formats like Dolby Atmos or DTS:X. Look for a receiver with multiple HDMI inputs, compatibility with streaming services, and user-friendly setup options. Popular brands like Yamaha, Denon, and Onkyo often provide reliable models suited for home theater enthusiasts.
References
- Surround sound
https://en.wikipedia.org/wiki/Surround_sound - https://www.lifewire.com/how-to-set-up-a-surround-sound-system-1846820
https://www.lifewire.com/how-to-set-up-a-surround-sound-system-1846820 - https://www.crutchfield.com/learn/how-to-set-up-a-5-1-surround-sound-system.html
https://www.crutchfield.com/learn/how-to-set-up-a-5-1-surround-sound-system.html - https://www.sony.com/electronics/support/articles/00016212
https://www.sony.com/electronics/support/articles/00016212 - Google Scholar Google Scholar
https://scholar.google.com/scholar?q=5.1+surround+sound+setup - Google Scholar Google Scholar
https://scholar.google.com/scholar?q=home+theater+system+installation - Google Scholar Google Scholar
https://scholar.google.com/scholar?q=How+to+Set+Up+a+5.1+Surround+Sound+System+in+Your+Living+Room - How to Set Up a 5.1 Surround Sound System in Your Living Room – Search results
https://en.wikipedia.org/wiki/Special:Search?search=How+to+Set+Up+a+5.1+Surround+Sound+System+in+Your+Living+Room - https://www.ncbi.nlm.nih.gov/search/research-articles/?term=How+to+Set+Up+a+5.1+Surround+Sound+System+in+Your+Living+Room
https://www.ncbi.nlm.nih.gov/search/research-articles/?term=How+to+Set+Up+a+5.1+Surround+Sound+System+in+Your+Living+Room