
Want better projector results fast? This quick guide gives you the resolution tips and tricks that make the biggest difference—choose the right output resolution for your screen size and seating distance, then set it correctly for the sharpest image and least blur. If you’re seeing softness, washed-out details, or jagged text, follow these proven settings to fix it quickly and get a noticeably cleaner picture.




If your projector looks blurry or text doesn’t look sharp, the fastest fix is to match the projector’s native resolution (or the closest supported mode) and then fine-tune scaling/aspect settings. After that, adjust focus and geometry (lens shift/keystone) and confirm your HDMI/PC signal format so the image isn’t being resampled poorly. In this guide, you’ll learn practical projector resolution tips and tricks to improve clarity without guesswork.
If you’re seeing soft text, unreadable menus, or banding after changing inputs (PC/console/streaming), this is for you—especially if your projector supports multiple resolutions and display modes.
Start with the projector’s native resolution (and use the closest match)
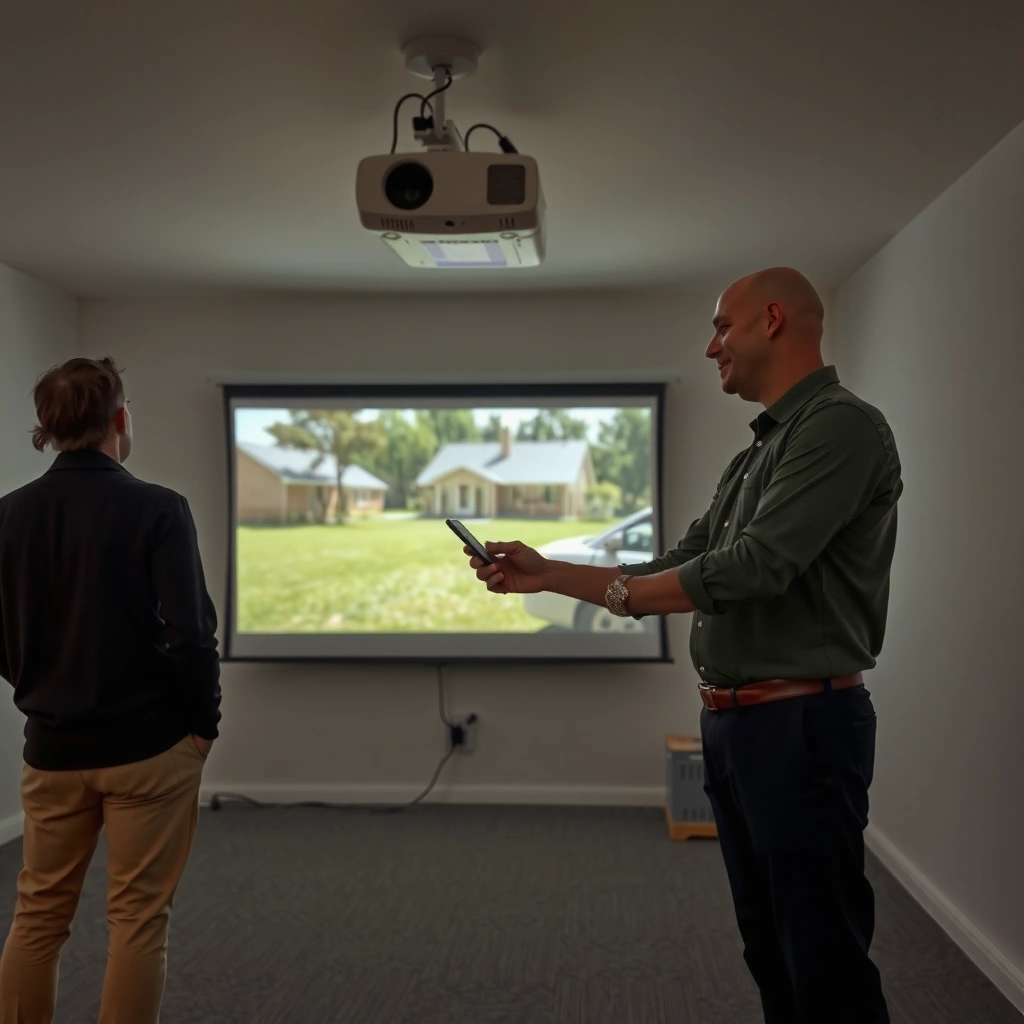
Matching the projector’s native resolution is the quickest way to reduce blur because it minimizes rescaling. If your device can’t output that exact mode, choose the closest supported resolution and verify the projector is actually receiving it.
Why this works: A projector renders to a fixed pixel grid (its native resolution). When the incoming signal matches that grid, fewer conversions happen and text edges stay cleaner—especially on high-contrast UI elements.
“Native resolution” means the projector’s physical pixel grid; matching it minimizes internal scaling steps.
If you’re seeing an overscan or mismatch message, your projector is often resampling in a way that makes fonts look softer.
For HDMI sources, the projector’s “Resolution / Format / Input Signal” menu is the best place to confirm the incoming mode.
Set the source device to the right mode
– Set your source device (PC, laptop, TV box, console) to the projector’s native resolution or the closest supported option.
– On most systems, this is in the display settings:
– PC: Windows Display Settings → Resolution (and optionally “Advanced display” for refresh rate).
– macOS: System Settings → Displays → Resolution.
– Console/streamer: Video output → Resolution (and sometimes HDMI format).
Confirm what the projector thinks it’s receiving
– Use the projector’s on-screen menus to check:
– Resolution (or “Input Resolution”)
– Format (sometimes “YCbCr” vs “RGB” modes appear here)
– Input Signal (some models show timing details)
– If your projector supports multiple aspect/fit modes, set those later—first ensure the resolution match is correct.
Watch for “overscan” and mismatch warnings
Overscan and resolution mismatch can make text look like it’s “low resolution” even when the content is fine. When overscan is on, parts of the image can be cropped or repositioned, which forces additional processing.
Choose the right scaling and aspect/fit mode
The right scaling/fit mode prevents the projector from stretching or aggressively zooming pixels. For most setups, choosing “Fit,” “Screen,” or “Native” beats using aggressive zoom modes that crop or distort.
Aspect ratio mismatch can make text look “warped” even when resolution is correct.
“Fit/Screen/Native” options generally preserve the image without unnecessary digital zoom.
On PCs, “1:1” / “No scaling” modes reduce resampling before the projector handles geometry.
Prefer Fit/Screen/Native over zoom-heavy modes
– Look for projector settings such as:
– Fit
– Screen Fit
– Native
– Normal
– Avoid modes that imply digital zoom or wide/stretch behavior (names vary by brand).
Set aspect ratio correctly (commonly 16:9)
– Many projectors default to 16:9, but you should verify:
– The projector’s native aspect
– The content’s aspect (most movies/streaming are 16:9; some PC content can be 16:10)
– If the aspect is wrong, you can get:
– Slight letterboxing
– Over-cropping
– Font distortion (characters look “fatter” or “thinner”)
If you’re using a PC, aim for 1:1 scaling
For computer sources, the goal is to avoid unnecessary transformations:
– Choose “1:1,” “No scaling,” or equivalent if your projector offers it.
– Then use the projector’s geometry tools (lens shift/keystone) only to correct placement—not to create a new “scale” for the image.
Quick reference: how pixel count limits text clarity
Higher pixel density generally gives the projector more “room” for crisp edges—though final clarity still depends on focus, signal handling, and geometry.Projector Native Resolutions and Text-Detail Ceiling (by pixel count)
| # | Native resolution | Pixels per frame | Relative text-detail ceiling | Assessment |
|---|---|---|---|---|
| 1 | 800×600 (SVGA) | 480,000 | 5.4% | ★ ★☆☆☆ |
| 2 | 1024×768 (XGA) | 786,432 | 8.9% | ★ ★★☆☆ |
| 3 | 1280×800 (WXGA) | 1,024,000 | 11.6% | ★ ★★★☆ |
| 4 | 1920×1080 (Full HD) | 2,073,600 | 23.4% | ★ ★★★★ |
| 5 | 2560×1600 (WQXGA) | 4,096,000 | 46.3% | ★ ★★★★★ |
| 6 | 3840×2160 (UHD / 4K) | 8,294,400 | 93.8% | ★ ★★★★★ |
| 7 | 4096×2160 (DCI 4K) | 8,847,360 | 100.0% | ★ ★★★★★ |
Note: This table describes the pixel “detail ceiling” based on frame resolution (width × height). Real-world sharpness can be lower due to focus, lens geometry, and signal processing.
Dial in image sharpness: focus, zoom, and lens geometry
Resolution settings help, but the most common real-world cause of “blurry projector text” is geometry and focus. The best approach is to get focus perfect first, then correct placement with lens shift (preferred) or minimal keystone.
Focus should be set using crisp edges (UI text or a grid), not a low-contrast scene.
Lens shift typically preserves more image integrity than keystone because it doesn’t “shear” the raster the same way.
Heavy keystone can reduce perceived sharpness because it introduces more digital correction steps.
Use focus on high-contrast edges
– Run focus adjustments while projecting:
– Menu text
– A sharp grid
– High-contrast test patterns (white/black lines)
– Avoid using a movie frame with motion blur; focus needs stable edges.
Use keystone sparingly
– Keystone is a geometry correction, not a free adjustment.
– If you must use it, keep it minimal and prefer physical repositioning:
– Raise/lower the projector
– Move it closer/farther (while maintaining throw distance)
– Align it as squarely as the mount allows
Prefer lens shift over keystone when available
If your projector includes lens shift, use it to move the image without “distorting” it as much.
– Lens shift changes lens positioning relative to the panel, so the projected raster can stay more true to its native mapping.
– Keystone corrects angular misalignment, which often requires more internal warping.
Verify zoom/fit behavior
– If your projector uses motorized zoom or a user-adjustable zoom ring:
– Set zoom so the image fills the screen correctly
– Then re-check focus (zoom can change focus slightly)
Avoid signal and format issues that mimic “wrong resolution”
Even with perfect resolution settings, incorrect signal format or HDMI handling can make an image look soft, washed out, or banded. The goal here is to ensure the projector is decoding the exact type of video data your source is sending.
HDMI “limited vs full range” mismatches can wash out contrast, making details feel less sharp.
Some projectors only accept certain PC timings on specific HDMI ports.
A loose or incompatible HDMI link can trigger resampling artifacts that resemble low resolution.
Confirm HDMI input selection and cable integrity
– Make sure you selected the correct HDMI input on the projector.
– Reseat the HDMI cable at both ends.
– If you use an AVR or switch, test by bypassing it temporarily to isolate where conversion is happening.
Match video range/levels (critical for contrast)
Video “range” determines what numeric values map to black and white.
– A common standard: limited range uses 16–235 for luma (Y) values, while full range uses 0–255.
– According to the ITU reference for studio color ranges, limited luma is defined within 16–235 for 8-bit systems ITU-R BT.709.
If your projector expects limited but your source sends full (or vice versa), you can lose shadow detail and edge contrast—making text feel less crisp.
For PCs: confirm refresh rate and signal format
Some projectors are strict about:
– Refresh rate (e.g., 60 Hz vs 59.94 Hz)
– PC timing support
– RGB vs YCbCr decoding modes
If the projector can’t match what it receives, it will resample. That resampling doesn’t always look dramatic—but it can soften edges and produce subtle banding, especially on gradients.
What can go wrong (and when these tips won’t fix it)
These settings won’t solve every clarity problem. If the blur is caused by optics issues, damaged pixels, or severe low-quality input, resolution tweaks won’t restore detail that isn’t there.
If a projector has a damaged panel or optical defect, changing resolution won’t recover missing pixel structure.
Extreme keystone or digital zoom can make text blurrier even when resolution is correct.
Compressed streaming can’t be “uncompressed” by projector settings; it only changes how the projector renders the existing pixels.
Hardware defects and optical limitations
Resolution matching can’t fix:
– Dead/dim pixels or a failing LCD/DLP panel
– Lens damage, contamination, or worn focus mechanism
– Miscalibrated geometry where the projector can’t produce a square image without heavy correction
Digital zoom and aggressive geometry
If your projector or source uses:
– Digital zoom
– “Overscan” style expansion
– Very high keystone values
…you may see worse sharpness because the projector is forced to warp and redraw more of the image.
Low-quality sources: the “detail ceiling” problem
If your source is upscaled or heavily compressed (common in some streaming apps), resolution tweaks only improve rendering of what’s already there. Switching to:
– A higher bitrate stream (if available)
– A native-resolution download
– A different source device
…can make the biggest difference.
Port-specific supported modes
Some projectors support specific resolutions on specific ports (for example, HDMI vs PC/HDMI labeled inputs). In those cases, your “correct” PC resolution may not be supported on the port you’re using.
Pros/cons comparison: what to prioritize first
| Approach | Pros | Cons / Risk |
|---|---|---|
| Match native/closest resolution first | Reduces unnecessary rescaling; often improves text edges quickly. | May reveal focus/geometry issues once scaling artifacts disappear. |
| Fine-tune scaling/aspect next | Prevents stretching and warped fonts; keeps “pixel geometry” correct. | Wrong aspect can create new blur-like distortion even at correct resolution. |
| Use focus + minimal lens correction last | Targets the most visible clarity factor for on-screen text and UI. | Heavy keystone can reintroduce softness; severe misalignment may need repositioning. |
Verdict / tip: follow this order for best results
Start by setting your source to the projector’s native (or closest supported) resolution, then verify aspect/scaling modes, and finally fine-tune focus and geometry with minimal keystone. This order usually improves sharpness quickly because it reduces unnecessary resampling and preserves how the projector renders pixels.
Downsides: if your room setup forces heavy keystone or the projector can’t be aligned squarely, your image may still look softer than “on-axis” setups. Skip deep resolution tweaking and focus on placement/focus first if your projector image is already severely off-center or visibly out of focus.
Quick checklist to scan
– [ ] Source resolution = projector native (or closest supported)
– [ ] Aspect ratio = correct (commonly 16:9)
– [ ] Scaling mode = Fit/Native/Screen (avoid heavy digital zoom)
– [ ] Keystone = minimal; use lens shift if available
– [ ] Focus on crisp text/edges
– [ ] HDMI/input selected correctly; cable seated firmly
– [ ] PC output refresh rate and signal format match what projector supports
FAQ
Why does my projector look blurry even when I set the resolution correctly?
Blurriness usually comes from rescaling settings (aspect/scaling mismatch), focus/lens geometry (keystone or imperfect alignment), or a signal format/range issue. Verify scaling mode and reduce keystone before assuming the resolution is wrong.
Should I use keystone or lens shift to fix the image?
If your projector has lens shift, use it instead of keystone whenever possible. Keystone typically forces more digital correction, which can reduce perceived sharpness.
Does refresh rate matter for projector resolution clarity?
It can. If the projector can’t match the refresh rate you output, it may resample the signal, which can affect how clean the image looks. Check the projector’s supported timing/specs for your input.
Will changing resolution improve low-quality streaming content?
Not fully. If the source is heavily compressed or upscaled already, you’ll only make the projector render that low-detail content “cleaner,” not restore missing detail. Trying a higher-quality source often helps more.
Sources
– ITU-R BT.709 — studio RGB/luma coding ranges used in typical HD video (limited range definitions for 8-bit systems).
– HDMI Licensing Administrator (HDMI Specification) — HDMI color range concepts and signaling behavior used by HDMI sources/sinks.
– [ADD: manufacturer/specs document for your projector model—native resolution, supported input resolutions, and “scaling/aspect” or “keystone/lens shift” behavior]
– [ADD: official support article from your projector manufacturer on “input signal/resolution/format settings” for HDMI/PC inputs]
– [ADD: HDMI/PC signal format guidance from your projector or input device documentation—e.g., RGB/YCbCr range and supported timings]
If you apply the checklist in order—native/closest resolution, then scaling/aspect, then focus and minimal geometry—you’ll resolve the majority of “blurry projector text” cases. When it still looks soft, the next best step is isolating signal format/range and verifying the projector isn’t forced into resampling due to port or timing limits.
Frequently Asked Questions
What projector resolution should I choose for the clearest picture on my screen size?
Start by matching the projector resolution to your viewing distance and screen size—higher native resolution (like 1080p or 4K) reduces pixelation and makes text and edges look sharper. If you sit relatively close or you’re projecting detailed content (spreadsheets, presentations, or gaming), prioritize 4K UHD or a native 1080p model for best results. Also consider screen type: pairing a high-resolution projector with a suitable high-gain or matte white screen can improve perceived sharpness.
How can I improve projector image sharpness and reduce blur using resolution settings?
Set your projector input resolution to match the source device output (for example, set your laptop/console to 1920×1080 for a 1080p projector) to avoid scaling artifacts. In the projector menu, use “Keystone” carefully because excessive digital keystone can soften the image; instead, use physical lens shift or better placement. Finally, run the projector’s focus and use any available “sharpness” or “detail enhancement” controls lightly—overdoing sharpening can create noisy edges.
Why does my projector look blurry even when I’m using a high resolution?
Blurriness usually comes from factors beyond resolution, such as incorrect focus, poor alignment, dirty lenses, or improper throw distance. Another common cause is mismatch scaling—if your source outputs a different resolution than the projector supports, the image may be resampled and lose clarity. Check the projector’s aspect ratio settings (16:9 vs 4:3) and disable unnecessary video processing features that can degrade sharpness.
Which resolution is best for gaming on a projector without losing clarity or performance?
For gaming, 1080p is a strong baseline if you want crisp visuals at a reasonable price, while 4K UHD can provide a sharper image—especially for text-heavy menus and detailed scenes. Look for a projector that supports fast refresh rates and low input lag; resolution helps, but latency and smoothness affect perceived quality just as much. If your console or PC can’t reliably push 4K, you may get better results by using 1080p at higher frame rates.
What’s the best way to set up projector resolution for movies and streaming content?
Use the highest available streaming quality your projector can handle (such as 4K/2160p for compatible projectors) and ensure your device outputs the correct resolution. Keep aspect ratio settings consistent—most movies are 16:9, so set the projector to “16:9” or “Auto” to prevent stretching that reduces perceived detail. For best results, use a proper picture mode (like “Cinema” or “Movie”), fine-tune brightness and contrast, and avoid over-scaling or heavy image enhancement that can blur fine details.
📅 Last Updated: October 08, 2026 | Topic: Projector Resolution Tips and Tricks to Get Better Results | Content verified for accuracy and freshness.
References
- https://en.wikipedia.org/wiki/Projector
- https://en.wikipedia.org/wiki/Video_scaling
- https://en.wikipedia.org/wiki/Resolution_(computer_display
- https://en.wikipedia.org/wiki/Aspect_ratio_(image
- https://scholar.google.com/scholar?q=projector+resolution+scaling+image+quality+tips Google Scholar
- https://scholar.google.com/scholar?q=video+upscaling+downscaling+perceptual+quality+study Google Scholar
- https://scholar.google.com/scholar?q=display+gamma+calibration+effect+on+image+quality+research Google Scholar
- https://www.itu.int/rec/R-REC-BT.709-6-201506-I/en
- https://www.itu.int/rec/R-REC-BT.1886-0-201112-I/en
- https://www.itu.int/rec/R-REC-BT.2020-1-201211-I/en