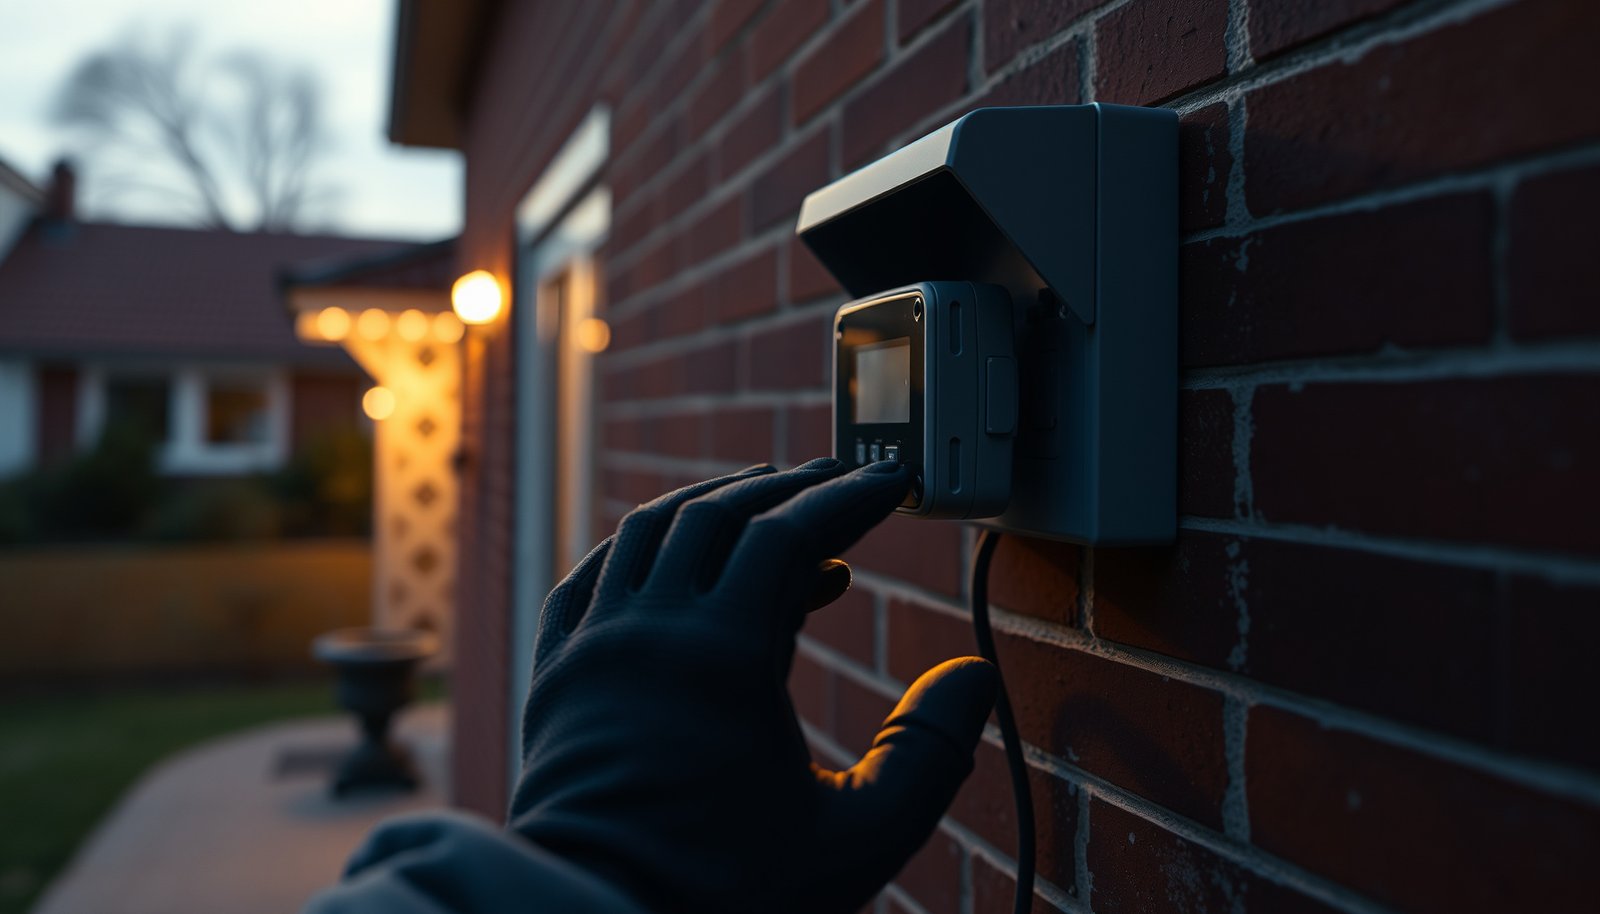
To add outdoor mesh nodes, select weather-rated units compatible with your mesh system, pair them with your network, and position them within reliable reach of an existing node or Ethernet connection. Ethernet backhaul is the clear winner for stable outdoor coverage when running cable is feasible; wireless backhaul is the fallback when it is not. This guide explains which connection to choose, where to place each node, and how to verify coverage before permanent installation.
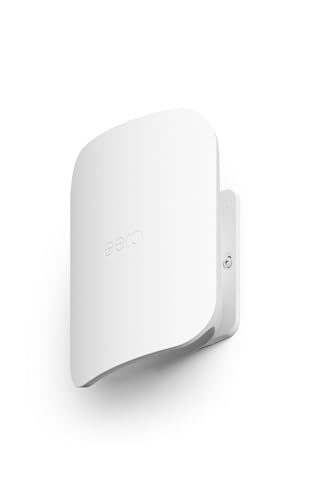


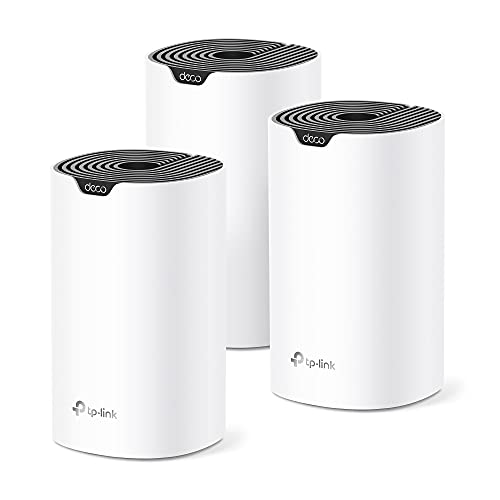
Add outdoor mesh nodes by choosing outdoor-rated units compatible with your existing mesh system, pairing them through the manufacturer’s setup process, and mounting them where they have a reliable connection back to your network. This guide covers compatibility, placement, power, installation, and checks to make before committing to a permanent location.
This is for homeowners extending an existing mesh network into a patio, garden, driveway, or detached building. If your system does not support outdoor nodes, an outdoor access point may be an alternative—but it may require Ethernet and separate management.
Check Compatibility Before Choosing a Node
Choose an outdoor node only after confirming that the exact model works with your existing router or mesh system. Matching brands, network names, or Wi-Fi generations does not establish compatibility.
An outdoor mesh node must support the existing mesh platform; matching Wi-Fi standards alone does not establish mesh compatibility.
For a concrete example, this guide references the TP-Link Deco X50-Outdoor. TP-Link documents mixed-model operation within its Deco platform, but that does not make Deco interchangeable with TP-Link Archer, OneMesh, EasyMesh, or Omada products. Check the exact models, regional versions, firmware requirements, and supported features before purchasing.
Check backhaul, the connection carrying traffic between the outdoor node and the rest of your network. A node may support wireless backhaul, Ethernet backhaul, or both. Ethernet ports do not automatically establish how a particular system supports wired mesh operation.
An indoor mesh node does not become outdoor-rated simply because it is installed beneath a roof.
According to [TP-Link’s Deco X50-Outdoor specifications](https://www.tp-link.com/us/deco-mesh-wifi/product-family/deco-x50-outdoor/#specifications), the enclosure has an IP65 ingress-protection rating. According to the same manufacturer specifications, its operating range is −30°C to 60°C, and it has two Gigabit Ethernet ports. These are manufacturer specifications referenced for this 2026 guide—not field-test results; confirm the documentation for your hardware revision.
TP-Link Deco X50-Outdoor: Installation Specifications
| # | Feature | Published Specification | Installation Significance | Capability or Limit |
|---|---|---|---|---|
| 1 | Enclosure protection | IP65 | Dust-tight; water-jet protection | Not immersion-rated |
| 2 | Operating temperature | −30°C to 60°C | Check local temperature extremes | Environmental limits apply |
| 3 | Ethernet interfaces | 2 × Gigabit ports | Supports wired network connections | Ethernet backhaul supported |
| 4 | Wi-Fi link rates | 5 GHz: 2,402 Mbps; 2.4 GHz: 574 Mbps | Advertised physical-layer maxima | Not guaranteed throughput |
| 5 | Power over Ethernet | IEEE 802.3at PoE | Requires a compatible power source | Power and data over Ethernet |
| 6 | AC input | 100–240 V, 50/60 Hz | Use the approved regional arrangement | Alternative to PoE power |
| 7 | Mounting options | Wall or pole mounting | Follow bracket and orientation instructions | Outdoor mounting supported |
Plan Placement, Backhaul, and Power
Place a wireless outdoor mesh node where it still receives a dependable upstream connection, rather than inside the dead zone. Plan its power supply and cable route before deciding on a mounting point.
A wireless outdoor mesh node needs usable coverage from the existing network before it can extend that coverage farther outdoors.
Exterior masonry, foil-backed insulation, metal siding, and foliage can weaken the link. Test near a house-facing wall or another suitable intermediate location, then check coverage toward the patio or garden. There is no universally correct spacing: construction and radio conditions matter more than a fixed distance.
- Wireless backhaul
- Requires less data cabling, but performance depends on signal quality, interference, and available airtime.
- Ethernet backhaul
- Adds cabling work but avoids relying on a weak wireless uplink. It does not eliminate interference between the outdoor node and client devices.
Ethernet backhaul removes the wireless uplink as a dependency, but the outdoor node still needs suitable power and protected connections.
For the Deco X50-Outdoor example, follow TP-Link’s installation guide for wall or pole mounting, cable routing, sealing components, and AC or IEEE 802.3at Power over Ethernet (PoE). PoE carries power and data over an Ethernet cable; an unspecified passive injector is not an interchangeable substitute.
Use cable rated for its actual exposure, including ultraviolet light, moisture, or burial where applicable. Keep indoor-only injectors and switches indoors. Have an installer assess interbuilding cabling, grounding, surge protection, and local electrical requirements.
Example topology—not a construction drawing:
Indoor network → compatible indoor PoE switch/injector
→ appropriately rated Ethernet cable
→ manufacturer-sealed entry → outdoor node
Pair, Test, and Mount the Outdoor Node
Add the node through the manufacturer’s app or controller, verify its connection, and test a temporary location before drilling. Initial setup location and connection requirements vary by model.
Temporary placement testing can reveal an unsuitable backhaul connection before permanent mounting creates unnecessary work.
For TP-Link Deco, use the Deco app’s add-unit workflow and the model-specific setup guide. Install required firmware updates and confirm that the unit joins the intended Deco network. Do not assume every outdoor system must be paired beside the main router or initially connected by Ethernet.
At the proposed location, inspect the app’s connection status and backhaul information. Then test the actual workload: a patio video call, driveway camera stream, or garden-office upload. Repeat under comparable conditions at alternative locations, using the same device and test method. Record throughput, latency, dropouts, and backhaul status rather than relying on signal bars alone.
Outdoor Wi-Fi testing should include the devices and applications that will use the connection, not just a speed test beside the node.
Mount the node according to its installation guide, protect cable entries as directed, and retest afterward. Leave mains electrical work and any required grounding or surge protection to a qualified installer.
What Can Go Wrong
Most unsuccessful installations have a weak upstream connection, unsuitable roaming expectations, or inadequate environmental protection. Diagnose the cause before buying another node.
– The node connects but performs poorly: Check upstream signal, backhaul type, obstructions, and interference. Confirm that a planned Ethernet connection is actually carrying backhaul traffic.
– Outdoor coverage works, but devices disconnect while moving: Check supported roaming settings and client behavior. Phones and laptops influence when they change access points; adding a node does not guarantee seamless handoffs.
– The installation exposes equipment to damage: Review connector sealing, cable suitability, mounting restrictions, and environmental limits. Inspect unused-port covers and cable entries as well as the enclosure.
A strong connection between a phone and an outdoor node cannot compensate for a weak connection between that node and the main network.
A weather-resistant enclosure does not make every cable, power connection, or attached accessory weatherproof.
Decide Whether an Outdoor Node Is the Right Fix
An outdoor mesh node is appropriate when your existing system explicitly supports it and the proposed location has reliable backhaul and approved power. Its main advantage is extending coverage within an existing management platform.
An outdoor mesh node is a practical expansion option when compatibility, backhaul, power, and environmental requirements are all satisfied.
The downsides are installation work, weather exposure, ecosystem restrictions, and potentially reduced performance over wireless backhaul. Additional wireless hops can consume airtime, while a compatible node may still provide fewer features than another model in the same product family.
Skip this approach if compatibility or a reliable connection cannot be established. Consider a wired outdoor access point for a patio or garden, or a purpose-designed point-to-point link for a detached building. Such a link transports the network between buildings; it may still require a separate access point inside the destination.
A detached building may need a dedicated network link rather than another wireless mesh hop.
Save This Pre-Installation Checklist
Complete these checks before permanent installation. Keep the model numbers, firmware details, installation guide, and test notes together for future troubleshooting.
– [ ] Exact model compatibility confirmed; outdoor specifications and supported backhaul checked.
– [ ] Placement tested; approved power, cabling, and mounting arrangements planned.
– [ ] Node paired and updated; final coverage verified with the devices and applications that will use it.
Compatibility confirmation and placement testing should happen before permanent outdoor mounting.
Final coverage verification should take place after mounting because orientation and cable routing can change the installation.
Sources to Verify Before Installation
Use official documentation for your exact model, region, and hardware revision. For a 2026 installation, recheck current firmware requirements rather than relying solely on an older setup article.
– Compatibility and setup: [TP-Link’s mixed-model Deco guidance](https://www.tp-link.com/us/support/faq/2248/) and the [Deco X50-Outdoor support page](https://www.tp-link.com/us/support/download/deco-x50-outdoor/) for setup instructions and revision-specific downloads.
– Environmental limits, mounting, and power: [Official Deco X50-Outdoor specifications](https://www.tp-link.com/us/deco-mesh-wifi/product-family/deco-x50-outdoor/#specifications) and the installation guide available through its support page.
– Backhaul troubleshooting: [TP-Link’s Ethernet backhaul guidance](https://www.tp-link.com/us/support/faq/1794/) and model-specific troubleshooting documentation on the support page.
Manufacturer installation instructions take precedence over generic outdoor networking advice.
Hardware revisions and regional variants can require different firmware or installation documentation.
A successful outdoor mesh expansion depends on compatibility, a reliable backhaul connection, and safe installation—not simply placing another node farther outside. Start by checking your system’s supported models, then test the proposed location before mounting anything permanently.
Frequently Asked Questions
What are outdoor mesh nodes and why do they help with outdoor Wi‑Fi coverage?
Outdoor mesh nodes are weather-resistant access points that communicate with each other to extend Wi‑Fi range without needing a traditional wired backbone. They help solve dead zones in yards, parking lots, patios, and farms by automatically routing traffic through the strongest available node. With proper placement, outdoor mesh networking can improve signal reliability and reduce buffering during peak usage.
How do I add an outdoor mesh node to my existing mesh network?
Start by updating your main (hub/router) firmware in the mesh system app to ensure compatibility with new outdoor mesh nodes. Place the new outdoor node within strong range of an existing node, then power it on and follow the in-app “Add Node” or “Pair/Setup” step. Once the app shows the node is online, move it to its final outdoor location and confirm signal strength and backhaul quality.
How should I choose the placement and mounting height for outdoor mesh nodes?
For best results, mount outdoor mesh nodes under eaves or at a clear line-of-sight position to reduce obstructions like trees, walls, and fencing. Height matters: a higher placement can improve coverage, but you must avoid aiming directly into heavy interference sources or behind dense foliage. Use the app’s signal/backhaul indicators (or a temporary test location) to ensure the new outdoor node maintains a stable connection to nearby nodes.
Which backhaul connection type is best for outdoor mesh nodes—wireless or Ethernet?
Wireless backhaul is usually faster to deploy because it doesn’t require running outdoor Ethernet cables, but it can be affected by distance and interference. Ethernet backhaul provides a more consistent connection and often higher throughput, especially for multiple nodes or heavy streaming/VoIP use. If you have the option, choose Ethernet backhaul for long distances or environments with lots of RF noise, otherwise use wireless backhaul with careful node placement and alignment.
What troubleshooting steps should I follow if my outdoor mesh node won’t connect or stays offline?
First, verify the outdoor mesh node is powered correctly and rated for outdoor use (proper IP rating, correct PoE setup if applicable). Then check that the node is within range of an existing mesh node during pairing and look for firmware or compatibility prompts in the app. After installation, recheck Wi‑Fi/backhaul signal strength; moving the node slightly, changing orientation, or relocating away from thick walls and metal structures often resolves persistent disconnects.
📅 Last Updated: October 16, 2026 | Topic: How to Add Outdoor Mesh Nodes | Content verified for accuracy and freshness.
References
- Mesh networking
- Wireless mesh network
- Testing to determine if you are a bot!
- RouterOS – RouterOS – MikroTik Documentation
- RFC 2501: Mobile Ad hoc Networking (MANET): Routing Protocol Performance Issues and Evaluation Co…
- RFC 3561: Ad hoc On-Demand Distance Vector (AODV) Routing | RFC Editor
- RFC 4728: The Dynamic Source Routing Protocol (DSR) for Mobile Ad Hoc Networks for IPv4 | RFC Editor
- https://scholar.google.com/scholar?q=outdoor+wireless+mesh+network+add+node+setup Google Scholar
- https://scholar.google.com/scholar?q=Wi-Fi+mesh+network+deployment+outdoor+nodes+configuration Google Scholar
- https://scholar.google.com/scholar?q=802.11s+mesh+network+node+joining+authentication+association Google Scholar

One thought on “How to Add Outdoor Mesh Nodes”