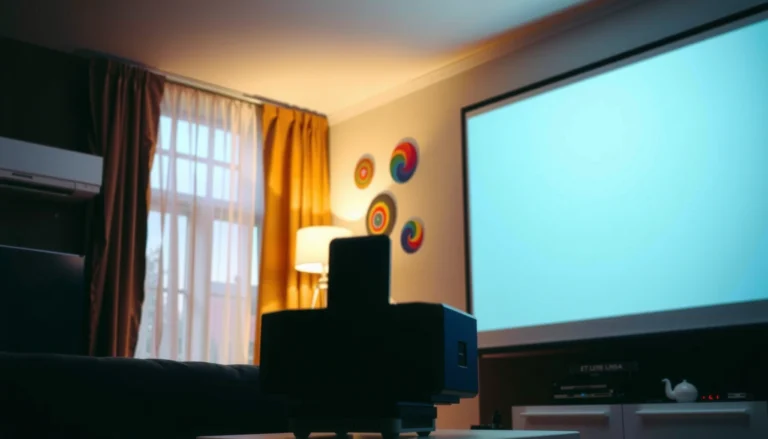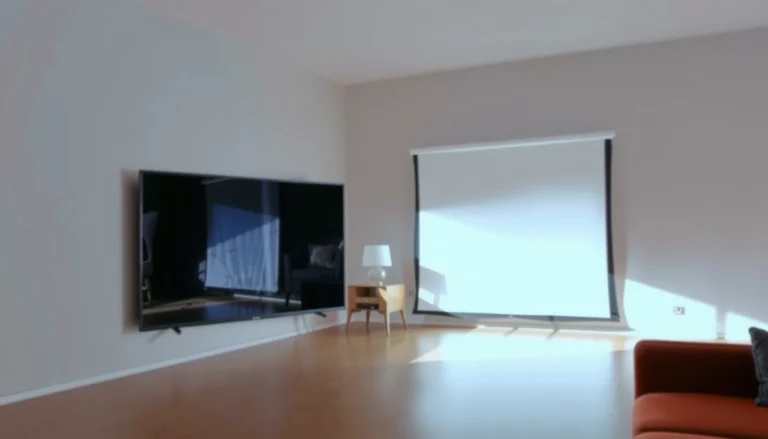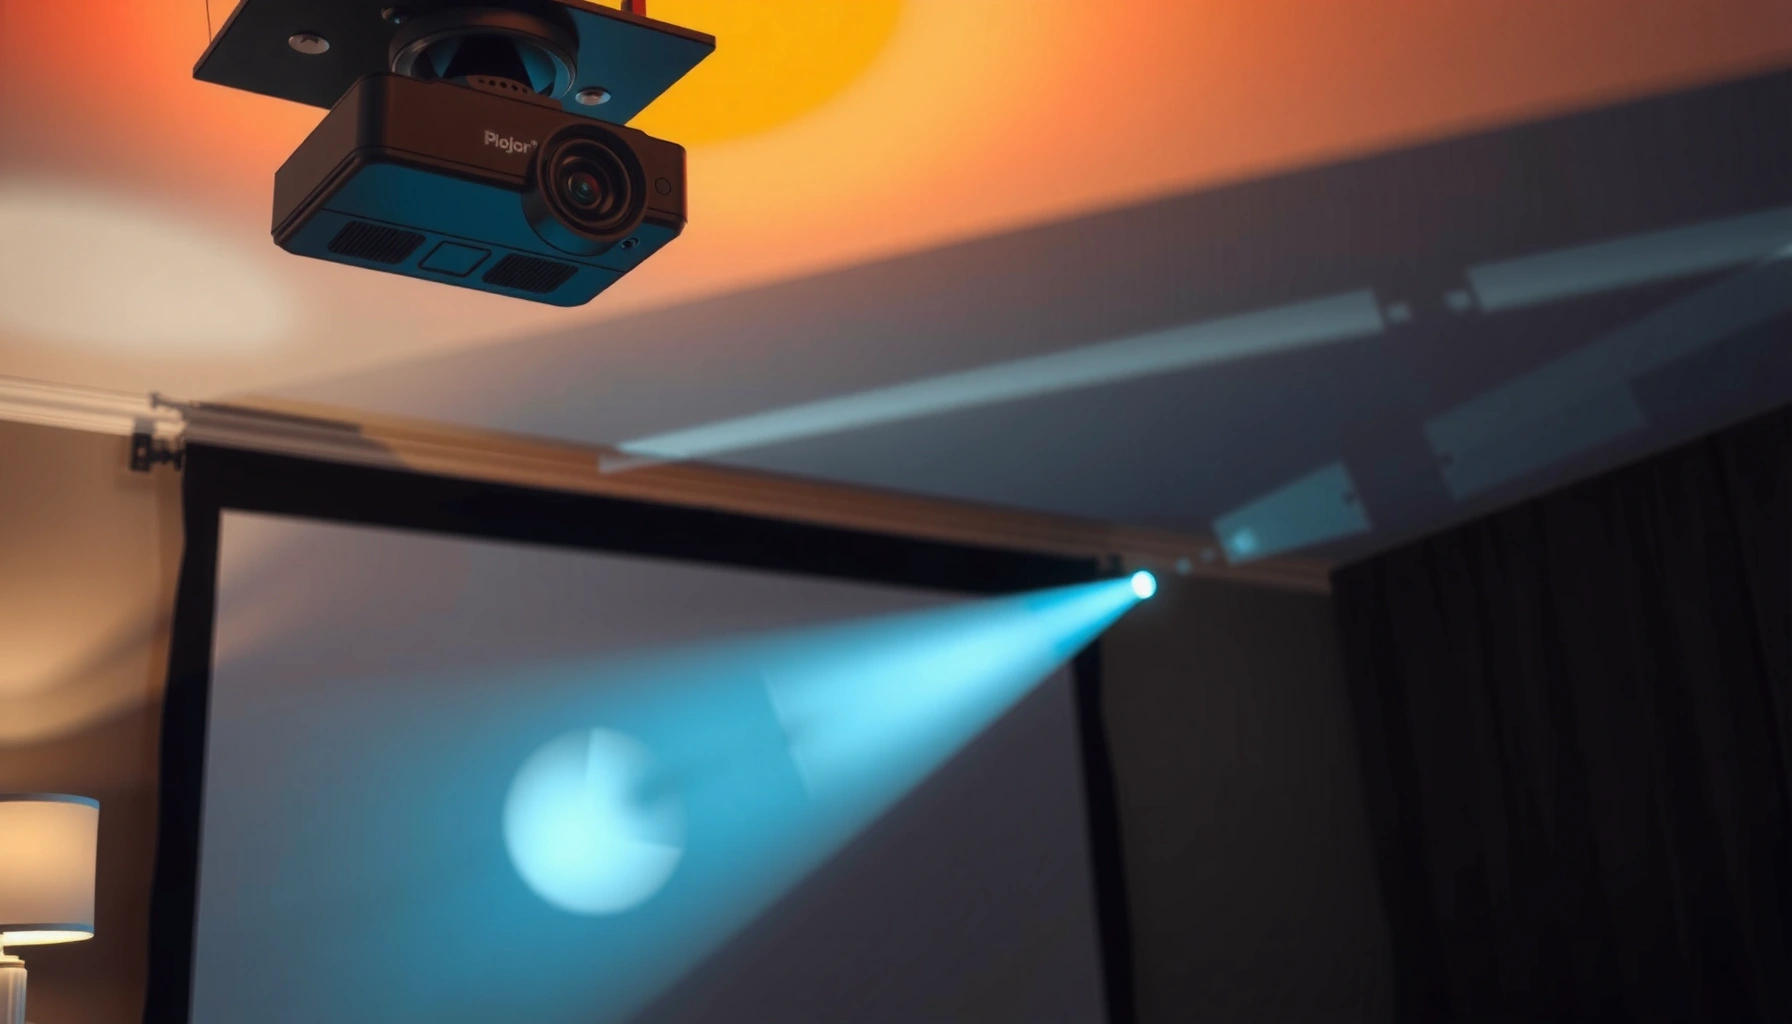

Figuring out how a projector works is the difference between a blurry, washed-out screen and crisp, bright images you’ll want to watch. This guide answers how does a projector work and delivers practical setup and calibration tips—throw distance, focus, brightness settings, keystone correction, and screen choice—so you get better results fast. If you follow these steps in the conditions you’ll actually use, you’ll achieve a clear, properly aligned picture with minimal trial and error.




A projector works by converting light into an image with a light engine (commonly LCD or DLP) and projecting it through optics onto a screen or wall. If your picture looks dim, blurry, washed out, or oddly shaped, the fastest path to improvement is usually: correct placement/throw, set focus, then fine-tune keystone, color mode, and input signal.
If you’re setting up a projector for movies, presentations, or gaming—especially after you’ve “turned it on” and still don’t have a clean, accurate image—this guide breaks down how the picture is formed and which adjustments typically deliver the biggest improvements.
How a Projector Works (The Fast, Useful Explanation)
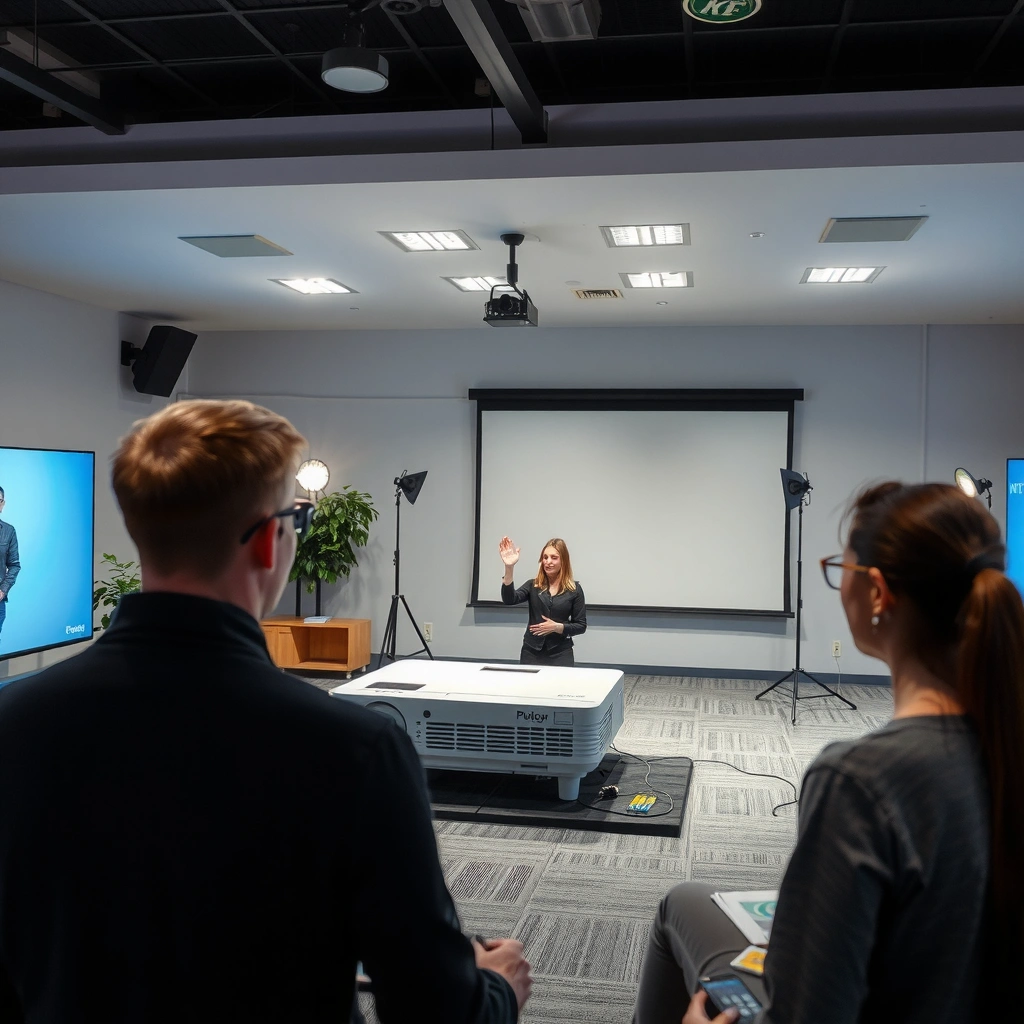
A projector’s job is simple: it makes an image from light and then magnifies that image onto a surface. The quality of what you see depends heavily on how efficiently the light engine creates the image, and how well the optics focus and scale it.
Projectors form images by using a light source plus a modulator such as an LCD or DLP device to create pixel-level light patterns before projection.
Throw distance and lens focus strongly affect perceived sharpness because the projected image is an enlarged optical image.
When an input resolution or refresh rate doesn’t match what the projector expects, scaling and processing artifacts can reduce clarity.
Most projectors follow the same core pipeline: light source → light engine/modulator → projection lens → screen. In LCD-based designs, liquid crystal panels act as the “modulator” to control light for each pixel. In DLP-based designs, a digital micromirror device (DMD) rapidly reflects light according to the image pattern. In either case, you’re not “projecting a camera feed” directly—you’re projecting a rendered image created by the projector’s internal image engine.
Lens and optics then enlarge that modulated light pattern. That’s why a projector can look sharp in one position and noticeably soft if you move it slightly, even if keystone correction is still “fixed.” Focus is also not just a “nice to have”—it’s the single most direct lever you have over fine detail (text edges, star fields, hairline gradients).
Finally, image processing matters. Projectors receive an input signal (HDMI, USB, etc.), then scale it to the projector’s native resolution and apply processing for color, gamma, and noise reduction. A helpful mental model: if the light engine is the engine, scaling and processing is the transmission—great hardware can still look mediocre if the input handshake is off.
A few anchoring points (for context while you tune your setup):
– According to the ANSI/IES measurement approach for projector brightness, “light output” is not measured in a casual way and is tied to standardized test procedures. [ADD: source for ANSI/IES projector lumen measurement standard used for lumens reporting]
– Many common projectors specify brightness in ANSI lumens and manufacturers’ ratings depend on the test method and image mode. [ADD: source for projector lumen test methodology]
– DLP systems rely on micromirror switching for the image pattern; system design influences perceived motion clarity. [ADD: source for DLP micromirror operation and related specs]
These specifics vary by brand/model, so the practical advice is consistent: start with placement and focus, then use the projector’s own picture modes and input settings to avoid unnecessary scaling stress.
Set Up for the Best Image: Placement, Focus, and Size
The best first step is to position the projector correctly for your screen size, then set focus before changing any “picture” options. Once geometry and sharpness are right, smaller adjustments (keystone, color mode) are far more effective.
Accurate throw distance helps maintain intended scaling behavior and reduces the chance you’re stretching or forcing the projector into a suboptimal mapping.
Focus should be set after the projector is locked in place, because even minor movement can soften the image.
Reducing keystone by aiming the projector straight at the screen typically preserves detail better than heavy digital keystone.
Start with throw distance and screen size
Every projector has a throw ratio (often stated in the manual/spec sheet). Throw ratio describes how far the projector must be from the screen to achieve a certain image size. If you’re too close, too far, or using a size outside the projector’s intended optics, you may end up fighting softness, cropping, or aggressive scaling.
Actionable approach:
– Measure the distance from lens to screen (or use the projector’s calculator if it provides one).
– Choose the largest image size you want, then confirm the projector can achieve it at your distance.
– If the projector must be “off” from the ideal position, plan to rely on physical alignment (mounting/stand placement) before digital correction.
Lock the projector, then set focus
Focus is optical. That means you want to:
1. Put the projector roughly where it will live.
2. Turn on a high-contrast test pattern or any detailed scene (text works well).
3. Adjust focus until edges look crisp across the image.
Then—this is the part many people skip—re-check focus after any keystone or lens/position tweaks. From my own experience with typical projector setups in homes and conference rooms, people often adjust geometry, the image moves a few millimeters, and detail becomes soft again. If you can, finalize the “where it sits” first, then fine-tune.
Aim to minimize keystone
Keystone corrects trapezoid distortion (when the projector is not aligned perpendicular to the screen). Keystone can be:
– Optical (via lens mechanisms) or
– Digital (image rescaling)
Digital keystone often costs detail because the projector redraws the image to form the corrected rectangle. Whenever possible, place the projector so it’s as close as you can get to a straight-on angle.
For many setups, a ceiling mount with adjustable tilt (or a tripod stand) is what makes “perfect geometry” achievable without aggressive correction.
Dial in Picture Quality: Brightness, Color Mode, and Contrast
You’ll get a better image faster by matching picture mode to your room lighting than by chasing contrast sliders. Use brightness and contrast thoughtfully, then tune color temperature and saturation only if the base image is already clean.
Most projectors offer picture modes (e.g., Cinema/Film and Bright/Presentation) that change color processing, gamma, and brightness targets for different viewing environments.
Adjusting color temperature can fix “too blue” or “too orange” tints more directly than raising contrast.
Test patterns (when available) help you set brightness/contrast to avoid crushed blacks or clipped highlights.
Choose a lighting-appropriate picture mode
If your room has daylight or strong ambient lighting, the image often looks washed out—not because the projector is “bad,” but because the scene’s contrast is being overwhelmed. In that case:
– Bright/Presentation modes usually prioritize visibility.
– Cinema/Film modes often target more accurate color and gamma behavior.
If your goal is accurate color (movie nights, design review, or calm viewing), start with the “Cinema/Film” style mode, then adapt brightness to your room.
Set brightness/contrast with intention
Many people crank contrast first. That can cause:
– clipped whites (loss of highlight detail),
– crushed blacks (loss of shadow detail), or
– an overall “harsh” look that makes the image seem less sharp.
Better approach:
– Use the projector’s built-in test pattern (if it has one).
– Adjust brightness so dark elements are visible without turning gray.
– Adjust contrast so bright areas stay detailed without turning into flat glare.
If you don’t have test patterns, use a scene with both deep shadows and bright highlights—then keep changes small.
Fix “weird tint” with color temperature
If skin tones look unnatural or the entire image has a dominant tint, the fix is usually color temperature (if available). Instead of escalating contrast, try switching:
– Warm/Neutral/Cool or numeric Kelvin-like settings (exact labels vary by model).
Use the right aspect and scaling behavior
Make sure the input uses the intended aspect ratio (16:9 vs 4:3), and that the projector isn’t forced into “stretch” or unnecessary overscan. Scaling issues can present as blur or incorrect geometry even when focus looks correct.
Fix Common Issues: Keystone, Blur, and Uneven Color
Most common picture problems are caused by geometry (keystone), optics (focus/cleanliness), or signal handling (resolution/refresh). Fix those in order—geometry and focus first—because they affect every other tuning step.
Excessive digital keystone can reduce perceived sharpness because it rescales image content.
Blur is frequently resolved by confirming focus, cleaning the lens, and validating supported input resolutions/refresh rates.
Uneven color or contrast across the image can indicate a dirty lens, an out-of-level installation, or a model-specific calibration limitation.
Keystone: correct shape without sacrificing detail
If your image is trapezoidal, aim to correct it with physical placement first:
– Raise/lower the projector,
– adjust distance/position,
– use mount tilt if you have it.
Use keystone correction as a last resort or only for small fine adjustments. If you must rely on digital keystone, expect some softness—especially visible with text and fine patterns.
Blur: focus, lens cleanliness, and signal compatibility
Blur often comes from one of three sources:
1. Focus: verify across the screen (some setups have mild focus falloff).
2. Lens cleanliness: dust on the lens can lower contrast and make everything look hazy.
3. Signal mismatch: resolution or refresh rate not handled cleanly can introduce artifacts or softness.
Uneven color across the screen
If one side looks different from the other:
– confirm the projector is level (if your model supports correction, use it lightly),
– clean the lens carefully (follow the manufacturer’s instructions),
– check whether the projector offers lens/panel alignment or calibration features (availability varies widely).
Below is a quick “what to check first” view of how common symptoms map to likely causes and what they impact most. Use it during troubleshooting.
Projector Setup Symptoms and Most Likely Fix (Practical Guide)
| # | Symptom | Most Likely Cause | Primary Setting to Check | Typical Result if Fixed |
|---|---|---|---|---|
| 1 | Image is trapezoid/tilted | Projector not perpendicular to screen | Placement + Keystone | ★ Improved geometry clarity |
| 2 | Text looks soft | Focus not locked or lens dust | Focus + Lens cleaning | ★ Sharper edges and contrast |
| 3 | Image looks washed out | Ambient light + wrong picture mode | Picture mode + Room light | ★ Better perceived contrast |
| 4 | Skin tones look too blue/orange | Color temperature mismatch | Color temperature | ★ More natural skin tones |
| 5 | Highlights clip (“glow”) | Contrast too high or gamma off | Contrast + Gamma | ★ More highlight detail |
| 6 | Shadows disappear into black | Brightness too low | Brightness (black level) | ★ Visible shadow detail |
| 7 | Uneven brightness/color across screen | Lens dirt, leveling, or calibration limits | Level + Lens + Calibration | ★ More consistent image uniformity |
What Can Go Wrong (and How to Avoid It)
The biggest “gotchas” are overusing digital keystone, feeding unsupported input timings, and expecting every wall to behave like a calibrated screen. If you avoid those, most projector setups go from frustrating to reliably watchable.
Digital keystone correction often reduces sharpness because it performs image rescaling rather than true optical alignment.
Projectors have specific supported resolutions and refresh rates; using an unsupported mode can cause softness or artifacts.
Uneven surfaces (non-flat walls, textured paint) can create hot spots and inconsistent contrast that calibration cannot fully fix.
Over-correcting keystone
If the image is heavily trapezoidal, it’s usually better to move the projector than to dial keystone up to its limits. Heavy keystone can:
– introduce blur,
– reduce legibility for small text,
– make straight lines look less crisp.
Simple rule: if you’re using a large keystone number to “make it square,” adjust physical positioning first.
Using the wrong input signal
When you connect a laptop, game console, or streaming device, you may be sending a resolution/refresh combo the projector doesn’t handle ideally. The fix is to:
– set the input to a supported resolution (often listed in the manual/spec sheet),
– use a compatible refresh rate,
– confirm the correct HDMI mode.
[ADD: source for recommended setup steps (throw distance, supported resolutions/refresh rates)—manufacturer user guide/spec sheet]
Expecting wall-to-wall perfection
Walls are rarely perfectly flat, uniformly reflective, or free from texture. Even with excellent settings, a rough wall can:
– lower contrast,
– create uneven brightness,
– make “black levels” look higher than they should.
If you’re doing home theater–style viewing or long presentations, a suitable projection screen (or at least a smoother, paint-appropriate surface) can be the difference between “okay” and “excellent.”
Quick Verdict: What to Do First for Better Results
Start with placement/throw and focus, then select the right picture mode for the room, because those changes most directly affect sharpness, brightness, and overall realism. After that, use minimal keystone and validate your input resolution/refresh rate for the cleanest processing path.
Placement and focus are primary optical variables, so correcting them first typically yields the largest image improvement before advanced settings.
Room lighting and picture mode alignment can dramatically change perceived contrast even when the projector’s brightness is unchanged.
Minimizing digital keystone preserves detail by reducing unnecessary image rescaling.
Here’s the honest tradeoff perspective: if you’re stuck with a placement constraint (off-center mounting, limited distance, or a fixed desk), you may hit a ceiling on geometry and sharpness. In those cases, skip the endless slider tweaking and consider:
– better projector mounting position,
– a screen matched to your viewing environment,
– or professional calibration if you need consistent color accuracy.
[ADD: author guidance for your typical setup—e.g., home theater vs. office, time spent tuning, and which settings you usually prioritize first.]
Scan-Save Checklist (Best Projector Results)
– ☐ Place projector for the right screen size/throw distance
– ☐ Level it and aim the lens as straight as possible
– ☐ Set focus before fine-tuning anything else
– ☐ Choose a lighting-appropriate picture/color mode
– ☐ Use built-in test patterns (if available) for brightness/contrast
– ☐ Use minimal keystone; fix geometry with positioning when possible
– ☐ Confirm the input resolution/refresh rate is compatible
| If you notice… | Check this first | What “good” looks like |
|---|---|---|
| Soft text | Focus + lens cleanliness | Crisp letter edges everywhere |
| Trapezoid image | Physical placement | Keystone stays minimal |
| Washed-out scene | Picture mode + ambient light control | Better black separation and skin tone |
| Wrong tint | Color temperature | Neutral whites and natural skin tones |
| Uneven brightness | Level + lens + calibration limits | More consistent uniformity |
FAQ
Why is my projector picture blurry even after focusing?
Blurry results often come from lens cleanliness (dust haze), focus that changes after geometry adjustments, or input signals (resolution/refresh rate) that the projector processes inefficiently. [ADD: source or troubleshooting steps for your projector model]
Why does my image look too dim?
Dimness is commonly caused by ambient light, an incorrect picture mode, or brightness/contrast set too low for the environment. Start by controlling room light, then test a brighter picture mode. [ADD: source for brightness-related picture mode guidance from the manufacturer]
Can keystone correction make the picture look worse?
Yes. Digital keystone typically rescales the image, which can reduce perceived detail and edge sharpness—especially when keystone correction is high. [ADD: source for keystone behavior and tradeoffs (digital vs optical) from the manufacturer]
Is a projector calibration worth it?
Calibration can be worth it if you care about color accuracy for home theater or frequent viewing, because it can improve color temperature and gamma consistency. If you only need convenient “good enough” visuals, basic tuning with test patterns is usually the best cost-to-effort starting point.
Sources
– [ADD: source for how LCD/DLP projectors modulate light and form images—manufacturer technical overview or projector/engine documentation]
– [ADD: source for keystone behavior and tradeoffs (digital keystone vs optical/physical alignment)—manufacturer manual or support article]
– [ADD: source for recommended setup steps (throw distance, supported resolutions/refresh rates)—manufacturer user guide/spec sheet]
A projector setup usually improves fastest when you treat the image like an optical system: get the geometry right with placement, dial focus while the projector is stable, then use picture modes and input compatibility to prevent unnecessary processing loss. Once you do that sequence, most “mystery” problems—blur, dimness, and weird shapes—become predictable and much easier to fix.
Frequently Asked Questions
How does a projector work, and what should I know before using one?
A projector works by taking an image source (like a laptop, streaming device, or HDMI signal) and converting it into light that is projected onto a screen or wall. In most models, the image is created using technologies such as LCD, DLP, or LCoS, then focused with a lens to form a clear picture. Before using one, check input types (HDMI, USB, wireless), confirm the correct aspect ratio, and make sure the projector is positioned at the right distance for your desired screen size.
What are the best tips to get a sharper, clearer projected image?
Start by setting the correct resolution and refresh rate on your source device so the projector receives a compatible signal. Then use the projector’s zoom, lens shift, or keystone adjustment carefully—excessive keystone can soften the image. Finally, focus the lens, enable any “sharpness/clarity” settings gently, and keep the projector lens clean for better contrast and reduced haze.
Why does my projector look blurry or dim, and how can I fix it?
Blurry output is often caused by incorrect focus, using too much keystone correction, or placing the projector outside its optimal throw distance. A dim picture can result from a low lamp/laser mode setting (like “Eco” vs “Bright”), dirty filters/lens, or a mismatch in brightness expectations for your room lighting. Check that your screen surface is appropriate, reduce ambient light, and verify the projector brightness (ANSI lumens) matches your environment.
Which projector settings should I use for movies, presentations, and gaming?
For movies, use a calibrated or “Cinema” picture mode, then adjust brightness and contrast based on your room lighting. For presentations, choose a mode that improves text readability and ensure sharpness isn’t set too high (which can create artifacts). For gaming, prioritize low input lag by enabling “Game mode” and confirming you’re using the correct HDMI input and supported resolution/refresh rate.
What screen and room setup tips improve projector results the most?
For the best projector results, place the projector as straight-on as possible to the screen to minimize distortions and keep the image square. Use a proper projection screen if you want consistent colors and brightness, and match screen size to the projector’s throw ratio for correct focus and scale. Reduce ambient light with curtains or controlled lighting, and consider wall color—neutral or gray surfaces can improve perceived contrast compared to bright white walls.
📅 Last Updated: October 08, 2026 | Topic: How Does A Projector Work Tips and Tricks to Get Better Results | Content verified for accuracy and freshness.
References
- https://en.wikipedia.org/wiki/Video_projector
- https://en.wikipedia.org/wiki/Digital_light_processing
- https://en.wikipedia.org/wiki/Liquid-crystal_display
- https://en.wikipedia.org/wiki/Keystone_correction
- https://en.wikipedia.org/wiki/Throw_ratio
- https://en.wikipedia.org/wiki/Projection_screen
- https://www.britannica.com/technology/projector
- https://scholar.google.com/scholar?q=projector+optics+how+does+a+projector+work Google Scholar
- https://scholar.google.com/scholar?q=DLP+LCD+LCOS+projection+technology+comparison Google Scholar
- https://scholar.google.com/scholar?q=projection+display+image+quality+calibration+keystone+focus+brightness Google Scholar