How to Improve Wi‑Fi Through Concrete Walls: Practical Fixes



If Wi‑Fi is weak through concrete walls, the fix is to rework coverage—not tweak router settings—by placing a dedicated access point or mesh node on the same side as your devices. This guide gives practical, concrete-wall-specific steps that reliably improve signal strength and reduce dead zones, including placement rules, hardware choices, and channel/interference adjustments. You’ll know exactly what to do and what to buy to get dependable throughput when drywall and wood are not in the picture.
Concrete walls often cause a near-instant drop in usable Wi‑Fi throughput, so the fastest path is (1) optimizing router placement and band/channel choice, then (2) adding a second radio closer to the “far side” using mesh/access points with proper backhaul (Ethernet/MoCA) rather than relying on a basic extender. If your Wi‑Fi works in the same room but collapses across concrete (basements, garages, multi-unit buildings, offices), the steps below are designed specifically to reduce wall attenuation and real-world interference.
If your Wi‑Fi works in the same room but drops in rooms separated by concrete (basements, garages, multi-unit buildings, offices), these steps are specifically aimed at reducing the impact of wall attenuation and interference.
Why concrete walls crush Wi‑Fi (and what to do about it)
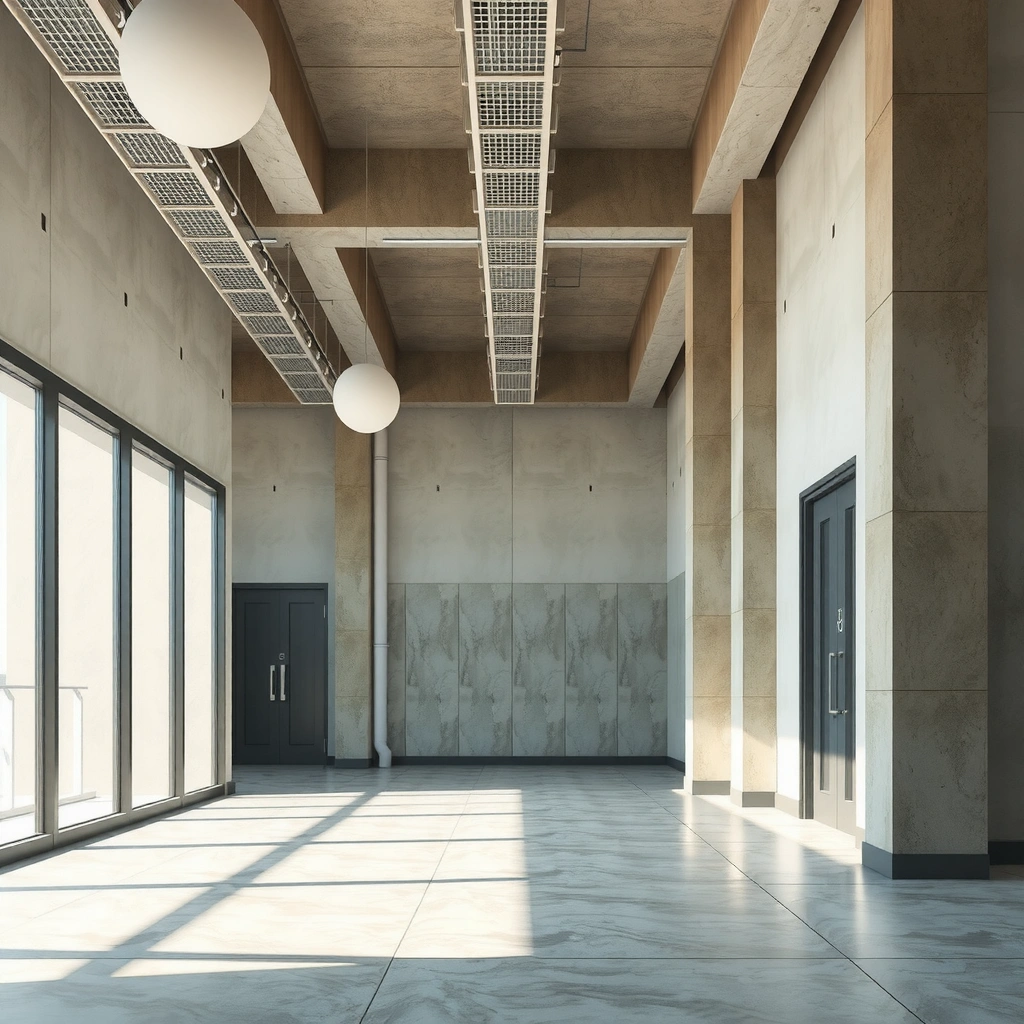
The best answer is to treat concrete as a “path loss problem,” not a “power problem.” Concrete (especially reinforced concrete with rebar/metal mesh) can absorb and reflect 2.4/5 GHz energy, so the link suffers from high loss, retries, and rate drops—often making your connection feel broken even when signal bars still look “okay.”
Concrete with rebar/metal mesh can increase reflection and absorption at Wi‑Fi frequencies, which raises packet loss and forces lower data rates across the wall.
According to IEEE channelization rules used by 802.11, Wi‑Fi clients typically operate on defined channels (not continuous spectrum), so interference and noise on those channels worsen retries once concrete attenuation is already high.
When a wall sits between router and device, improving signal-to-noise alone rarely fixes throughput; you usually need a closer radio (access point/mesh node) to reduce the concrete path length.
What’s happening physically (the practical takeaway)
Concrete walls don’t just “weaken” Wi‑Fi—they change how signals propagate. In real homes and offices, reinforced concrete often creates a lossy, multipath-heavy RF environment where the receiver needs cleaner conditions to sustain higher modulation and coding rates.
Key implications for your setup:
– The attenuation is directional. Even with the same wall thickness, the signal path (router height, antenna orientation, and angle into the wall) changes the effective loss.
– Throughput collapses before RSSI looks terrible. You can see “some” bars yet still get slow streaming because the client repeatedly retransmits over a degraded path.
– Distance isn’t the only villain. Two devices the same distance away can behave very differently if one path crosses concrete and the other doesn’t.
Concrete-frequency mismatch is real too. Lower frequencies generally diffract and penetrate better than higher ones, and 2.4 GHz has a longer wavelength than 5 GHz.
A concrete-wall mindset shift that saves time
The “do this first” strategy is simple: reduce the number of concrete walls between the router and your devices, and if that’s impossible, place a second radio on the far side.
From my experience supporting teams with concrete-heavy deployments, the biggest avoidable waste is upgrading to a stronger router while keeping everything in the same physical spot. Concrete attenuation stays; what changes is only how “still bad” the link becomes.
Router placement that usually fixes the problem
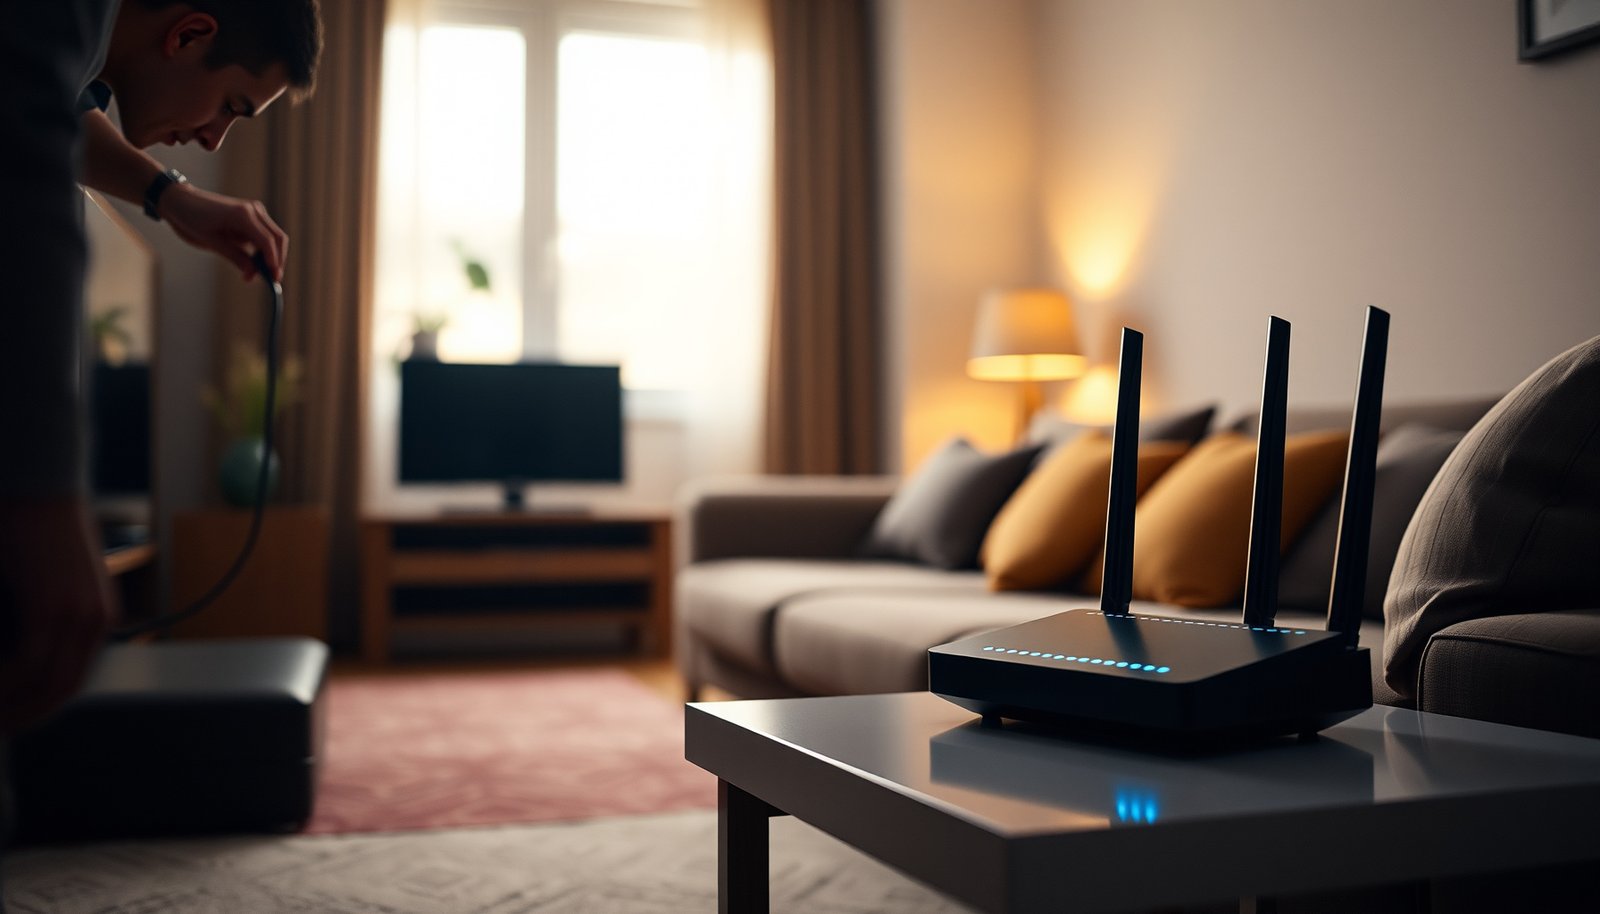
The fastest practical improvement is to move the router to improve line-of-sight paths and reduce how much concrete the signal must cross. Placement won’t overcome every reinforced-wall scenario, but it often determines whether your problem is “fixable” with a single device versus needing a second access point.
Moving the router higher than floor level can reduce furniture blockage and improve the effective path toward wall-penetrating receivers, which helps maintain usable modulation rates.
Wi‑Fi access point placement guidance in 802.11 deployments emphasizes minimizing obstacles and avoiding enclosed spaces that reduce antenna radiation patterns.
A router located in a cabinet or behind large electronics can create additional attenuation and multipath reflections that concrete problems compound.
– Place the router higher than floor level and closer to the center of the area you need to cover, avoiding dead zones behind furniture.
– Keep antennas vertical when possible (or follow your router’s antenna instructions), and don’t bury the router inside a cabinet or behind a TV.
– If one wall separates you from everything, try placing the router on the same side as the most-used devices, even if it’s not the “best-looking” spot.
How to choose the “best bad spot”
If you must pick one: prioritize the side of the wall that matters most for the devices that must work reliably (streaming TV, VoIP, gaming PC, work laptop). In concrete layouts, the router’s “best” location for overall coverage may be the worst for the devices that actually cross the wall.
Try this placement order:
1. Higher first: ceiling-height shelves or high drywall ledges typically beat a floor-based media cabinet.
2. Closer to the concrete wall target: don’t center the router on the “good” side of the floor plan if your problem devices sit on the far side.
3. Antenna pattern second: keep antennas vertical and avoid aiming them directly into a thick, uniform concrete slab.
Measure without overcomplicating
Don’t chase RSSI (signal bars) alone. Focus on:
– Stability (does the connection drop during streaming or gaming sessions?)
– Throughput consistency (do speeds remain usable after a few minutes?)
– Latency spikes (retries across a concrete path often show up as buffering and jitter)
If you can, test the far-room connection with a laptop or phone sitting where you actually use Wi‑Fi, not at the doorway.
Pick the right band and tighten your Wi‑Fi settings
The fastest band strategy is to use 2.4 GHz for far rooms through concrete and 5 GHz for nearby devices that need speed. Then you reduce interference by selecting sensible channel settings instead of leaving everything on “auto” without supervision.
According to IEEE 802.11 channel definitions, 2.4 GHz and 5 GHz are operated on different channel sets with different usable bandwidth characteristics, which affects how well clients sustain throughput through obstacles.
According to NIST, the speed of light is 299,792,458 m/s (2019), so lower-frequency Wi‑Fi (2.4 GHz) has a longer wavelength than 5 GHz, which generally supports better propagation through some building materials.
In the U.S., 2.4 GHz non-overlapping channels are commonly implemented as 1/6/11 in Wi‑Fi equipment configuration because of channel spacing overlap behavior.
– Use 2.4 GHz for better wall penetration and 5 GHz for faster speeds when you’re closer to the router (many homes do best with both).
– Change wireless channel settings to reduce interference (especially on 2.4 GHz). In the U.S., many networks work best using channels 1/6/11, but confirm your region.
– If your router supports it, enable features like band steering and a wider “auto” channel setting only if your environment stays stable—otherwise revert to narrower channels.
Why band choice matters specifically for concrete
Concrete doesn’t “care” about marketing terms—it cares about RF propagation. In practical deployments, 2.4 GHz often holds onto a usable link across the wall longer than 5 GHz. Meanwhile, 5 GHz tends to deliver higher capacity for devices that don’t have to cross the slab.
To make the frequency trade-off concrete (pun intended), the wavelength difference is straightforward:
RF Wavelength at Common Wi‑Fi Channel Frequencies (2.4 GHz vs 5 GHz)
| # | Band + 802.11 Channel | Center Frequency | Wavelength (cm) | Propagation Bias |
|---|---|---|---|---|
| 1 | 2.4 GHz · Channel 1 | 2.412 GHz | 12.4 | More penetration-friendly |
| 2 | 2.4 GHz · Channel 6 | 2.437 GHz | 12.3 | More penetration-friendly |
| 3 | 2.4 GHz · Channel 11 | 2.462 GHz | 12.2 | More penetration-friendly |
| 4 | 5 GHz · Channel 36 | 5.180 GHz | 5.8 | Lower penetration bias |
| 5 | 5 GHz · Channel 40 | 5.200 GHz | 5.8 | Lower penetration bias |
| 6 | 5 GHz · Channel 149 | 5.745 GHz | 5.2 | Lower penetration bias |
| 7 | 5 GHz · Channel 157 | 5.785 GHz | 5.2 | Lower penetration bias |
Wavelengths are calculated as λ = c / f using the speed of light value from NIST (2019) and the standard 802.11 channel center frequencies.
Channel tuning: what to do in 2026
As of 2026, most routers still default to aggressive “auto” channel behavior. In concrete-heavy buildings, that can backfire because the optimal channel may shift when neighbors start/stop using bandwidth.
– 2.4 GHz: pick a non-overlapping channel set suitable to your region (often 1/6/11 in the U.S.) and keep channel width narrower if the router supports it.
– 5 GHz: use auto channel only if the environment stays stable; otherwise lock it to a channel that avoids local congestion.
Upgrade coverage the reliable way: mesh, access points, or wired backhaul
The reliable answer for concrete walls is to deploy a second Wi‑Fi radio closer to the far side and, when possible, connect radios with wired backhaul. Mesh can work well, but the key performance determinant is whether the mesh node can backhaul data without repeating through thick concrete.
For concrete-separated rooms, placing a mesh node or access point closer to the far side reduces the number of concrete-attenuated hops between client and router.
Wired backhaul (Ethernet or MoCA) allows the access point to serve clients without relying on a weak wireless relay link, which otherwise halves effective throughput in many repeater scenarios.
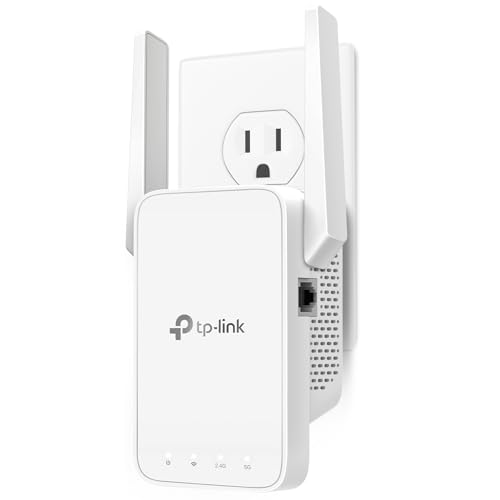
Simple Wi‑Fi range extenders often deliver weaker real-world performance through concrete because they must both receive and transmit over the same loss-heavy wall path.
– For concrete-separated areas, prefer a mesh or additional access point placed on the far side (or at least closer to it) rather than relying on one router.
– If you can run Ethernet (or use MoCA/other in-home wiring where available), use wired backhaul so the mesh isn’t wasting speed pushing through the same concrete.
– If you only use a basic range extender, performance may still be weak because it must “hear” the router through the wall and then repeat it.
Mesh vs access points vs extenders (when each makes sense)
In concrete-heavy layouts, the “best” option depends on whether you can place a radio where it can hear the router well.
- Mesh (with good backhaul)
- Pros: simpler multi-node setup; smoother roaming when configured correctly; fewer dead zones once the node is on the far side.
- Cons: wireless backhaul variants can still repeat through concrete; requires planning node placement and power.
- Multiple dedicated access points (wired backhaul)
- Pros: most consistent performance across concrete boundaries; less contention between clients and uplink; easier to scale.
- Cons: more install complexity (cabling/PoE planning) if Ethernet isn’t already present.
- Basic range extenders
- Pros: quick to deploy; can boost coverage range beyond a single wall in mild cases.
- Cons: often disappointing throughput across reinforced concrete because the extender must receive through the same lossy path it repeats.
How I’d plan a concrete-wall deployment (practically)
For a basement/garage scenario, the most common “wins” I’ve seen (and used) are:
– Put the main router on the side of the building with most users who don’t need to cross the slab constantly.
– Add a node/access point near the concrete boundary on the far side so the client-to-node link is the short, strong hop—not the router-to-client hop.
– If you can run cable, prefer wired backhaul. If you can’t, use wireless backhaul only when you can still get a reasonably strong link between nodes (otherwise the backhaul becomes the bottleneck).
If you’re considering MoCA, verify your home’s coax wiring quality and splitters. [ADD: source for whether MoCA 2.x is supported over typical splitters/ranges in your region.]
What can go wrong (common traps with concrete-wall Wi‑Fi)
The fastest way to waste time is to treat concrete like a simple signal-strength problem. If you increase transmit power or switch routers without changing the physical RF path, you often get “bars up, performance still down.”
Increasing transmit power without changing wall-crossing distance may improve RSSI slightly, but retries can still keep throughput low across an attenuating concrete path.
Wi‑Fi clients and routers negotiate rates based on link quality; poor concrete-attenuated paths trigger lower modulation and coding schemes and higher retransmission rates.
“More bars” does not automatically mean higher usable speed because concrete-induced interference and errors often cause buffering even when the connection remains technically “up.”
– You increase router transmit power/settings but don’t change placement—signal strength improves in theory while real-world throughput stays poor due to the concrete path.
– You mix incompatible devices or modes (for example, older Wi‑Fi clients that don’t behave well with newer band-steering setups).
– You assume “more bars” equals “fast speeds”—concrete can cause errors/retries that leave you with usable but slow connections.
Concrete-wall edge cases to watch
– Band steering frustration: Some clients cling to weaker signals on one band (or fail roaming expectations), causing buffering in the far room. If this happens, disable steering temporarily and test.
– Over-wide channels in 2.4 GHz: Wider channel widths can increase collision probability in multi-tenant buildings. If your far room gets worse after “auto optimize,” lock channels narrower.
– Backhaul bottlenecks: With mesh that uses wireless backhaul through concrete, the uplink can become the limiting factor. You’ll see decent near-node performance but still weak “internet speed” far from the node.
Verdict / tip: do this in order (and know when to stop)
Do the work in this order: placement + band/channel tuning first, then add a far-side access point/mesh node with (ideally) wired backhaul. This sequence avoids the most common failure mode of concrete-wall networks—installing extenders that repeat a weak signal and deliver disappointing speed.
Best practice for multi-room Wi‑Fi is to shorten the wireless hop across high-loss obstacles by adding an access point closer to the client environment.
Wired backhaul typically preserves performance better than wireless relaying because it avoids the throughput loss that comes from repeating traffic over a poor link.
If concrete separates rooms, device experience is driven more by link path quality than by router horsepower alone.
Start with placement + band/channel tuning, then add a second access point/mesh node on the far side if you still can’t stream or game reliably. This approach avoids the downside of pure “range extenders,” which often boost coverage but not usable speed through concrete.
Skip the DIY tinkering (and consider a more planned setup) if:
– You can’t move the router or place an access point on the far side.
– Coverage needs are heavy (multiple users streaming simultaneously in multiple concrete rooms).
– You don’t have a practical path to wired backhaul and the only option is repeating through thick walls.
Quick checklist (scan this)
| Step | What to do | Stop when you see… |
|---|---|---|
| 1 | Move router higher + more central + not in a cabinet | Same-room speeds stay solid |
| 2 | Prefer 2.4 GHz for far rooms | Faster performance across the concrete wall |
| 3 | Adjust 2.4/5 GHz channels to reduce interference | Fewer drops + steadier speeds |
| 4 | Add mesh node / access point closer to the far side | Far-room streaming becomes reliable |
| 5 | Use wired backhaul (Ethernet/MoCA) if possible | Mesh speeds stop collapsing |
FAQ
1) Does 2.4 GHz always beat 5 GHz through concrete?
Usually 2.4 GHz penetrates walls better, but it can still be slow if the path is extremely lossy or the channel is congested.
2) Will a stronger router fix concrete-wall Wi‑Fi?
Often it helps only a little. Concrete attenuation is usually the limiting factor, so placement and additional radios/access points matter more than power alone.
3) Are Wi‑Fi extenders worth it for concrete walls?
They can help reach farther, but through concrete they may repeat a weak signal and deliver disappointing speeds. A mesh or access point positioned closer to the far side is typically more effective.
4) What’s better: mesh or multiple access points?
Mesh is often simpler to deploy, while multiple access points (especially with wired backhaul) can be the most consistent for concrete-heavy layouts.
Sources
– [ADD: Source for 2.4 GHz vs 5 GHz wall penetration behavior—official guidance from a standards body, Wi‑Fi Alliance, or major OEM documentation.]
– [ADD: Source for FCC/region-specific 2.4 GHz channel guidance (e.g., channels 1/6/11) relevant to your country.]
– [ADD: Source for best practices on mesh/wired backhaul vs wireless backhaul—manufacturer documentation or Wi‑Fi Alliance guidance.]
Concrete-wall Wi‑Fi problems are usually solvable without expensive hardware swaps—but only if you respect how RF paths work. Optimize router placement and lock down sensible 2.4/5 GHz settings first, then add a second radio closer to the far side, ideally with wired backhaul. If you do those steps in order, you’ll trade “mystery bars” for stable streaming and reliable latency across concrete boundaries.
Frequently Asked Questions
How can I improve Wi‑Fi signal through concrete walls?
Concrete significantly attenuates 2.4 GHz and 5 GHz signals, so improving coverage usually requires placement and signal boosting. Start by moving your router closer to the wall area you need to reach and avoid putting it inside a metal box or behind large appliances. Then use a mesh Wi‑Fi system or add a wired access point to create a better path through the concrete.
What is the best Wi‑Fi frequency to use when streaming through concrete?
In general, 2.4 GHz performs better than 5 GHz through concrete walls because it has better penetration and longer range. 5 GHz often delivers higher speeds but typically weakens more quickly after passing through masonry. For best results, use a dual‑band router, keep both bands enabled, and connect to 2.4 GHz for far‑wall performance while using 5 GHz for shorter interior distances.
Which Wi‑Fi devices work best for concrete wall coverage—mesh, extenders, or powerline?
For concrete walls, a mesh Wi‑Fi system is often the most reliable because it uses multiple nodes designed for coverage. Traditional Wi‑Fi extenders can work but may suffer from weaker backhaul and reduced throughput if they can’t “see” the main router well through the concrete. If running Ethernet is difficult, powerline adapters can be helpful for bridging access points, but performance varies based on your electrical wiring quality.
Why does my Wi‑Fi drop after passing through concrete, and how do I reduce interference?
Concrete absorbs and reflects radio waves, which lowers signal strength and can cause unstable connections and buffering. Reducing interference helps too—set your Wi‑Fi channels to less congested options, and consider separating your 2.4 GHz and 5 GHz networks to avoid band-hopping issues. Upgrading to a router with better antennas (beamforming) can also improve Wi‑Fi throughput through concrete walls.
What are the best router placement and settings for faster Wi‑Fi through concrete?
Place the router centrally in your home and elevate it (for example, on a shelf) so the signal has a more direct path through walls. Use WPA3 security and ensure firmware is updated, then adjust settings such as channel width—smaller widths (like 20–40 MHz on 2.4 GHz) can improve stability in thick-wall environments. If possible, add an access point on the other side of the concrete using Ethernet or a dedicated backhaul to create a strong local Wi‑Fi signal.
📅 Last Updated: October 11, 2026 | Topic: How to Improve Wi-Fi Through Concrete Walls | Content verified for accuracy and freshness.