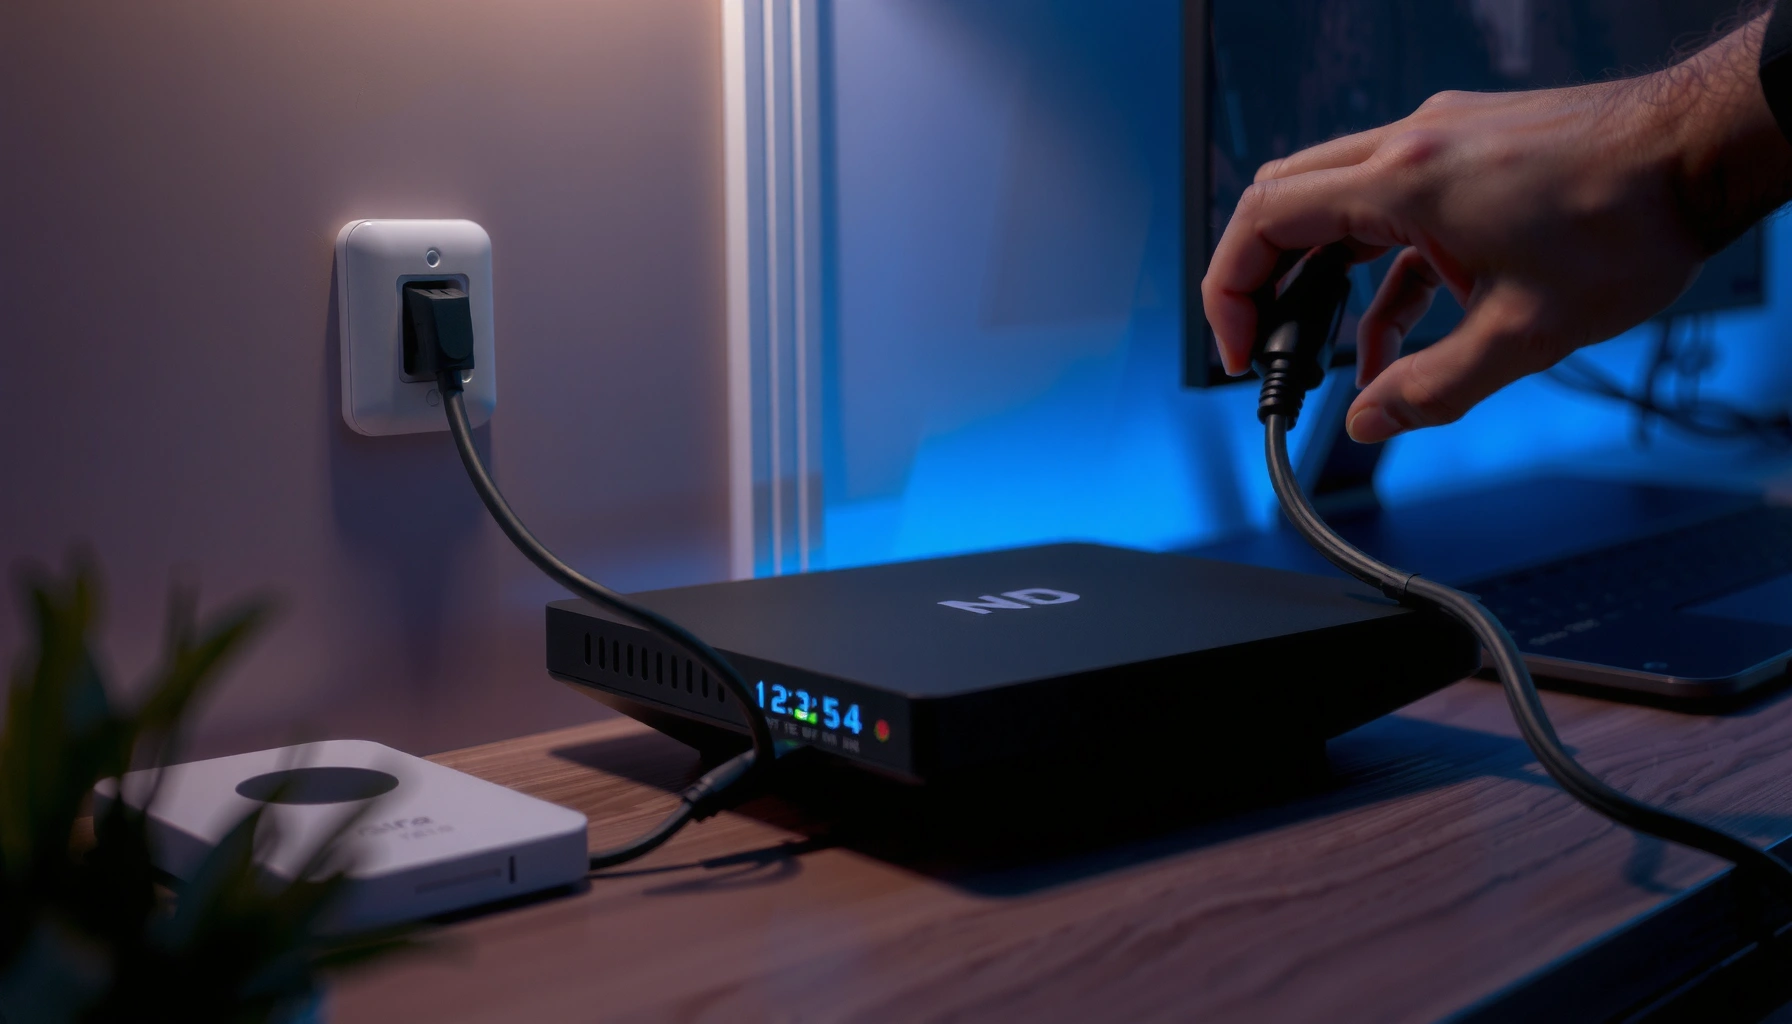
To move a mesh node, unplug it, relocate it within strong signal range of another node or the main router, then reconnect it and test coverage. For a wireless mesh connection, a location closer to the router beats one inside a dead zone if the node cannot maintain a reliable link. Here’s how to choose the right spot and check whether the move actually improves your Wi-Fi.
To move a Wi-Fi mesh node, unplug it, place it where it can still maintain a strong connection to the rest of the mesh, and reconnect its power and any required Ethernet cable. Check its status in your mesh system’s app, then test Wi-Fi in the area you want to improve; a simple relocation generally does not require a factory reset.
This guide is for moving an existing Wi-Fi mesh node within the same home or network—not editing a node in a 3D model. Moving the primary router or transferring a node to another network may require different steps.
Check the Node’s Role Before Unplugging It

Identify whether the mesh node is a satellite or the primary router, then check how it connects to the network. These details determine what you can disconnect and where the device can operate.
– Identify its role. The primary unit normally connects to your modem or internet gateway. Unplugging it interrupts internet access throughout the mesh; unplugging a satellite usually affects a smaller area, although other nodes may depend on it.
– Check its backhaul. Backhaul is the connection carrying traffic between mesh nodes. Wireless backhaul requires a reliable radio connection; Ethernet backhaul requires suitable network cabling at the destination.
– Check model-specific instructions. Do not delete the node from the app or select “reset” merely because its location changes.
Moving an existing mesh satellite within the same network generally does not require a factory reset.
A mesh node using Ethernet backhaul needs a compatible wired network connection at its new location.
Hardware matters. According to Google Nest’s technical specifications, Nest Wifi Pro has two 1 Gigabit Ethernet ports; according to eero’s specifications, the eero 6 extender has no Ethernet ports. According to TP-Link’s Deco X55 specifications, each X55 has three Gigabit ports. These are model specifications, not universal mesh features; verify the exact hardware revision when planning a move in 2026.
Move the Node to a Suitable Location
Place a wireless mesh node between a reliable mesh connection and the room needing coverage—not at the far end of the dead zone. A node cannot provide dependable internet access if its own connection is poor.
Choose an open shelf or similar manufacturer-approved position. Avoid enclosed cabinets, large metal objects, and locations behind televisions. Dense masonry, reinforced floors, and other obstructions can make a seemingly short distance unsuitable.
Unplug the power cable, move the node, and reconnect it using its proper adapter. For wired backhaul, reconnect Ethernet through the topology supported by the manufacturer; an available wall socket is useful only if it connects to the correct network.
A wireless mesh node must receive a usable backhaul connection before it can extend reliable coverage.
A mesh node’s Ethernet capabilities depend on its exact model, even within the same product family.
The following comparison uses manufacturer-published specifications. “Supported” means the model supports Ethernet backhaul—not that every cabling arrangement will work.
Ethernet Backhaul Capabilities of 7 Mesh Models
| # | Model | Ethernet Ports | Wireless Backhaul | Ethernet Backhaul |
|---|---|---|---|---|
| 1 | eero 6 router | 2 × Gigabit | Supported | Supported |
| 2 | eero 6 extender | 0 | Supported | Not supported |
| 3 | Nest Wifi router | 2 × Gigabit | Supported | Supported |
| 4 | Nest Wifi point | 0 | Supported | Not supported |
| 5 | Nest Wifi Pro | 2 × Gigabit | Supported | Supported |
| 6 | TP-Link Deco X20 | 2 × Gigabit | Supported | Supported |
| 7 | TP-Link Deco X55 | 3 × Gigabit | Supported | Supported |
Confirm It Reconnects and Improves Coverage
Confirm that the mesh node is online before judging its new position. Then check backhaul quality, where available, and test the activities that actually matter in the target room.
Allow the device to complete its startup sequence rather than repeatedly unplugging it. Status-light meanings and reconnection times vary: a color that indicates normal operation on one model may mean something different on another.
An online mesh node is not necessarily a well-connected mesh node; backhaul quality also affects performance.
Before-and-after Wi-Fi tests are more useful when the device, location, and network workload remain comparable.
Use a simple A/B comparison: test the old position, change only the node’s location, and repeat the same checks. Use the same phone or laptop, keep its position consistent, and avoid comparing an idle network with one handling large downloads. Check browsing, video calls, or streaming alongside speed tests. A router’s built-in internet test may not measure the wireless link to your phone.
What Can Go Wrong After the Move
Most relocation problems involve power, cabling, or a weak connection between nodes. Troubleshoot those conditions before removing the device from the mesh or attempting a reset.
– The node stays offline: Check its outlet, power adapter, Ethernet plugs, and distance from a working node. If necessary, return it to its previous position, then follow model-specific troubleshooting.
– Wi-Fi appears strong but feels slow: Your device may have a strong connection to the nearby node while that node has poor backhaul. Move the node closer to the working mesh or use supported Ethernet backhaul.
– Another room loses coverage: The moved node may have served other rooms or provided a connection for downstream nodes. Recheck the wider network before accepting the change.
Strong Wi-Fi bars measure the nearby wireless connection, not the quality of every link to the internet.
Relocating one mesh node can change coverage and connectivity elsewhere in the home.
When Moving a Node Is—and Isn’t—the Best Fix
Relocation is worth trying when a mesh node is obstructed or poorly positioned relative to the coverage gap. It is not the first fix for an internet connection that fails even beside the primary router.
- Relocation: low disruption, limited reach
- Moving existing equipment avoids buying hardware, but improving one room can weaken another.
- Ethernet backhaul: stronger placement flexibility
- A wired connection avoids relying on a weak wireless path, but requires compatible nodes and suitable cabling.
- Another access point: additional coverage
- An additional access point or compatible mesh node can serve a separate area, but adds cost and still needs a reliable network connection.
Moving a mesh node cannot repair an unreliable modem connection or an internet-service outage.
Ethernet backhaul can support node placement beyond a practical wireless backhaul path.
If service is unreliable near the primary router, investigate the modem, gateway, internet service, and—where practical—a wired connection first.
Save This Relocation Checklist
Keep the new location only if it improves the target area without unacceptable losses elsewhere. Record the original position so the change remains easy to reverse.
– Before moving: Identify the node’s role, check its connection type, note its current position, and capture available connection-quality readings.
– After reconnecting: Confirm online status and check connection quality using the manufacturer’s available tools.
– Before finishing: Test the target area and previously covered rooms; restore the old position if overall coverage becomes worse.
A successful mesh relocation improves useful coverage without creating a new connectivity problem elsewhere.
Recording the original mesh-node position makes an unsuccessful placement change easy to reverse.
Sources for Model-Specific Instructions
Use official documentation for your exact model and hardware revision. For a relocation in 2026, check current support instructions rather than assuming older app screenshots or light descriptions still apply.
– Setup, placement, and backhaul: See [Google Nest placement guidance](https://support.google.com/googlenest/answer/7183150), [Google Nest technical specifications](https://support.google.com/googlenest/answer/6280667), [eero 6 specifications](https://eero.com/shop/eero-6), and TP-Link’s [Deco X20](https://www.tp-link.com/us/home-networking/deco/deco-x20/#specifications) and [Deco X55 specifications](https://www.tp-link.com/us/home-networking/deco/deco-x55/#specifications).
– Status and troubleshooting: Consult [Google Nest’s light-status documentation](https://support.google.com/googlenest/answer/6191584), the [official eero support center](https://support.eero.com/), or [TP-Link support](https://www.tp-link.com/us/support/). Select the exact model for app readings, reconnection troubleshooting, and wired-backhaul requirements.
Manufacturer documentation is the appropriate reference for model-specific status lights and supported mesh wiring.
Mesh devices with similar names can have different Ethernet ports, placement requirements, and troubleshooting procedures.
Moving a mesh node is usually a placement adjustment, not a network rebuild. Start with a location that preserves a reliable connection to the mesh, verify the result in the app, and test the rooms that matter before making the move permanent.
Frequently Asked Questions
How do I move a mesh node in Blender without breaking my model?
Select the mesh node (vertex/edge/face) and switch to Edit Mode, then use the Move tool (G) to reposition it. If you use proportional editing (O), it will move nearby vertices smoothly instead of creating sharp distortions. To avoid breaking the shape, check connected topology and use edge loops or subdivision settings appropriately after moving.
What’s the best way to move a mesh node while preserving smooth shading and normals?
After moving the node, recompute or update normals so lighting reflects the new geometry—use the Normal tools (e.g., Recalculate Outside/Inside). If you’re seeing artifacts, verify whether the mesh uses Auto Smooth and adjust the angle threshold. For smooth results, ensure the moved node doesn’t create highly stretched triangles that can cause shading glitches.
Which controls should I use to move only specific parts of the mesh node (vertex, edge, or face)?
Use Blender’s selection modes: Vertex select, Edge select, or Face select, then move only what’s selected with G (or the Move tool). For precise placement, constrain movement by axis (X/Y/Z) and consider snapping (Shift+Tab) to align the mesh node to other geometry or a grid. If you need consistent distances, use Transform constraints like “3D Cursor” or adjust with numeric input.
Why does moving a mesh node cause geometry distortion or stretching, and how can I prevent it?
Distortion happens when connected vertices and edges stretch due to the mesh topology, especially on low-resolution or highly subdivided surfaces. To prevent unwanted deformation, move the node with constraints (axis or snapping) and consider using loop cuts to add supporting geometry before you reposition. You can also use weight-based tools or modifiers (where applicable) to maintain the intended surface curvature.
How do I move a mesh node and keep it aligned to a target surface or object?
Enable snapping and use Face/Vertex snapping so the moved node adheres to the target mesh surface. In Blender, you can also use the Shrink/Fatten or Align tools (and raycast-based snapping behavior) to ensure the node lands on the correct face. After snapping, verify the mesh node position visually and re-check normals to ensure shading remains correct.
📅 Last Updated: October 16, 2026 | Topic: How to Move a Mesh Node | Content verified for accuracy and freshness.
References
- https://en.wikipedia.org/wiki/Mesh_smoothing
- Laplacian smoothing
- VTK: vtkPoints Class Reference
- VTK: vtkTransformPolyDataFilter Class Reference
- VTK: vtkWarpVector Class Reference
- VTK: vtkWarpScalar Class Reference
- https://scholar.google.com/scholar?q=moving+mesh+nodes+finite+element+method Google Scholar
- https://scholar.google.com/scholar?q=mesh+smoothing+laplacian+smoothing+move+vertices Google Scholar
- https://scholar.google.com/scholar?q=ALE+mesh+movement+arbitrary+lagrangian+eulerian Google Scholar