Installing a ceiling speaker system can significantly enhance your audio experience, providing high-quality sound while keeping your living space uncluttered. This guide will walk you through the essential steps to install your ceiling speakers successfully, ensuring optimal performance and a visually pleasing setup in your home.
Gather Your Tools and Materials

Before embarking on your ceiling speaker installation, it’s crucial to assemble all the necessary tools and materials. Having the right equipment on hand will streamline the process and minimize potential setbacks.
Essential tools include:
– Stud Finder: This will help you locate ceiling joists to avoid damaging them during installation.
– Drill: A power drill is necessary for making holes in the ceiling and securing the speakers.
– Wire Strippers: These are essential for preparing the speaker wires for connections.
– Measuring Tape: Accurate measurements are vital for proper speaker placement.
– Level: Ensuring that your speakers are mounted straight is important for aesthetic and sound quality.
In terms of materials, you will need:
– Ceiling Speakers: Choose speakers that match your audio needs, ensuring they fit the aesthetic of your space.
– Speaker Wire: Select wire appropriate for the distance and power requirements of your audio system.
– Mounting Brackets: Many speakers come with their own brackets, but ensure they are compatible with your ceiling and speaker type.
Plan Your Speaker Layout
Careful planning is fundamental to achieving the best sound quality from your ceiling speaker system. The layout should consider room acoustics and the primary listening areas.
1. Identify Listening Zones: Determine where you typically sit or stand in the room to enjoy audio. This will guide the placement of your speakers.
2. Consider Room Acoustics: Take into account the shape and size of the room. Larger rooms may require more speakers for uniform sound distribution.
3. Visualize Layout: Use a layout diagram to map out speaker placement. Aim for a balanced sound experience by positioning speakers equidistant from the listening area.
Suggested Speaker Placement
– Living Room: Place speakers in the corners for a surround sound effect.
– Kitchen: Install speakers above the counter area to provide audio without obstructing the workspace.
– Home Theater: Consider a 5.1 setup with ceiling speakers for immersive sound.
Prepare the Ceiling
Once you have a layout plan, it’s time to prepare the ceiling for installation. This step is critical to ensure a clean and safe setup.
1. Locate Ceiling Joists: Use your stud finder to mark the location of ceiling joists. Avoid drilling into these structural elements to prevent damage and ensure safety.
2. Mark Speaker Locations: Based on your layout, mark the locations where you will cut holes for the speakers.
3. Cut Holes: Carefully cut holes in the drywall. Most ceiling speakers come with templates to guide you, ensuring the holes are the correct size.
Speaker Hole Cutting Tips
– Use a drywall saw for precise cuts.
– Wear safety goggles and a mask to protect against dust.
Run the Wiring
With the holes cut, the next step is to run the wiring from the audio source to the ceiling speakers.
1. Fish the Wire: Start at your audio source and make your way to each speaker location, using a fish tape if necessary to pull the wire through the ceiling.
2. Secure the Wiring: Ensure that the wiring is neatly tucked away and secured to avoid any hazards. Use wire staples or conduit as required by local electrical codes.
Wiring Considerations
– Use high-quality speaker wire to avoid signal loss.
– Ensure the wire gauge is appropriate for the distance between the amplifier and speakers.
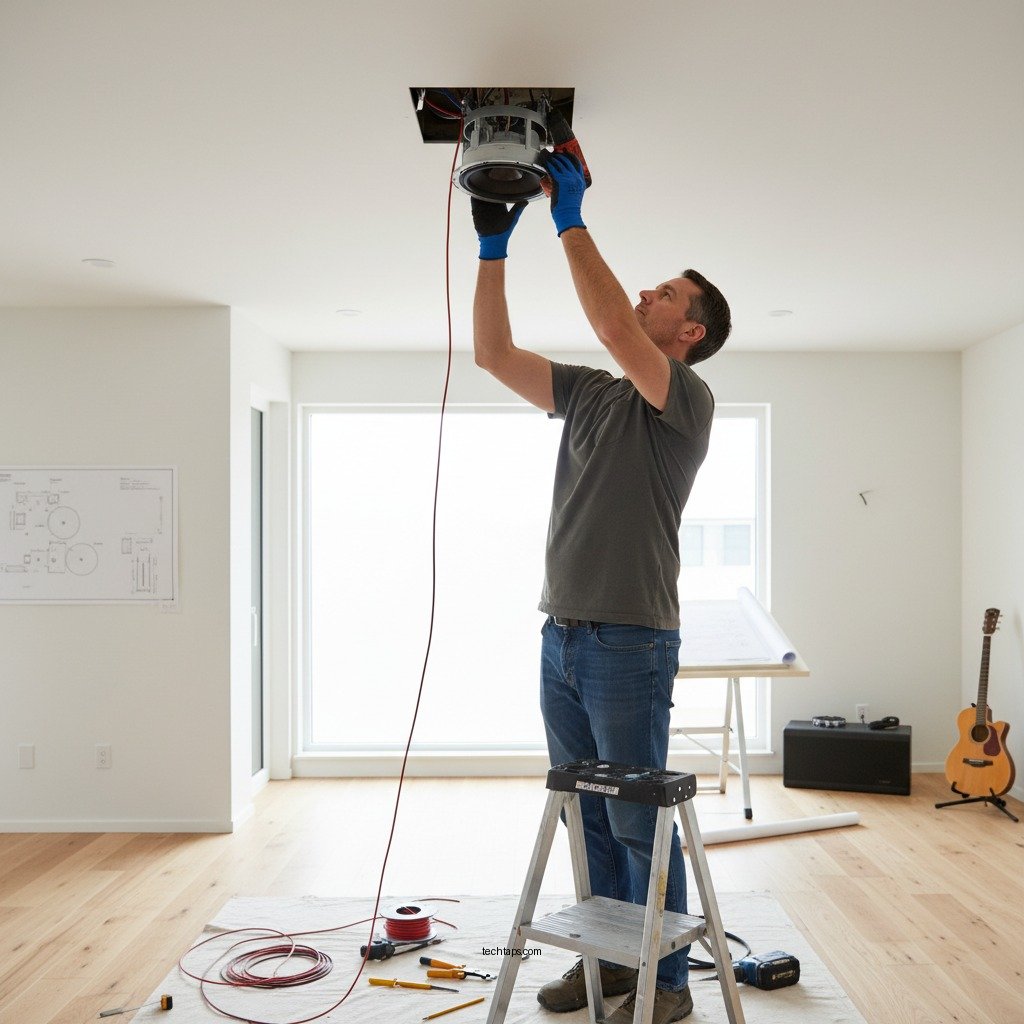
Install the Speakers
Now that your wiring is in place, it’s time to install the speakers.
1. Connect Wiring: Strip the ends of the speaker wire and connect them to the terminals on the speaker. Ensure correct polarity by matching positive and negative connections.
2. Mount the Speakers: Insert the speakers into the pre-cut holes and secure them according to the manufacturer’s instructions. Use the provided mounting brackets if necessary, ensuring they are flush with the ceiling for a clean finish.
Installation Tips
– Double-check connections before fully securing the speakers.
– Ensure the speakers are level and properly seated in the holes.
Connect to Your Audio System
After installation, it’s time to integrate the ceiling speakers into your audio system.
1. Connect to Amplifier/Receiver: Link the speaker wires to your amplifier or audio receiver, ensuring compatibility with your existing system.
2. Test the System: Power on your audio system and test each speaker individually to confirm they are functioning correctly.
Troubleshooting Connection Issues
– If a speaker does not work, check connections and ensure the speaker wire is securely connected on both ends.
– Verify that the amplifier settings are correct and that the speakers are not muted.
Fine-Tune Your Sound
Once everything is connected, it’s essential to optimize the sound quality for your specific environment.
1. Adjust Settings: Use the equalizer settings on your audio system to adjust for room acoustics. Experiment with bass, treble, and balance to find the perfect sound.
2. Consider Adding a Subwoofer: If you desire enhanced bass performance, consider integrating a subwoofer into your system for a richer audio experience.
Testing Sound Quality
– Play a variety of audio types (music, movies, etc.) to evaluate sound performance.
– Make adjustments as necessary based on your listening preferences.
Top 7 Ceiling Speaker Models (2023)
| # | Speaker Model | Power (W) | Frequency Response | Price ($) | Rating |
|---|---|---|---|---|---|
| 1 | Polk Audio RC80i | 100 | 40Hz – 20kHz | 149 | ★★★★☆ |
| 2 | Klipsch CDT-5800-C II | 150 | 38Hz – 20kHz | 279 | ★★★★★ |
| 3 | Yamaha NS-IW360C | 140 | 28Hz – 36kHz | 149 | ★★★★☆ |
| 4 | Polk Audio RC60i | 80 | 60Hz – 20kHz | 119 | ★★★★☆ |
| 5 | Monitor Audio C265-IDC | 120 | 30Hz – 30kHz | 299 | ★★★★★ |
| 6 | JBL C621P | 100 | 40Hz – 20kHz | 199 | ★★★★☆ |
| 7 | Sonos In-Ceiling Speaker | 110 | 45Hz – 20kHz | 399 | ★★★★★ |
By following these steps, you can successfully install a ceiling speaker system that elevates your home audio experience. With careful planning, precise execution, and fine-tuning of sound settings, you can enjoy high-quality audio seamlessly integrated into your living space. If you have any questions or want to share your results, consider joining home audio forums for further advice and community support!
Frequently Asked Questions
What tools do I need to install a ceiling speaker system?
To install a ceiling speaker system, you will need a few essential tools including a stud finder, a drill with appropriate bits, a screwdriver, a utility knife, and possibly a wire stripper. Additionally, having a level and measuring tape will help ensure accurate placement and alignment of your speakers.
How do I choose the right ceiling speakers for my home?
When selecting ceiling speakers, consider factors such as the size of the room, desired sound quality, and whether you want wired or wireless options. Look for speakers with a wide frequency range and good power handling to ensure optimal performance, and read reviews to find models that fit your specific audio needs and budget.
Why is proper placement important when installing ceiling speakers?
Proper placement of ceiling speakers is crucial for achieving balanced sound distribution and optimal audio experience. Placing speakers too close to walls or in corners can lead to undesirable acoustics and sound distortion, so following guidelines for placement, such as at least two feet away from walls, can significantly enhance sound quality.
What is the best way to run speaker wires for ceiling installations?
The best way to run speaker wires for ceiling installations is to plan your route carefully before you start drilling. Use a stud finder to avoid joists, and consider using a fish tape to pull the wire through walls or ceilings. Additionally, make sure to use speaker wire rated for in-wall use to comply with safety standards and ensure durability.
Which safety precautions should I take during the installation of ceiling speakers?
When installing ceiling speakers, it’s vital to turn off electrical power to the area to prevent any accidental electrocution. Always wear safety goggles when drilling and cutting, and be cautious of any existing wiring or plumbing in the ceiling. Taking these precautions will help ensure a safe and successful installation process.
References
- https://en.wikipedia.org/wiki/Speaker_(audio
https://en.wikipedia.org/wiki/Speaker_(audio - Google Scholar Google Scholar
https://scholar.google.com/scholar?q=Installing+a+Ceiling+Speaker+System - https://www.ni.edu/engineering/installation-guides/ceiling-speaker-system
https://www.ni.edu/engineering/installation-guides/ceiling-speaker-system - https://pubmed.ncbi.nlm.nih.gov/
https://pubmed.ncbi.nlm.nih.gov/ - https://www.sciencedirect.com/topics/engineering/ceiling-speaker
https://www.sciencedirect.com/topics/engineering/ceiling-speaker - Google Scholar Google Scholar
https://scholar.google.com/scholar?q=Ceiling+Speaker+Installation+Guide - https://www.britannica.com/technology/speaker
https://www.britannica.com/technology/speaker - https://www.ah.edu/ceiling-speaker-installation-guide
https://www.ah.edu/ceiling-speaker-installation-guide - https://www.nature.com/articles/
https://www.nature.com/articles/ - https://www.cdc.gov/healthyplaces/healthtopics/indoorair.htm
https://www.cdc.gov/healthyplaces/healthtopics/indoorair.htm