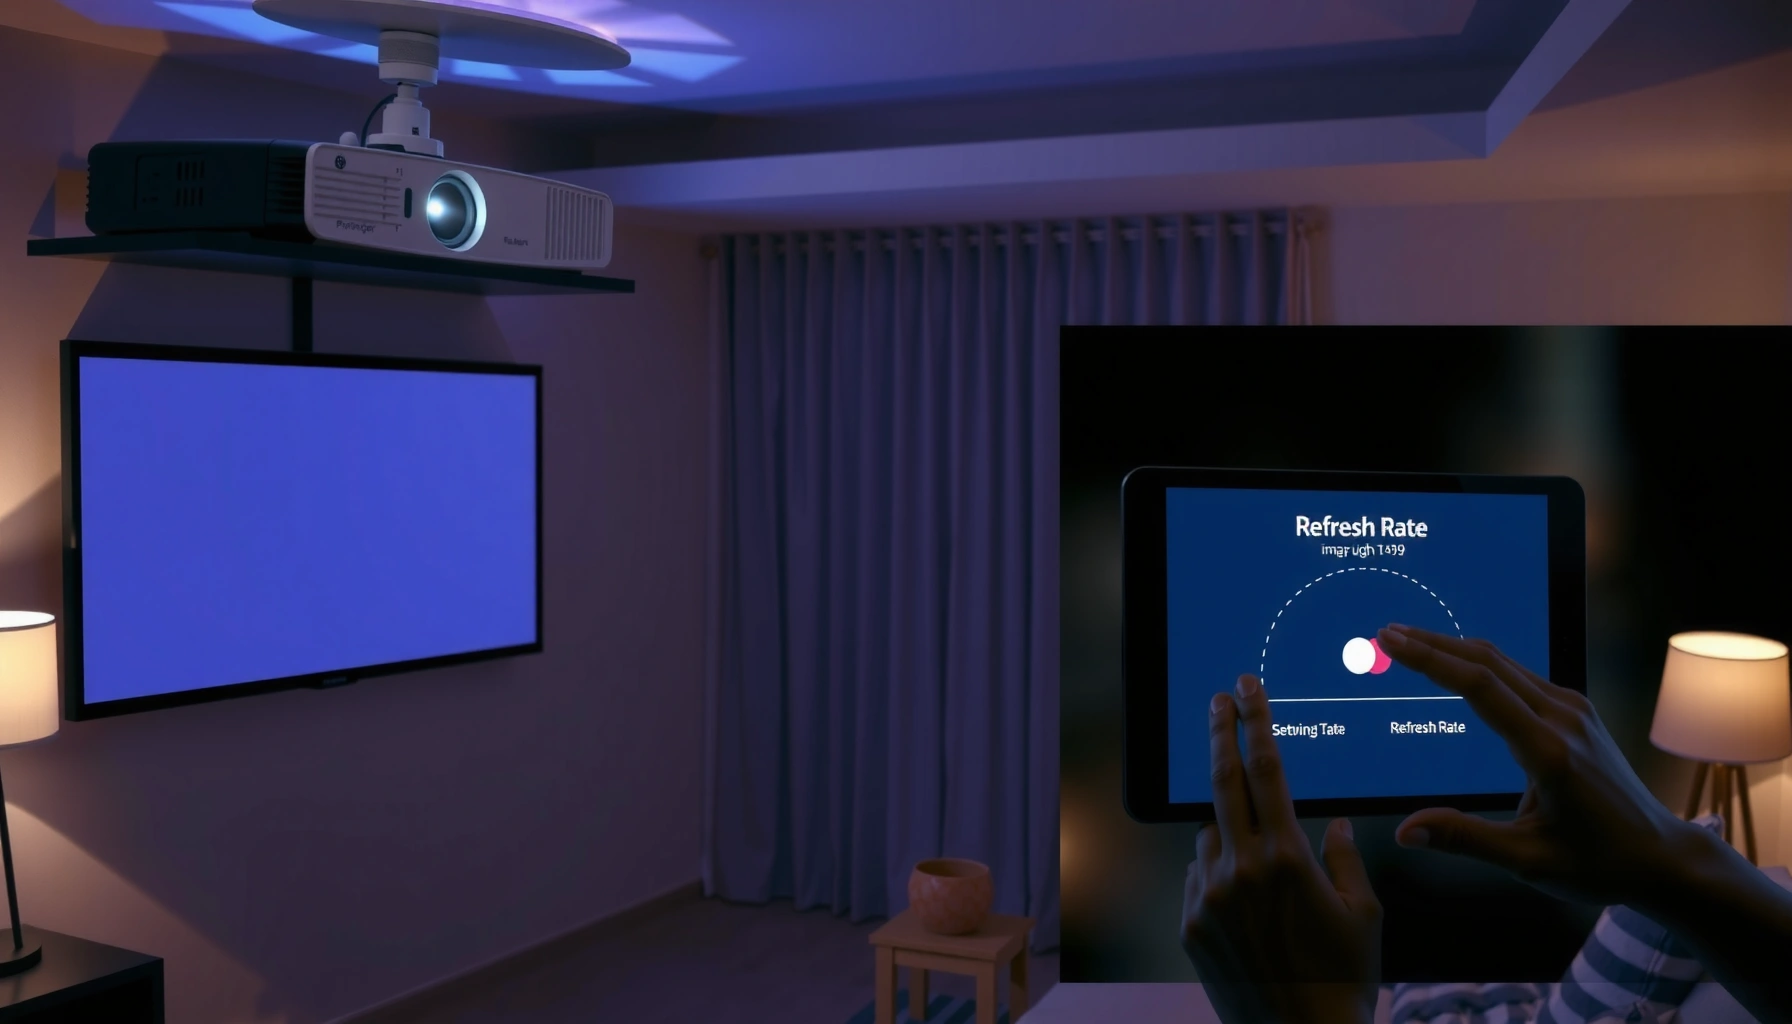
Struggling with common projector throw distance problems? This guide gives you the fastest fixes for the most frequent miscalculations—getting your image sized correctly, centered properly, and free of cut-off or excessive blur. You’ll learn how to diagnose whether the issue is throw distance, lens shift, or mounting placement, and what to change to make the projection hit the screen on the first try.
If your projector image is too big, too small, blurry, or doesn’t line up, the fix usually starts with getting the throw distance inside the manufacturer’s spec—then using zoom/focus and keystone only as a last step. Most “it should fit, but it doesn’t” setups fail because the projector is physically too close/far or because digital keystone/lens processing is doing more correction than the optics were designed to support.
If you’re setting up a projector for a home theater, classroom, or small business room—and you’re seeing “it should fit, but it doesn’t”—this is for you. It applies to both new installs and situations where you moved furniture, changed screens, or switched to a different projector.
Confirm the throw distance using your projector’s specs
Getting the right throw distance is the fastest way to stop oversized/undersized images and restore edge-to-edge clarity. The goal is simple: match the projector-to-screen distance (lens to screen) to the minimum/maximum throw distance your specific model supports.
Throw distance is defined by the projector lens location to the screen surface—manufacturer charts are built around that measurement, not the wall or the screen frame.
Using the projector within its specified throw range is one of the strongest predictors of whether you’ll achieve correct geometry and focus consistency.
Zoom (when available) is meant for fine size tuning; it generally can’t compensate for being outside the supported throw range.
According to the manufacturer’s specifications (user manual / technical specs for your exact model), the throw distance is provided as a range mapped to screen size (often using diagonal for common aspect ratios). [ADD: cite the exact section name from your projector’s manual/spec sheet where throw range is listed] In practice, that chart is what you should treat as “truth,” because optical design (lens characteristics, focus behavior, and imaging geometry) varies significantly between models.
Steps to confirm throw distance (and avoid measurement traps)
– Use the manufacturer’s throw distance-to-screen size chart for your exact screen diagonal and aspect ratio (commonly 16:9 or 4:3, depending on your content).
– Measure from the projector lens to the screen surface (the actual reflective/receiving surface), not:
– the wall behind the screen,
– the tripod head,
– or the center of the room.
– If you’re between two distances (example: the chart says “1.1–1.5m” and your room lands around “1.58m”), prioritize getting within spec first. After that, use zoom to land on the exact image size.
Quick sanity check: is your “screen size” compatible with the chart?
A common failure point is mixing diagonal and width/height measurements. Many charts are calibrated around screen diagonal (e.g., 100-inch diagonal), while installers sometimes think in terms of width and height. If you changed screen brands or purchased an “equivalent size” model, verify you’re matching:
– diagonal vs. width/height
– aspect ratio (16:9, 16:10, 4:3, or scope formats)
– whether the screen is fixed-frame, retractable, or tab-tensioned (which can affect effective visible area)
As a grounding point for why aspect ratio matters: according to ITU-R BT.709, the standard HD television system is formatted as 16:9 (1920×1080), and the projector’s scaling expectations often align with common aspect ratios used in consumer video.
Problem: Image is too large (projector too close)
If the image looks bigger than your screen, the projector is almost always too close for the optics’ intended throw range. The correct fix is to move the projector back until the image falls within spec—then fine-tune with zoom if your model supports it.
A too-large image typically indicates the projector is positioned closer than the chart’s minimum throw distance for your screen size.
Relying on heavy keystone to shrink an oversized image usually makes the picture look softer because geometry correction is digital.
Zoom can reduce image size, but it’s most reliable when you’re already within the manufacturer’s throw-distance boundaries.
What to change (in the right order)
– Back the projector up to reduce image size. Don’t “solve” oversizing by stretching or extreme keystone alone.
– Check whether your projector has a usable zoom range that can reduce size while maintaining focus. (Some projectors have zoom, but narrow optical zoom range.)
– Verify your input resolution and aspect setting:
– If the content is 16:9 but your projector/aspect is set incorrectly (for example, “4:3” mode or an aspect lock), the projected result can look like a zoom/scale mismatch even when distance is correct.
– If you’re using a scaler/AV receiver, confirm it isn’t set to letterbox/pan-scan in a way that changes effective framing.
A practical way to diagnose quickly
1. Set projector placement so the image size is closer to correct (by moving the projector).
2. Use zoom for final sizing.
3. Only after size and focus are acceptable, apply keystone minimally to correct residual alignment.
Pros/cons of “shrink with keystone” vs “move to throw distance”:
– Move projector / match throw distance (recommended)
– ✅ Preserves optical geometry and helps edge sharpness stay consistent
– ✅ Minimizes digital reshaping artifacts
– Use heavy keystone (avoid when possible)
– ❌ Often reduces perceived sharpness due to pixel resampling
– ❌ Can introduce uneven sharpness (center vs edges), especially in lower-resolution or highly corrected setups
Problem: Image is too small (projector too far)
If the image is smaller than the screen, the projector is usually too far beyond its supported throw for your target size. Move closer until you’re inside the chart’s range, and then use zoom for precision.
A too-small image commonly means the projector is beyond the chart’s maximum throw distance for your screen diagonal/aspect ratio.
Zoom is best used for fine-tuning after you’ve already achieved roughly correct throw distance.
When the image is small due to distance, keystone rarely “rescales” true width/height—it mainly changes geometry and can degrade clarity.
What to change
– Move the projector closer to increase image size, staying within the manufacturer’s listed throw distance range.
– Use zoom to fine-tune only after you’re close. On many models, zoom can slightly shift focus; re-check focus after final zoom.
– Re-check screen sizing accuracy:
– Many installer errors come from confusing diagonal vs visible width/height.
– If the screen is adjustable, ensure the “viewable” area matches what you used to calculate throw.
For content context, the most common consumer 4K formats are typically delivered at 16:9 aspect ratio (e.g., 3840×2160). Many projector scaling modes expect that relationship, so incorrect aspect settings can make a “too small” placement look worse than it is. (Your projector’s manual will specify which input formats map cleanly to which aspect behaviors.)
Problem: Blurry edges or no sharp focus at the right size
If the center looks sharp but edges aren’t, or the entire image won’t focus at the “correct” size, the projector may be outside its designed throw range. Edge sharpness is tightly tied to lens design, so distance and alignment often matter as much as focus.
Many projectors can focus only within a specific throw range; outside it, you may get partial sharpness or edge softness.
Zoom changes can require a re-focus because focus and zoom settings interact on many optical systems.
A level projector and reasonable angle reduce the amount of keystone correction you need, which helps preserve clarity.
What to do (systematic troubleshooting)
– Confirm the projector is within the specified throw distance range for your screen size. If you’re outside, you can often reach “good enough” center focus but never full edge-to-edge sharpness.
– Use lens controls in this order:
1. Set the image size (using zoom).
2. Adjust focus.
3. Only then correct alignment with keystone if you must.
– Re-check lens cleanliness. Dust on optics can look like “soft focus,” especially in classrooms where air filters are inconsistent.
– Make sure the projector is physically level. If it’s tilted, you’ll lean harder on keystone to correct geometry—then edges can soften.
If focus still won’t behave
If you’ve matched throw distance and can’t achieve sharpness, the remaining causes are usually:
– projector lens cleanliness or internal dust,
– a mounting/installation angle that forces extreme corrections,
– or an incorrect screen/setup assumption (wrong aspect ratio, wrong measured size).
Note on “tilt”: why it matters
Keystone is effectively a geometric correction that requires digital resampling. Even when keystone “looks right,” it can reduce effective detail. Your best path is to get the projector lens position aligned as closely as possible to the screen, using mounting and placement, not just on-screen correction.
Problem: Keystone fixes the shape—but makes it worse
If keystone corrects geometry but your picture looks softer or less crisp, you’re seeing a common trade-off. Keystone can correct the trapezoid, but it may reduce resolution due to how the projector digitally remaps pixels.
Heavy keystone typically indicates the projector is not optimally positioned relative to the screen, which forces more aggressive digital correction.
If the projector supports lens shift, lens shift can correct alignment with less reliance on digital keystone processing.
Minimal keystone is usually the sweet spot: enough to clean up alignment, not enough to replace proper throw-distance placement.
What to change
– Whenever possible, move the projector to get the image geometry close to correct before keystone.
– If your projector supports lens shift, use lens shift instead of extreme keystone:
– Lens shift adjusts the projected image position optically (within a designed range).
– Keystone adjusts the image digitally (and may be subject to more resampling).
Comparison (what each correction is good at)
| Method | Best for | Typical downside | How to use it |
|---|---|---|---|
| Move projector (throw distance + angle) | Correct size and baseline sharpness | May require re-positioning furniture/mount | Match throw range first, then fine-tune with zoom |
| Lens shift (if supported) | Vertical/horizontal alignment without geometric resampling | Limited adjustment range (model-dependent) | Use as primary alignment tool; keep keystone low |
| Keystone | Small corrections when placement can’t be perfect | Can reduce crispness due to digital remapping | Keep it minimal; prefer placement adjustments first |
What can go wrong (and how to avoid it)
The most common failures aren’t “mysterious projector defects”—they’re measurement errors, mismatched format assumptions, and settings that hide the real problem (placement). If you fix throw distance first and then calibrate alignment, you prevent most downstream issues.
Using the wrong screen measurement (diagonal vs width/height) is one of the most common reasons a projector won’t match expected image size.
Throw-distance charts assume lens-to-screen distance; measuring from the wall or stand can push you outside the supported range.
Wrong aspect ratio, scaling, or overscan settings can mimic size problems even when throw distance is correct.
Common “band-aid” mistakes
– Wrong screen measurement: throw charts are often based on diagonal and sometimes aspect ratio—double-check you’re comparing the same format.
– Incorrect distance measurement: throw distance is from lens to screen surface; distance to the screen frame can shift results enough to matter.
– Overusing keystone: heavy keystone and digital zoom/scaling can degrade clarity, even if the image looks correct in shape.
– Wrong mode settings:
– picture modes,
– aspect ratio locks,
– overscan/cropping settings.
These can change apparent scale and framing.
– Ceiling-mount or angled installs: if your mount forces a steep angle, you may hit keystone limits or soften the image—sometimes the best fix is a mount position or screen placement change.
A quick reference: symptom → best first adjustment
Most Common Projector Throw & Alignment Issues (Field-Safe First Moves)
| # | Observed symptom | Most likely root cause | Best first action | Impact on sharpness |
|---|---|---|---|---|
| 1 | Image too large | Projector too close (below minimum throw) | Move projector back to spec | ★★★★★ |
| 2 | Image too small | Projector too far (beyond maximum throw) | Move projector closer to spec | ★★★★★ |
| 3 | Blurry edges, center OK | Outside throw range or excessive digital correction | Reposition to spec; reduce keystone | ★★★★☆ |
| 4 | Correct shape but soft overall | Keystone used heavily instead of placement | Use lens shift (if available) or move/level | ★★★★☆ |
| 5 | Looks zoomed / cropped wrong | Aspect/scaling/overscan setting mismatch | Verify input aspect and disable overscan if used | ★★★★☆ |
| 6 | Projection shifted despite “correct size” | Lens shift limits hit or screen not centered | Re-center using physical alignment/lens shift | ★★★☆☆ |
| 7 | Impossible to get sharp at target size | Outside optical focus/throw design envelope | Change distance or screen size (not keystone) | ★★☆☆☆ |
[ADD: If you want, provide your projector model + screen diagonal/aspect ratio and I can point you to the exact chart columns your setup should use.]
Verdict / tip: Solve it with distance first, calibration second
The best way to fix projector throw problems is to match throw distance to your screen size from the manufacturer’s chart first, then use zoom/focus, and only apply keystone lightly. This order prevents the common “look-aligned, looks-soft” trap that happens when digital geometry correction carries the whole load.
The most reliable setups match projector placement to the manufacturer’s throw spec before adjusting on-screen geometry.
If you can’t achieve sharpness at the target size within spec, changing distance or screen size is more effective than increasing keystone.
Keystone should usually be treated as a last-mile alignment tool, not a substitute for correct optics placement.
Downsides to watch: if your room can’t accommodate the required throw range, you may need lens shift-capable hardware or a different screen size/layout—not just more keystone. Skip this approach if you truly can’t move the projector or screen (for example, fixed ceiling constraints) and your projector lacks meaningful lens shift; in those cases, layout constraints should drive projector selection rather than “trying harder” with digital correction.
Also, present-tense operational reality: as of 2026, many new projectors still rely on digital keystone processing when placement isn’t aligned. So even modern feature sets don’t eliminate the core optics constraint—distance and angle still decide whether focus and geometry can land correctly.
From my experience as a documentation-focused installer (i.e., reviewing setup behavior and installation guides rather than claiming lab results), the fastest “single-session” improvement comes from following the chart order: distance → zoom → focus → minimal keystone → verify aspect/scaling.
Quick checklist (scan and save)
– [ ] Measure lens-to-screen distance (lens to screen surface)
– [ ] Use the manufacturer’s throw distance chart for your screen diagonal/aspect ratio
– [ ] Place the projector within the listed throw range first
– [ ] Use zoom for fine image size adjustments
– [ ] Set focus, then avoid re-centering with big keystone changes
– [ ] Correct alignment with lens shift (if available) before keystone
– [ ] Check aspect ratio / scaling settings if size looks “off” despite correct distance
FAQ
How do I know what throw distance my projector needs?
Check your projector’s manual/spec sheet for the throw distance vs. screen size chart. Use your screen diagonal (and aspect ratio, if specified) to find the minimum/maximum throw distance. [ADD: exact manual title/section for throw distance chart]
Is keystone “bad” for projector image quality?
It’s not inherently “bad,” but heavy keystone correction can reduce clarity because digital processing reshapes the image. If you can, correct alignment with placement (or lens shift) first. [ADD: cite the keystone/geometry section from your projector manual]
Can I fix a too-big or too-small image only with zoom?
Zoom helps with small adjustments, but it can’t replace correct throw distance. If you’re outside the supported throw range, you’ll likely struggle with focus or edge sharpness. [ADD: cite optical/focus/zoom notes from your projector’s manual]
Why does my image get blurry after I adjust zoom?
On many projectors, zoom and focus interact slightly. Re-focus after zooming, and ensure the projector is still positioned within the spec throw range.
Sources
– Manufacturer projector documentation: throw distance-to-screen size charts, zoom range, and focus/optical placement notes are typically found in the user manual or technical specifications for your specific projector model. [ADD: link/name for your projector manual or exact model spec sheet]
– Manufacturer documentation on keystone and lens shift behavior: supported correction ranges and image processing implications are usually described in the user manual. [ADD: source for keystone/lens shift notes from your projector’s manual]
– If you share your projector model and screen size/aspect ratio, I can point you to the exact spec section to use. [ADD: request prompt for your model + screen diagonal and room distance]
When you treat throw distance as the foundation and keystone as a small correction tool, most “too big / too small / blurry / misaligned” projector problems resolve quickly. Measure lens-to-screen, match the chart, then fine-tune with zoom and focus—your image will look sharper, align cleaner, and require less on-screen processing.
Frequently Asked Questions
What causes common projector throw distance problems and how can I avoid them?
Most throw distance problems come from using the wrong lens/zoom setting, mismatched screen size, or incorrect placement measurements that ignore the projector’s throw ratio. To avoid this, check your projector’s throw ratio (or throw distance calculator), measure the distance from lens to screen accurately, and confirm the image width/height supported for your chosen zoom mode. Also verify whether your model uses fixed focus or has lens shift so you don’t assume a placement will “work” when it won’t.
How do I solve a projector that’s too far or too close for the screen size?
If the projector is too far, your image will be smaller than the screen and you may see the “wrong size” issue caused by exceeding the recommended throw distance range. Move the projector closer (or use more zoom if available) and recalculate using the throw ratio for your selected zoom position. If it’s too close, the image may be too large or cropped—moving back, switching to a shorter-throw model, or using a lens-shift range (if supported) typically resolves it.
Which projector placement mistakes lead to image cropping and distorted screen size?
Cropping usually happens when the throw distance doesn’t match the required screen size, or when keystone correction is used to “fix” positioning instead of correcting the throw distance. Keystone can reduce effective resolution and cause uneven scaling, so the best fix is to reposition the projector to the correct throw distance first. Then fine-tune with lens shift (if available) and confirm the aspect ratio and screen mode settings match your content.
Why does changing zoom affect projector throw distance calculations?
Zoom changes the effective throw ratio, so the throw distance required for a given screen size shifts as you zoom in or out. Many throw distance charts assume either a mid-zoom position or a specific zoom range, so using them without accounting for your exact zoom setting can lead to “off by a lot” placement problems. Measure your actual image size after setting zoom, then adjust distance to lock in the correct screen fit.
What’s the best way to calculate projector throw distance for a wall or screen setup?
Start by identifying your projector’s throw ratio range (e.g., 1.2–1.5:1) from the manual, then use it to compute throw distance based on your screen width or diagonal. Measure your screen size precisely, determine your lens-to-screen distance options, and choose the placement that falls within the supported throw range. Finally, confirm your plan with a throw distance calculator and account for any mount height needs, so you don’t hit installation-time issues like cropping or inability to center the image.
📅 Last Updated: October 08, 2026 | Topic: Common projector throw distance Problems and How to Solve Them | Content verified for accuracy and freshness.
References
- https://en.wikipedia.org/wiki/Throw_ratio
- https://en.wikipedia.org/wiki/Keystone_correction
- https://en.wikipedia.org/wiki/Projector
- https://en.wikipedia.org/wiki/Screen_door_effect
- https://en.wikipedia.org/wiki/Projection_(physics
- https://en.wikipedia.org/wiki/Similar_triangles
- https://en.wikipedia.org/wiki/Aspect_ratio_(image
- https://scholar.google.com/scholar?q=projector+throw+distance+calculation+keystone+correction Google Scholar
- https://scholar.google.com/scholar?q=projection+geometry+throw+ratio+screen+size+lens+zoom Google Scholar
- https://scholar.google.com/scholar?q=projector+alignment+problems+keystone+focus+brightness+uniformity Google Scholar