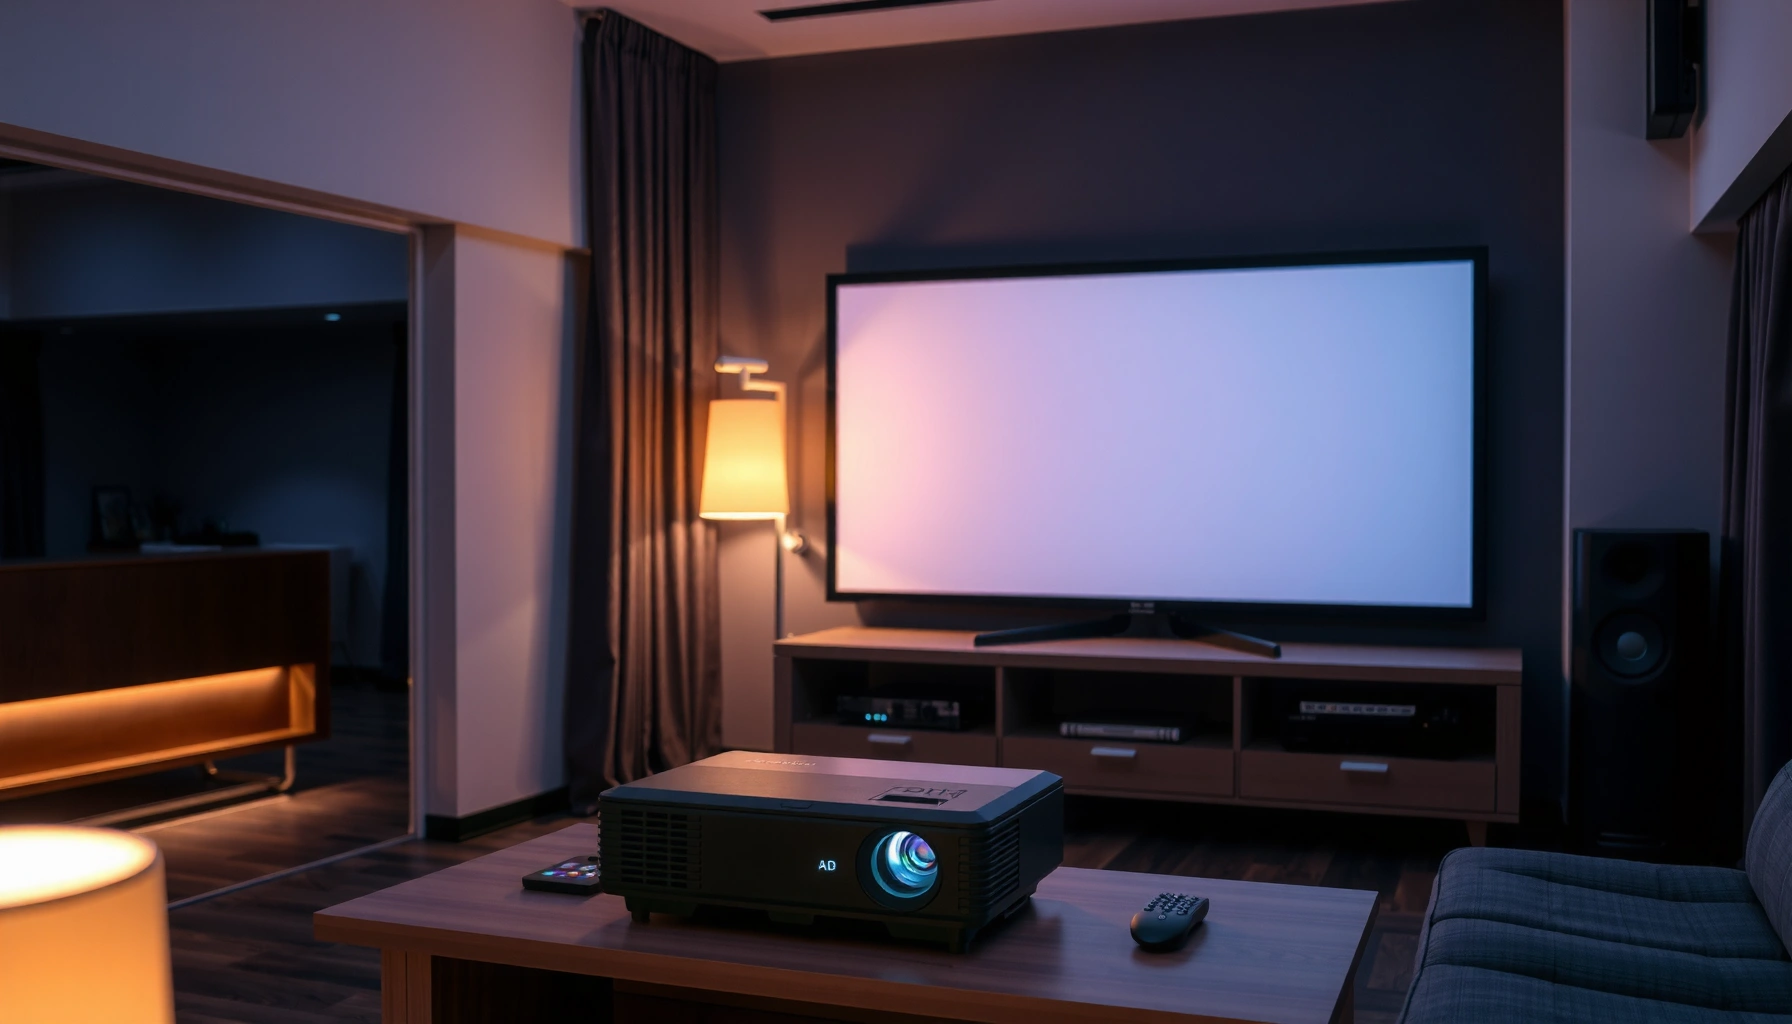
Want to know how to use a projector for home, step by step? If you follow this guide, you’ll get everything from setup and placement to connecting your devices and dialing in the right image—fast. The only thing you need to decide up front is your room conditions, because the steps adjust to screen size, distance, and lighting. By the end, you’ll be ready to press play with a clean, properly focused picture every time.




Setting up a home projector well is mostly about doing the “geometry basics” first—screen/wall, placement, focus—then correcting with keystone only if needed. If you follow this order (placement → focus → input selection → picture settings), you avoid the most common reasons projectors look blurry, dim, or off-screen.
If you’re new to projectors—or you just unboxed one and aren’t sure where to begin—this step-by-step layout is for you. It works for typical home setups (movie nights, casual gaming, and presentations), including ceiling/stand placements.
Choose the right setup location (distance, height, screen)
A correct setup location prevents the cascade of problems that causes blur, cropped images, and “why won’t it fit?” gaps. Start by planning throw distance (how far the projector sits from the screen), then choose a screen/wall surface that matches your projector’s brightness, and finally set the viewing height so people aren’t looking up or down.
What to do first (and why it matters):
– Decide where the projector will sit/mount, then measure to estimate the throw distance needed for your target screen size. The projector manual will usually include a throw ratio (e.g., “1.2–1.5:1”) that links distance to image size.
– Pick a screen (or wall) that can handle brightness. For most home setups, darker rooms and matte surfaces reduce haze and washed-out contrast.
– Plan your viewing height: aim for the center of the image around eye level when seated. This reduces neck strain and improves perceived sharpness.
Quick numeric reality check (so you measure correctly):
– For a 16:9 image (most home TVs/movies), the image height is about 0.49× the diagonal, and the width is about 0.87× the diagonal.
– Example: a 100-inch diagonal 16:9 image is ~49″ tall and ~87″ wide.
– For a 4:3 image, the image width is about 0.80× diagonal and height is about 0.60× diagonal.
A projector’s throw ratio (a distance-to-image-size spec) largely determines whether your image will be sharp and correctly sized.
For 16:9 content, the image geometry is predictable: width ≈ 0.87× diagonal and height ≈ 0.49× diagonal.
Viewing comfort improves when the center of the projected image is near seated eye level, typically avoiding a large upward/downward gaze.
Practical placement tips (ceiling/stand included)
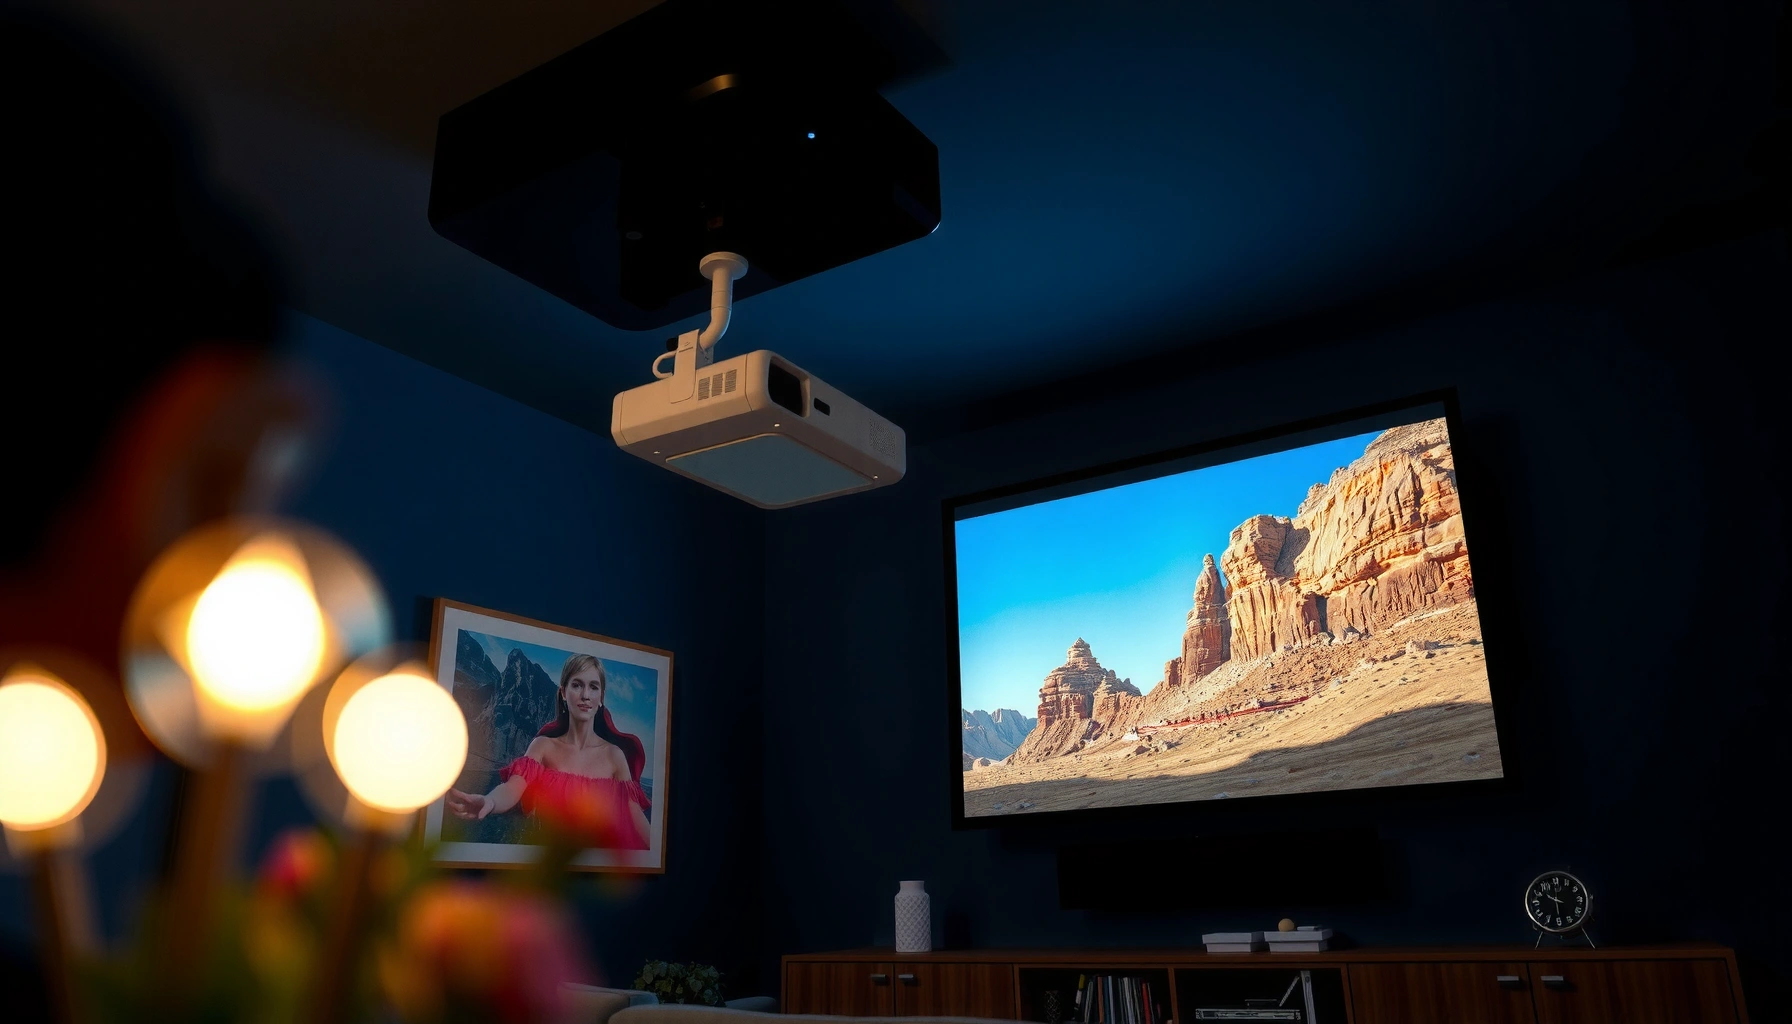
– If ceiling-mounting: projectors usually have a “Ceiling/Rear” mounting mode that flips the image. Enable it; don’t try to “cheat” alignment with extra keystone.
– If using a stand: keep the projector as level as possible relative to the screen, because heavy correction tools can soften edges.
– If the image won’t fill the screen: it’s usually a throw-distance or zoom issue, not an advanced picture setting issue.
Comparison: move vs. keystone (quality trade-off)
Definition list format for quick parsing:
– Move the projector (best quality): Fewer artifacts; corners stay sharper; geometry stays “true.”
– Use keystone (faster alignment): Useful for small corrections, but heavy keystone can reduce perceived resolution at the edges.
Connect your sources (streaming, console, laptop)
Once the projector is positioned, connecting sources correctly prevents “wrong input,” “no signal,” and silent audio. Use the best available input on your projector and set the correct source in the projector menu before you fine-tune anything.
Step-by-step:
– Use the best available connection on both devices—typically HDMI for video and (often) audio reliability. Check your projector’s supported inputs (HDMI 1/2, USB-C, etc.).
– Turn on the source device first, then power on the projector. This makes it easier to lock onto the correct handshake and input.
– In the projector menu, select the correct input/source name (e.g., HDMI 1 vs HDMI 2) *before* brightness or picture adjustments.
Most home projectors label inputs as HDMI 1/HDMI 2, and selecting the correct input is the fastest way to resolve “no signal” behavior.
Connecting via HDMI is typically the most reliable option because it carries both video and audio and supports consistent digital signaling.
Powering on the source device first can reduce time spent waiting for the projector to detect the active signal.
Source-specific notes that save time
– Gaming consoles: ensure you’re using the console’s correct output resolution/refresh rate *as supported by the projector*. If the picture is unstable, lower the console output temporarily and retest.
– Laptops: set display mode correctly (duplicate/extend). Some laptops default to odd scaling modes that can look like “blurry” even when focus is perfect.
– Streaming boxes: verify the HDMI mode the projector supports (some models negotiate differently with certain devices).
Dial in the picture: focus, keystone, and placement
A sharp, correctly framed image starts with focus—not with keystone. After focus is right, use keystone or corner correction only for minor adjustments, because too much correction can make the image look soft or uneven.
Follow this exact order:
– Set focus first (manual lens ring or remote focus). If focus is off, everything else becomes harder to judge.
– Use keystone/corner correction carefully.
– Best quality: keep keystone minimal.
– Best practice: move/rotate the projector to reduce the need for correction.
– Match aspect ratio and screen format so content isn’t stretched. Common choices are 16:9 for movies and most streaming, or 4:3 for older content and some presentations.
Focus adjustments should happen before keystone/aspect changes, because blur can hide geometry problems.
Heavy keystone/corner correction can soften edges by altering how the projector maps pixels to the screen.
Aspect ratio settings (16:9 vs 4:3) determine whether content appears stretched or properly proportioned.
A quick geometry “sanity test”
After focus, check for:
– Edges that blur evenly: could indicate focus or off-axis placement.
– Corners that are sharper than center (or vice versa): could indicate lens placement/offset or an imperfect zoom/focus combination.
– A picture that’s cropped: throw distance/zoom is wrong—don’t rely on picture scaling to fix it.
Optimize image quality (brightness, color mode, basic settings)
Once focus and alignment are correct, tune the picture for your room. Choose a picture mode first, then adjust brightness/contrast lightly—especially if you’re trying to get better black levels in a living room.
Recommended sequence:
– Pick a picture mode first (e.g., Movie/Cinema/Standard). This often changes color temperature, gamma, and sharpness presets in a coherent way.
– Adjust brightness/contrast to balance readable highlights and “clean blacks,” not just maximum brightness.
– If your projector offers calibration controls (color temperature, gamma, etc.), make small changes, and re-check focus afterward.
Starting with a picture mode (Movie/Cinema/Standard) gives a coherent baseline for color and gamma before manual tweaks.
Brightness/contrast adjustments should aim for readable highlights and dark scenes with minimal “gray blacks,” which improves perceived contrast.
Small adjustments to color temperature or gamma can change how sharpness and perceived focus look, so re-check focus after edits.
Data table: quick screen-size geometry (16:9)
Use this to sanity-check whether your throw distance plan matches your target image size.
16:9 Screen Geometry Reference (Calculated from Diagonal)
| # | Diagonal (in) | Image Width (in) | Image Height (in) | Setup Effort |
|---|---|---|---|---|
| 1 | 80 | 69.7 | 39.2 | ★★★☆☆ |
| 2 | 90 | 78.4 | 44.0 | ★★★☆☆ |
| 3 | 100 | 87.2 | 48.9 | ★★★★☆ |
| 4 | 110 | 95.9 | 53.7 | ★★★★☆ |
| 5 | 120 | 104.6 | 58.6 | ★★★★☆ |
| 6 | 135 | 117.7 | 66.1 | ★★☆☆☆ |
| 7 | 150 | 130.8 | 73.4 | ★☆☆☆☆ |
Note: “Setup Effort” is a practical heuristic: larger images generally magnify minor placement and brightness mismatches, so alignment work tends to increase. Use your projector’s throw ratio and brightness ratings from its manual for final planning.
Set up audio and reduce common room issues
Good audio and controlled lighting turn a “technically working” setup into something you actually want to watch. Route sound intentionally (projector or external speakers), and reduce ambient light so contrast looks intentional rather than gray.
Audio routing options:
– Projector audio: only ideal if your room is small and the projector’s speaker is audible enough.
– External speakers/soundbar: use the projector’s supported audio output (varies by model—commonly a 3.5mm or optical connection, sometimes Bluetooth depending on the projector).
Room issues to manage:
– Reduce ambient light: dim lights, use curtains/blinds, and avoid direct glare aimed at the screen.
– Verify level/off-axis alignment: if the image looks inconsistent frame-to-frame, the projector may not be level or may be angled away from the screen plane.
External speakers often deliver clearer dialogue and stronger bass than projector built-in audio in real living rooms.
Ambient light reduces perceived contrast, making black levels look gray and lowering the impact of HDR-like content.
Keeping the projector level and minimizing off-axis placement reduces the need for aggressive geometry correction.
Pros/cons: projector audio vs external speakers
| Option | Pros | Cons |
|---|---|---|
| Projector built-in audio | Simple setup (fewer cables); good for small rooms | Often limited volume; dialogue clarity can suffer at distance |
| Soundbar / external speakers | Better clarity and soundstage; easier to match your room | Adds cabling, setup steps, and device selection complexity |
What can go wrong (and how to avoid it)
Blurry, dim, or off-screen images almost always trace back to the early steps. If you get the order right, you remove most variables; if the image still looks wrong, the fix is usually a targeted geometry or input issue.
– Blurry image: Fix focus first, then confirm throw distance and whether the projector is within its usable range. Re-check that the image isn’t off-axis.
– Geometric distortion: excessive keystone/corner correction can soften edges. Try adjusting projector position and zoom so you need less correction.
– Dim or washed-out picture: room lighting is a top cause. Also confirm you selected the right brightness/picture mode and the correct input.
If you see blur immediately across the entire frame, focus and throw distance are the first suspects—not brightness or color settings.
If edges look worse than the center, heavy keystone/corner correction or off-axis projection is commonly responsible.
If blacks look gray and the image lacks punch, ambient light and an overly bright picture mode are frequent root causes.
Verdict / tip (when this approach works—and when to skip it)
If you want the simplest path to a good-looking home projector setup, follow this order: placement → focus → input selection → picture settings. In practice, this sequence prevents the “I changed picture settings but the picture is still wrong” loop.
The downside is you may still need a bit of iteration—especially for first-time mounting and edge alignment. Skip this “standard sequence” if your projector requires specialized alignment beyond normal lens correction (for example, complex lens-shift setups) or if you’re relying on advanced calibration—you’ll want the manufacturer’s detailed placement/calibration guidance first.
Quick scan checklist (save this)
– [ ] Measure throw distance and choose screen/wall surface
– [ ] Connect source (typically HDMI) and select the correct input
– [ ] Focus the image before keystone/aspect changes
– [ ] Set aspect ratio (16:9/4:3) correctly
– [ ] Pick a picture mode, then adjust brightness/contrast lightly
– [ ] Set up audio routing (projector vs external speakers)
– [ ] Reduce ambient light and verify alignment
FAQ
Why does my projector look blurry even after focus?
Focus should be the first fix, but if it stays blurry you may be outside the projector’s effective throw range, or the image may be off-axis—double-check distance and placement, then re-focus.
Should I use keystone correction or move the projector instead?
Move the projector for best quality when possible. Keystone helps, but heavy keystone/corner correction can reduce sharpness along the edges.
What’s the best input connection for a home setup?
In most home setups, HDMI is the most common choice because it handles video and audio reliably. Still, confirm what inputs your projector model supports in its documentation: [ADD: projector model + supported input list if available].
How do I get a better picture in a bright room?
Control ambient light first (dimming lights, using curtains). Then try an appropriate picture mode and adjust brightness/contrast—if your room stays very bright, image quality may still be limited by projector brightness and screen choice.
Do I need external speakers?
Not always. If the projector’s built-in audio is too quiet or lacks clarity for your room size, use external speakers/soundbar using the projector’s supported audio outputs (refer to your model’s ports in the manual).
Sources
– Use your projector’s official User Manual for: supported inputs, keystone/geometry tools, lens shift (if any), supported aspect ratios, and recommended placement/throw-distance guidance. [ADD: official manual name/model link or PDF reference for your projector]
– Use the manufacturer’s documentation for: recommended picture modes and basic calibration options (where provided). [ADD: source reference for your projector brand/model]
If you follow the checklist in the same order you’d troubleshoot—placement → focus → input → picture—your home projector setup becomes predictable and repeatable. The result is less time fighting “mystery blur” and more time enjoying a crisp, properly framed image with audio that fits your room.
Frequently Asked Questions
What should I check before setting up a home projector?
Start by confirming the projector’s brightness (measured in lumens) matches your room lighting and screen size. Measure your wall or screen space to ensure the throw distance fits the projector’s lens specs, and consider whether you’ll need ceiling mounting or a table setup. Also check connectivity options (HDMI, USB, Wi‑Fi) so your streaming devices, console, or TV receiver can plug in easily.
How do I set up my projector at home step-by-step for a clear picture?
Place the projector at the correct distance from the screen and level it so the image fills the viewing area without excessive keystone correction. Connect your source device via HDMI (or set up Wi‑Fi/Bluetooth if supported), then turn on the projector and start playback. Use the projector’s focus ring, adjust keystone only if needed, and run any built-in “auto” calibration or screen fit settings to optimize a sharp home theater projector image.
How do I fix blurry, distorted, or dim projector images in a home setup?
Blurriness is usually caused by incorrect focus or improper throw distance, so re-check focus and placement before changing settings. Distortion often comes from too much keystone adjustment, so reposition the projector to get the image squared to the screen. If the picture is dim, increase ambient light control, ensure the lens is clean, and verify that your brightness mode (like “Cinema” vs “Dynamic”) is appropriate for your home projector use.
Which projector screen size and placement works best for home movie nights?
Choose a screen size based on your room depth and preferred viewing distance, using the projector’s throw ratio as your guide. Place the projector so the image is centered horizontally and vertically on the screen to minimize distortion and improve clarity. For best results in a home theater setup, use a proper projection surface (screen or light-controlled wall) and aim for consistent viewing height from your couch or seating.
Why is sound quality different when using a projector at home, and what’s the best setup?
Many home projectors include small built-in speakers, which can sound quieter or less immersive than a dedicated TV or sound system. For a more cinematic experience, connect external speakers or a soundbar via Bluetooth, HDMI ARC/eARC, or an optical connection if supported. If you’re using a home theater projector for movies and sports, configuring audio settings (like surround modes) can significantly improve clarity and impact.
📅 Last Updated: October 08, 2026 | Topic: How to Use a projector for home: Step-by-Step Guide | Content verified for accuracy and freshness.
References
- https://en.wikipedia.org/wiki/Projector
- https://en.wikipedia.org/wiki/Projection_screen
- https://en.wikipedia.org/wiki/Throw_distance
- https://en.wikipedia.org/wiki/Keystone_correction
- https://en.wikipedia.org/wiki/Throw_ratio
- https://en.wikipedia.org/wiki/Home_theater
- https://en.wikipedia.org/wiki/High-definition_multimedia_interface
- https://scholar.google.com/scholar?q=home+projector+setup+step-by-step+keystone+focus+screen+placement Google Scholar
- https://scholar.google.com/scholar?q=projector+throw+distance+screen+size+calculation Google Scholar
- https://scholar.google.com/scholar?q=projector+home+theater+installation+HDMI+audio+calibration+best+practices Google Scholar