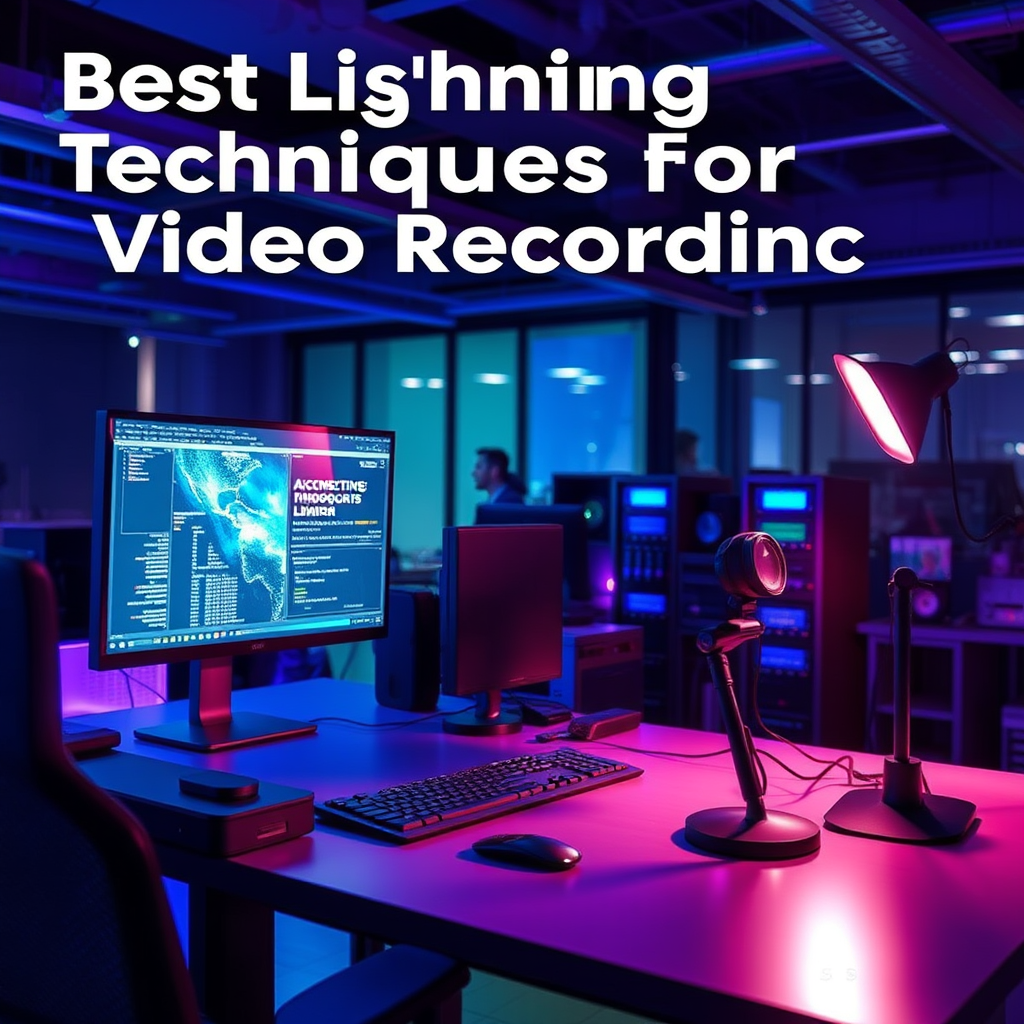
To achieve professional-looking video recordings, mastering lighting techniques is crucial. Proper lighting enhances the quality of your footage, sets the mood, and ensures your subject is clearly visible. In this article, you’ll discover the best lighting techniques that can elevate your video projects, whether you’re filming at home or on location.
Understanding the Importance of Lighting

Lighting is one of the most critical elements in video production. It affects not only how your subject looks but also the overall mood and tone of your video. For instance, bright, soft lighting can evoke feelings of warmth and happiness, while dim, harsh lighting can create tension or unease. Think of your favorite movies or vlogs—notice how the lighting sets the stage for the emotions conveyed. Proper lighting can truly make or break the visual quality of your footage. It ensures that details are visible, colors are vibrant, and your audience remains engaged. By understanding how to manipulate light effectively, you can transform a simple video into a captivating story.
Natural Light vs. Artificial Light

When it comes to lighting, both natural and artificial sources have their advantages. Natural light, commonly known as sunlight, is often favored for its cost-effectiveness and the soft, flattering quality it brings to subjects. Shooting during the golden hour—shortly after sunrise or before sunset—provides a warm, diffused light that is ideal for video recording. However, natural light can be unpredictable, changing with the weather or the time of day.
On the other hand, artificial light sources provide greater control and consistency. Options such as LED panels, softboxes, and ring lights allow you to adjust the intensity and direction of the light, making them perfect for indoor shoots or when filming in less-than-ideal natural lighting conditions. Understanding when to use each type of light can significantly enhance your video quality and ensure your creative vision comes to life.
Key Lighting Techniques
One of the most effective lighting setups for video is the three-point lighting technique. This method consists of three main components: the key light, fill light, and backlight.
– Key Light: This is your primary light source and should be placed at a 45-degree angle in front of your subject. It provides the main illumination and shapes the subject’s features.
– Fill Light: Positioned opposite the key light, the fill light softens shadows created by the key light, balancing the overall illumination without overpowering it. Using a lower intensity light for this purpose is often best.
– Backlight: Also known as a hair light or rim light, this is placed behind the subject to create depth and separation from the background. It highlights the edges of your subject, adding a three-dimensional quality to the footage.
To achieve softer light, consider using softboxes or diffusers. Softboxes spread light evenly and reduce harsh shadows, while diffusers can be used directly in front of your light source. This combination helps create a more flattering look for your subjects, making them appear more natural and inviting on camera.
Color Temperature and White Balance
Color temperature refers to the warmth or coolness of light, measured in Kelvin (K). Understanding color temperature is essential for achieving accurate color reproduction in your videos. For example, daylight has a color temperature of around 5600K, while incandescent bulbs are much warmer, around 3200K.
To maintain color accuracy, adjusting your camera’s white balance settings is crucial. If shooting outdoors in daylight, set your camera to daylight mode. Conversely, if you’re indoors under tungsten lighting, switch to the tungsten setting. Many cameras also allow for manual white balance adjustments, so you can perfectly match the lighting conditions you’re working with.
Utilizing the correct color temperature not only enhances the visual appeal of your video but also ensures that skin tones appear natural and true to life.
Using Reflectors and Flags
Reflectors are fantastic tools for enhancing natural light and filling in shadows. They work by bouncing light back onto your subject, effectively brightening areas that may otherwise appear dark. Reflectors come in various colors—white reflects soft light, silver adds contrast, and gold imparts a warm glow. If you’re shooting outdoors, a simple white poster board can serve as an effective and affordable reflector.
Flags, on the other hand, are used to control light spill and create contrast in your footage. They can block unwanted light from hitting your subject or background, helping to create a more dramatic effect. For instance, if the sun is casting harsh light on your subject, placing a black flag can help eliminate those unwanted highlights, resulting in a more balanced scene.
By strategically using reflectors and flags, you can significantly enhance the quality of your lighting, leading to more dynamic and visually interesting video recordings.
Common Mistakes to Avoid
Even seasoned videographers can fall prey to common lighting mistakes. One major issue is overexposure or underexposure, which can ruin your footage. Overexposed areas appear washed out, while underexposed areas lack detail and are too dark. To avoid this, always monitor your camera’s exposure levels and use tools like histogram displays to ensure your footage remains balanced.
Another pitfall is using harsh shadows or unflattering lighting angles. For instance, lighting your subject from below can create eerie, unnatural shadows. Instead, opt for lighting from above or at eye level for a more flattering appearance. Experiment with different angles and distances until you find the most pleasing setup for your particular scene.
By being mindful of these common pitfalls, you can create brighter, more visually appealing videos that keep your audience engaged.
Tips for Different Settings
Lighting techniques can vary significantly depending on your shooting environment. For indoor settings, consider using softboxes or LED lights to create a controlled lighting environment. When shooting interviews, three-point lighting is particularly effective, as it ensures your subject is well-lit from all angles.
Outdoors, natural light can be your best friend, but it’s essential to be aware of the time of day. Midday sun can create harsh shadows, so try to shoot during the golden hour for the best results. If you’re filming events, make sure to scout your location ahead of time to identify areas with good natural lighting or plan for portable lighting solutions.
For creative projects, consider experimenting with colored gels on your lights or unique setups using practical lights, like lamps or fairy lights, to create a specific atmosphere. Adapting your lighting setup to fit the context of your project can significantly enhance the storytelling aspect of your video.
Summarizing the essential lighting techniques discussed, remember that effective lighting can dramatically improve your video quality. Experiment with different setups and tools to find what works best for your specific needs. Now it’s time to grab your equipment and start filming with confidence!
Frequently Asked Questions
What are the best lighting techniques for video recording indoors?
For indoor video recording, the best lighting techniques include using soft, diffused light sources that minimize harsh shadows. Natural light can be harnessed by positioning your subject near windows, or you can use softbox lights or ring lights to create even illumination. Additionally, consider the three-point lighting technique, which involves key light, fill light, and backlight to achieve a professional look.
How can I improve my video lighting on a budget?
To improve your video lighting on a budget, consider using inexpensive solutions like LED light strips, desk lamps, or even DIY diffusers made from white bedsheets or shower curtains. Positioning these lights strategically can create a well-lit scene without breaking the bank. Using natural light from windows is also a cost-effective way to enhance your video quality without spending on professional equipment.
Why is lighting important for video quality?
Lighting is crucial for video quality because it directly affects how your subject is perceived by the audience. Proper lighting enhances visibility, highlights details, and sets the mood or tone of the video. Poor lighting can result in grainy, unprofessional-looking footage that distracts viewers, while good lighting ensures clarity and engages your audience effectively.
Which lighting equipment is best for beginners in video recording?
For beginners in video recording, the best lighting equipment includes softbox lights, ring lights, and portable LED panels. Softbox lights offer soft, diffused lighting that is flattering for subjects, while ring lights provide even illumination, particularly for close-up shots. Portable LED panels are versatile and can be adjusted for brightness and color temperature, making them ideal for various shooting conditions.
What is the three-point lighting technique and how do I use it in my videos?
The three-point lighting technique is a fundamental lighting setup that consists of a key light, fill light, and backlight. The key light is the primary source that illuminates the subject, the fill light softens shadows created by the key light, and the backlight adds depth by separating the subject from the background. To use this technique effectively, place the key light at a 45-degree angle to the subject, the fill light on the opposite side at a lower intensity, and the backlight behind the subject to create a halo effect.
References
- Lighting design
- https://www.pbs.org/wgbh/americanexperience/features/edison-lighting/
- https://www.nytimes.com/2021/06/23/technology/video-lighting-tips.html
- https://www.lifewire.com/video-lighting-tips-2692760
- https://www.nasa.gov/feature/the-science-of-light-and-its-role-in-space-exploration
- https://www.thebalancecareers.com/video-production-lighting-1660573