
Building your own DIY Bluetooth speaker is a fun and fulfilling project that allows you to merge your creativity with some technical know-how. Not only do you get a personalized audio device, but you also gain a sense of accomplishment and a deeper understanding of how audio technology works. In this guide, we’ll lead you step by step through the entire process, from gathering materials to assembling and customizing your Bluetooth speaker, ensuring that you create a unique sound experience tailored just for you.
Materials Needed
Before diving into the project, it’s essential to gather all the necessary materials and tools. Here’s what you’ll need:
Essential Components:
– Bluetooth Module: This is the heart of your speaker, enabling wireless audio streaming. Popular options include the HC-05 or the XS3868 for ease of use and compatibility.
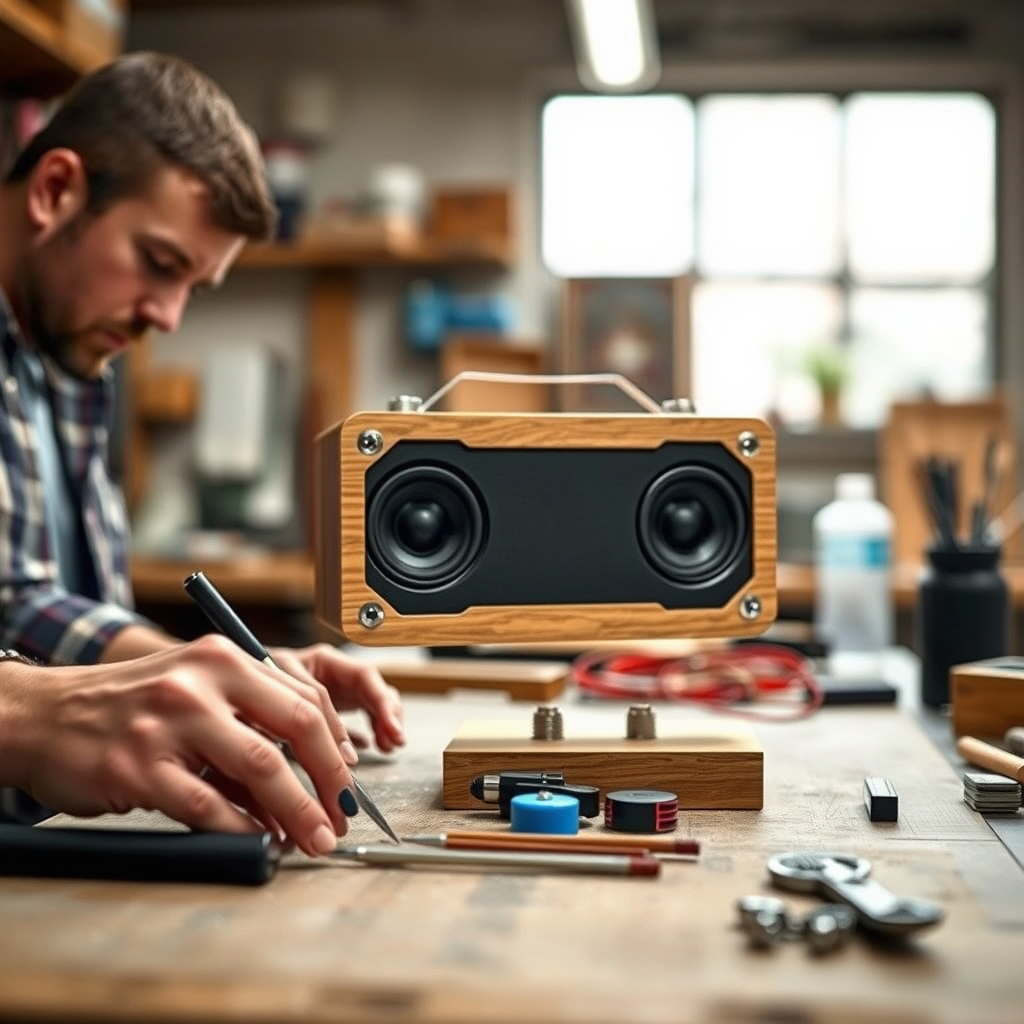
– Speaker Drivers: Choose drivers based on your sound preference. Full-range speakers provide a balanced sound, while subwoofers can enhance bass quality.
– Battery: A lithium polymer (LiPo) or lithium-ion battery offers a good balance between capacity and size. A 3.7V battery is commonly used.
– Charging Module: A charging board like the TP4056 is necessary to safely recharge your battery.
– Amplifier Board: An amplifier is crucial for boosting the sound output from your speaker drivers. Look for a compact, integrated amplifier compatible with your speaker specifications.
Tools Required:
– Soldering Iron: For securely attaching wires and components.
– Wire Strippers: To prepare your wires for connections.
– Drill: Useful for creating holes in your enclosure for ports and speakers.
– Screwdriver Set: Needed for assembling the enclosure and securing components.
– Heat Shrink Tubing: To insulate soldered connections and prevent shorts.
Gathering all these materials will set you up for a successful build, so take your time to choose quality components that fit your budget and desired sound profile.
Designing Your Speaker
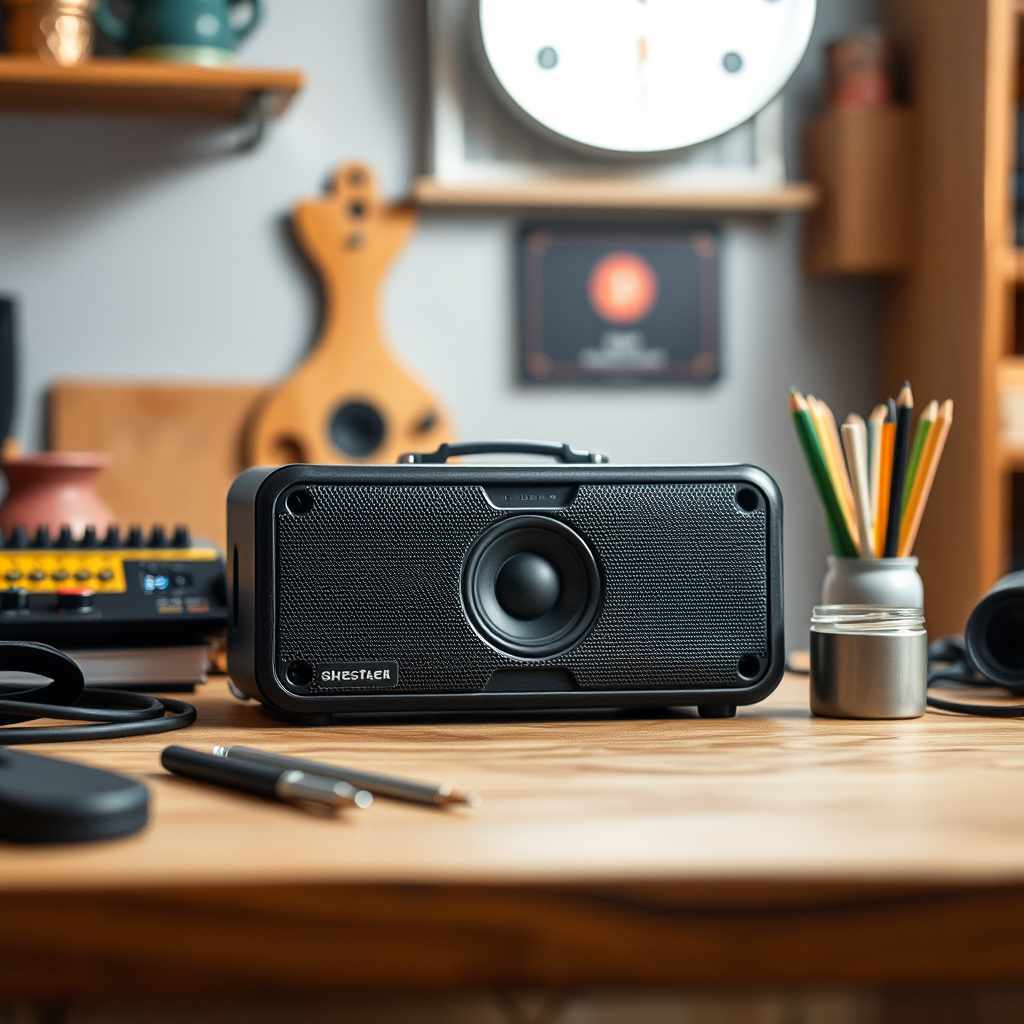
The design of your speaker enclosure is crucial for both sound quality and aesthetics. A well-thought-out enclosure can significantly enhance the acoustic performance of your speaker.
Choosing the Right Speaker Enclosure:
– Material: Common materials include wood, plastic, and metal. Wood is often preferred for its natural acoustic properties, while plastic can be easier to work with.
– Shape and Size: The shape and size of your enclosure will affect sound quality. A rectangular box is simple to build, while a curved design may offer better sound dispersion. Consider how much space you have and where you plan to use the speaker.
Personal Preference and Space Considerations:
Think about the environment where the speaker will be used. If it’s for outdoor use, a rugged design with weather-resistant materials might be best. Conversely, for a sleek home setup, you might opt for a compact, stylish design that complements your decor. Sketching your design on paper can help visualize the final product.
Assembling the Components
Now comes the exciting part—putting everything together! Here’s a step-by-step breakdown of how to connect your components.
Step-by-Step Instructions:
1. Prepare the Enclosure: Start by drilling holes for the speaker drivers, ports, and the Bluetooth module. Make sure the holes are the right size for a snug fit.
2. Connect the Speaker Drivers: Solder wires from the Bluetooth module’s audio output to the input terminals of the speaker drivers. Make sure to follow the polarity correctly—positive to positive and negative to negative.
3. Integrate the Amplifier: If you are using an amplifier, connect it between the Bluetooth module and the speaker drivers. This step is crucial for boosting the audio signal.
4. Secure the Battery: Install the battery in the enclosure, ensuring it’s firmly in place. Connect it to the charging module, which should also be secured inside.
5. Wiring: Use heat shrink tubing on all soldered connections to prevent shorts. Keep the wiring neat to avoid any interference with sound quality.
Tips for Securing the Battery:
Ensure that the battery is placed away from the speaker drivers to prevent any vibration interference. Use foam padding or a custom holder to keep the battery stable during use.
Programming the Bluetooth Module
Once your speaker is assembled, it’s time to set up the Bluetooth module for pairing. This part may seem daunting, but it’s straightforward with the right guidance.
Overview of Setup:
1. Connect the Module: Power up your Bluetooth module and connect it to a power source. Follow the module’s manual for specific wiring instructions.
2. Pairing Configuration: You might need to configure the module to make it discoverable. This usually involves shorting specific pins during power-up. Refer to the module’s datasheet for exact instructions.
Troubleshooting Common Connection Issues:
– Connection Fails: Ensure your device is within the Bluetooth range (typically 30 feet). If it still doesn’t work, try resetting the Bluetooth module by powering it off and back on.
– Audio Quality Issues: If you experience static or low volume, check your connections and ensure the amplifier is functioning correctly.
Finishing Touches
Now that your speaker is operational, it’s time to add some personal flair and ensure optimal performance.
Suggestions for Customization:
– Aesthetics: Consider painting your enclosure or applying decals that reflect your personality. You can also wrap it in fabric or vinyl for a unique look.
– Sound Testing: Play various audio tracks to test sound quality. Adjust the amplifier settings if necessary to achieve the desired sound profile.
Importance of Testing:
Testing your speaker with different genres of music can help identify any sound quality issues. It’s also an excellent opportunity to show off your creation to friends and family!
Safety Considerations
While building your DIY Bluetooth speaker is an exciting project, it’s essential to prioritize safety throughout the process.
Key Safety Tips:
– Electrical Safety: Always work in a well-ventilated area and avoid touching live wires. Use insulated tools when working with electrical components.
– Charging Precautions: Never leave your charging battery unattended. Ensure you use a compatible charging module to prevent overheating or damage.
Guidelines for Maintenance:
Regularly check connections and the condition of the battery. If you notice any swelling or damage to the battery, replace it immediately to avoid safety hazards.
Creating your own DIY Bluetooth speaker is not only an enjoyable project but also a practical way to enhance your audio experience. By following these steps and gathering your materials, you can build a customized speaker that fits your style and sound preferences. Whether you’re looking to impress friends with your handiwork or simply enjoy personalized sound at home, this project is sure to be a success. So roll up your sleeves, unleash your creativity, and enjoy the sweet sound of your own DIY Bluetooth speaker!
Frequently Asked Questions
What materials do I need to build my own DIY Bluetooth speaker?
To build your own DIY Bluetooth speaker, you’ll need a few essential materials including a Bluetooth audio receiver module, a suitable speaker driver (often a 2-4 inch full-range speaker), an amplifier board to boost the sound, a power supply (like a rechargeable battery), and a suitable enclosure to house everything. Additionally, you’ll need basic tools like a soldering iron, wire, and connectors to assemble the components, along with optional items like LED indicators and a switch.
How do I connect the Bluetooth module to the speaker?
Connecting the Bluetooth module to the speaker involves wiring the audio output of the Bluetooth module to the input of the amplifier board, which is then connected to the speaker driver. You’ll typically use RCA or 3.5mm audio cables for these connections. Make sure to follow the wiring diagram provided with your Bluetooth module and amplifier to ensure proper connectivity and avoid damaging the components.
Why is my DIY Bluetooth speaker not connecting to my device?
If your DIY Bluetooth speaker is not connecting to your device, there could be several reasons. First, ensure the Bluetooth module is powered on and in pairing mode, which is usually indicated by a blinking LED light. Also, check if your device’s Bluetooth settings are enabled and within range. Lastly, ensure that the module is compatible with your device and that there are no other connected devices interfering with the connection.
What is the best enclosure for a DIY Bluetooth speaker?
The best enclosure for a DIY Bluetooth speaker depends on your design preferences and acoustic requirements. Common materials include wood, plastic, or MDF, each offering different sound qualities. A well-sealed enclosure will enhance bass response and improve overall sound quality, so consider using a box design that fits the speaker size and allows for sufficient airflow. Many DIY enthusiasts also use 3D printing for custom designs, allowing for unique shapes and aesthetics.
Which tools are essential for assembling a DIY Bluetooth speaker?
Essential tools for assembling a DIY Bluetooth speaker include a soldering iron for making electrical connections, wire strippers to prepare your cables, and a multimeter for testing electrical continuity. A drill may be needed for creating holes in your enclosure for speakers, ports, and buttons. Additionally, a hot glue gun can be helpful for securing components inside the enclosure, ensuring everything stays in place during use.
References
- Bluetooth
- https://www.sciencedirect.com/topics/engineering/bluetooth
- https://www.arduino.cc/en/Tutorial/BuiltInExamples/BluetoothSerial
- https://www.instructables.com/DIY-Bluetooth-Speaker/
- https://www.hackster.io/news/build-your-own-bluetooth-speaker-27e2ea0e0d7a
- https://www.npr.org/sections/technology/2021/06/15/1005518286/how-to-build-a-bluetooth-speaker
- Call for Papers – IJERT
