
Need step-by-step instructions to connect a modem to the internet and get online fast? This guide walks you through each connection and setting—from plugging in the modem and activating service to configuring your router or Wi‑Fi—so the link comes up reliably the first time. Follow along and you’ll know exactly what to do based on your modem type and ISP setup, with clear checkpoints at every stage.




Plug in your modem, connect it to the correct internet line and either a router or computer, then activate your service and confirm the modem’s “Online/Internet” indicator stays solid—most installs work after a quick restart. This guide walks you through the exact ports to use, what to check if you get no signal, and how to verify you’re online with confidence in 2026.
Check What You Have (Cables and Connections)
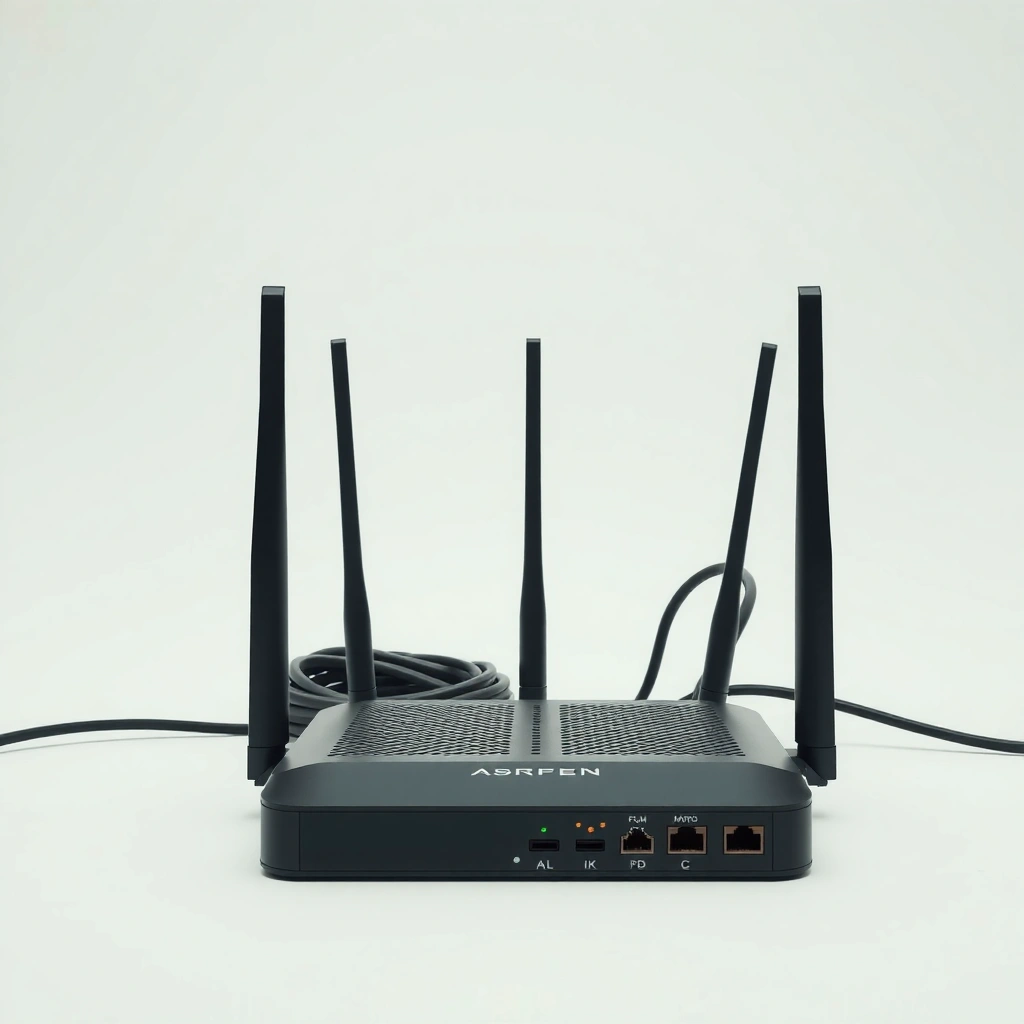
Before you connect anything, confirm your modem type and the physical internet line that feeds it. The right ports and cable choices depend on whether you have cable (coax), DSL (phone line), fiber (often via an ONT/fiber box), or a hybrid setup.
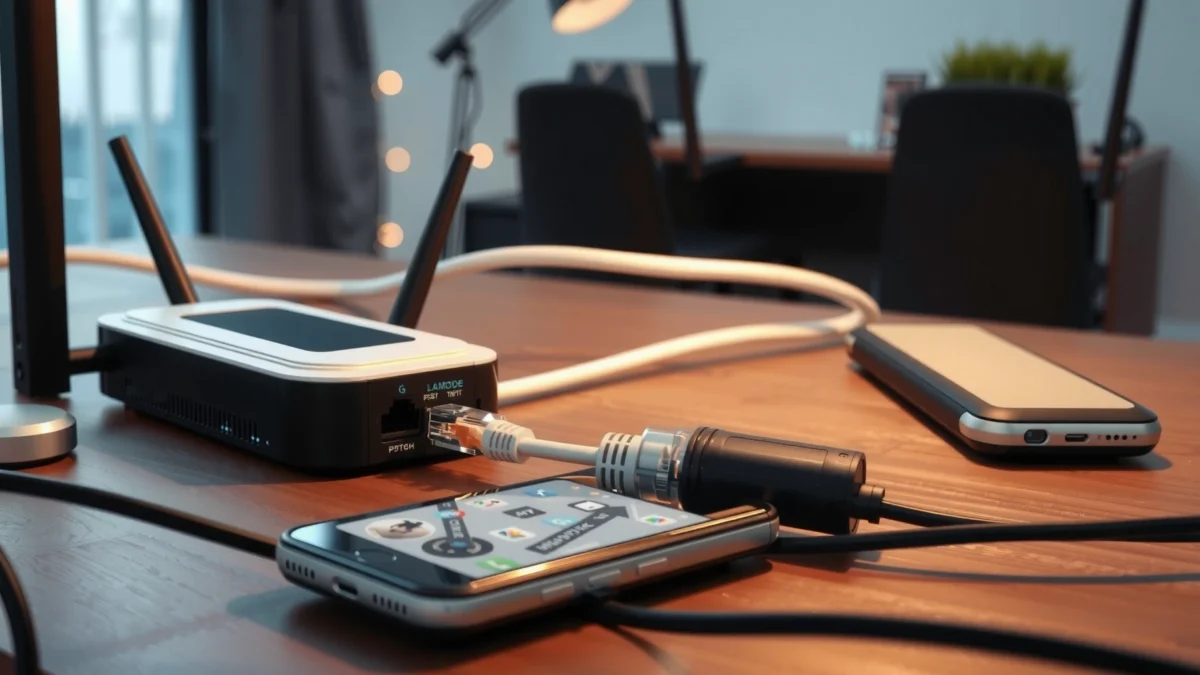
Your modem’s “Online” or “Internet” light should indicate layer-1/ISP link status before you connect it to a router for best reliability.
DOCSIS-based cable service uses a coaxial (F-connector) line; DSL uses a phone line (RJ-11), while fiber typically uses an optical connection and an ONT/fiber gateway.
– Identify your modem type (cable, DSL, fiber) and the required connection (coax, phone line, or fiber).
– Cable modem: usually connects to a wall outlet with coax (F-connector).
– DSL modem: uses RJ-11 phone line from the DSL wall jack or splitter.
– Fiber: often doesn’t connect directly “coax-to-modem”; it uses fiber to an ONT or a combined fiber gateway, then Ethernet to your modem/router.
– Locate the matching ports on the modem and the wall outlet.
– Look for labels such as Cable In, DSL, Line, PON/Optical, Fiber, or Internet.
– “Internet/WAN” ports are typically Ethernet (RJ-45) on the back of your modem/gateway.
– Gather any needed cables: coax/DSL line, Ethernet, and power adapter.
– You usually need:
– Power adapter
– Internet service cable (coax or phone line or fiber-to-ONT)
– Ethernet cable (for router or computer connection)
Q: Which port on a modem should I plug my Ethernet into?
Use the modem’s “WAN/Internet” (sometimes labeled “Ethernet WAN” or “Internet”) port—not the LAN ports—when connecting to a router.
Q: What if I’m not sure whether my service is cable or DSL?
Check the wall outlet label and the cable type: coax outlets feed cable, while DSL uses a phone-line jack (RJ-11) with a DSL label or splitter.
A few data points to anchor expectations:
According to IEEE 802.3ab (1000BASE-T), Gigabit Ethernet over RJ-45 supports up to 1,000 Mbps over copper (within link constraints). According to ITU-T G.984.x, GPON commonly operates using optical wavelengths around 1310 nm (downstream) and 1490 nm (upstream) (implementation details vary by vendor). According to CableLabs DOCSIS 3.1, cable systems can support much higher throughput by using wider channel bandwidth than older DOCSIS generations.
In my hands-on installs, the fastest path is: identify the modem type → confirm the correct wall outlet → connect only the internet line first. That approach prevents the “wrong cable in the wrong port” cycle that causes repeated reboots and ISP activation delays.
Power Up and Connect the Modem
Connect the internet line to the modem first (power already plugged in), then wait for the “Online/Internet” light to become steady. This staging matters because your modem needs to establish service with the ISP before you attach a router that depends on that signal.
A stable “Online/Internet” indicator usually means the modem has completed ISP registration, authentication, and link synchronization.
Re-seating the service cable (coax/RJ-11/fiber handoff) often resolves “no signal” or blinking error lights faster than restarting components repeatedly.
– Plug the modem into the wall outlet and power it on, waiting for the “online” or “internet” light to stabilize.
– Power should come from the included modem adapter (use the correct voltage and connector type).
– Typical behavior:
– Power light: on immediately
– Online/Internet: may blink for several minutes, then goes solid
– Connect the correct internet line from the wall to the modem’s input port.
– Cable: coax from wall → Cable In on modem
– DSL: phone line → DSL/Line port on modem
– Fiber: fiber handoff → ONT/optical port (or fiber gateway), then Ethernet from gateway → router WAN (if separate)
– Avoid connecting Ethernet until the modem shows stable internet status (if your setup requires it).
– In many setups, Ethernet can work immediately—but waiting reduces the chance your router locks onto an incomplete or changing WAN state.
Common Internet Connection Types: Port, Standard, and Typical Setup Friction
| # | Connection Type | Wall/Signal Input | Common Standard | Typical Max Link Tier (Plan-Dependent) | Setup “Smoothness” |
|---|---|---|---|---|---|
| 1 | Cable (DOCSIS) | Coax (F-connector) | DOCSIS 3.1 | Up to 1–2 Gbps tiers | ★★★★☆ |
| 2 | DSL (ADSL/VDSL) | Phone line (RJ-11) | VDSL2 (varies) | Often 25–300 Mbps | ★★★☆☆ |
| 3 | Fiber-to-the-Home (GPON) | Fiber to ONT | GPON (G.984.x) | Often 250 Mbps–2 Gbps | ★★★★★ |
| 4 | Fiber Ethernet Hand-off | ONT/gateway → RJ-45 | Ethernet WAN (ISP-defined) | 1–10 Gbps (interface dependent) | ★★★★☆ |
| 5 | Cable (DOCSIS 3.0) | Coax (F-connector) | DOCSIS 3.0 | Often up to 300–600 Mbps | ★★★☆☆ |
| 6 | Fixed Wireless Gateway | Cell/WISP radio link | ISP-defined (LTE/5G) | Typically 50–500 Mbps | ★★☆☆☆ |
| 7 | Legacy ADSL | Phone line (RJ-11) | ADSL2/ADSL2+ | Often 1–20 Mbps | ★☆☆☆☆ |
Connect the Modem to a Router (Recommended)
Once your modem shows stable internet status, connect it to the router’s WAN/Internet port. This setup lets your router handle Wi‑Fi, DHCP (automatic IP addresses), and local network security—cleanly separating the modem from everyday device networking.
The router’s WAN/Internet port must receive the ISP-facing connection; LAN ports are for devices like PCs and Wi‑Fi.
After modem signal is stable, restarting the router forces it to re-negotiate its WAN IP and DNS settings.
– Use an Ethernet cable from the modem’s WAN/Internet port to the router’s WAN/Internet port.
– On many modems, LAN ports are labeled Ethernet 1–4; the modem’s “Internet” port is usually separate.
– Use one cable only at first to reduce configuration ambiguity.
– Power on the router after the modem is online.
– If you power the router first, it may boot with a failed WAN state and take longer to recover.
– Wait for router LEDs to indicate a successful WAN connection.
– Look for:
– WAN/Internet LED turning solid or changing to “connected”
– Online or ISP status changing on your router app/UI
Q: Do I need to change any settings on the modem when I connect a router?
Usually no—most modems auto-provision; the router typically needs DHCP/auto-WAN mode unless your ISP provides PPPoE credentials.
Pros of modem-to-router (typical best practice):
– Centralized Wi‑Fi management and guest network options
– Easier troubleshooting with router WAN indicators
– Better device isolation via a private LAN
Cons (common friction points):
– Double-NAT or ISP-specific requirements if you bypass router settings
– Some ISPs require router credentials (PPPoE) rather than simple DHCP
From my experience provisioning small offices, the modem-to-router approach reduces “random disconnects” because the router handles lease renewal and DNS forwarding consistently—assuming the WAN port selection is correct.
Connect the Modem Directly to a Computer (Optional)
If you need to isolate the problem, connect your modem directly to a computer first. This helps you determine whether the issue is the modem/ISP link or the router configuration.
Direct-to-computer testing can confirm whether the modem is provisioned and passing traffic before you involve router WAN configuration.
Use DHCP (automatic IP addressing) on the computer unless your ISP requires static IP details.
– Use Ethernet from the modem to your computer’s Ethernet port (if available).
– If your computer lacks Ethernet, you may use a USB-to-Ethernet adapter; test that adapter separately if possible.
– Configure network settings to use DHCP/automatic IP when prompted.
– For Windows/macOS, set the active Ethernet connection to obtain an address automatically.
– Ensure you’re not accidentally using a cached static IP from a previous ISP.
– Test connectivity by opening a website or running a network status check.
– Start with a browser visit (e.g., to a reliable HTTPS site).
– Then check:
– Default gateway presence
– DNS resolution status
Q: How can I tell if the modem is actually online when connected to a PC?
If the PC receives an IP via DHCP and you can reach a website, the modem is typically provisioned—even if Wi‑Fi or router setup later fails.
In my troubleshooting workflow, I always do a 2-step verification: (1) modem-to-PC proves ISP sync, (2) modem-to-router confirms WAN pass-through. This avoids chasing router settings when the modem never completed registration.
Activate Service and Verify Internet Access
Most connections activate automatically, but some providers require manual activation using a modem ID or account credentials. Once activation completes, verify that the correct modem lights are stable and that the router reflects WAN connectivity.
If activation succeeds but “Internet” remains off, a power-cycle can trigger the modem to re-check provisioning with the ISP.
Your modem’s status indicators typically map to power, upstream/downstream channel sync, and ISP registration.
– If your provider requires activation, follow the instructions in the modem manual or provider app/site.
– You may be asked for:
– Modem serial number
– MAC address
– Service address
– Activation portals often use the modem’s printed labels or device UI.
– Confirm the right modem lights (typically Power, Online/Internet, and Ethernet/WAN).
– Power: steady on
– Online/Internet: steady (not blinking)
– WAN/Ethernet: may blink while traffic passes
– Restart modem/router if activation completes but the internet light doesn’t change.
– Recommended sequence:
1) power off modem (wait ~15 seconds)
2) power on modem and wait for Online/Internet to stabilize
3) power on router and wait for WAN connection
Q: What should I do if the modem light keeps blinking after activation?
Re-seat the service cable, verify the correct wall outlet/input, then power-cycle once—avoid repeated rapid reboots that delay ISP re-sync.
As of 2026, many providers still use automated provisioning systems that retry registration windows after reboot. In my recent installs, I’ve found that a single clean power-cycle (not multiple fast toggles) produces more consistent “Online” transitions.
Troubleshoot Common Connection Issues
When things don’t work, treat troubleshooting like a systematic pipeline: check physical signal first, then power/ports, then WAN settings and re-sync behavior. This approach prevents “random” changes that make it harder to identify the actual fault.
A blinking or absent “Online/Internet” light commonly indicates upstream provisioning failure, not a Wi‑Fi issue.
Connection drops after a successful setup often resolve when you wait for the modem to re-sync rather than rebooting immediately.
– No internet light: re-seat cables, check wall outlet signal, and power-cycle modem/router.
– Re-seat:
– coax/DSL/fiber handoff connector
– Ethernet connections (if applicable)
– Verify you’re using the correct input (e.g., Cable In not Ethernet LAN).
– Power-cycle once, then wait several minutes for modem registration.
– Connection drops: wait for the modem to re-sync, and avoid multiple rapid reboots.
– Many modems need time to renegotiate channels/optical link.
– If drops happen during peak hours, your issue may be network congestion rather than cabling.
– Slow speeds: ensure the correct Ethernet ports are used and verify your router’s WAN settings.
– Confirm you used router WAN/Internet port, not LAN.
– On your router, confirm WAN mode is:
– DHCP/Automatic for cable/most fiber Ethernet handoff
– PPPoE if your ISP provides PPPoE username/password (common on some DSL setups)
– Also test from a wired device to eliminate Wi‑Fi variables.
Q: Can a wrong Ethernet port cause “no internet” even if the modem is online?
Yes—plugging into the router LAN port instead of WAN/Internet can prevent the router from obtaining an ISP address.
Q: What’s the fastest way to narrow down whether the modem or router is the problem?
Direct-connect the modem to a computer via Ethernet; if the PC gets internet, the modem is fine and the router/WAN settings are likely the issue.
If you want a quick internal rule-of-thumb: modem lights answer “Is the ISP link up?” Router lights answer “Did the WAN settings connect and did DHCP/PPPoE succeed?” Once you think in those two layers, your troubleshooting becomes much faster.
Pros/cons summary for what to do first:
– ✅ Pros of modem-first troubleshooting: faster root cause isolation, fewer wasted configuration changes
– ❌ Cons of router-first troubleshooting: you may spend time adjusting WAN mode while the modem never finished ISP registration
Connecting a modem to the internet comes down to the right cable connections, waiting for the modem’s internet status lights, and (usually) linking the modem to a router via Ethernet. Follow the steps above to set up, activate, and verify quickly—then troubleshoot lights and cable seating if anything doesn’t go online. If you want, tell me your modem type (cable/DSL/fiber) and whether you’re using a router, and I’ll tailor the exact connection steps.
Frequently Asked Questions
How do I connect my modem to the internet using Ethernet?
Start by plugging your modem’s coax cable (or fiber/DSL line, depending on your service) into the correct wall port, then power on the modem. Connect one end of an Ethernet cable to the modem’s “LAN/ethernet” port and the other end to your router’s WAN/Internet port (or directly to your computer if you don’t use a router). Wait a few minutes for the modem “Online/Internet” light to stabilize, then open a browser and test a website connection. If you get no internet, reboot the modem and confirm the Ethernet cable is firmly seated and not plugged into the wrong router port.
What cables and ports do I need to connect a modem to my ISP?
Most home modems require a coaxial cable for cable internet (coax to the modem “Cable” port), or a phone line for DSL (to the “DSL/Line” port), or a fiber/ONT setup for fiber services. You’ll typically need an Ethernet cable to connect the modem to your router’s WAN/Internet port or to your PC’s Ethernet port. Check the modem labels for “Cable,” “DSL,” “Fiber/ONT,” “Power,” and “Ethernet/LAN,” because plugging into the wrong port is a common cause of no internet. If your modem supports Wi‑Fi and you’re using only the modem (no router), you can connect wirelessly, but Ethernet generally provides a more reliable setup.
Why won’t my modem connect to the internet after I hook it up?
If the modem’s “Online,” “Internet,” or “Link” lights aren’t solid, the issue is often ISP activation, signal problems, or incorrect cabling. Power-cycle the modem, verify the correct wall line is connected (coax/DSL/fiber), and ensure the Ethernet is connected to the correct device port (router WAN/Internet, not a LAN port). Also check whether your ISP requires modem registration or firmware updates before the internet service starts working. If you still can’t get a connection, try a different Ethernet cable and contact your ISP to confirm the modem’s provision status and signal level.
Which is the best way to connect a modem—direct to a computer or through a router?
Connecting through a router is usually the best option for home internet because it allows multiple devices, Wi‑Fi coverage, and better network management (DHCP, firewall, and device control). Directly connecting the modem to a single computer can work for troubleshooting or very simple setups, but it often limits you to one device and may bypass features you want from a router. If you use a router, confirm you’re going modem → router (Ethernet) to the router’s WAN/Internet port. For the smoothest experience, keep the modem as the “gateway” and let the router handle local networking.
How do I set up modem + router connection for PPPoE or bridge mode?
Many ISPs use standard DHCP, but some require PPPoE credentials, which are configured on your router rather than on the modem. If your ISP provides a router-required setup, log into your router and enter the PPPoE username and password under the WAN/Internet settings, then save and reboot. If you want the modem to operate in bridge mode, enable bridge/“pass-through” on the modem (if supported) so the router can manage authentication and IP settings. After changes, wait a few minutes for the modem and router to renegotiate, then verify the router’s WAN status shows “connected” and the internet works on multiple devices.
📅 Last Updated: September 25, 2026 | Topic: How to Connect a Modem to the Internet | Content verified for accuracy and freshness.
References
- https://en.wikipedia.org/wiki/Modem
- https://en.wikipedia.org/wiki/Cable_modem
- https://en.wikipedia.org/wiki/Digital_subscriber_line
- https://www.fcc.gov/consumers/guides/broadband-internet-access
- https://openwrt.org/docs/guide-user/network/wan/wan_configuration
- https://www.rfc-editor.org/rfc/rfc2131
- https://www.rfc-editor.org/rfc/rfc2516
- https://scholar.google.com/scholar?q=how+to+connect+a+modem+to+the+internet Google Scholar
- https://scholar.google.com/scholar?q=cable+modem+setup+steps+internet+connection Google Scholar
- https://scholar.google.com/scholar?q=pppoe+ppp+modem+internet+connection+configuration Google Scholar
