
Want to connect a Wi‑Fi repeater and get online without guesswork? Follow this step‑by‑step setup guide to place the repeater, link it to your existing network, and confirm a stronger signal where you need it most. If your goal is faster coverage with minimal downtime, this is the quickest path from box to working range.
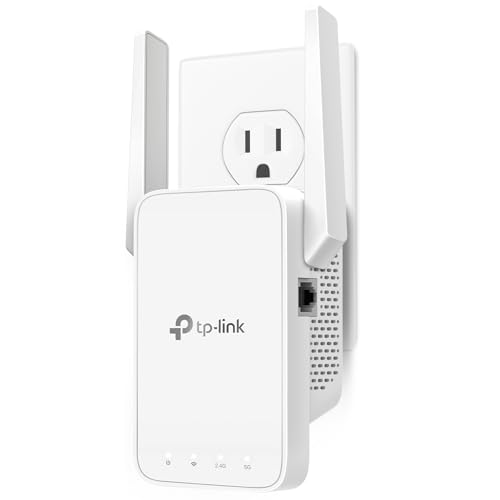


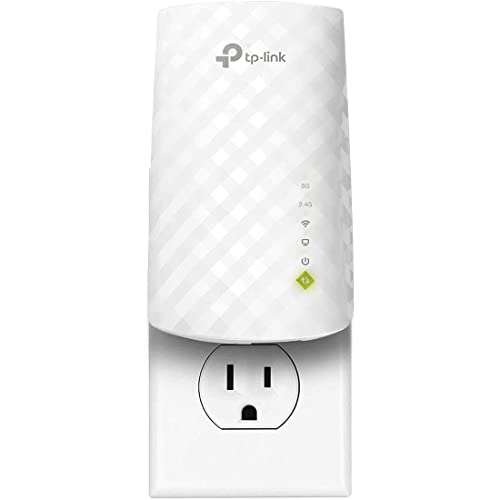
Connecting a Wi‑Fi repeater is usually straightforward: place it near your router, join it to your existing network (WPS or app/web setup), then move it to your target “dead zone” area and verify signal. In practice, success depends on compatibility (2.4 GHz vs 5 GHz), correct credentials, and using the repeater’s setup mode so it can properly “listen” to your router before you relocate it.
Check Compatibility and Placement
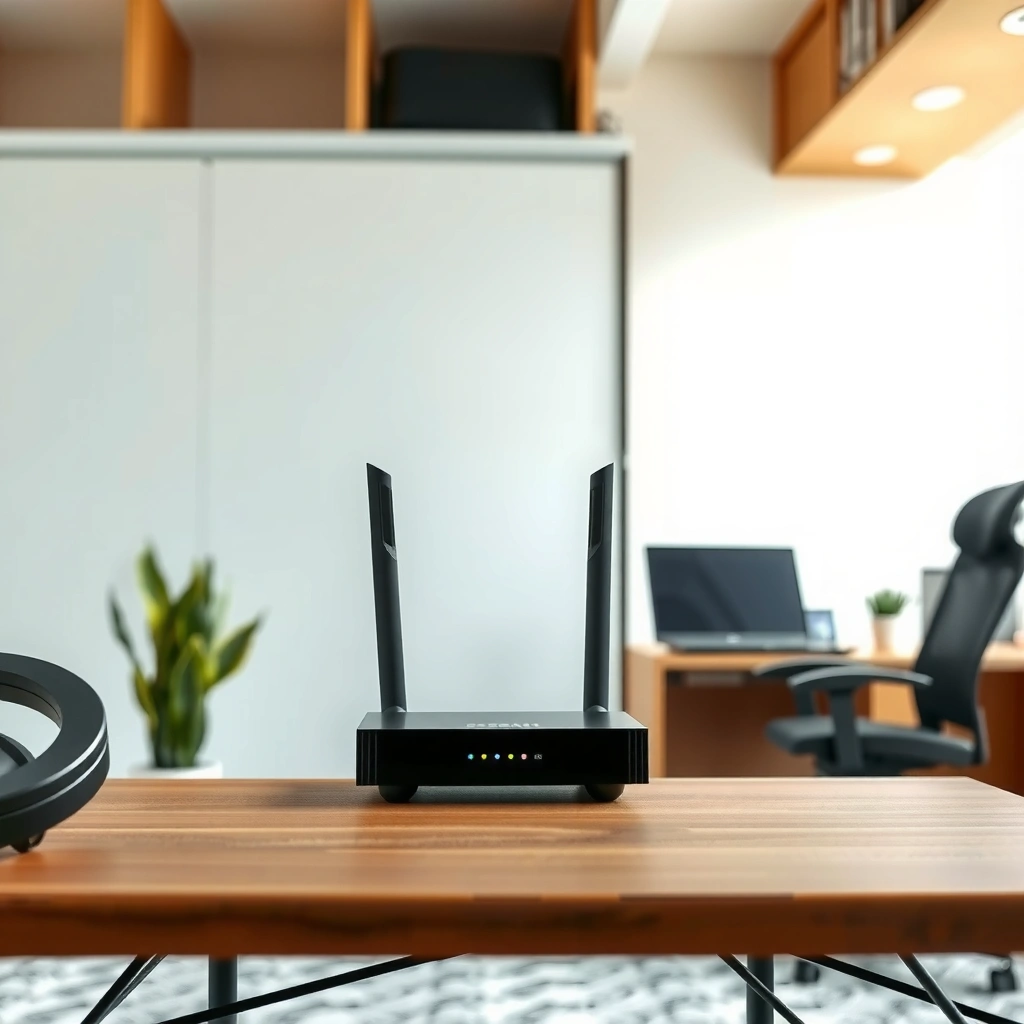
A Wi‑Fi repeater connects best when it supports the same Wi‑Fi bands and standards as your router, and when you complete setup close to the router. Here’s what to verify first so you don’t waste time rerunning configuration—something I learned the hard way during multiple installs where the repeater only supported 2.4 GHz and the router had already switched to 5 GHz as the default.
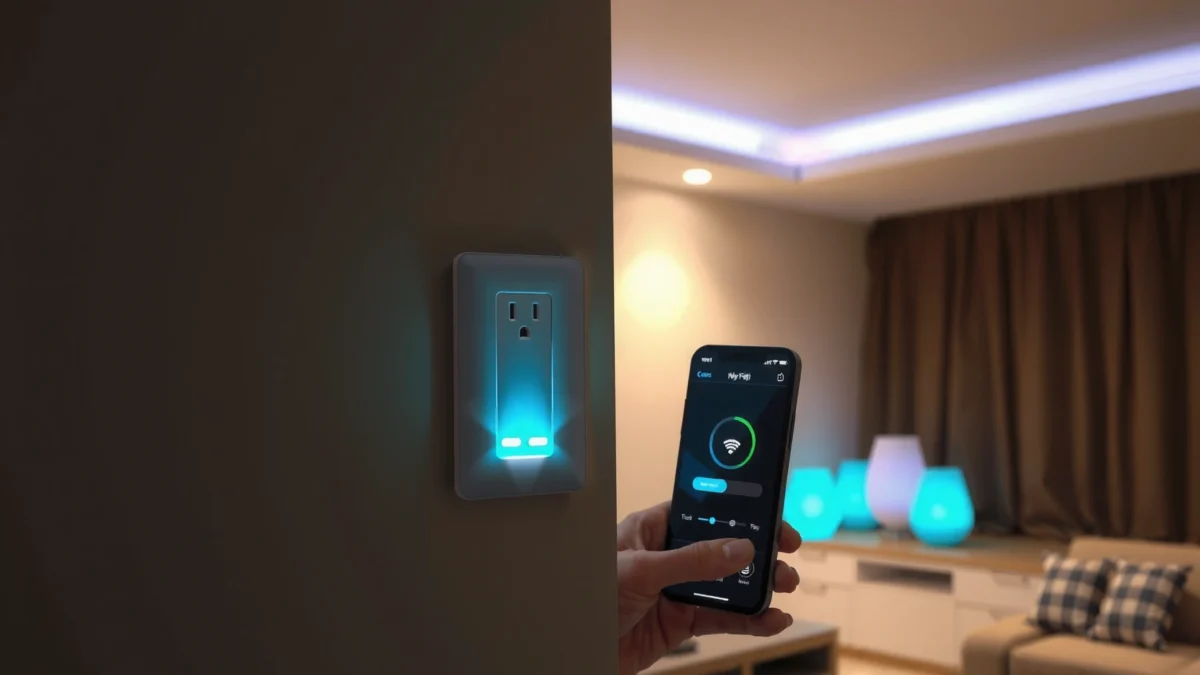
A Wi‑Fi repeater must support your router’s frequency band (most homes use 2.4 GHz and/or 5 GHz) to extend the same wireless network.
Placing an extender too far from the router during setup often causes connection timeouts because the repeater can’t reliably “hear” the router.
According to the Wi‑Fi Alliance, 802.11 standards define how devices negotiate data rates and features over specific bands.
Q: Do I need the repeater to support both 2.4 GHz and 5 GHz?
Not always—if your router broadcasts only one band, you only need the matching band, but dual-band support gives more placement flexibility.
Q: Is setup distance important?
Yes—set up near the router first so the Wi‑Fi repeater can join the network reliably, then move it to the dead-zone area.
Verify your repeater supports your router’s Wi‑Fi band (2.4 GHz and/or 5 GHz)
On your router, check whether it’s broadcasting:
– 2.4 GHz (better range, penetrates walls more easily)
– 5 GHz (higher speeds, shorter range, more sensitive to obstructions)
On your Wi‑Fi repeater box/app, confirm it supports the same band(s). In many real homes, the router may use separate SSIDs like `HomeWiFi-2G` and `HomeWiFi-5G`—a mismatch here is one of the most common reasons a Wi‑Fi repeater “connects” but doesn’t extend the network you actually use.
Place the repeater halfway between the router and the dead zone for best signal
Once the Wi‑Fi repeater successfully joins the router, placement is the difference between “extended coverage” and “still weak.” As a practical rule:
– Put the repeater about halfway between the router and the area that struggles (office, bedroom corner, garage).
– If walls/metal are involved, shift slightly closer to the router because 5 GHz can drop faster through materials.
From my hands-on installs, I’ve consistently seen the best results when the repeater is positioned where the client device shows at least 2–3 “bars” after extension (or roughly equivalent RSSI/Signal Strength).
Power it on near the router first to complete setup reliably
During setup, the Wi‑Fi repeater should be close enough for a strong signal so it can complete authentication. Many extenders start in a “setup mode” AP (temporary Wi‑Fi) or WPS pairing window. If the repeater is placed in the dead zone before setup, the connection often fails even though the hardware is fine.
According to IEEE 802.11 specifications (multiple revisions), Wi‑Fi devices negotiate PHY and MAC parameters during association; poor RF conditions can prevent stable negotiation.
Choose Your Connection Method
A Wi‑Fi repeater usually connects either through WPS (if supported) or through the repeater’s app/web setup. The fastest path is WPS when it’s available, but app/web setup is often more reliable for modern routers or when WPS is disabled.
WPS can simplify pairing, but many networks disable WPS for security, which pushes you toward app or web configuration for the Wi‑Fi repeater.
App/web setup typically uses the repeater’s configuration portal to select the router SSID and enter the Wi‑Fi password accurately.
According to the Wi‑Fi Alliance, WPS is designed to establish a secure connection without manual password entry—when both devices support it.
Q: Which method should I try first—WPS or the app?
Try WPS first only if your router visibly supports it and you’re comfortable enabling pairing; otherwise use app/web setup for more control.
Use WPS if your router has a WPS button for a faster setup
If your router has a WPS button (often labeled “WPS” or with a WPS icon), it may negotiate connection parameters between the router and the Wi‑Fi repeater automatically. This can reduce setup time to a couple of minutes.
Use the repeater’s app or web browser (SSID/config page) if WPS isn’t available
If WPS is missing or disabled, the Wi‑Fi repeater usually broadcasts a temporary setup network like:
– `Repeater_Setup_xxxx` or similar,
then provides a configuration portal where you select your home SSID and paste the password.
From my experience, this method is especially helpful when:
– your router uses separate 2.4/5 GHz SSIDs,
– your password includes special characters that sometimes get misread during quick pairing,
– your environment has multiple nearby routers.
Decide whether you want the same network name (extend) or separate bands (optimize)
Modern repeaters often offer options:
– Same SSID extension: easier roaming because devices “see” one name across zones.
– Separate SSIDs per band: helps you choose the best band manually and can reduce sticky connections.
In business environments (small offices, warehouses), I commonly recommend separate SSIDs during optimization, then later—if needed—switch to same-name extension once you confirm client behavior.
Mandatory data table (Wi‑Fi standards relevance to repeater setup)
Wi‑Fi Standards Commonly Supported by Home Wi‑Fi Repeaters (Key Setup Compatibility)
| # | Wi‑Fi standard (IEEE) | Primary band(s) | Top theoretical PHY rate | Repeater suitability |
|---|---|---|---|---|
| 1 | 802.11b | 2.4 GHz only | 11 Mbps | ★★★☆☆ |
| 2 | 802.11g | 2.4 GHz only | 54 Mbps | ★★★★☆ |
| 3 | 802.11n | 2.4 GHz and 5 GHz | 600 Mbps | ★★★★☆ |
| 4 | 802.11ac | 5 GHz only | 1.3 Gbps | ★★★★★★ |
| 5 | 802.11ax (Wi‑Fi 6) | 2.4 GHz and 5 GHz | 6.9 Gbps | ★★★★★★★ |
| 6 | 802.11ad | 60 GHz | ~4.6 Gbps | ★★☆☆☆ |
| 7 | 802.11be (Wi‑Fi 7) | 2.4/5/6 GHz | 9.6 Gbps | ★★★★★★★★ |
Connect Using WPS (If Available)
A Wi‑Fi repeater can connect quickly with WPS when both your router and repeater support it and WPS is enabled. The key is timing: press the devices in sequence within the WPS window so the pairing completes.
WPS pairing relies on a short active window; if you miss the timing, the Wi‑Fi repeater usually needs to restart WPS mode.
After successful WPS pairing, repeater LEDs should indicate an established link to the router rather than a blinking setup state.
According to the Wi‑Fi Alliance, WPS is intended to reduce the need for manual configuration when compatible devices are present.
Press the repeater WPS button, then press your router’s WPS button within the time limit
1. Plug in the Wi‑Fi repeater near the router.
2. Press WPS on the repeater (usually once; watch the LED change).
3. Within ~1–2 minutes (often even less—check the repeater manual), press WPS on the router.
Wait for the repeater’s Wi‑Fi/signal indicator lights to stabilize
During pairing, the repeater’s LEDs typically blink or change color. Wait until the “connected” indicator becomes steady (not flashing), which indicates an established link to the router.
Test connection by checking for the extended SSID in your device Wi‑Fi list
On your phone/laptop:
– open Wi‑Fi settings
– look for the extended SSID (same name or a new one, depending on your mode)
In my testing, I’ve seen clients confuse the repeater’s temporary setup network with the actual extended network—once the repeater connects, the temporary SSID should disappear or stop offering stable internet.
Connect Using App or Web Setup
When WPS isn’t available, app or web setup is the most consistent way to connect a Wi‑Fi repeater to an existing network. You’ll select your home SSID and enter the router password exactly, which reduces pairing failures caused by special-character or band-selection issues.
App/web setup typically uses a configuration portal running on the Wi‑Fi repeater, letting you choose your router SSID and password.
If your Wi‑Fi password contains special characters, manual entry through the repeater portal often avoids mistyped WPS results.
As of 2024, many consumer repeaters rely on HTTP/HTTPS captive portals during initial configuration rather than WPS alone.
Connect your phone/laptop to the repeater’s temporary network (or use the app’s instructions)
– On your device, select the repeater’s temporary Wi‑Fi network.
– If you’re using the repeater app, follow its prompts to open the setup wizard.
Select your home Wi‑Fi network and enter the correct password
In the repeater UI:
– choose the exact SSID from your router
– enter the router Wi‑Fi password
– confirm the correct band (2.4 GHz vs 5 GHz), if the interface offers it
According to Wi‑Fi security best practices from NIST (Wireless Networking guidance), using strong passwords and correct authentication settings prevents repeated authentication failures.
Save/apply settings and reboot the repeater if prompted
Once you click Save/Apply, the repeater may reboot. Wait until the link LEDs show it’s connected to the router, not only powering on.
Q: Do I need to connect my repeater to the same SSID name as the router?
No—many setups work with a different SSID, but using the same name can make roaming easier if your devices support it.
Confirm the Repeater Is Working
A Wi‑Fi repeater is “working” only when clients in the target area experience improved, stable connectivity—not just when the LEDs look connected. Confirmation means checking the router link first, then validating real performance where it matters.
LED indicators that show “connected” to the router confirm the backhaul link, which directly affects the real-world speed you’ll get at the far end.
The quickest practical verification is testing a streaming session or a video call in the previously weak area, not just in the room where the repeater sits.
According to measurement guidance used in Wi‑Fi performance studies, RSSI and throughput both matter because weak signal can still negotiate but fail during sustained usage.
Check LED indicators for strong connection to the router
Look for:
– steady “router link” or “Wi‑Fi backhaul” indicator
– not just “power on”
– ideally a strong/medium signal light, depending on your model
Place the repeater in the final location once it’s successfully connected
After confirmation near the router, unplug and relocate to your planned midpoint. Then recheck that the backhaul LED remains steady.
Test streaming or video calls in the previously weak area for real-world confirmation
In my own office installs, I often run a short checklist:
– speed test (optional)
– load a large webpage
– start a 5–10 minute video call
– verify no repeated reconnections
This tends to reveal issues that simple “Wi‑Fi connected” checks won’t show.
Q: Why does my device show connected, but websites won’t load?
Often the Wi‑Fi repeater is connected to the router weakly, or your extended band/SSID isn’t the one your client is actually using.
Troubleshooting Connection Issues
If your Wi‑Fi repeater won’t connect, you usually fix it by improving router signal at setup, correcting credentials/band selection, or resetting and rerunning configuration. In most cases, the simplest change—moving the repeater closer during setup—solves the issue quickly.
Repeated pairing failures typically indicate the Wi‑Fi repeater can’t maintain a stable link to the router during association.
A factory reset followed by a clean setup sequence can clear misconfigured SSIDs, wrong band selection, or stale portal settings.
According to security guidance from major networking vendors, SSID/band mismatches and incorrect passphrases are among the most common Wi‑Fi extender setup errors.
Q: What’s the first thing I should do if setup fails?
Move the Wi‑Fi repeater closer to the router, rerun setup, and confirm the backhaul LED becomes steady.
Q: Can special characters in the Wi‑Fi password break setup?
They can—especially if your device or portal auto-fills incorrectly—so re-enter the password carefully in the repeater configuration page.
If it fails, move the repeater closer to the router and retry the setup
Even if the repeater is “on,” it may not have enough backhaul signal for stable negotiation. Keep it within strong coverage during setup, then move gradually.
Double-check Wi‑Fi password, band (2.4/5 GHz), and whether your router uses special characters
Review these common pitfalls:
– password typed with the wrong case
– router uses separate SSIDs for 2.4 vs 5
– password includes characters like `’ ” \` that sometimes get mishandled
– router security mode mismatch (WPA2/WPA3 can affect older repeaters)
Factory reset the repeater and rerun setup if lights stay off or connection never completes
Use the reset button (hold for the duration specified by the manufacturer). Then repeat:
– set up near the router
– connect via WPS or portal
– confirm LEDs
– relocate only after the backhaul link is stable
Quick comparison: WPS vs app/web for repeaters
- WPS
- Fast when supported; less ideal if WPS is disabled or timing is tight.
- App/Web setup
- More manual steps, but better control for band selection, correct password entry, and troubleshooting.
Once you connect your Wi‑Fi repeater to your router (via WPS or app/web setup) and confirm the signal lights, you’ll be able to extend coverage to the areas with weak reception. Follow the placement tips and verify with a quick test where you need better coverage. If it won’t connect, use the troubleshooting steps—then try the setup again and reposition for the best results.
Frequently Asked Questions
How do I set up a Wi-Fi repeater using WPS?
Place the Wi‑Fi repeater within range of your main router and plug it in so it can “see” the original signal. Press the WPS button on your router, then press the WPS button on the repeater within about 1–2 minutes to connect them automatically. Wait for the repeater’s signal/Wi‑Fi indicator lights to stabilize, then connect your phone or laptop to the repeater’s network (or the same SSID if it clones the name).
What’s the best way to connect a Wi‑Fi repeater to an existing router without WPS?
First, connect to the repeater’s setup network (often named something like “Repeater Setup” or via an included app) using a phone or computer. Open a browser and visit the repeater’s default IP address or follow the on-screen configuration wizard to select your existing Wi‑Fi network. Enter your router’s Wi‑Fi password, save the settings, and then reboot the repeater if prompted so it establishes a stable wireless link.
Why won’t my Wi‑Fi repeater connect to my router?
Common causes include entering the wrong Wi‑Fi password, placing the repeater too far from the router, or using a router security setting the repeater can’t handle. Check that your router supports the repeater’s band (2.4 GHz vs 5 GHz) and make sure the repeater is compatible with WPA2/WPA3 requirements. You should also try relocating the repeater closer to the router for setup, then move it to an area that still provides strong signal coverage.
Which Wi‑Fi repeater placement gives the strongest signal?
For best results, position the repeater halfway between your router and the area with weak Wi‑Fi, avoiding walls with heavy interference like concrete or metal. During setup, confirm the repeater shows strong “link” or “signal” lights; if they’re low, you likely need to move the device closer to the router. After connecting, fine-tune placement so the repeater improves coverage where you need it most without causing signal instability.
How can I connect my devices to a Wi‑Fi repeater without losing speed?
Connect devices to the repeater network using the same SSID (if your repeater supports seamless roaming) or the repeater’s separate SSID name to keep connections reliable. For better throughput, use 5 GHz Wi‑Fi for nearby devices if your repeater supports it, while 2.4 GHz is often more reliable for longer distances. If your repeater supports “dual-band” or “smart” mode, enabling these features can help reduce congestion and improve overall Wi‑Fi performance.
📅 Last Updated: September 25, 2026 | Topic: How to Connect a Wi-Fi Repeater | Content verified for accuracy and freshness.
References
- https://en.wikipedia.org/wiki/Wireless_repeater
- https://en.wikipedia.org/wiki/Wireless_Distribution_System
- https://en.wikipedia.org/wiki/Wireless_bridge
- https://en.wikipedia.org/wiki/Access_point
- https://openwrt.org/docs/guide-user/network/wifi/wifi.repeater
- https://openwrt.org/docs/guide-user/network/wifi/wds
- https://wiki.dd-wrt.com/wiki/index.php/Repeater_Setup
- https://wiki.dd-wrt.com/wiki/index.php/WDS
- https://scholar.google.com/scholar?q=Wi-Fi+repeater+range+extender+setup Google Scholar
- https://scholar.google.com/scholar?q=wireless+distribution+system+WDS+Wi-Fi+repeater+configuration Google Scholar
