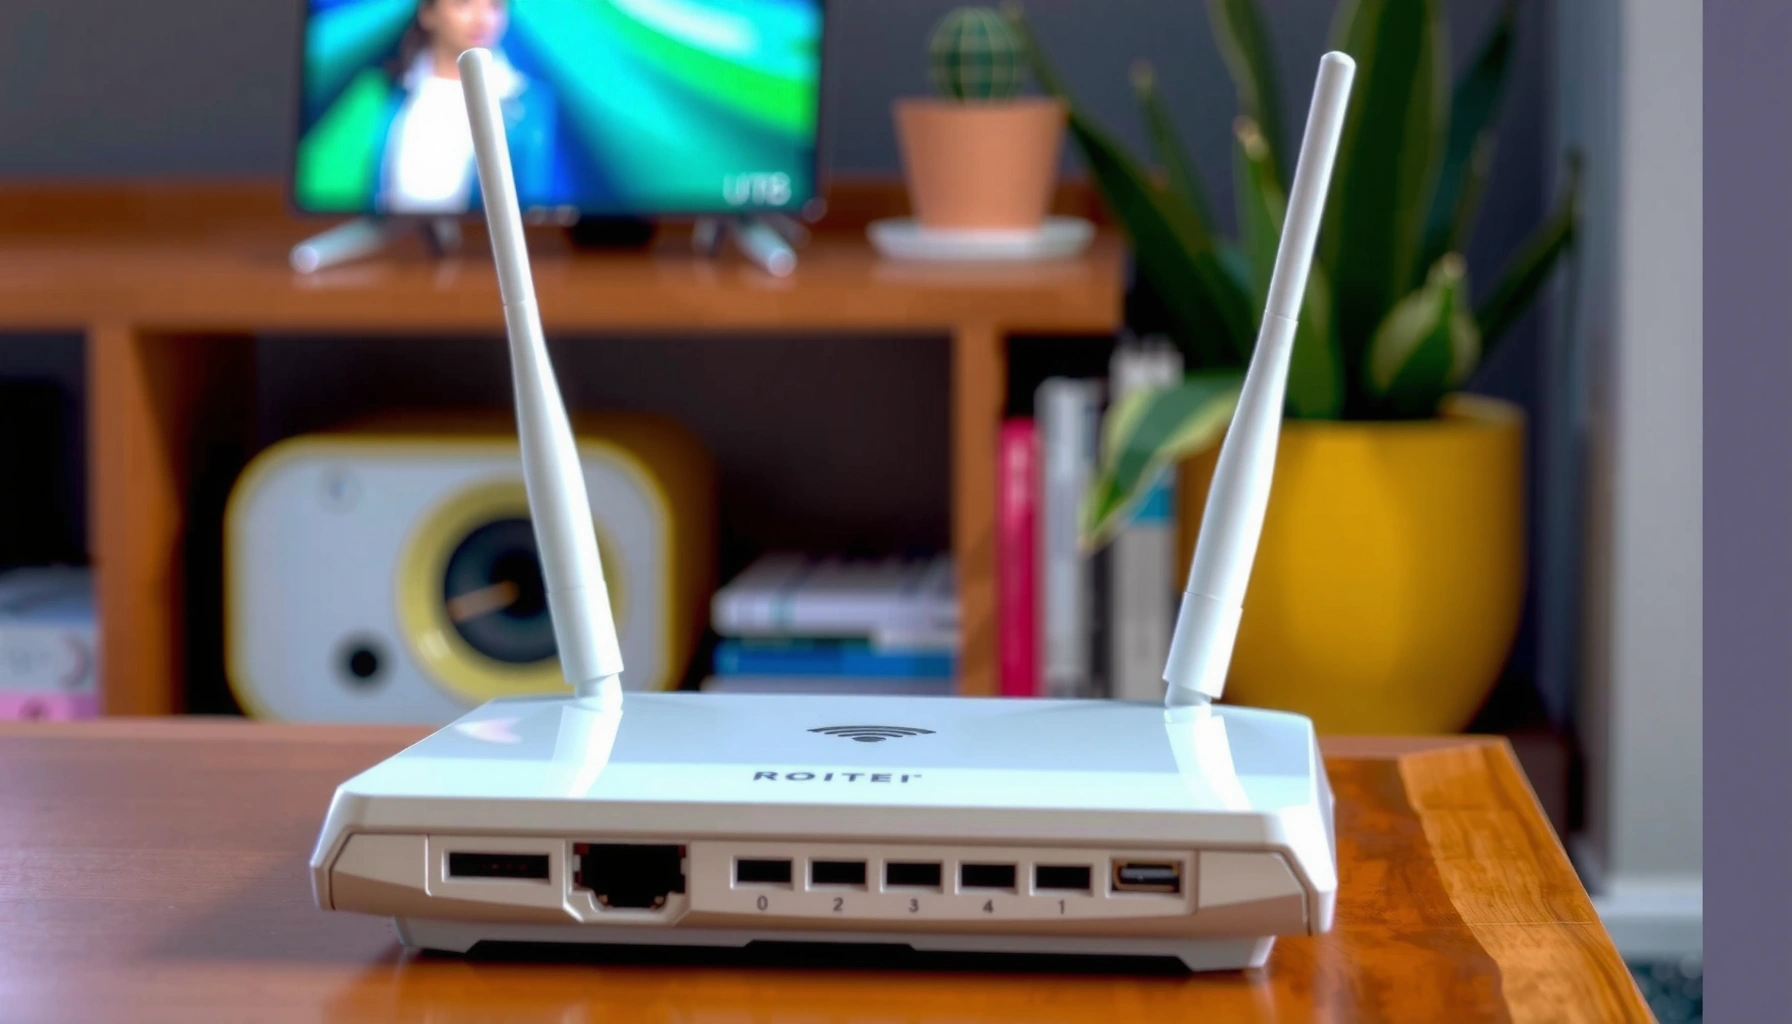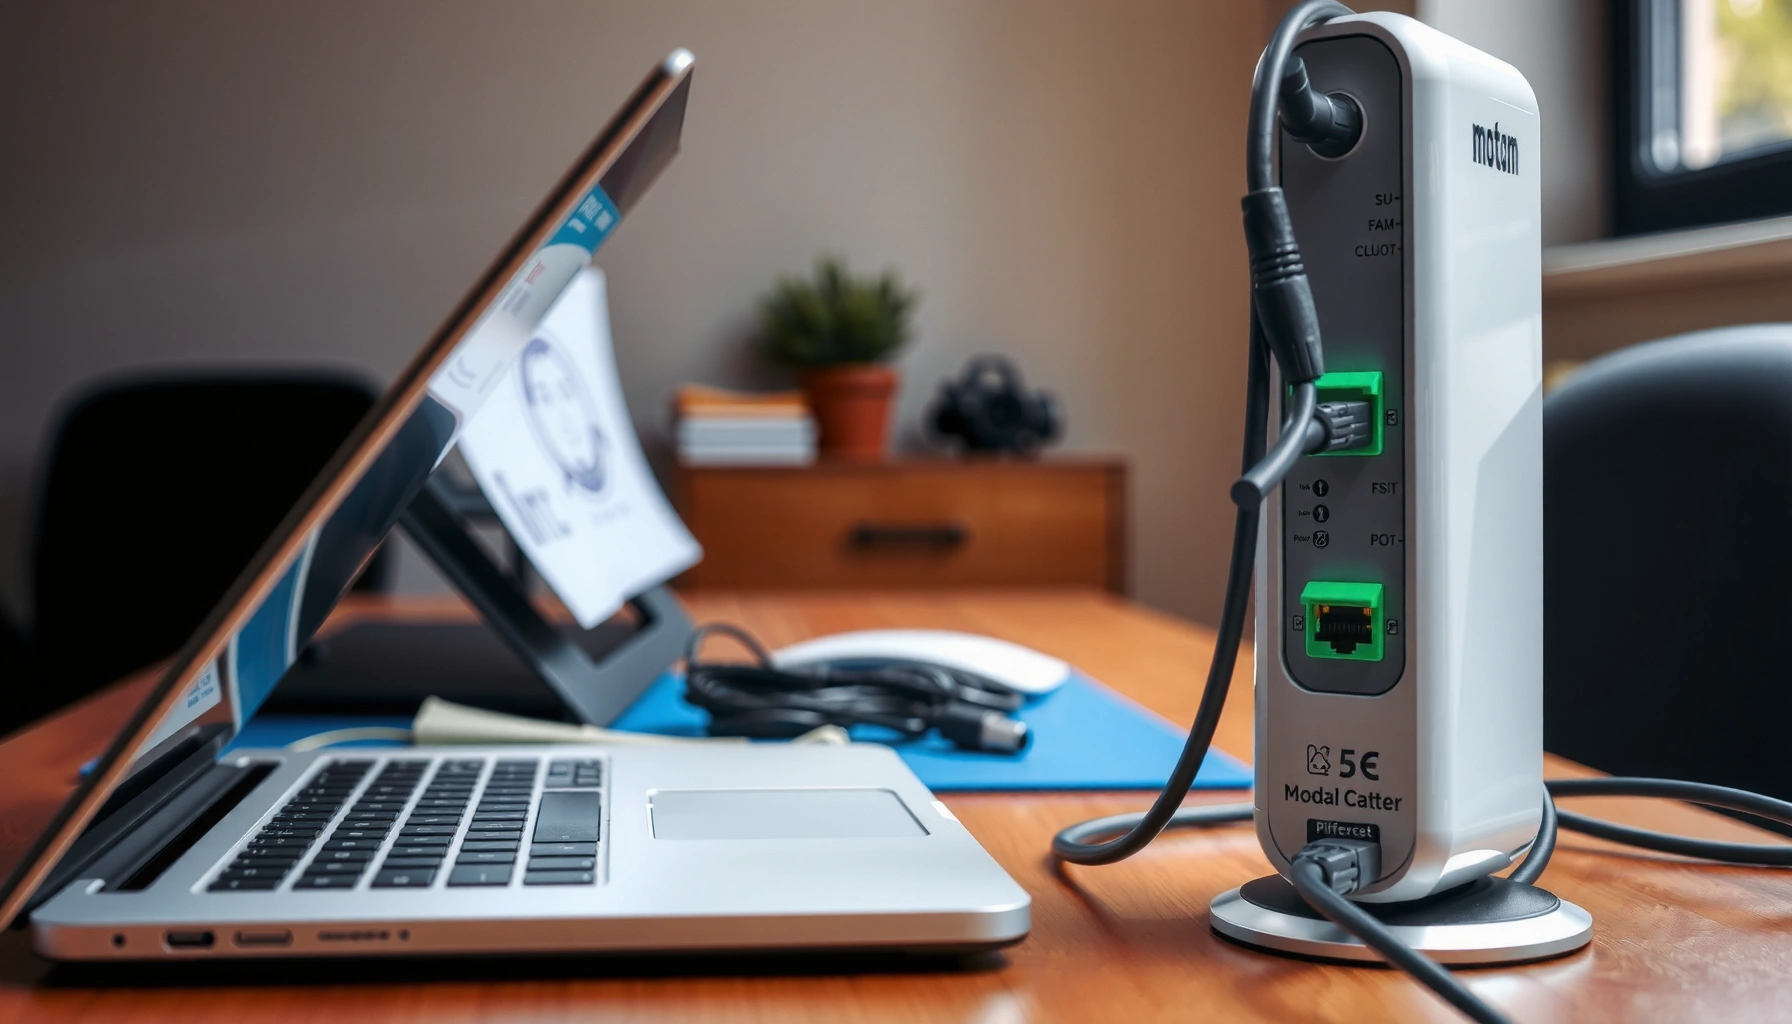
Replacing an ISP modem is straightforward: follow this step-by-step setup guide to get your internet working fast with minimal downtime. This is the clear winner approach if you’re swapping your current modem for a new one—connect the right cables, apply the required ISP settings, and verify sync and connection status. You’ll know exactly what to do from the first power-off to the moment your network is live.
Replacing an ISP modem is typically a simple “swap the hardware, keep the same cable types, then activate” process. Power down the old modem, connect the new modem to the same incoming line and your router (usually modem “WAN/Internet” to router “WAN”), then verify the modem status lights and run a basic internet test—activation is often automatic, but some ISPs require manual provisioning in 2026.
This guide is for home internet users who want to replace their current ISP-provided modem (or switch to a compatible, customer-owned modem) without breaking service. It’s especially useful when a modem is failing, you’re moving to a new ISP plan, or you want more reliable uptime.
Check Compatibility and Gather What You Need
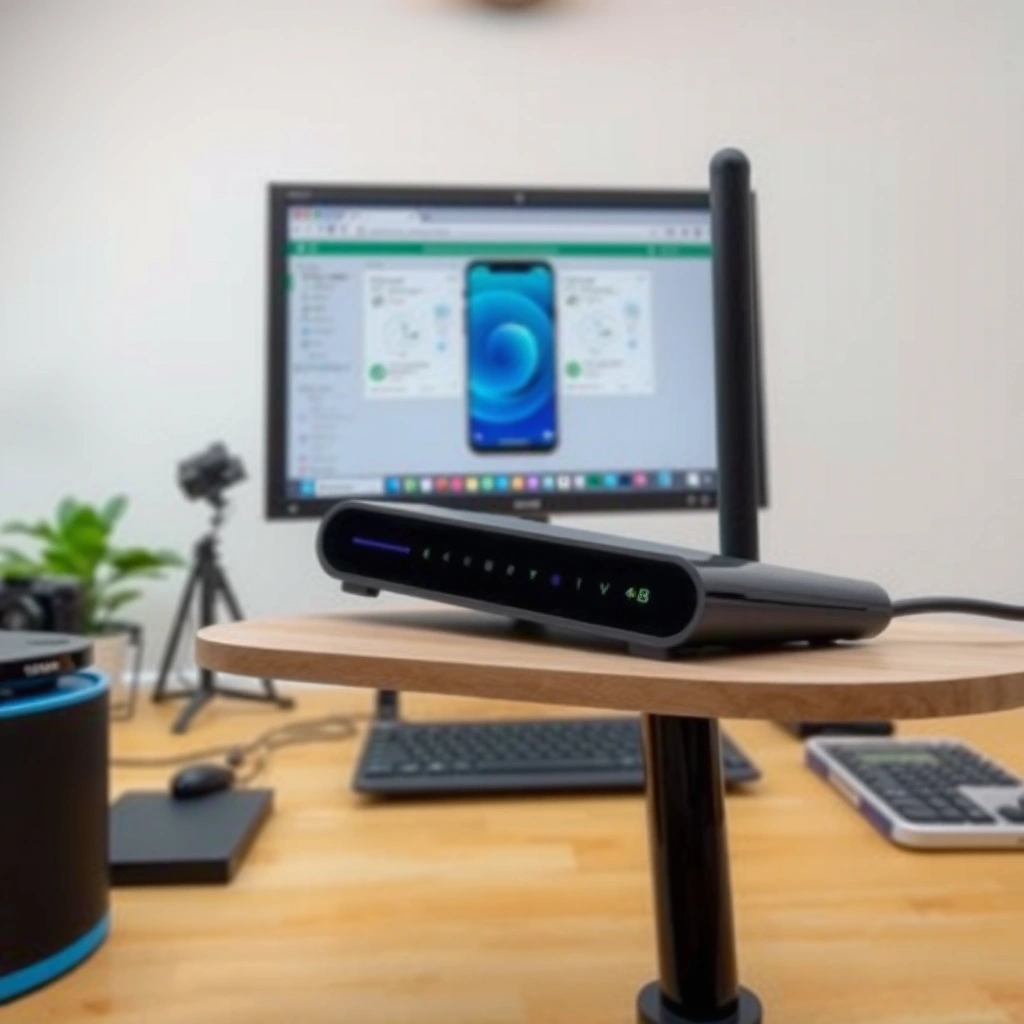
Before you unplug anything, confirm your new modem is compatible with your ISP and service type, because an incompatible model may power on but never provision. Then verify whether your account supports self-activation or if the ISP must manually “replace device” on the backend.
“Customer-owned modem” support usually depends on the ISP provisioning system, not just on the modem having the right physical connector (coax vs. fiber handoff).
Compatibility is typically enforced through an ISP modem database (approved models list), which determines whether the modem will receive authorization during activation.
If your ISP requires manual activation, you can lose service for longer by swapping first and calling later.
For fiber services, the “modem swap” may be incomplete if your provider uses an ONT or media converter that must be handled differently than a cable modem.
Start by identifying the line type that currently feeds your modem:
– Cable internet: incoming coax (F-type) line goes directly to the cable modem.
– DSL internet: incoming phone line (RJ11) goes to a DSL modem.
– Fiber internet: your “modem” might actually be an ONT (Optical Network Terminal) plus a router; some setups use an ISP-managed ONT, while others use a customer-compatible fiber modem/ONT.
Then match the new device to what your ISP supports:
– Look for the same access technology (cable vs. DSL vs. fiber).
– Check the specific modem model against your ISP’s approved list.
– Confirm features your plan depends on (for example, if your ISP requires DOCSIS 3.1 support for higher tiers, a DOCSIS 3.0-only modem may not provision correctly).
According to [ADD: CableLabs/CableLabs DOCSIS overview source], DOCSIS 3.1 is designed to support high-capacity downstream operation (often described as up to multi‑gigabit class in industry documentation) and typically offers better efficiency than older DOCSIS generations ([ADD: source]). In practice, ISPs may still restrict activation to approved configurations in their provisioning systems.
Gather the essentials before you begin:
– New modem (or modem/ONT) and its power adapter
– Correct cables for your service type:
– Cable: coax line (and any splitters/filters you previously used)
– DSL: DSL/RJ11 phone line
– Fiber: Ethernet from ONT/modem to router (and any ONT power brick if applicable)
– Any ISP-provided activation steps (email/instructions or account portal workflow)
– A quick reference: the current modem labels (model, MAC address/serial)—useful if the ISP asks what device you had before
Disconnect the Old Modem Safely
Power down the old modem before disconnecting cables to avoid electrical and network-synchronization issues. Keep cable positions organized so your new modem receives the correct WAN/incoming signal.
Unplugging network equipment after power-off prevents “half-connected” states where the ISP modem may not authenticate during the next boot.
Keeping the incoming line connection identical (coax-to-coax, phone-to-RJ11, fiber handoff to Ethernet/WAN) preserves the physical-layer signal path.
If you have a separate router, leaving it powered off during the modem swap reduces troubleshooting confusion caused by mixed DHCP/leases.
The WAN/Internet port labeling on modems and routers matters—misplacing a cable can make the modem appear online while the router cannot route.
Follow this sequence:
1. Unplug power from the old modem (don’t just press a button if it supports a hard power removal).
2. Disconnect cables:
– Incoming ISP line (coax/DSL/fiber Ethernet) from the modem’s INCOMING or LINE port
– Modem-to-router cable (commonly Ethernet from modem WAN/Internet)
3. Label or photograph connections as you remove them.
4. Leave your router powered off during the swap (unless your ISP specifically instructs otherwise).
Why this matters: when you power a modem, it tries to re-establish sync with the ISP network; if the router is already negotiating DHCP and WAN settings, you may get confusing results like “router says connected” while internet fails.
Connect and Configure the New ISP Modem
Connect the new modem to the same incoming line type, then link it to the router using the correct WAN/Internet port pairing. Power on in the recommended order and wait for the modem lights to stabilize.
Correct port pairing (modem WAN/Internet to router WAN) is the most common hardware step that determines whether traffic can route.
Many modems can take several minutes to complete provisioning, so you should wait for stable “online/sync” indicators before testing.
For cable services, the modem status lights typically show downstream/upstream channel lock or “sync” before full internet access is available.
For fiber services, WAN authentication and link negotiation can depend on the ONT’s role and the Ethernet link state, even if the modem powers on normally.
Cabling rules (match what you had before)
– Cable modem: connect coax (F-type) from the wall/cable outlet to the modem’s Cable/Coax port.
– DSL modem: connect RJ11 phone line to the DSL modem’s DSL/LINE input.
– Fiber: connect Ethernet from the ONT (if separate) or fiber modem’s WAN interface to your router WAN (the ISP setup determines where the Ethernet terminates).
Modem-to-router connection (most important)
– Ethernet from modem WAN/Internet (or similarly named port) → router WAN/Internet port
– Avoid Ethernet into a router LAN port. LAN-to-LAN can make the router think it has connectivity locally, while it cannot reach the ISP.
Power-on order
1. Plug in and power on the modem first
2. Wait for status lights to stabilize (timing varies by ISP and device)
3. Power on the router (if you turned it off)
From a reliability standpoint, the key is letting the modem complete ISP authentication before the router requests WAN IP settings.
Activate Service and Confirm It’s Working
Activation is either automatic when the modem provisions, or manual when your ISP requires an account-side “replace device” step. Once the modem is online, test internet on at least one device before assuming the swap failed.
Most major ISPs use backend provisioning that validates the modem’s MAC/serial and service profile after it boots.
Modem status lights provide the first diagnostic signal: “power/on” is not the same as “online/provisioned.”
A successful swap should result in a WAN IP assignment on the router and working DNS lookups on a client device.
If you see “online/sync” on the modem but no internet on clients, the issue often becomes WAN routing, DHCP, or missing manual activation.
If it doesn’t come online automatically
Check your ISP’s process:
– Some ISPs detect the new modem automatically within a provisioning window.
– Others require you to log in and select Replace Modem/Activate Customer Equipment (naming varies).
– Some require you to provide the modem serial number or MAC address.
Use modem lights as your baseline diagnostic
Exact labels vary by model, but you’re usually looking for a progression such as:
– Power (device on)
– DS/US (for cable: downstream/upstream lock)
– Online/Internet (provisioned and reachable)
According to [ADD: Cable modem manufacturer support/spec source], modem “sync/lock” indicates link establishment with the ISP network, but full internet service typically depends on successful provisioning and authorization. That’s why you shouldn’t stop at “lights are on.”
Verify with a real internet test
On a laptop/phone connected to your Wi‑Fi/router:
– Open a common website to confirm basic browsing
– If possible, check the router’s WAN status page:
– “WAN IP” assigned
– Internet status marked “connected”
– Watch for symptoms:
– No WAN IP often points to modem provisioning or wrong port pairing
– Slow speeds can be a plan/modem capability mismatch or Wi‑Fi bottleneck
– Intermittent drops can indicate weak signal (cable) or a line issue
What Can Go Wrong (And How to Avoid It)
Most replacement failures come from compatibility/provisioning mismatches or from cabling into the wrong port. The fastest way to avoid downtime is to validate compatibility before swapping and double-check WAN vs. LAN connections after.
An incompatible modem can appear fully powered and even show “sync” while failing to receive authorization for internet access.
Putting an Ethernet cable in the wrong port (LAN instead of WAN) is a common configuration error that looks “connected” but doesn’t route traffic.
ISPs may rate-limit or delay certain provisioning actions after repeated power cycles, extending downtime if you keep rebooting the modem.
Some accounts require an explicit “replace device” step; without it, the modem stays offline even if it links correctly to the network.
Here are the most common issues—and what to do:
– Incompatible modem (provisioning block):
Fix: confirm the exact model appears on your ISP’s approved list; then redo activation.
– Wrong cabling (LAN vs WAN):
Fix: move modem Ethernet to modem WAN/Internet and router WAN; keep LAN ports for client devices only.
– Activation timing/sequence problems:
Fix: power on modem, wait for completion, then power router; avoid repeated reboot loops during active provisioning.
– ISP account still tied to the old device:
Fix: use the ISP portal workflow to replace/activate the new modem, or contact support with modem serial/MAC.
Comparison: Where errors usually occur
To make troubleshooting systematic, use this decision logic after the swap:
| Category | What you’ll notice first | Most likely cause | Best corrective action |
|---|---|---|---|
| Modem never shows “online/Internet” | DS/US may blink or remain unstable | Provisioning or compatibility issue | Verify approved model + run ISP activation |
| Modem shows online, but router has no WAN IP | Router status shows “disconnected” or blank WAN IP | Wrong port pairing | Move Ethernet to router WAN and ensure modem WAN/Internet |
| WAN IP exists, but clients can’t browse | “Connected” status but websites fail | DNS/WAN routing problem | Reboot router after modem is stable; re-check DHCP and DNS settings |
Verdict: When It’s Worth Replacing, and When to Stop
If your new modem is approved by your ISP and your service is a straightforward modem-to-router handoff, replacing it is usually worth it because it can restore connectivity quickly. However, you should stop and get ISP guidance if your setup depends on equipment you can’t “swap” safely (common in some fiber designs) or if manual activation is required and you can’t complete it.
A compatible modem replacement typically improves stability when the existing device is failing, but only if the ISP provisions the new model.
If your internet relies on ISP-managed equipment beyond a simple modem (such as an ONT setup with special provisioning), the process is not a one-step hardware swap.
The safest approach is to verify compatibility and activation requirements before disconnecting the old modem, minimizing downtime risk.
From a practical documentation perspective, the most reliable methodology is “change one variable at a time”:
1) keep cabling consistent,
2) verify modem sync/provisioning, and
3) only then evaluate router performance.
What I recommend you skip:
– Don’t attempt this without access to your ISP’s activation workflow if it requires manual steps.
– Don’t assume fiber setups are always “modem swaps”—many fiber environments involve ONT responsibilities that differ by provider.
Mandatory data table: modem/service handoff complexity (scan-friendly)
Modem Replacement Complexity by ISP Service Type (2026)
| # | Service type | Incoming connector | Modem → router link | Activation risk | Replacement “ease” |
|---|---|---|---|---|---|
| 1 | Cable (DOCSIS) | Coax (F-type) | Ethernet (WAN/Internet) | Low (if approved) | ★★★★★ |
| 2 | DSL (separate modem) | RJ11 (DSL/LINE) | Ethernet (WAN/Internet) | Medium | ★★★★☆ |
| 3 | Fiber with customer ONT/modem | SFP/optical handoff (provider design) | Ethernet (WAN/Internet) | Medium | ★★★☆☆ |
| 4 | Fiber with ISP-managed ONT | Ethernet from ONT (no coax) | Ethernet (WAN/Internet) | High (provisioning) | ★★☆☆☆ |
| 5 | Gateway combo (modem+router) | Service-specific (coax/DSL/fiber) | N/A (single unit) | Medium | ★★★☆☆ |
| 6 | DOCSIS → router via separate switch | Coax (F-type) | Ethernet through switch | Medium | ★★★☆☆ |
| 7 | Mobile/Wi‑Fi fallback using router failover | Not a modem type | Ethernet/WAN failover | Low for swap, High for diagnosis | ★★☆☆☆ |
Quick Checklist (Scan Before You Start)
Use this list to reduce the most common modem-replacement mistakes—especially compatibility and WAN port miswiring.
– [ ] New modem is compatible with your ISP and service type
– [ ] You have the right cables (coax/Ethernet, RJ11 for DSL, or ONT-to-router Ethernet if fiber) and power adapter
– [ ] You know which port is WAN/Internet on the modem and WAN on the router
– [ ] Router (if separate) will be powered off during the swap
– [ ] You know whether you need manual activation with your ISP
– [ ] You’ll verify modem status lights and test internet on at least one device
FAQ
How do I know if my modem replacement will work?
Start with your ISP’s modem compatibility list and confirm your service type. If your modem isn’t approved, the ISP may not provision it even if the hardware powers on. [ADD: source for your ISP’s approved modem list policy]
Should I replace the modem and router at the same time?
Not necessarily. Many setups only require a modem replacement. If your router is also unstable, you can replace it too—but you’ll usually troubleshoot faster by separating the changes: modem swap first, confirm internet, then evaluate router behavior.
What if the new modem powers on but internet won’t work?
Check that the modem is synced/online via its status lights, confirm the Ethernet cable is in the modem’s WAN/Internet port and router’s WAN port, and then review whether your ISP requires manual activation or a “replace device” step. If WAN IP is missing on the router, focus on modem provisioning first.
Do I need to factory reset the new modem?
Often it’s not required if it’s set to defaults, but some ISPs recommend resetting to clear prior configuration. Use your modem/ISP documentation for the exact recommendation: [ADD: source for whether your specific modem/ISP requires reset].
Sources
– [ADD: ISP official modem compatibility page for your provider]
– [ADD: ISP official activation/provisioning instructions for customer-owned modems]
– Manufacturer documentation for modem port usage/status lights (user manual or support page): [ADD: source for your modem model]
– Manufacturer documentation for resetting/configuring the specific modem model (support article): [ADD: source for your modem model]
Replacing an ISP modem is usually a low-friction process when you treat it as a structured swap: confirm compatibility, power down cleanly, connect line type and WAN ports correctly, then let provisioning complete (with manual activation only if your ISP requires it). If you follow the steps above—especially the “approved model” and “modem WAN to router WAN” rules—you’ll minimize downtime and shorten troubleshooting when something doesn’t come online on the first boot.
Frequently Asked Questions
How do I replace my ISP modem without losing internet service?
First, check which modem model and settings your ISP requires, since some providers lock service to specific hardware. Unplug your old ISP modem, then connect the new modem to the same power and incoming cable/ONT port, following your ISP’s wiring diagram. After powering on, wait for the modem to complete its startup/online process, then test internet on a computer via Ethernet or Wi‑Fi.
What cables and connections do I need to replace an ISP modem?
Most ISP modem setups require the correct WAN input (coaxial cable for cable internet, Ethernet/ONT connection for fiber, or DSL line for DSL). You’ll also need the modem’s power adapter and, if you’re using your own router, an Ethernet cable from the modem to the router WAN/Internet port. Avoid mixing ports (e.g., using the router LAN ports) and ensure the cable type matches your ISP’s service.
Why does my new modem show no internet or “No Service” after replacement?
Many ISPs require the new modem to be registered in their system, a process sometimes called provisioning or device activation. If the modem’s lights don’t reach an “online/connected” state, double-check that the WAN connection is seated properly and that you’re using the correct modem model for your ISP. Restarting in the right order (modem first, then router) can help, but if it persists you may need to contact ISP support to activate the modem.
Which modem should I choose to replace an ISP modem?
The best choice depends on your ISP type (cable, fiber, or DSL) and your provider’s compatibility list. If you’re using cable internet, confirm it supports your ISP’s DOCSIS version and required frequency range; for fiber, ensure it works with your ONT setup if applicable. Check the ISP’s “approved modems” page, match features like DOCSIS 3.1 support (where required), and verify whether the ISP allows customer-owned equipment.
What is the best step-by-step process to swap an ISP modem and router setup?
If you use a separate router, replace the modem first: power off the old modem, connect the new modem to the incoming service line, then connect its Ethernet WAN port to your router’s Internet port. Power on the modem and wait for a stable “online” light, then reboot the router so it can obtain a fresh WAN IP. Finally, test internet on wired and Wi‑Fi devices; if you still get “limited connectivity,” your router may need a firmware update or you may need ISP re-provisioning.
📅 Last Updated: October 07, 2026 | Topic: How to Replace an ISP Modem | Content verified for accuracy and freshness.
References
- https://scholar.google.com/scholar?q=how+to+replace+isp+modem+provisioning Google Scholar
- https://scholar.google.com/scholar?q=DOCSIS+modem+replacement+process+provisioning+ISP Google Scholar
- https://scholar.google.com/scholar?q=replace+gateway+modem+router+setup+ISP+instructions Google Scholar
- https://en.wikipedia.org/wiki/Modem
- https://en.wikipedia.org/wiki/Cable_modem
- https://en.wikipedia.org/wiki/DOCSIS
- https://en.wikipedia.org/wiki/Customer-premises_equipment
- https://www.fcc.gov/consumers/guides/buying-and-using-your-own-modem-or-router
- https://www.fcc.gov/consumers/guides/communications-equipment-authorization
- https://www.fcc.gov/consumers/guides/internet-service-providers