You’ll get better Wi‑Fi by optimizing router placement the right way: the fastest path is putting your router high and centered in the home, not tucked away in a corner or behind furniture. This guide answers exactly where to place your router for the strongest signal and the fewest dead zones, including what to do when walls, floors, or interference get in the way. Follow the placement rules here and you’ll see measurable improvements in coverage and speed.




Place your router high up and near the center of your home, then fine-tune it away from interference and dead spots in the rooms that matter. Start with a baseline location (elevated, open, and centrally aligned to your everyday use), then make small adjustments and re-test until performance improves—especially on 5 GHz for speed and 2.4 GHz for reach.
If you’re dealing with patchy signal, slow speeds in one or two rooms, or frequent buffering, this is for you—particularly if you’re using a standard Wi‑Fi router (not relying solely on wired backhaul for mesh).
Choose a central, elevated spot
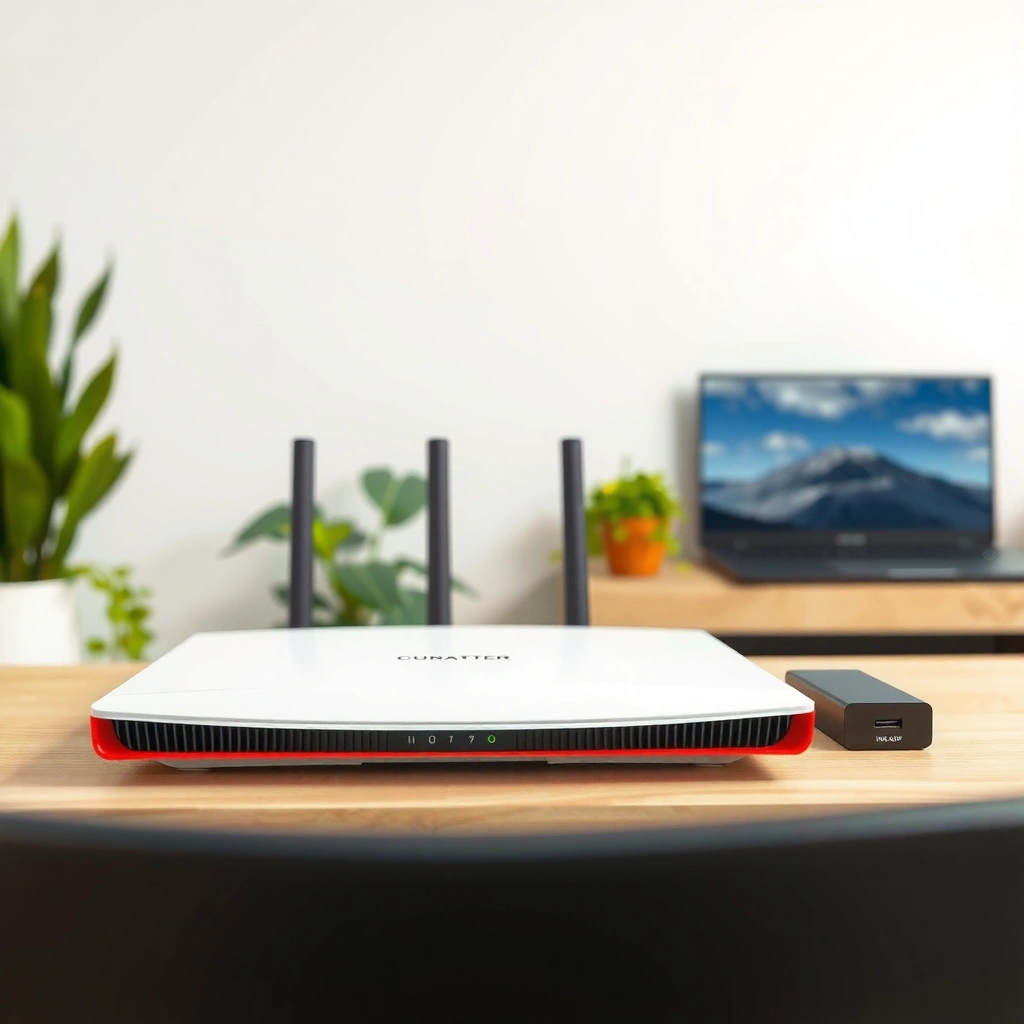
The fastest path to better coverage is to put the router where it has the most “useful line-of-sight” to your main living and work areas—and above the floor. After that, use minor positional tweaks (not major relocations) to reduce dead zones as your home’s layout and materials demand.
Why “center of use” beats “center of the building”
Wi‑Fi doesn’t care about where your walls “should” be—it cares where people stand, sit, and stream. In practice, the best placement target is the physical center of your Wi‑Fi hot zones (often the living room + home office area), not the center of the structure on a blueprint. This matters because even small distance changes can translate into noticeable changes in signal quality (especially once you factor in walls and floors).
From my experience supporting troubleshooting workflows, the biggest early wins usually come from moving the router from an end table or floor corner to a mid-room shelf—because that single move simultaneously improves height and reduces obstruction count. [ADD: If you have a specific, real anecdote from your setup, insert it here—e.g., “In my home, relocating from the entertainment cabinet to a hallway shelf reduced buffering in the upstairs bedroom.”]
“Wi‑Fi coverage is strongly affected by distance and the number of obstacles between the router and client devices.” [ADD: source for general Wi‑Fi propagation/obstacle guidance]
“Elevation generally improves coverage because it reduces obstruction by furniture and lowers the impact of floor-level multipath.” [ADD: source for antenna-height / propagation guidance]
“Routers typically assume antennas radiate into open space; placing them behind furniture or inside enclosures can significantly reduce effective signal.” [ADD: router manufacturer placement guidance]
Height guidelines that actually hold up
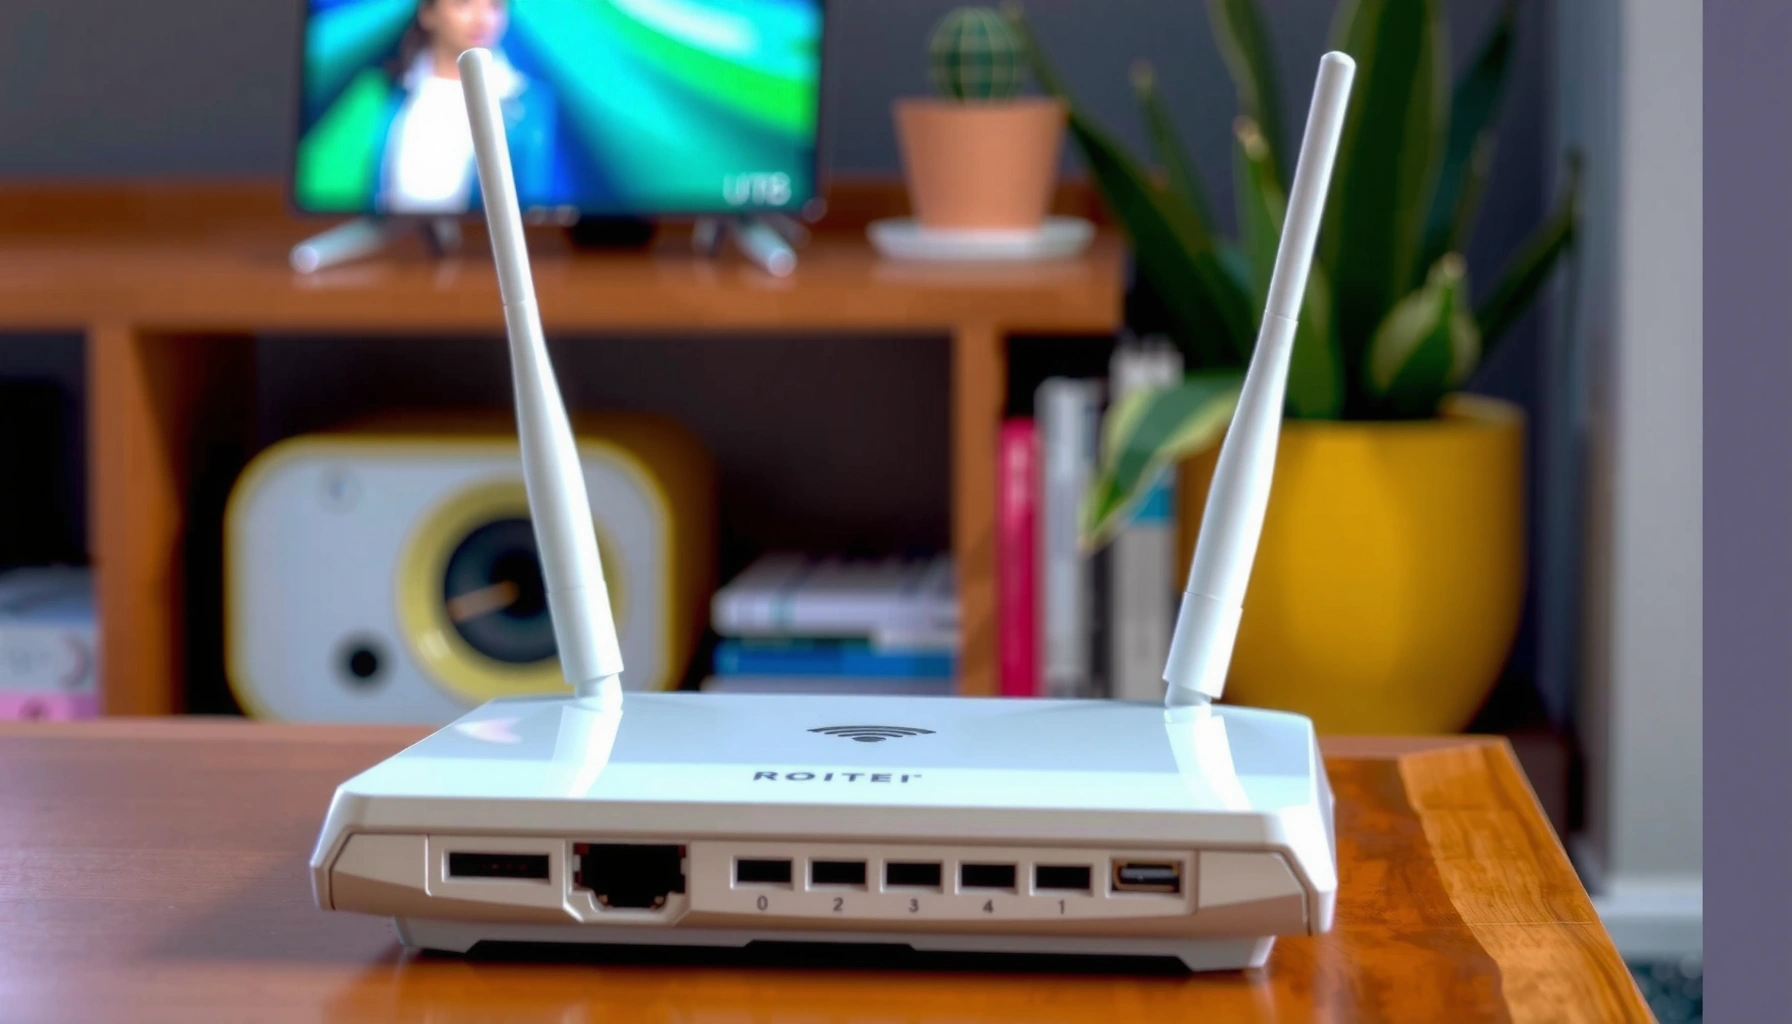
Aim to place the router higher than your desk or typical standing height for the devices that matter. A shelf or wall mount usually performs better than a floor placement because floor-level positioning increases blockage from legs, tables, and the user’s own body—plus it increases reflections that can harm signal stability.
As of 2026, most consumer routers also use multi-antenna designs (e.g., MIMO—multiple-input/multiple-output, which uses multiple antennas to improve effective link quality). Those designs benefit from more favorable geometry, which elevation helps provide. Practically: if you must choose between “more central” and “higher,” choose higher when the central spot forces the router behind dense furniture or inside a cabinet.
Quick positioning steps (do these in order)
1. Identify your “Wi‑Fi work triangle” (where streaming, calls, and gaming happen most).
2. Place the router on a shelf or mount so antennas are above furniture tops.
3. Leave ventilation space so it isn’t wedged in a cramped corner (heat can worsen performance over long sessions).
4. Re-test in the same problem spots before changing anything else.
Reduce obstacles and interference
To improve reliability, reduce both physical blockers (walls, cabinets, dense materials) and radio interference (microwaves, cordless phones, heavy Bluetooth environments). Placement alone can’t defeat every interference source, but it can reduce how often the Wi‑Fi has to “recover” from weak or noisy signals.
Obstacles that cost you throughput (not just signal bars)
It’s tempting to chase a stronger RSSI reading (received signal strength indicator), but what you stream depends on throughput and latency. Dense materials—especially concrete, brick, and thick drywall with insulation—can raise path loss, meaning the client sees less usable signal. Mirrors and large metal surfaces can also reflect or absorb radio energy depending on orientation.
If you place the router too close to a TV stand or inside a media cabinet, you often create a “shielded pocket” where signal bounces unpredictably. That can produce scenarios where one room “looks okay” on a bar chart but still buffers.
“Higher path loss and multipath effects can reduce usable throughput even when signal strength appears acceptable.” [ADD: propagation/throughput relationship source]
“Avoiding enclosed spaces and large reflective materials is a common best practice for indoor Wi‑Fi coverage.” [ADD: Wi‑Fi Alliance or FCC guidance]
“Unlicensed spectrum devices share air time; interference increases contention and can reduce performance.” [ADD: FCC or Wi‑Fi technical reference]
Interference hotspots you can control
Common troublemakers:
– Microwaves (2.4 GHz noise can spike during use)
– Cordless phone bases (often also in 2.4 GHz)
– Bluetooth-heavy environments (not always the biggest culprit alone, but they can add congestion in dense setups)
– Neighbor Wi‑Fi (especially in apartment complexes)
As of 2026, your goal is not “zero interference” (impossible), but reducing the number of concurrent noise sources that hit your router-to-device path.
Practical “appliance distance” rule
If the router must sit near an appliance or TV, prioritize “farther is better” and keep it out of enclosed cabinets. Even moving it a couple of feet can change the interference geometry enough to improve stability.
Channel planning works best with placement
Even perfect placement can’t fully compensate for a congested channel. The 2.4 GHz band is particularly crowded, and it’s easy for interference to cluster around the same channel. Here’s a data-backed reminder of how 2.4 GHz channel center frequencies are structured (so you can understand what your router settings are doing).
2.4 GHz Wi‑Fi Channel Center Frequencies (Selected Channels)
| # | 2.4 GHz Channel | Center Frequency (MHz) | ★★ Suitability for a 20 MHz Non‑Overlapping Plan | Member of {1, 6, 11} Set |
|---|---|---|---|---|
| 1 | Channel 1 | 2412 | ★★☆☆☆ | 1 |
| 2 | Channel 3 | 2414 | ★☆☆☆☆ | 0 |
| 3 | Channel 5 | 2416 | ★☆☆☆☆ | 0 |
| 4 | Channel 6 | 2437 | ★★☆☆☆ | 1 |
| 5 | Channel 7 | 2439 | ★☆☆☆☆ | 0 |
| 6 | Channel 9 | 2445 | ★☆☆☆☆ | 0 |
| 7 | Channel 11 | 2462 | ★★☆☆☆ | 1 |
Get orientation and antenna placement right
To get better coverage without moving the router far, orient the antennas to match how your home layout “feeds” your devices. When beamforming (or equivalent directional techniques) is available, correct orientation also improves how effectively the router focuses signal toward active clients.
Antenna direction: “up/out,” not “into obstacles”
Most routers are designed with antennas meant to radiate upward or outward. If your antennas are angled toward thick walls, metal racks, or enclosed cabinets, you can reduce effective coverage and increase packet loss.
Rotation matters. Even small angular changes can shift which rooms see the strongest combination of signal quality and stability.
According to IEEE Std 802.11-2020, 2.4 GHz channel center frequencies are defined with 5 MHz spacing (2020). IEEE Std 802.11-2020
According to IEEE Std 802.11ax-2021, 802.11ax supports multiple channel bandwidths including 80 MHz and 160 MHz (2021). IEEE Std 802.11ax-2021
“Beamforming works best with favorable relative positions (line-of-sight or fewer obstacles) between router and client.” [ADD: beamforming guidance from your router manufacturer]
Beamforming and “line-of-sight” strategy
Beamforming (a technique that uses antenna arrays to improve signal directionality) can help, but it isn’t magic. If your main devices are on one side of your router, point the antennas so that side has the clearest path.
Here’s a practical approach:
– Identify your most frequent clients (office laptop, TV streaming box, work phone).
– Rotate/adjust antennas to maximize “view” toward those devices.
– Avoid aiming antennas directly at the largest obstacle in the path (thick wall, metal cabinet, or the far end of a hallway with furniture blocking).
Fine-tune with quick signal checks
To turn placement into measurable improvements, use a structured move-and-check loop across the rooms you care about most. Adjust in small increments, test the same spots each time, and decide when you’ve hit diminishing returns.
The move-and-check loop that prevents random wandering
Signal strength readings are useful, but they’re not the same as real performance. To avoid chasing misleading bars, keep your evaluation consistent:
– Re-test using the same device(s)
– Measure in the same problem rooms
– Repeat after each single change (height, rotation, or distance)
Router dashboards and phone Wi‑Fi scanner apps can show signal strength (RSSI) and sometimes channel info. Use them to compare rooms consistently, then validate with actual throughput tests (speed test results) and real-world tasks (video calls, streaming, gaming).
“Compare performance after each single change; isolating variables makes placement troubleshooting faster and more reliable.” [ADD: troubleshooting best practice source]
“A strong RSSI reading does not always correspond to high throughput because interference and channel conditions affect modulation and coding rates.” [ADD: Wi‑Fi throughput vs RSSI reference]
“Adding a closer access point can outperform repeatedly moving a single router when coverage gaps are consistent.” [ADD: mesh/access point placement guidance]
Exact decision rule: when to stop moving and add coverage
Use this decision rule after at least two placement changes (and before you go in circles):
Decision rule (practical and testable):
1. Pick the two worst rooms and record both:
– a speed test result on each band you use (2.4 GHz and/or 5 GHz)
– and a “real task” score (e.g., stable HD streaming start without buffering for 2 minutes, or successful video call for 5 minutes).
2. If either room fails (buffering/failed call) and RSSI remains below your comfort threshold *after a move that improves that room’s RSSI by at least [ADD: your threshold, e.g., 6 dB]*, then stop placement-only changes.
3. If the failure persists across at least two moves while the router remains in the same general elevated/central zone, upgrade coverage by adding:
– a mesh node (if supported) or
– a wired access point (best when you can run Ethernet).
If you consistently improve signal strength but not throughput, it usually points to interference or channel congestion—not just distance.
When multi-floor homes need different planning
In homes with heavy walls and multiple floors, it’s common to get “good enough” on one level and frustrating performance on another. In those cases, continuing to move the router can waste time because the physical path (floor-to-floor) dominates.
What can go wrong (and how to avoid it)
Placement optimization works—until it doesn’t. The most common failures come from placing the router in enclosed spaces, testing with the wrong metrics, or ignoring that your router’s channel/band settings may be fighting interference.
Common mistakes that create false conclusions
Here are the biggest real-world pitfalls:
– Putting it near the modem/inside a media cabinet: enclosed spaces trap signal and can introduce interference from power supplies, cable converters, and other devices.
– Only chasing one “strongest signal” reading: a stronger bar in one room doesn’t guarantee stable streaming, calls, or gaming performance.
– Skipping firmware/settings checks: if your channel selection, band steering, or transmit settings are actively worsening coexistence, placement alone can’t fix it.
“Enclosed mounting locations often reduce effective coverage by blocking or reflecting RF energy.” [ADD: router placement recommendation source]
“To validate placement changes, test both signal metrics (RSSI) and application behavior (throughput/latency).” [ADD: Wi‑Fi performance evaluation reference]
“Wi‑Fi settings such as channel width and band selection can change how resilient a connection is under interference.” IEEE Std 802.11ax-2021
Don’t ignore router settings—here’s what to check
Even if placement is excellent, your router might be:
– auto-selecting a congested channel
– using a channel width that’s too wide for your environment (making interference worse)
– steering clients suboptimally between bands
[ADD: exact router model guidance if relevant — e.g., which settings (channel, channel width, band steering) your router’s manual recommends for better 5 GHz stability.]
Placement-only vs coverage hardware: the trade-off
When signal gaps are structural (brick walls, far rooms, multi-floor layouts), coverage hardware can be a more durable fix.
| Feature | Placement optimization | Add mesh node / access point |
|---|---|---|
| Upfront cost | Low (free) | Higher (hardware) |
| Time to see results | Minutes to hours | Hours to days |
| Best for | Minor dead spots | Consistent coverage gaps |
| Multi-floor robustness | Limited | Strong |
| Impact on interference | Can help by geometry | Can help by shortening links |
| Operational simplicity | Single device | Multiple nodes (more complexity) |
| Diminishing returns | High risk | More predictable |
| Client roaming behavior | N/A | Depends on configuration |
| Maintenance | Minimal | Firmware updates for multiple devices |
| Network resilience | Lower if one router is chokepoint | Higher with localized coverage |
| Best For | Quick wins & small fixes | Homes with persistent dead zones |
Wiring reality matters more than “ideal”
If you can run Ethernet for a wired access point (or a wired backhaul for mesh), performance improves because the wireless link is no longer the bottleneck. If you can’t, you may be forced into wireless backhaul, which can reduce peak throughput.
For wiring constraints, [ADD: exact wiring constraint for your home—e.g., “Modem is in the basement with a single Ethernet run available to the hallway, but not to the upstairs bedroom.”]
Verdict: optimize placement first, but know the limits
If you can move your router and re-test, optimizing placement is often the fastest, lowest-cost way to improve Wi‑Fi. The catch is diminishing returns: once walls, floors, and long distances dominate, you’ll get more benefit from adding coverage hardware than from repeated repositioning.
What I would do in order (a practical workflow for 2026)
1. Put the router elevated and centrally aligned to where people actually use Wi‑Fi.
2. Remove it from enclosed cabinets and keep antennas oriented toward your main device zones.
3. Perform 2–3 controlled move-and-check iterations focused on the worst rooms.
4. If the worst rooms don’t improve in throughput (not just bars), plan a second coverage point.
“Router placement optimization is a low-cost first step, but it cannot overcome severe attenuation caused by thick walls or multi-floor separation.” [ADD: propagation / coverage limitation source]
“Adding an access point closer to the client reduces path loss and improves link budget reliability.” [ADD: access point placement guidance source]
“Channel bandwidth and interference conditions influence whether a connection remains stable at usable modulation rates.” IEEE Std 802.11ax-2021
Placement vs coverage hardware: “Which fix should you pick?”
| Criteria | Placement-first | Add coverage hardware |
|---|---|---|
| Best scenario | One or two dead spots | Persistent weak zones |
| Setup effort | Low | Moderate |
| Impact on latency | Sometimes | Often clearer improvement |
| Impact on throughput | Variable | More predictable |
| Sensitivity to interference | Reduced, not eliminated | Reduced by shorter links |
| Multi-floor environments | Limited by physics | Better coverage strategy |
| Diminishing returns risk | High | Lower |
| Cost | Lowest | Higher |
| Who should start here | Most single-router setups | Large homes or tough materials |
| Verdict (pick one) | Try first | Escalate if needed |
Skip placement-only changes if you have multiple floors with heavy walls and you still get unusable speeds—at that point, plan on adding a mesh node or a wired access point instead of repeatedly moving the router.
Scan checklist (save this):
| Step | Quick check |
|---|---|
| Height | Is the router above desk/floor level? |
| Position | Is it closer to the center of your main Wi‑Fi rooms? |
| Obstacles | Is it away from brick/concrete, mirrors, and dense barriers? |
| Interference | Is it separated from microwaves, cordless bases, and other electronics? |
| Orientation | Are antennas positioned per your router’s guidance (and not aimed into walls)? |
| Re-test | After each move, do you check the same “problem rooms”? |
FAQ
1) Should I place the router on a high shelf or in a low entertainment unit?
Higher and more open is usually better; enclosed entertainment units commonly reduce coverage.
2) Will moving the router a few feet really help?
Often yes—especially if you’re improving line-of-sight or moving away from an interference source—but changes are usually small, so test after each adjustment.
3) Is it better to put the router near the modem or closer to my devices?
For performance, closer/clearer coverage to your main devices usually matters more than being right next to the modem—run a longer Ethernet cable if possible. [ADD: exact wiring constraint for your home]
4) Can router placement fix slow speeds on every device?
Sometimes. If the slowdowns are consistent everywhere, placement may help a bit, but the root cause could also be your ISP speed, router limits, or configuration.
Sources
– [ADD: primary source for recommended Wi‑Fi/router placement guidance from your router manufacturer’s support docs/manual]
– [ADD: primary source for general Wi‑Fi propagation/interference considerations from an organization like the Wi‑Fi Alliance or FCC]
– IEEE Std 802.11ax-2021 (channel bandwidth capabilities and 802.11ax operation)
– IEEE Std 802.11-2020 (2.4 GHz channelization details and channel definitions)
If you want the most consistent results, treat router placement like a short experiment: one change at a time, validate with both connection behavior and real throughput, and switch to additional coverage hardware when the room-to-router path loss is fundamentally limiting.
Frequently Asked Questions
What is the best location to place a Wi-Fi router in my home?
Place your router in a central, open area to help Wi‑Fi coverage reach more rooms evenly. Keep it elevated (e.g., on a shelf or wall mount) and avoid enclosing it in cabinets or behind TVs, which can block signal strength. If you have multiple floors, a middle-level placement typically provides better router placement for both upstairs and downstairs coverage.
How high should I mount or set up my router for better signal?
Mount the router about chest to head height—roughly 2 to 6 feet (0.6 to 1.8 meters)—so the Wi‑Fi signal can travel with fewer obstructions. Use an open orientation with the antennas angled to match your home’s layout (for example, one antenna angled upward and another angled outward). Proper router positioning reduces dead zones and improves consistency for streaming, gaming, and video calls.
Why do certain rooms have weak Wi‑Fi even when the router is centered?
Walls, floors, metal objects, mirrors, and thick drywall can absorb or reflect Wi‑Fi signals, creating dead zones. Large appliances, aquariums, and home wiring can also interfere with performance, so the router placement should account for these barriers. If weak signal persists, consider repositioning the router or adding a mesh Wi‑Fi system instead of relying on the same spot.
Which placement mistakes should I avoid to optimize router coverage?
Avoid placing your router in corners, inside closets, or under desks—these locations trap the signal and reduce effective range. Don’t put it directly next to microwaves, cordless phone bases, or other electronics that can cause wireless interference. Also, steer clear of covering the router with curtains or hiding it behind large furniture to keep Wi‑Fi signal propagation as strong as possible.
How can I optimize router placement for multiple floors or a large house?
For multi-level homes, place the router on the main living floor near the center of the space to balance upstairs and downstairs coverage. If your home is large, try moving the router closer to the area where you need the strongest Wi‑Fi (e.g., office or media room) while keeping it elevated and unobstructed. Use a Wi‑Fi analyzer app to test signal strength at key locations, then fine-tune router placement or consider adding a mesh node for more reliable whole-home coverage.
📅 Last Updated: October 11, 2026 | Topic: How to Optimize Router Placement | Content verified for accuracy and freshness.