The biggest mesh Wi-Fi placement mistake is putting a wireless node in the dead zone you want it to fix, where it may already be too far from another node to get a strong signal. For wireless backhaul, an open spot between the dead zone and a well-connected node beats a hidden corner inside the problem room. This guide answers where to place your mesh nodes—and which locations to rule out—to improve coverage without sacrificing speed.


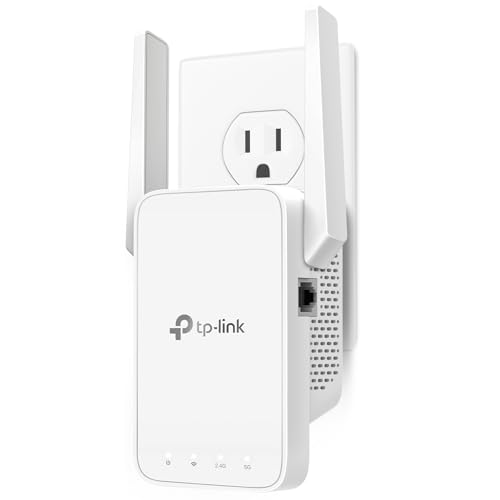
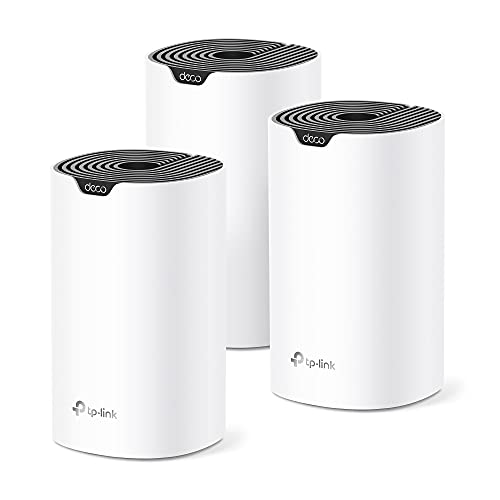
The biggest mesh Wi-Fi placement mistake is putting a wireless node inside the dead zone rather than where it can still receive a reliable connection from the rest of the mesh. Hidden nodes, obstructed locations, and poor spacing can also weaken coverage. Start with open locations between the main router and problem areas, then check connection quality before settling on a layout.
This guide is for households with weak coverage, inconsistent speeds between rooms, or mesh nodes reporting a poor connection. It focuses on placement; it will not fix an internet-provider outage or guarantee better speeds from an overloaded connection. Google Nest Wifi is the featured example, with model differences noted where they affect placement and wired connections.
Putting a Wireless Node Inside the Dead Zone
A wireless node needs a usable connection back to the mesh—not merely a location close to the struggling device. Backhaul is the connection carrying traffic between a mesh node and the main router or another mesh node.
A wireless mesh node can provide a strong local Wi-Fi signal while its connection back to the router remains weak.
Move the poorly connected node toward the main router or another well-connected node. After each move, allow it to reconnect, run the manufacturer’s mesh test, and check service in the problem room. For Google Nest Wifi, use the Google Home app’s mesh test rather than relying only on the phone’s Wi-Fi icon.
Ethernet backhaul removes dependence on the wireless link between a wired node and the rest of the network.
Wired backhaul changes placement options, but hardware compatibility matters. According to [Google Nest’s specifications](https://support.google.com/googlenest/answer/6280668), Nest Wifi routers have two Gigabit Ethernet ports, Nest Wifi points have zero Ethernet ports, and Nest Wifi Pro units have two Gigabit Ethernet ports. A Nest Wifi point therefore cannot gain wired backhaul simply by adding a cable.
The following configurations summarize Google’s documented compatibility and Ethernet-backhaul options.
Google Mesh Backhaul: Seven Configuration Checks
| # | Primary router | Additional unit | Connection evaluated | Supported? |
|---|---|---|---|---|
| 1 | Google Wifi | Google Wifi | Ethernet backhaul | Yes |
| 2 | Nest Wifi router | Nest Wifi router | Ethernet backhaul | Yes |
| 3 | Nest Wifi router | Google Wifi | Ethernet backhaul | Yes |
| 4 | Nest Wifi router | Nest Wifi point | Ethernet backhaul | No Ethernet port |
| 5 | Nest Wifi Pro | Nest Wifi Pro | Ethernet backhaul | Yes |
| 6 | Nest Wifi Pro | Nest Wifi router | Shared mesh | Incompatible |
| 7 | Nest Wifi Pro | Google Wifi | Shared mesh | Incompatible |
Hiding Nodes Behind Furniture or Near Obstructions
Place mesh nodes in open, stable locations rather than inside cabinets, behind televisions, beside large metal objects, or in floor-level corners. A discreet installation is not necessarily a reliable one.
Enclosed furniture and nearby obstructions can weaken both a mesh node’s backhaul and its connection to household devices.
Walls and floors affect wireless paths differently depending on materials, thickness, and construction. Reinforced concrete, metal-backed insulation, and multiple intervening walls can make an apparently short route difficult. There is no universal signal-loss figure or ideal mounting height that applies to every home.
Mesh placement should follow the manufacturer’s orientation, mounting, and ventilation instructions rather than a universal height rule.
Google Nest’s placement guidance favors open locations and recommends avoiding objects that obstruct signals. Try an exposed shelf or tabletop, keeping the unit stable and ventilation unobstructed. Follow the instructions for the exact model rather than assuming every mesh device can be wall-mounted or placed on its side.
Spacing Nodes Without Checking the Actual Layout
Space nodes according to measured connection quality and room coverage, not a generic distance rule. Units too far apart can have weak backhaul; units clustered together may leave distant rooms underserved.
A useful mesh layout balances reliable connections between nodes with coverage in the rooms where devices are used.
In multistory homes, evaluate the route through floors and walls. Directly stacked nodes may work well, but that arrangement is not automatically best if reinforced flooring separates them.
Consider an illustrative two-story layout: the router sits in the front downstairs living room, while an upstairs rear office has poor service. Instead of putting the node beside the office desk, test the upstairs landing near the stairwell. That route might encounter fewer substantial obstructions, but only the mesh test and office checks can establish whether it helps.
The shortest physical route between mesh nodes is not always the least obstructed wireless route.
When Moving Nodes Will Not Solve the Problem
Repositioning helps weak wireless paths; it does not repair provider outages, device limitations, or an overloaded internet connection. Compare symptoms before making further changes.
A strong phone-to-node signal does not establish that the node has a healthy connection back to the router.
– Provider or gateway issue: Several devices remain slow near the main router, including a wired device. Check service status and the incoming connection.
– Device limitation: One older laptop struggles while other devices work normally in the same room. Check its adapter, software, and supported Wi-Fi capabilities.
– Interference: Problems vary with nearby wireless activity or electrical equipment. Placement may help, but spacing alone may not resolve the cause.
– Congestion: Performance deteriorates during simultaneous downloads, backups, or streaming. Compare quiet and busy periods.
Persistent coverage problems across dense construction or between buildings may require a different network design rather than another indoor wireless node.
Detached buildings may need professionally installed outdoor-rated links or fiber and a local access point. Supported Ethernet backhaul can help within a building, but do not assume an ordinary indoor cable is suitable between buildings.
Reposition First—But Know When to Stop
Move existing nodes and verify the results before buying more hardware. Additional nodes are not automatically beneficial if their own backhaul would be weak.
An additional mesh node is useful only when the network can connect it reliably and it serves a genuine coverage need.
- Open wireless placement
- Avoids cable installation, but makes hardware more visible and remains sensitive to the building layout.
- Supported wired backhaul
- Removes the wireless backhaul dependency, but requires compatible hardware, suitable cabling, and correct topology.
Healthy mesh links combined with slow internet are a reason to investigate connection capacity, not repeatedly reposition nodes.
For a 2026 upgrade decision, check exact model compatibility before purchasing. Readers who need coverage beyond dense structural barriers—or who already have Ethernet at the destination—should consider a wired access point instead of repeated wireless-placement experiments.
A Placement Checklist to Save
Check location, mesh connection, and real-room performance before accepting a layout. Record results so an apparent improvement can be distinguished from ordinary speed fluctuations.
Changing one node location at a time makes placement results easier to interpret.
– Location: Is each node out of enclosed furniture, away from obvious obstructions, and positioned according to its manufacturer’s instructions?
– Connection: Does each wireless node report an acceptable mesh connection, and has coverage been checked in the rooms that matter?
– Verification: Change one location at a time, compare results under similar conditions, and record what improved or worsened. Use the same device and test location, and note competing network activity.
Successful mesh placement requires both an acceptable backhaul connection and usable service at the destination.
Sources for Placement and Backhaul Guidance
Use official model-specific documentation for placement, connection testing, and wiring rules. For 2026 planning, confirm that the instructions match the hardware and app version being used.
Manufacturer placement guidance provides a starting point; measurements inside the home determine whether that placement works.
– [Google Nest: Where to place your Wifi devices](https://support.google.com/googlenest/answer/7183150) supports open placement, avoiding obstructions, and positioning nodes between the router and coverage needs.
– [Google Nest: Test mesh connection](https://support.google.com/googlenest/answer/7620337) explains the Google Home mesh test and connection-quality guidance.
– [Google Nest: Hardwire Wifi devices](https://support.google.com/googlenest/answer/7215624) explains supported Ethernet-backhaul arrangements and topology limitations.
– [Google Nest: Wifi device technical specifications](https://support.google.com/googlenest/answer/6280668) documents Ethernet ports and model compatibility.
Ethernet-backhaul support depends on the specific mesh model and supported network topology.
Good mesh placement balances coverage with a reliable connection between nodes. Move the weakest wireless node out of the dead zone, remove avoidable obstructions, and use the checklist to verify the result. If those changes do not help, investigate the connection or building limitations before adding more hardware.
Frequently Asked Questions
What are the most common mesh Wi‑Fi placement mistakes that cause weak coverage?
A top mistake is placing the primary mesh node in a central-looking spot that’s actually blocked by thick walls, metal ducts, or appliances. Another common issue is setting satellite nodes too far apart, which forces the mesh backhaul to run on a weak signal and creates slow, unreliable Wi‑Fi. Finally, people often forget to avoid placing nodes directly on the floor, behind TVs/cabinets, or inside entertainment centers, which reduces effective coverage.
How should I place mesh Wi‑Fi nodes to avoid dead zones and slow speeds?
Start by locating your main router in an open area near the center of your home, then elevate the node if possible (shelf or wall-mount higher than counter height). Place additional mesh Wi‑Fi nodes along the routes where your signal needs to pass (hallways, stairways, or between floors) rather than just at the farthest corners. Use the mesh app’s signal indicators during setup—move a satellite closer until it shows a strong backhaul connection to prevent coverage “gaps.”
Why do my mesh Wi‑Fi satellites show up connected but my internet is still slow?
This usually happens when satellites are connected over a poor backhaul link—so the system “works,” but the Wi‑Fi network is bottlenecked by retransmissions and interference. Another cause is placing nodes behind obstacles like concrete, reflective windows, large mirrors, or near microwave ovens and cordless phone bases. You may also see slow speeds when one satellite is covering too large an area, so reposition it to improve mesh Wi‑Fi backhaul quality and overall performance.
Best practices: Where should I mount mesh Wi‑Fi nodes in a multi-story home?
In multi-story homes, place the main mesh node on the middle floor when possible, or as high as practical, to reduce distance and wall attenuation to other levels. Use one satellite per floor in key coverage zones (e.g., near the stairs) rather than clustering them in the same room. If your home has strong interference sources or thick floors, reposition nodes closer together and rely on the app to confirm strong mesh backhaul between floors.
Which placement issues matter most for Wi‑Fi mesh range and throughput—distance, walls, or interference?
All three matter, but distance and walls typically impact mesh Wi‑Fi range first by weakening the backhaul signal between nodes. Interference—like neighboring networks, baby monitors, Bluetooth devices, and microwaves—can further reduce throughput even when nodes are “close enough.” Focus on good placement basics first (open, elevated, fewer obstructions), then fine-tune using your mesh system’s signal strength and speed tests to choose locations with both strong backhaul and minimal interference.
📅 Last Updated: October 16, 2026 | Topic: Mesh Wi-Fi Placement Mistakes | Content verified for accuracy and freshness.
References
- Mesh networking
- Wi-Fi
- Wireless LAN
- Wireless access point
- Radio propagation
- Multipath propagation
- Link budget
- https://scholar.google.com/scholar?q=mesh+wifi+placement+mistakes Google Scholar
- https://scholar.google.com/scholar?q=wireless+access+point+placement+best+practices Google Scholar
- https://scholar.google.com/scholar?q=wireless+mesh+network+node+placement+optimization Google Scholar



One thought on “Mesh Wi-Fi Placement Mistakes to Avoid”