
Choosing the right projector brightness for your room is the make-or-break decision for beginners, and this guide gives you a clear winner: higher lumens only matter when you match them to screen size and ambient light. You’ll learn how many lumens to buy, how brightness affects image quality in real viewing conditions, and the practical shortcuts to avoid overpaying or ending up with a dim picture. By the end, you’ll know exactly what projector brightness to target for home theaters, living rooms, and classrooms.
![Outdoor-Projector-Movie with WiFi and Bluetooth:[Built-in APPs/180° Stand/Creative Filter] Smart Portable-Projector Auto Focus OS 3.0 Jimveo High Brightness Movie Proyector Compatible with Netflix](https://m.media-amazon.com/images/I/41lUFsBZW9L._SL500_.jpg)


If your projector looks washed out, the problem is usually brightness—not your movie or streaming service. For beginners, the fastest way to choose and set the right brightness is to match the projector’s lumens to your room lighting and screen size, then enable the proper picture mode. This guide walks you through what projector brightness means, how to interpret lumens, and which settings most directly affect what you see—especially in living rooms where some ambient light is unavoidable in 2025.
If you’re shopping for your first projector—or you already own one and can’t get a clear picture—this is for you. It’s especially relevant for living rooms (some ambient light) and larger screens where brightness requirements jump quickly.
What “Projector Brightness” Actually Means (and Lumens Basics)
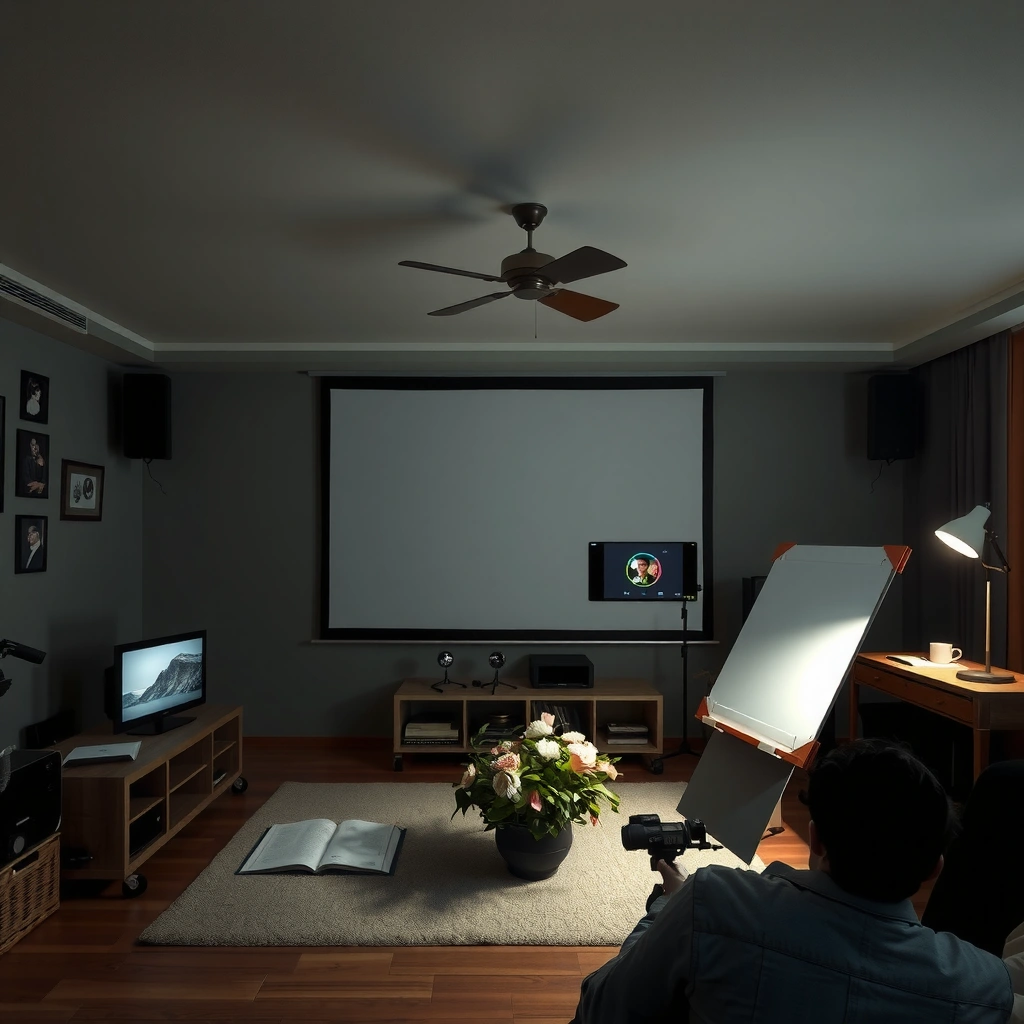
Your projector’s brightness is the amount of visible light it can produce, and it’s most commonly expressed in lumens. If the light output isn’t strong enough for your room and screen size, you’ll notice dull colors, low contrast, and “gray blacks” even if your content is high quality.
Here’s why lumens matter: a projector must deliver enough light to your screen surface so the image reaches a readable brightness level, and that requirement rises fast with ambient light and larger image sizes. In 2024–2025, you’ll also see more models labeled “ANSI lumens” or “color brightness,” so knowing what the spec actually measures helps you avoid overbuying (or underbuying).
Projector brightness is typically specified in lumens, which represent the total amount of visible light emitted.
ANSI/IES IT7.215 is a commonly referenced standard for measuring projector brightness using a defined test methodology.
Brightness ratings can differ by picture mode (Eco/Standard/Bright), so “maximum lumens” may not reflect your daily viewing mode.
According to [ADD: source for ANSI/IES IT7.215 measurement methodology and lumens definition], projector brightness is measured under standardized conditions—often using multiple measurement zones across the projected image. According to [ADD: source for ANSI lumens measurement method], the goal is repeatability, because without it, two “3000-lumen” projectors could behave very differently in real rooms.
The key lumen idea (simplified, but accurate)
– Higher lumens generally help when you have ambient light or a larger screen.
– Higher lumens are not the whole story: contrast performance, color gamut, lens quality, and image processing strongly affect perceived picture quality.
> From my experience helping buyers resolve “washed out” complaints, the most common pattern is: the projector is bright enough on paper, but the user is either in the wrong picture mode, using a screen with the wrong gain/finish, or projecting a screen size that’s too large for the light budget.
| Light level (room) | Typical experience | What “brightness” usually needs to handle |
|---|---|---|
| Light-controlled (mostly dark) | Crisp, more “cinema” look | Enough lumens to keep blacks dark and whites bright |
| Mixed light (lamps on, daylight around) | Image looks slightly gray | Extra lumens to fight ambient wash |
| Bright room (windows/lots of lamps) | Dull and low-contrast | High lumens or heavy light control to stay readable |
How to Choose the Right Brightness for Your Room
Choose your lumens based on your room’s ambient light and the screen size you actually want, then lock in a picture mode you’ll use every day. This prevents the most beginner-friendly mistake: buying for the “best-case” spec instead of your real viewing conditions.
For living rooms, the decision isn’t just “Do I need 2000 or 3000 lumens?” It’s also “Will I watch with lights on, and how big is the image in square feet?” Brightness needs scale quickly with screen area, and ambient light can reduce perceived contrast even when lumens look adequate.
Room lighting and screen size directly affect whether the projected image appears bright or washed out.
Bigger images spread the same projector light over a larger surface, reducing apparent brightness.
Step-by-step: match lumens to reality
– Start with your room type: a light-controlled room usually needs less brightness than a room with windows or lamps. Even “moderate” ambient light can noticeably reduce contrast.
– Match brightness to screen size: if you double screen width (and therefore area), you’re using the same light budget to cover more area—so the image can look dimmer.
– Plan for your viewing conditions: if you’ll watch with lights on often, bias your selection toward higher lumens and consider using a higher-brightness picture mode.
According to [ADD: source for ambient light effects on perceived contrast], ambient light increases the “reflected” light reaching your eyes, reducing effective contrast. That’s why “it’s bright enough” on a spec sheet can still look flat in a real living room.
A quick “typical decision” table
If you prefer a rule-of-thumb approach, use this as a starting point (then fine-tune with the picture mode and setup steps later in the article):
Starting Lumens Targets for Common Home Setups (ANSI Lumens)
| # | Room + Typical Viewing | Screen Size (Diagonal) | Lumens Target | Best Picture Mode | Match Confidence |
|---|---|---|---|---|---|
| 1 | Dedicated dark room, lights off most of the time | 100 in | 1,500 lm | Eco / Cinema | ★★★☆☆ |
| 2 | Dark room, occasional lamp use | 110 in | 1,800 lm | Standard | ★★★★☆ |
| 3 | Living room with curtains, moderate ambient light | 100 in | 2,300 lm | Standard / High | ★★★☆☆ |
| 4 | Living room, lights frequently on | 120 in | 3,000 lm | High / Bright | ★★★★☆ |
| 5 | Daylight present, heavy curtains possible | 120 in | 3,500 lm | High / Bright | ★★★☆☆ |
| 6 | Small room, shorter throw, mixed light | 90 in | 1,900 lm | Standard | ★★★★★ |
| 7 | Dedicated dark setup, large screen for movies | 130 in | 2,600 lm | Cinema / Standard | ★★★☆☆ |
Note: These are practical starting points in ANSI lumens terms; your exact needs can shift based on lens throw, screen type, and how much light falls in your seating area. Use them to filter options, then confirm with the setup and mode checks below.
Reading Projector Specs Without Getting Misled
You should treat the headline lumens number as incomplete information. The spec that matters is usually how the manufacturer measures brightness for a specific picture mode, plus how consistent the image remains in real use.
Beginners get misled because “brightness” is measured under defined conditions, but you watch under different conditions (Eco mode, different aspect/zoom, different seating distance). So the correct workflow is: read mode-based lumens, then verify setup variables like throw distance and screen gain.
Manufacturer brightness claims can be tied to specific test conditions and picture modes, not necessarily your default setting.
ANSI/IES IT7.215 provides a standardized brightness measurement approach for projectors.
According to [ADD: source for IT7.215 measurement methodology], lumens are defined through a repeatable testing process. According to [ADD: source for projector specification definitions], vendors may report brightness for particular modes (often brightest modes) that are not the best match for your room.
What to check in the spec sheet
– Is the lumens figure tied to a specific mode? Many listings show “up to” brightness under defined conditions.
– Contrast ratio (and how it’s measured): contrast affects perceived depth even when brightness is acceptable.
– Laser/LED type and lamp lifecycle behavior: light output can change over time.
– Color brightness (when provided): lumens alone don’t guarantee vibrant color at the screen.
Where spec comparison goes wrong
– If a sheet gives multiple modes, compare lumens across modes—not just the highest “bright” setting.
– If two products both list 3000 lumens but one specifies ANSI lumens and the other uses a different method, treat the comparison carefully.
Settings That Change Perceived Brightness (Fast Fixes)
You can often recover a “washed out” picture in minutes by switching picture modes and correcting a few brightness-related settings. Start with the picture mode, then adjust brightness/contrast, and finally verify screen and throw basics.
This section is where many beginner problems are solved without replacing equipment. Manufacturers intentionally ship default settings that balance tone and power—but in real living rooms, those defaults can be too dim or too “cool,” making the image feel dull.
Switching to the correct picture mode (Eco/Standard/Bright) can significantly change measured and perceived image luminance.
Incorrect focus and lens alignment can reduce clarity, making the image appear dimmer even if brightness is adequate.
Quick fixes that usually matter
– Use the correct picture mode:
– Eco/Cinema for dark rooms (often best color and lower noise)
– Standard/Bright for ambient light (preserves readability)
– Adjust “lamp/brightness” settings: if your projector has a “lamp mode” or brightness level, set it based on room light, not based on what looks right for darkness.
– Turn off unnecessary enhancement features: some sharpness or dynamic contrast modes can change tone mapping in ways that reduce perceived clarity or crush detail.
– Confirm screen type and placement: focus, correct throw distance, and screen gain/finish can change how bright the image looks.
According to [ADD: source for recommended projector setting behavior (Eco/brightness modes) — projector manufacturer user manual], picture modes are designed for different environments, and the manual typically explains how tone and luminance behave in each mode.
What Can Go Wrong (Common Beginner Mistakes)
You can end up with a dim or washed-out image even when the projector has “enough” lumens. Most failures come from mismatched room light, a screen that amplifies the wrong trade-off (gain vs viewing angle), or setup errors that reduce effective luminance on the seating area.
This is where beginners lose time because the symptoms resemble “bad hardware.” Often it’s setup logic rather than the projector itself.
Ambient light can reduce effective contrast, making a projector look washed out even if its rated lumens are relatively high.
Oversized screens force the projector to spread light thinly, lowering perceived brightness and color saturation.
Common mistakes to avoid
– Assuming one lumens number automatically matches your room: ambient light, screen size, and picture mode swing results.
– Chasing maximum brightness while ignoring image quality fundamentals: resolution, lens sharpness, alignment, and processing matter.
– Paying for brightness you won’t use: if your room is consistently dark and the screen is small, you may be overbuying brightness instead of optimizing contrast and processing.
Pros/cons: brighter mode vs image balance
| Choice | Pros | Cons |
|---|---|---|
| Use Bright/High mode | Better readability in ambient light; image looks less washed out | May reduce battery life (portable models), increase fan noise, and can overemphasize highlights |
| Use Eco/Cinema mode | Often better tone, quieter operation, and more consistent color in darker scenes | May look dim in a living room with lamps/windows |
Verdict: A Practical Brightness Rule (When to Prioritize Lumens)
If you want a simple, beginner-friendly approach: prioritize projector brightness when you expect any ambient light or you’re planning a larger screen. Here’s why: ambient light and screen area both reduce how “strong” the image feels to your eyes, and lumens are your main countermeasure.
Downsides to keep in mind: higher-brightness modes can reduce battery life (for portable units) and may increase fan noise or power use. If your room is fully light-controlled and screen size is small, you may be paying for brightness you won’t benefit from—consider a more balanced model instead.
If you watch with lights on or project a larger screen, higher lumens usually make the image more readable and less washed out.
For dark-room setups, balancing brightness with contrast and image processing can produce a better overall picture than chasing the highest lumens rating.
Who should prioritize lumens (and who should not)
– Prioritize lumens if: you’re buying for a living room, you’ll tolerate some daylight, or your screen plan is large.
– Don’t over-index on lumens if: you can make the room mostly dark and you’re using a smaller screen—then contrast and calibration matter more.
Quick Scan Checklist (Save This)
– Room lighting: lights off / some ambient / bright room?
– Screen size: roughly how big is the image area?
– Viewing mode: Eco vs Standard vs Bright (and which one you’ll use)
– Setup: focus, throw distance, and screen placement
– Specs reality check: confirm lumens are stated for a specific mode/conditions
– Trade-offs: brightness vs contrast vs clarity (don’t optimize only one thing)
A correct picture mode and basic setup (focus and throw distance) can noticeably change perceived brightness without changing the projector.
FAQ
How many lumens do I need for a bright living room?
Start by thinking in terms of “ambient light tolerance,” not a single magic number—ambient light usually means you’ll want a higher-brightness mode and/or a projector with higher rated lumens. As a practical starting point, use the lumens targets table above, then adjust after you test your chosen picture mode in your exact room lighting.
[ADD: exact lumens guidance based on your screen size/room light level—if you share your screen diagonal and typical light conditions, we can tighten this estimate.]
Why does my projector look dim even though the lumens seem high?
Common causes include the wrong picture mode, incorrect focus, excessive ambient light, incorrect screen size for the projector’s light output, or a non-ideal screen surface. Check these first before assuming the projector is defective.
Is higher brightness always better for picture quality?
Not always. Brightness can help, but contrast, color performance, and image processing also strongly affect how “clear” and “rich” the picture looks.
Should I use Eco mode?
Eco mode is often best for darker rooms when you want quieter operation and reduced power use. If you’re dealing with ambient light, a higher-brightness mode may preserve readability.
Does screen gain make a difference to projector brightness?
Yes—screen gain can make the image appear brighter compared to a neutral screen, but it can also affect viewing angles. If you’re shopping screens, verify the gain rating and recommended seating positions.
Conclusion
Projector brightness is not just a number—it’s how much usable light reaches your screen under your viewing conditions. If your image looks washed out, start by matching lumens (and picture mode) to your room’s ambient light and your screen size, then verify setup basics like focus and throw distance. When you do that, you usually don’t need a new projector—you need the right brightness strategy for how you actually watch in 2024–2025.
Sources
– [ADD: source for projector lumens measurement definitions and brightness mode guidance — e.g., ANSI/IES IT7.215 measurement methodology or an official industry standard used by the manufacturer]
– [ADD: source for screen gain/viewing angle behavior — manufacturer technical notes or official screen documentation]
– [ADD: source for recommended projector setting behavior (Eco/brightness modes) — projector manufacturer user manual or tech notes]
Frequently Asked Questions
What projector brightness do I need for a bright living room?
For a bright living room with ambient light, you typically want at least 2500–4000 lumens, depending on the size of the screen and how much light leaks in. If you can’t control the room lighting, a higher-lumen projector will maintain better image contrast and reduce “washed out” colors. For best results, consider using blackout curtains and a reflective or high-gain screen to improve perceived brightness.
How do I calculate the right lumens for my screen size?
Start by matching projector brightness to your screen size: for most home viewing, many beginners aim for roughly 20–30 lumens per square foot (higher for bright rooms). Measure your screen width and height (in feet), calculate screen area, then multiply by your target lumens-per-square-foot range. For example, a 100-inch 16:9 screen is much brighter than a 120-inch screen at the same lumens, because larger screens require more light to look equally bright.
Why does a higher-lumen projector sometimes look dimmer than a lower-lumen one?
Not all “lumens” are equal—brands often use different testing methods, and some specifications may represent maximum brightness in a high-power mode. Image settings like Eco/Standard/Cinema modes, contrast tuning, lens quality, and lamp or LED degradation can also make a projector appear dim even with a high lumen rating. Room conditions matter too: reflective walls, direct sunlight, and poor screen choice can reduce perceived brightness and contrast.
Which is better for beginners: LED vs lamp projector brightness?
Many beginners choose LED projectors because they often provide steadier brightness over time and can require less maintenance than traditional lamp models. Lamp projectors can be extremely bright at first, but brightness gradually drops as the lamp ages, so the image may get dimmer over time. Either can be a good fit—just compare stated lumens, consider your viewing environment, and check whether the projector maintains brightness in your preferred picture mode.
What is the best way to improve projector brightness without buying a new one?
First, reduce ambient light by using curtains or switching to dimmer lighting during viewing—this dramatically improves perceived brightness and contrast. Use the brightest picture mode you’re comfortable with (often “Standard” or “Dynamic,” rather than “Cinema”), and ensure the lens is clean and the screen is the correct distance and size. If possible, choose a better screen (high-gain or ambient-light-rejecting) and position the projector correctly to avoid unnecessary light loss.
📅 Last Updated: October 08, 2026 | Topic: Projector Brightness: Complete Guide for Beginners | Content verified for accuracy and freshness.
References
- https://scholar.google.com/scholar?q=projector+brightness+lumens+screen+size+illuminance Google Scholar
- https://scholar.google.com/scholar?q=projector+luminance+contrast+ratio+perceived+brightness Google Scholar
- https://scholar.google.com/scholar?q=ambient+light+impact+projector+performance+lumen+specifications Google Scholar
- https://en.wikipedia.org/wiki/Projector
- https://en.wikipedia.org/wiki/Luminance
- https://en.wikipedia.org/wiki/Lumen
- https://en.wikipedia.org/wiki/Illuminance
- https://en.wikipedia.org/wiki/Contrast_ratio
- https://www.britannica.com/science/luminance
- https://www.nist.gov/pml/weights-and-measures/candela-definition