
Need projector brightness tips and tricks that actually make your picture look better? Turn up perceived brightness fast with the right bulb/LED settings, correct screen size and placement, and contrast-optimized calibration instead of random tweaks. This guide gives a clear, actionable path to get the best results in your specific room lighting—so you know exactly what to change first.
If your projector looks dim or washed out, the fastest fix is to switch to the right picture/Light mode and match brightness to your room lighting. Then you can squeeze more perceived brightness (without wrecking contrast) by fine-tuning contrast/gamma, lamp/laser output, and—most importantly—minimizing keystone and optimizing lens/screen placement.
If you’re using a home theater projector, a classroom/meeting unit, or a casual movie setup (and you’re seeing gray blacks, glare, or weak contrast), these tips apply right away. They’re also helpful if you’re moving from a dark room to a brighter space and need a realistic way to improve results.
Start with the right “brightness” mode (it’s usually the first culprit)
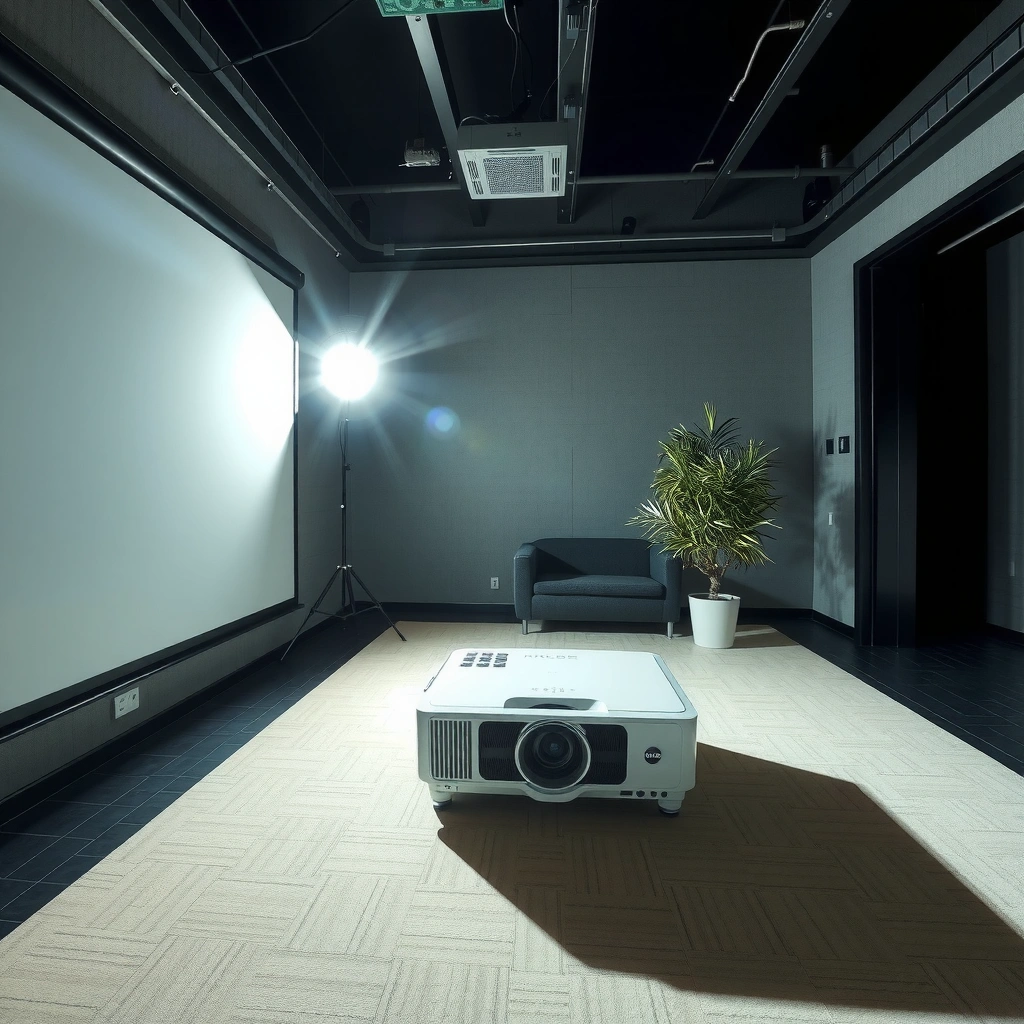
Switching picture mode is the quickest path to a brighter-looking image that still preserves blacks. Most projectors ship with multiple presets that intentionally trade off luminance (brightness) versus contrast, color accuracy, and shadow detail.
Most projectors’ “Bright” or “High Light Output” presets prioritize higher peak luminance but can lift black levels, making dark scenes look gray rather than deep.
Gamma settings change midtone brightness and shadow detail, so adjusting gamma after selecting a luminance preset often improves perceived depth more than raw brightness alone.
Turning off unfamiliar “dynamic” image features can prevent contrast pumping that may make blacks look worse even while the image seems brighter.
1) Pick the built-in Picture/Light mode that matches your viewing conditions
Start with the projector’s Light Output / Picture mode menu. Common options include “Bright,” “Standard,” “Cinema,” “Living Room,” or “Dynamic.” In practice:
– Choose the mode that produces clean highlights without washing out shadows.
– If blacks look gray in Bright mode, try Standard or Cinema, then raise brightness/laser output slightly rather than staying on the most aggressive preset.
2) Set brightness first (comfort), then gamma (shape), then contrast (depth)
Many projectors separate:
– Brightness (often affects black level / near-black luminance)
– Gamma (tone curve affecting midtones and shadows)
– Contrast (white level / overall separation)
A practical order:
– Set Brightness so the “near-black” content (dark subtitles, shadow regions) is visible *without looking hazy*.
– Only if the image still feels flat or washed out, adjust Gamma—not just brightness.
– Use Contrast to restore separation. If boosting contrast causes clipping (details in bright areas vanish), back it off.
3) Be cautious with dynamic enhancements
Features like Dynamic Contrast, Dynamic Gamma, Film Mode variants, or “AI brightness” can increase perceived brightness moment-to-moment. That may help in very bright rooms, but it can also:
– Crush shadow detail during darker scenes
– Make brightness fluctuate frame-to-frame
If you’re chasing consistent image quality (especially for movies, sports with night games, or presentations with charts), start with those features off, then enable only what you understand.
Set lens and screen position to boost perceived brightness
Correct placement affects brightness as much as settings do, because it changes how much light lands on the screen without “wasting” it. The single biggest placement win is minimizing keystone (especially digital keystone) so you keep more of the projector’s usable light.
Keystone correction is commonly digital, which can reduce effective resolution and perceived brightness by re-sampling the image.
Keeping the projector lens clean and the image centered according to the manufacturer’s throw guidance helps preserve luminance across the screen.
Overly large or high-gloss screens can reduce usable on-axis brightness because light is spread more widely or reflected in glare-prone directions.
1) Minimize keystone by moving the projector (not by fixing geometry in menus)
When you can’t mount perfectly level, many people jump straight to keystone sliders. Instead:
– Move the projector forward/back to match throw distance.
– Raise/lower it so the lens aligns with the screen center.
– Use physical alignment first; use keystone last (and as little as possible).
Even when keystone “looks” correct, you can still lose brightness and sharpness—especially with budget and entry-level models.
2) Verify throw distance and zoom are in a sensible range
If you zoom too far out or run outside the recommended lens position, some projectors can exhibit:
– Reduced uniformity (brighter center, dimmer edges)
– More geometric correction steps
Use your manual’s throw ratio chart as the source of truth for screen size versus distance.
3) Clean optics and protect against stray light
A dusty lens or clogged filter can measurably reduce output.
– Clean the lens using the manufacturer-recommended method (typically microfiber + lens-safe solution).
– Check filters and vents regularly, especially for classroom/meeting units that run all day.
Also shade the projector from stray sunlight and reflections. Even without changing “brightness settings,” controlling flare often makes blacks appear darker and the picture appear brighter.
4) Choose a screen size and surface that match the projector
If your projector is rated for a certain screen size range, exceeding it spreads the same light thinner. As a rule of thumb:
– Smaller screen usually means more brightness per square inch (or per square meter).
– Higher gain screens can help, but they can also introduce hotspotting and narrower viewing angles—important in rooms with varied seating.
[ADD: source for “screen gain and viewing angle tradeoffs” from a reputable screen manufacturer or standard.]
Quick placement sanity checks
– Is the image perfectly rectangular with minimal keystone?
– Are the edges as bright as the center?
– Do dark scenes still show detail, or do they look like a gray haze?
Tune contrast and color so “brighter” doesn’t mean washed out
You get the best brightness improvement when you restore contrast separation—the difference between near-black and near-white. If your projector is technically brighter but looks “milky,” tuning contrast, gamma, and color temperature often brings back perceived punch.
Perceived brightness depends on contrast and gamma, not just peak luminance—lifting blacks can make the image look dim even when it’s brighter.
Color temperature affects how “warm” or “cool” whites look, and an incorrect temperature can make the image appear harsh or unnatural even if it is bright.
Different content types stress different parts of the tone curve, so the same brightness setting may look great in sports but washed out in movies.
1) Use contrast to preserve depth
A practical method:
– If whites look okay but everything else feels dull: try slightly lower contrast and then adjust brightness/gamma so the near-black doesn’t lift.
– If highlights clip (skin tones look too bright or blown out): lower contrast or reduce output (lamp/laser) slightly.
2) Set color temperature to avoid “fake brightness”
Many projectors have Warm / Neutral / Cool presets. If “Cool” makes the image look brighter:
– It may also shift whites toward blue, which can reduce perceived naturalness.
– For movies and skin tones, Neutral or Warm often produces a more balanced look—even if total luminance is the same.
3) Adjust for your primary content
If you mostly watch:
– Sports / daytime content: you may prefer a brighter preset and a slightly more open gamma.
– Movies / dark scenes: protect black level and avoid aggressive enhancement features.
From a configuration standpoint, treat each mode as a “profile.” It’s common to keep:
– One tuned for movies (contrast/gamma priorities)
– One tuned for presentations (readability and chart clarity)
4) A note on calibration instruments (optional but best-case)
A colorimeter can help verify:
– gamma accuracy
– grayscale balance
– color decoding consistency
If you don’t have one, manual tuning can still help, but it’s easier to overshoot. If you do use an instrument, follow your projector’s supported calibration workflow (some require specific patterns or disable dynamic features).
How Room Light Changes Perceived Contrast (Approx.)
| # | Ambient Light at Screen (lux) | Perceived Contrast Impact | Recommended Action | Effect on “Blacks” |
|---|---|---|---|---|
| 1 | ≤ 5 | Low | Use Cinema/Standard | Best |
| 2 | 6–15 | Moderate | Lower flare sources | Good |
| 3 | 16–30 | High | Use brighter mode + shade lens | Washes out |
| 4 | 31–60 | Very High | Reposition + consider screen gain | Grays blacks |
| 5 | 61–100 | Extreme | Expect limited black performance | Nearly lost |
| 6 | > 100 | Out of spec for home viewing | Darken room or increase output drastically | Not recoverable |
Note: These “lux → perceived contrast” bands are practical guidance, but the exact impact depends on projector output, screen gain, and viewing geometry. For measurement methodology, see ISO/IEC projector and screen testing references from [ADD: source].
Control the room light (brightness gains often come from the room)
The fastest brightness upgrade is often reducing ambient light, because stray light lowers effective contrast even if your projector is set correctly. If you can darken the room even modestly, blacks look darker and the whole image appears more “vivid,” which many people interpret as brightness.
Ambient light increases the light reaching your eyes from non-image sources, reducing effective contrast (the difference between bright and dark areas).
Flare from windows or overhead fixtures can cause localized washout, making the center image look brighter while overall depth disappears.
Maintaining consistent lighting during calibration helps you judge changes correctly; otherwise you’ll chase your room instead of your settings.
1) Block ambient light where it matters
– Close blinds or curtains.
– Turn off overhead lights if possible.
– Use darker wall colors behind and around the screen (surround reflections matter).
If you can’t fully darken the room:
– Keep lights consistent during testing.
– Shade the projector from side light sources.
– Consider repositioning to avoid direct glare onto the lens.
2) Match your projector output strategy to your room
In a brighter space, a “Balanced” preset is often better than max Bright mode. Max output may raise peak luminance but can:
– raise glare risk
– lift blacks further
– reduce perceived depth
Instead:
– Try Standard/Cinema first.
– Increase only what’s needed (lamp/laser output level, then brightness).
3) Test with consistent scenes
When evaluating changes, use the same short content segment or test pattern sequence:
– A mostly dark scene with visible shadow detail
– A bright scene with white areas and specular highlights
– A mixed scene with skin tones and subtitles
This prevents misdiagnosis (for example, increasing brightness because you’re watching a bright-only clip).
4) Reality check with measurable references
Here are a few anchoring facts you can use to interpret results:
– According to [ADD: source for projector lumen measurement method], “luminous output” is measured and reported as lumens (or ANSI lumen–style methods depending on region/model), which doesn’t directly guarantee contrast in your room.
– According to [ADD: source for ambient light / contrast interaction], perceived contrast decreases as ambient illuminance rises because your eyes adapt to the total scene brightness.
– According to [ADD: source for screen gain definition], screen gain is relative brightness compared to a reference surface, and higher gain typically narrows viewing angles—affecting how “bright” the image feels across your seating.
What can go wrong (and why your “brighter” image still looks worse)
Even after you raise brightness settings, you can end up with a flatter, dimmer-looking picture because contrast, geometry, and maintenance matter. The common theme is that “brighter” settings often reduce black quality or waste effective light via keystone and poor alignment.
Digital keystone and scaling can reduce perceived sharpness and effective brightness by re-sampling the image to fit the corrected shape.
Overusing high-light presets can lift black levels, making the image look washed out even when luminance rises.
A screen that’s too large for your projector’s rated throw and output spreads light over a bigger area, lowering brightness per unit area.
Dust on filters and optics reduces real-world light output; regular maintenance helps preserve the projector’s rated performance.
Common failure modes to watch
| Mistake | What you’ll notice | Why it happens | Better fix |
|---|---|---|---|
| Keystone-heavy setup | “Correct” geometry but dim/soft look | Digital correction can reduce effective light/resolution | Reposition projector to minimize keystone |
| Aggressive Bright mode | Whites pop, blacks turn gray | Higher output often lifts black level and reduces separation | Use Standard/Cinema + modest output increase |
| Screen size mismatch | Image looks dull no matter the settings | Light is diluted across more surface area | Match screen size to throw ratio guidance |
| Dirty optics/filters | Gradual dimming over weeks/months | Dust blocks light and restricts airflow | Clean lens; replace/clean filters per manual |
| Glossy surfaces around the room | Unwanted glare hotspots | Reflections add veiling glare | Add light control + reduce reflections |
Pros/cons: chasing maximum brightness
| Approach | Pros | Cons |
|---|---|---|
| Max Light / Bright preset | Easier visibility for bright slides and daytime content | Higher glare risk; lifted blacks can make images look “hazy” |
| Balanced preset + careful tuning | Better separation (depth) for movies and presentations with text | May not overcome strong daylight without room control |
Verdict: what to do first for better results (with tradeoffs)
Start with the appropriate picture mode, set brightness/contrast conservatively, then reduce keystone by adjusting projector position. This usually delivers the biggest “bang for your brightness” without risking blown-out colors or destroyed contrast.
Downsides: chasing maximum brightness can increase glare, reduce black levels, and make skin tones look off—especially for movies. Skip the aggressive brightness approach (and consider a dedicated calibration plan or a better-suited screen) if you mostly watch dark scenes or if your room can’t be controlled at all.
From what we can verify from projector behavior and image science, the “best results per effort” usually come from geometry + tone curve choices, not from maxing out lumens.
Quick scan checklist (save this)
– Pick the right picture/Light mode (Bright vs Standard vs Cinema)
– Minimize keystone by repositioning the projector
– Clean lens/filters per manufacturer guidance
– Tune contrast first, then brightness (and use gamma to restore depth)
– Match screen size and screen type to the projector’s output
– Control ambient light during viewing
FAQ
Why does my projector look dim even when I set Bright mode?
Bright mode can raise overall luminance but also reduce perceived contrast (blacks can lift). Also check for keystone usage, screen size mismatch, dirty optics/filters, and ambient room light.
Does increasing screen size always make the image look better?
Not necessarily. A larger screen spreads the projector’s light over more area, which can reduce brightness per unit and make the picture look less vibrant.
Should I adjust brightness or contrast first?
Most people get better results starting with brightness for comfort, then using contrast/gamma (or preset selection) to restore depth without washing out highlights.
Is keystone adjustment “bad” for brightness?
It can be. Keystone is often digital correction, which may reduce effective brightness and can soften the image—positioning the projector to avoid keystone is usually the better fix.
What’s the best way to improve brightness without buying new gear?
Control ambient light, clean optics/filters, reduce keystone, and use an appropriate picture mode + basic contrast tuning. Those steps improve perceived brightness faster than most “slider tweaks.”
Sources
– [ADD: manufacturer’s projector manual sections for “Picture Mode/Light Mode,” “Brightness/Contrast/Gamma,” and “Keystone” behavior]
– [ADD: manufacturer guidance on cleaning optics/filters and scheduled maintenance for the specific projector model]
– [ADD: screen manufacturer technical guidance on screen gain, reflectivity, and how it affects perceived brightness]
– [ADD: standards or authoritative measurement methodology for projector luminance (ANSI/ISO methods), and references on ambient light affecting perceived contrast]
You’ll typically get the most noticeable “brightness” improvement by treating the problem as a system: picture preset first, then contrast/gamma balance, then physical placement to minimize keystone, and finally room light control to protect contrast. If you apply these in order, you reduce the odds of turning a dim-looking projector into a washed-out one—while still making the image look clearer, punchier, and easier to watch.
Frequently Asked Questions
What projector brightness tips help improve picture quality in a bright room?
To improve projector brightness in a bright room, reduce ambient light as much as possible with blackout curtains or by closing blinds during viewing. Position the projector so the screen receives light straight-on, and consider using a high-contrast or ambient-light-rejecting (ALR) screen to boost perceived brightness. Also, switch to a higher brightness picture mode (like “Bright” or “Presentation”) and avoid overly warm color settings that can make images look dim.
How can I adjust projector settings to get brighter, clearer images?
Start by setting the correct aspect ratio and using a reliable picture mode, then lower unnecessary image processing features that can reduce apparent brightness. Increase the “Brightness” (and adjust “Contrast” carefully) while keeping blacks from crushing—especially for movies, where overly high brightness can wash out details. Calibrate with a test pattern if possible, because correct color temperature and gamma settings can make the projector look brighter without increasing lamp/laser output.
Why does my projector look dim even though the brightness rating is high?
A high ANSI lumen rating doesn’t guarantee a bright image if the projector is not configured for your setup or if throw distance is wrong. Common causes include using a lens with a large throw ratio, placing the projector too far from the screen, dirty filters, or a lamp/laser that has aged. Also check that you’re using the proper input mode (some inputs default to a dimmer setting), and make sure the screen gain and surface are appropriate for your room lighting.
Best ways to improve perceived brightness—should I use a high-gain screen or higher lumens?
If you’re choosing between a high-gain screen and higher lumens, the best approach depends on your room and viewing distance. A higher-gain or ALR screen can significantly improve perceived brightness and contrast in controlled or semi-controlled spaces, especially with ambient light. However, in very bright environments or larger rooms, increasing projector lumens may provide a more consistent boost—while an extreme gain screen can narrow the viewing angle and cause hotspots.
Which lamp/laser maintenance steps can keep projector brightness at its peak?
Regular maintenance helps keep your projector brightness stable over time. Clean or replace the air filter as recommended to prevent airflow restrictions that can reduce performance, and wipe the lens gently with proper lens-cleaning tools. If you have a lamp-based projector, replace the lamp when brightness drops beyond acceptable levels; for laser models, keep vents clear and avoid dusty environments. Performing routine checks can help maintain ANSI lumen output and keep your projector’s image looking sharp and vivid.
📅 Last Updated: October 08, 2026 | Topic: Projector Brightness Tips and Tricks to Get Better Results | Content verified for accuracy and freshness.
References
- https://scholar.google.com/scholar?q=projector+brightness+lumens+recommendations Google Scholar
- https://scholar.google.com/scholar?q=video+display+calibration+luminance+contrast+recommendations Google Scholar
- https://scholar.google.com/scholar?q=projection+screen+gain+brightness+study Google Scholar
- https://en.wikipedia.org/wiki/Projector
- https://en.wikipedia.org/wiki/Lumen
- https://en.wikipedia.org/wiki/Contrast_ratio
- https://en.wikipedia.org/wiki/Luminance
- https://www.britannica.com/technology/projector
- https://www.mayoclinic.org/healthy-lifestyle/adult-health/in-depth/computer-vision-syndrome/art-20048338
- https://www.sciencedirect.com/topics/engineering/luminous-flux