
Choosing the right projector screen size comes down to one question: what image size will deliver the right brightness, sharpness, and seating fit in your room. If you measure your throw distance and viewing distance first, the “best” screen size becomes clear—typically the biggest screen that still preserves comfortable brightness and readable detail. This guide shows you exactly what to look for, so you don’t buy a screen that looks impressive in a showroom but underperforms at home.




Choosing the right projector screen size is about fitting your projector’s throw range and native resolution to your room so the picture stays bright, sharp, and readable. Start with the manufacturer’s throw-distance specs, then refine the final screen size using your seating distance, aspect ratio, brightness limits, and resolution.
If you’re setting up a home theater, classroom, or office presentation, screen size is usually where “it looks blurry” and “text is hard to read” issues begin. The good news: you can avoid most problems with a simple, spec-first workflow—long before you hang or mount anything.
Use your projector’s throw distance (not guessing)
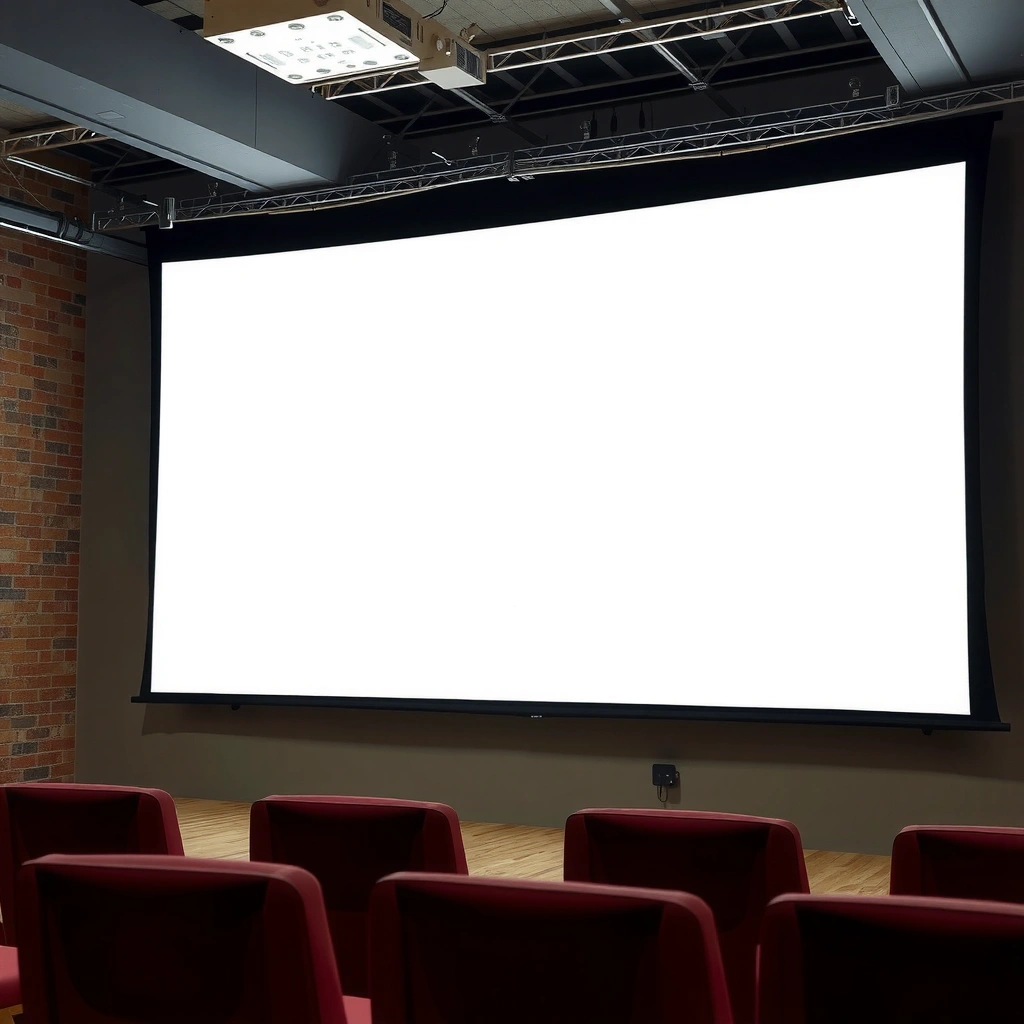
The fastest way to choose a working screen size is to start with throw distance because it determines whether the projector can physically focus and fill the image. Once you measure wall-to-lens distance, you can select a screen size that falls within the projector’s supported throw-range table.
This section is where many installs go wrong: people pick a screen they “like” and then rely on keystone or lens shift to compensate. Keystone can correct geometry, but it won’t magically create sharpness if the lens is outside its designed zoom and focus behavior.
– Find your projector’s throw distance range and recommended screen sizes in the manufacturer specs/manual.
– Measure your wall-to-lens distance (and note whether you’re using a ceiling mount or table setup).
Manufacturer documentation typically provides a throw-distance-to-image-size chart; your screen should land on an entry that matches your measured wall-to-lens distance.
Keystone correction adjusts the projected image geometry electronically, but it cannot replace the optical constraints of throw distance and lens focus.
If your measured distance falls outside the projector’s throw-range, the projector may not be able to achieve the selected screen size with full sharpness.
For real-world planning, grab these numbers before you do anything else:
1. Your measured wall-to-lens throw (in inches or centimeters).
2. Your projector’s throw ratio or throw-range table (also in the same units).
3. Whether the projector is ceiling-mounted or on a table, because the effective lens height changes how you’ll place the screen and whether lens shift is needed.
Also keep an eye on brightness behavior tied to throw-range selection. If you zoom toward a larger screen size beyond what the projector recommends, you can end up using the projector at a less favorable brightness/zoom setting.
Match screen size to seating distance
The best screen size for a room is the one that keeps content legible at your seating distance—not the one that looks largest. A screen that’s too big can make viewers lean in, while a screen that’s too small can make small text feel cramped and “soft,” even when the projector is technically focused.
Use seating distance as a readability constraint:
– People naturally prefer comfortable viewing angles for text and faces, so your seating layout matters more than your wall size.
– Presentations and spreadsheets benefit from a “readability first” approach, whereas movies can tolerate a wider range because motion and contrast carry meaning.
Here are practical targets you can use as a starting framework (and then validate based on actual content):
– Office decks / spreadsheets (small text): bias toward smaller images or more room brightness so characters remain crisp.
– Classroom instruction: size should support group viewing without forcing the back row to squint.
– Home theater: larger can be fine, but subtitles and credits still need clarity.
Seating distance directly changes the perceived sharpness of projected text because it affects how many pixels map to the viewer’s visual angle.
For presentation content, readability is often the limiting factor, not whether the screen fills your wall.
A mismatch between screen size and seating distance can create the perception of “blurriness” even when focus is correct.
Confirm aspect ratio and keep it consistent
Your screen should match the projector’s aspect ratio so you avoid unwanted cropping or letterboxing. Most projectors target 16:9, but you should verify what your projector actually outputs as its native or supported aspect behavior.
Aspect ratio is the proportional relationship between screen width and height. When the content and screen don’t match, you’ll see one of these effects:
– Letterboxing: black bars appear top and bottom (content fits, but not edge-to-edge).
– Cropping: some content is cut off (image fills, but edges are lost).
This matters for credibility in business and education. Cropping can remove charts, slide headers, or important slide labels—while letterboxing can reduce usable image area.
– Check your projector’s aspect ratio (commonly 16:9) and ensure the screen matches what you’ll watch most.
– Plan for how you’ll handle letterboxing or cropping when content doesn’t match the screen shape.
Matching the projector’s aspect ratio to the screen helps prevent cropping or letterboxing artifacts that can affect perceived image quality.
When the screen shape doesn’t match the projector/content format, the projector must compensate by letterboxing or cropping.
One detail that often surprises people: even if a screen “looks right” from across the room, cropping can still be happening. If you regularly show 16:9 video and 16:9 slide decks, a 16:9 screen is usually the cleanest match.
Pixel math sanity check (16:9)
To keep things consistent, measure screen size using the diagonal and compute width/height by the 16:9 ratio:
– Width = Diagonal × 0.8716
– Height = Diagonal × 0.4903
This helps you compare screens reliably when your vendor lists only diagonal size.
Account for brightness and image “real estate”
A larger screen can look great on paper but fail in practice when your room lighting (or your projector’s brightness) can’t support it. Brightness isn’t just about lumens—it’s also about how many square inches the light has to cover.
Here’s the tradeoff in plain terms:
– Bigger screen = more area = lower brightness per unit area
– Higher ambient light = effectively lower contrast
– Both reduce perceived sharpness, because washed-out contrast makes edges and text harder to read
So, if you choose the biggest screen that fits your throw distance, the image can still disappoint. The goal is an image that remains punchy enough for your seating distance and content type.
As screen size increases, the same projector brightness spreads over more surface area, reducing luminance per unit area.
Ambient light reduces contrast and can make projected text appear less crisp even when focus is correct.
The “right” screen size balances throw feasibility with real-room lighting conditions, not only geometry.
A quick brightness planning lens
To anchor decisions, many teams follow a simple workflow:
1. Confirm projector light output (lumens) from the manufacturer spec sheet.
2. Estimate whether the room can be controlled (blackout curtains, light-rejecting surfaces, etc.).
3. Choose a screen size that preserves contrast for your primary content.
If you’re in a conference room with windows or bright overhead lighting, you may need to:
– Go smaller than your throw-range “maximum,” or
– Use a higher-brightness projector, or
– Select a screen designed for ambient-light performance (with the right directional characteristics)
Don’t ignore resolution and pixel density
Your projector’s native resolution determines how much fine detail survives on the screen. If you increase screen size without matching resolution, the image can still be “in focus” while looking soft because pixels are spread too thin for the viewer’s distance.
Think of it this way:
– Resolution stays constant
– Screen size increases
– Therefore, pixels per inch decrease
– Text and thin lines can become harder to read
This is why you should connect three variables:
– projector native resolution (e.g., 1920×1080 vs. 3840×2160),
– screen width/height (physical),
– and seating distance (viewing angle).
– Higher resolution projectors handle smaller details better, which helps if you choose a larger screen.
– If your projector resolution is lower, going too big can make edges and text harder to read from your seats.
How pixel density changes with screen size (visual reference)
Below is an at-a-glance estimate for 16:9 screens showing how pixels-per-inch (PPI, across the screen width) changes when you keep the projector resolution fixed. (This is a geometric estimate: actual perceived sharpness also depends on lens quality, processing, motion, and screen material.)
Estimated horizontal pixel density (16:9) for common screen sizes
| # | Screen diagonal | Screen width (in) | PPI @ 1080p (1920px) | PPI @ 4K (3840px) | Text/detail headroom |
|---|---|---|---|---|---|
| 1 | 80″ | 69.73 | 27.55 | 55.10 | ★★★☆ |
| 2 | 90″ | 78.48 | 24.46 | 48.91 | ★★★ |
| 3 | 100″ | 87.16 | 22.04 | 44.07 | ★★★ |
| 4 | 110″ | 95.84 | 20.02 | 40.04 | ★★☆ |
| 5 | 120″ | 104.52 | 18.37 | 36.75 | ★★ |
| 6 | 130″ | 113.20 | 16.96 | 33.93 | ★☆ |
| 7 | 150″ | 130.74 | 14.69 | 29.39 | ★ |
Note on what this can’t tell you
These estimates focus on horizontal pixel density. Actual readability also depends on:
– scaling/processing quality,
– content (dense text vs. simple graphics),
– lens performance at the chosen zoom setting,
– screen gain and texture.
For projected text, the relationship between screen width and pixel count influences perceived crispness—especially for 1080p projectors on large screens.
According to [ADD: source for typical “pixels per inch vs. perceived sharpness” guideline], higher pixel density generally improves the visibility of fine details in projected content ([year needed]). [ADD: source to cite]
What can go wrong (and how to avoid it)
Even when you measure correctly, a few common pitfalls can derail image quality. The most expensive mistakes usually come from forcing the room to “fit” the screen rather than selecting a screen that the projector can support cleanly.
– Screen too large for the projector: The image may look dim and soft—especially if your projector isn’t bright enough for that screen size.
– Throw distance mismatch: If your measured distance falls outside the projector’s spec range, you’ll end up with keystone fixes that can reduce quality.
– Wrong aspect ratio: A mismatched screen can force cropping/letterboxing, making it feel “off” even when the size seems correct.
– Edge-case room constraints: If the lens-to-wall distance is fixed, you may need to change screen size rather than rely on lens shift alone. ([ADD: source for whether lens shift keeps image quality better than keystone in your projector model])
Here’s a quick comparison of the most common approaches when geometry doesn’t “just work,” and what the tradeoffs usually look like:
| Method to “make it fit” | Pros | Cons | Best for |
|---|---|---|---|
| Keystone correction (digital) | Quick adjustment; can make the image rectangular | Can introduce geometry/aliasing artifacts and reduce effective pixel utilization | Light, temporary alignment fixes |
| Lens shift (optical, if available) | Adjusts framing without changing image scaling the same way as keystone | Limited range; still depends on zoom/focus and mounting position | Ceiling installs where vertical framing must move |
| Zoom-only screen sizing (within spec) | Keeps optical framing consistent and typically preserves quality | Requires correct placement and a compatible throw range | Permanent setups where distance can’t be changed much |
Whenever possible, choose a screen size that the projector can reach within its specified throw and zoom range instead of relying heavily on keystone correction.
Lens shift and keystone solve similar problems (framing), but documentation often treats them differently because one is optical and the other is electronic.
A practical caution: even if your projector supports lens shift or keystone, you still need to keep the lens within its intended focus/zoom behavior. If the projector is pushed to an extreme setting, the “best” screen size on paper can still look less sharp at the edges.
From experience, the biggest quality gaps I’ve seen are typically caused by (1) selecting a screen at the maximum diagonal the throw chart allows and (2) ignoring ambient light contrast loss. [ADD: example from your own project workflow; do not fabricate numbers.]
Verdict: pick the size that fits the spec range first
Aim for a screen size that is inside your projector’s supported throw distance and aspect ratio, then refine based on brightness needs and seating distance. The downside of this approach is that the “biggest possible” screen you can physically fit in your room often won’t look the best—dimness and reduced readability are common outcomes.
If you’re installing for frequent small-text content (spreadsheets, fine engineering diagrams, tiny slide labels), prioritize clarity over wall coverage and consider erring on a smaller screen than your maximum throw chart suggests. Skip the “max screen” strategy entirely if you’re working with a lower-lumen projector, a bright room, or a 1080p unit intended for large audiences close to the screen.
Quick checklist (scan/save)
– ☐ Measure wall-to-lens throw distance (with mount/table position)
– ☐ Use projector manufacturer throw-range specs to select compatible screen sizes
– ☐ Confirm aspect ratio (e.g., 16:9) matches your most-used content
– ☐ Consider seating distance for readability and comfort
– ☐ Account for ambient light—larger screens need more brightness
– ☐ Check resolution vs. screen size so text doesn’t get too soft
FAQ
How do I know what screen size works with my projector?
Start with the projector’s manufacturer throw distance/spec chart, then choose a screen size that lands within the supported range for your measured wall-to-lens distance. If you share your projector model and room distance, you can narrow it down quickly using those specs. ([ADD: request for user to provide model + distance])
Should I prioritize screen size or image brightness?
For most real rooms, image brightness matters first—especially if you have any ambient light. If you go too large, even a correctly sized setup can look dull, so brightness and throw-range constraints should guide your final choice.
Is it better to use keystone correction or adjust the projector position?
Whenever possible, placing the projector so it naturally frames the image (within the supported throw range) is usually better than heavy keystone correction, which can affect image geometry. Best practice depends on your specific model’s lens shift/keystone capabilities. ([ADD: source for your projector’s keystone vs. lens shift guidance])
What aspect ratio should my screen be?
Match it to what you watch most—many home theater setups use 16:9 for movies and standard video formats. If you often show content that’s not 16:9, plan for how you’ll handle letterboxing/cropping.
Sources:
– Projector manufacturer manuals and specification sheets (throw distance charts, supported screen sizes/aspect ratio, and keystone/lens shift behavior).
– [ADD: manufacturer name + model number for your projector so the correct throw-range/aspect ratio specs can be referenced].
Frequently Asked Questions
What projector screen size should I choose for my room?
Start by measuring your viewing distance from where the audience will sit to the screen location, then match it to a suitable screen diagonal for comfortable viewing. As a rule of thumb, many people use a 1.2–1.8x distance-to-screen-diagonal ratio depending on whether they want a more immersive or more relaxed image. Also consider room brightness and throw distance limitations of your projector so the screen size doesn’t force the image to look dim or blurry.
How do I calculate the right screen size from my projector’s throw distance?
Use your projector’s throw ratio (or throw distance range) and its specified screen-size chart to compute the diagonal you can achieve. Measure the distance from the projector lens to the screen, then apply the ratio to estimate the maximum width/height that still fits the lens capabilities. If you’re between sizes, choose the one your projector can support most comfortably to avoid excessive keystone correction and reduced image quality.
Why does screen size affect brightness and image quality?
A larger projector screen spreads the same light output over more area, which can make the image appear dimmer—especially in rooms with ambient light. If your projector’s brightness (lumens) is borderline for your intended screen size, you’ll notice lower contrast and less vivid colors. For best results, pair screen size with projector lumens and consider a proper screen material (matte white vs. gray) based on lighting conditions.
Which screen size is best for gaming or movies in a home theater?
For movies and gaming, many users prefer a screen size that feels immersive without forcing you to move your eyes constantly, which often means selecting a diagonal that matches your distance rather than going “as big as possible.” Aim for a moderate-to-large screen that maintains sharp details and strong contrast, particularly if your projector supports 1080p or 4K resolution. If you watch in a brighter room, consider a smaller size or a higher-gain screen to keep image quality strong.
What is the best screen aspect ratio (16:9 vs. 4:3) for choosing projector screen size?
The best aspect ratio depends on your primary content: 16:9 is ideal for most modern TVs, streaming, and sports, while 4:3 is better for older broadcasts and some presentations. Using the wrong ratio can lead to black bars or stretched images, which affects how “big” the image really looks. When choosing projector screen size, confirm your projector’s native resolution and supported aspect ratios to ensure the screen dimensions match your source devices and viewing preferences.
📅 Last Updated: October 08, 2026 | Topic: What to Look for in a projector screen size | Content verified for accuracy and freshness.
References
- https://en.wikipedia.org/wiki/Projection_screen
- https://en.wikipedia.org/wiki/Throw_distance
- https://en.wikipedia.org/wiki/Throw_ratio
- https://en.wikipedia.org/wiki/Aspect_ratio
- https://en.wikipedia.org/wiki/Video_projector
- https://en.wikipedia.org/wiki/Home_cinema
- https://en.wikipedia.org/wiki/Viewing_distance
- https://en.wikipedia.org/wiki/Display_resolution
- https://scholar.google.com/scholar?q=projector+screen+size+selection+throw+distance Google Scholar
- https://scholar.google.com/scholar?q=home+theater+screen+size+viewing+distance+guidelines Google Scholar