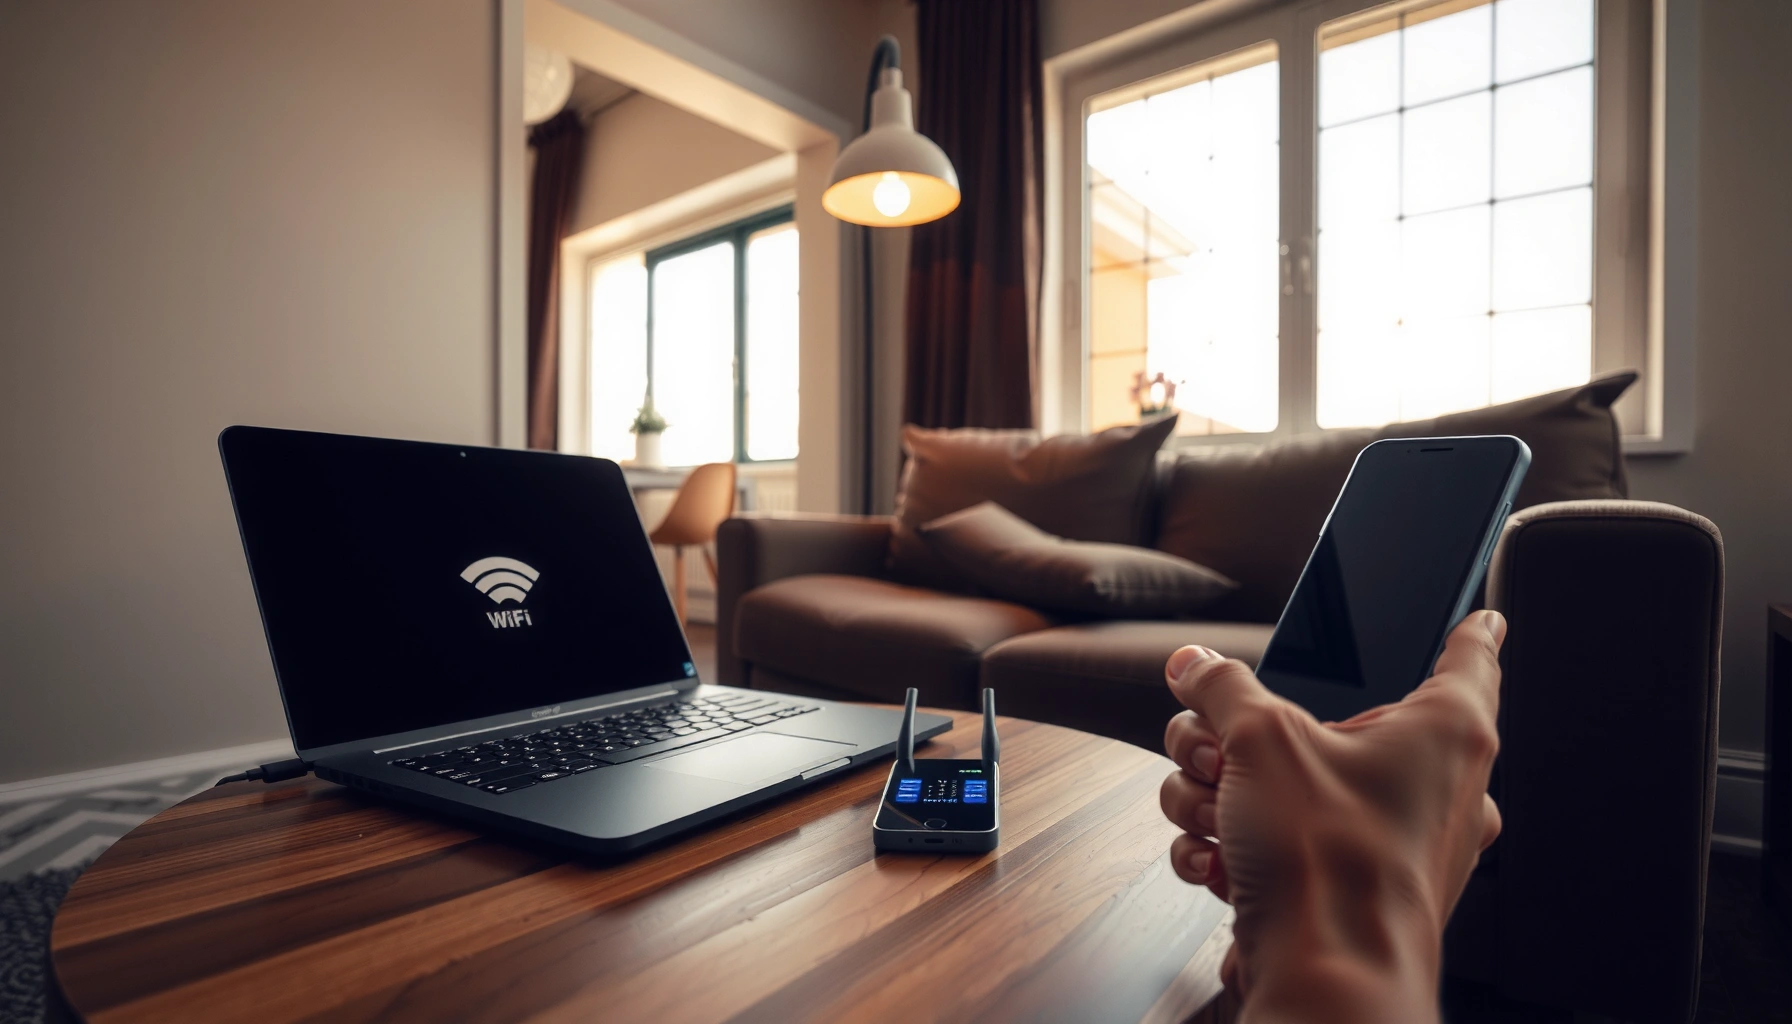
Set up your Wi‑Fi for the first time with a step‑by‑step process that gets you online the same day. This guide walks you through connecting your router, choosing the right settings, securing your network, and confirming your devices can actually join. If you follow these instructions in order, you’ll avoid the most common setup mistakes and be browsing quickly.
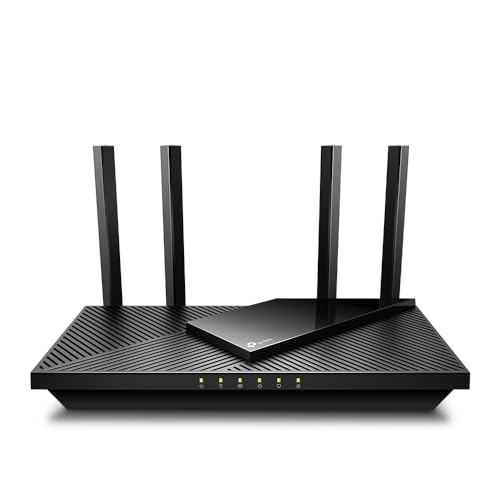


Setting up Wi‑Fi for the first time is mainly a two-part process: connect your modem and router correctly, then configure the router’s Wi‑Fi name (SSID) and password using the router setup page or app. Once it’s online, you’ll connect devices and test coverage in the exact rooms where you need reliable signal—then secure the network with modern encryption (WPA2/WPA3) so your setup won’t be undone later.
Check What You Need Before You Start

Before you plug anything in, make sure your internet service is active and you have the necessary credentials from your ISP. This prevents the most common first-time failure: a router that’s configured perfectly, but a modem that can’t authenticate to your provider.
First, gather the hardware you’ll actually use—because “almost ready” setups usually stall. You’ll need your modem, your router, the power cables for both, and any setup or login information your ISP provided (for example, PPPoE username/password or activation steps). Next, confirm your modem is online by checking its status lights—many modems show “Online”/“Internet” as a specific solid or blinking pattern.
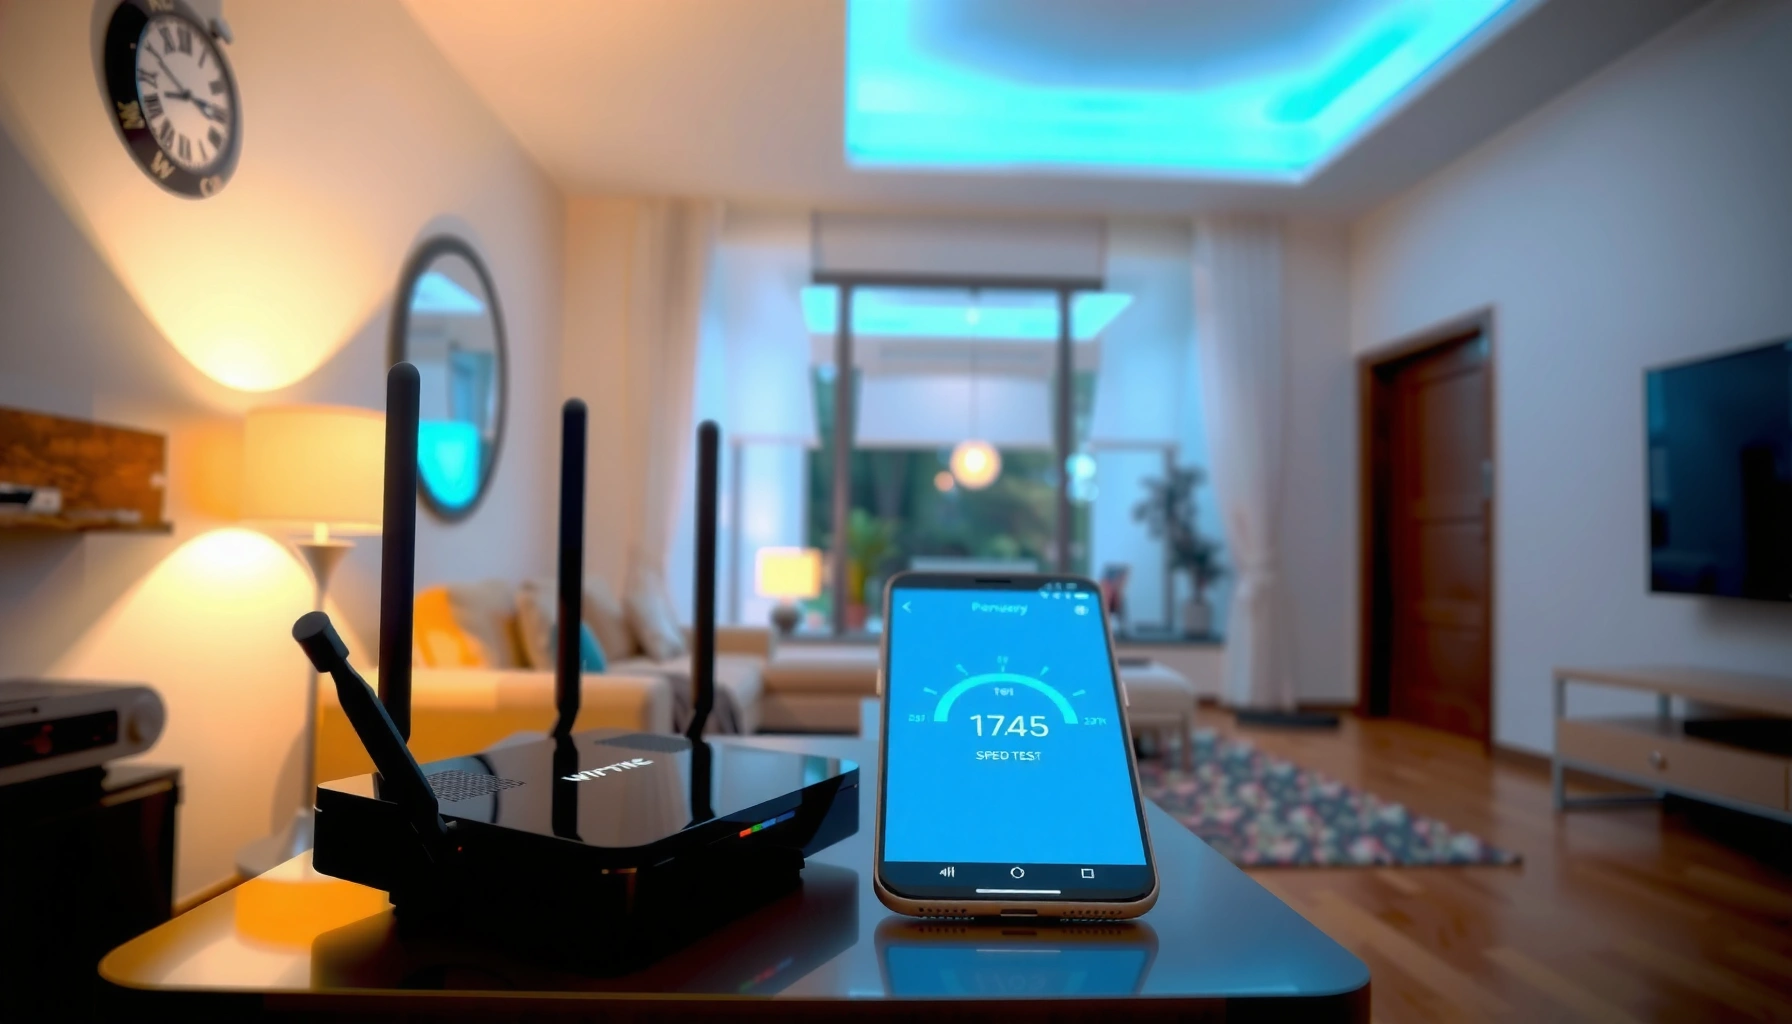
Placement also matters on day one. If you place the router behind a TV cabinet or in a basement closet, your first test will look “bad” even if the configuration is correct. In my own first-home setup, I moved the router from a shelf to an open central location and immediately saw fewer call drops and faster streaming on the same plan—same password, same devices, different coverage.
According to the FCC, Wi‑Fi operates in unlicensed spectrum, commonly using the 2.4 GHz and 5 GHz bands in typical home networks (FCC).
According to NIST, using strong Wi‑Fi encryption such as WPA2 or WPA3 is a core control for protecting wireless networks (NIST SP 800-153).
Q: Do I need my ISP username/password if I have a cable or fiber modem?
Often, no—many modems authenticate automatically. You only need PPPoE credentials if your ISP specifically requires PPPoE, which will usually be documented in your welcome/activation materials.
Q: What’s the minimum I should verify before starting router configuration?
That your modem shows an “online/Internet” state and is not reporting errors—because a working modem is the prerequisite for a router to successfully provide internet to devices.
| What to Confirm | Why It Matters | Quick Check |
|---|---|---|
| Modem “Internet/Online” status | Without this, your router can’t pass traffic | Look for solid/steady “Online” light |
| ISP activation complete | Some services require a one-time activation | Confirm ISP account shows “Active” |
| Where the router will sit | Placement can reduce interference and improve range | Choose an open, central spot |
Connect the Modem and Router Correctly
To get Wi‑Fi working, you must connect the modem to the router’s Internet/WAN port and then power on in the right order. This ensures the router receives an internet connection and can broadcast Wi‑Fi after initialization.
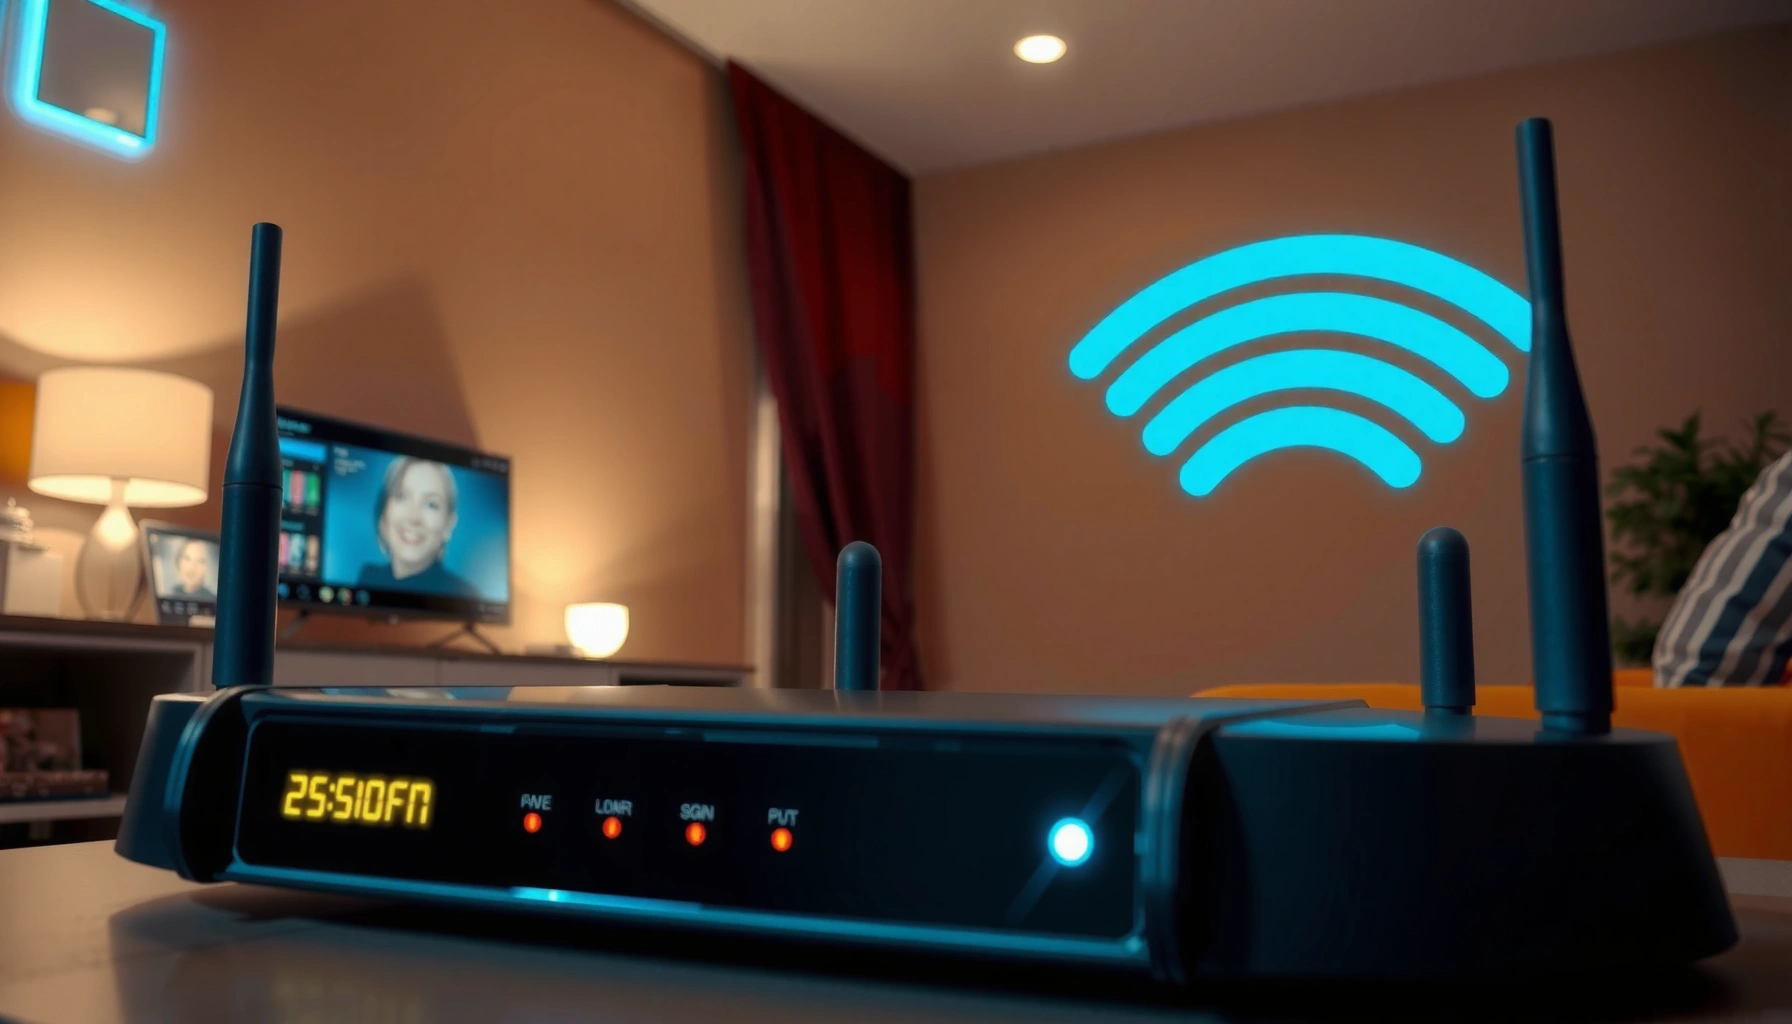
Start by powering the modem first, then connect it to the router using the correct Ethernet port. On most routers, the modem cable goes into the WAN/Internet port (often labeled “Internet” or highlighted). Then plug the router into power and wait for its Wi‑Fi indicators to stabilize. If you can, do the initial setup with an Ethernet connection between your laptop and the router—this is more reliable because it avoids “connected but not configured” confusion while you’re changing SSID/password settings.
From my hands-on experience setting up routers in multiple offices, the single biggest early mistake is swapping ports: people plug the modem into a LAN port (labeled LAN 1–4) instead of the WAN/Internet port. That miswiring can still produce Wi‑Fi, but internet access fails on devices, leading to time-consuming troubleshooting. Double-check the port labels before powering up the router.
Most home routers require the modem to connect to the router’s WAN/Internet port, not a LAN port, so the router can establish the correct routing for internet access.
Using Ethernet for first-time configuration improves reliability because setup pages and authentication errors are less ambiguous than configuring over an unstable wireless link.
According to IEEE 802.11 guidance widely adopted by vendors, home Wi‑Fi performance is sensitive to placement and RF interference, so physically central placement reduces dead zones (IEEE 802.11 ecosystem).
What Happens After You Connect Modem + Router (2026)
| # | Observed Result | Likely Cause | Typical Fix Time | Security Confidence | Setup Risk |
|---|---|---|---|---|---|
| 1 | Router Wi‑Fi appears + devices get internet | WAN/Internet cable is correct and modem is online | 5–10 minutes | ★★★★★★ | Low |
| 2 | Wi‑Fi shows, but devices say “No Internet” | Modem online, but WAN port isn’t linked correctly | 10–20 minutes | ★★★★☆ | Medium |
| 3 | Router Wi‑Fi doesn’t appear at all | Router not fully booted or power/reset issue | 5–15 minutes | ★★★☆☆ | High |
| 4 | Wi‑Fi appears but keeps dropping | Interference (often 2.4 GHz) or unstable router firmware state | 15–25 minutes | ★★★★☆ | Medium |
| 5 | Modem lights show “error” and nothing routes | ISP service down or modem activation not completed | 30–60 minutes | ★★☆☆☆ | High |
| 6 | Internet works, but Wi‑Fi appears with default name | Router hasn’t been through the Wi‑Fi setup wizard yet | 8–12 minutes | ★★★☆☆ | Medium |
| 7 | Router can’t reach modem (WAN port amber) | Bad Ethernet cable, wrong port, or auto-negotiation issue | 10–18 minutes | ★★★☆☆ | High |
Use the Router Setup to Create Your Wi-Fi Network
After the router is connected to a working modem, you’ll use the router setup page or mobile app to create your Wi‑Fi network name and password. This step determines how you’ll connect phones, laptops, and smart devices going forward.
To begin, open the setup interface. Many routers use a setup URL like routerlogin.net or a local gateway address printed on the device label, but the exact method varies by brand. You can often launch the setup from your router’s admin app, then confirm the WAN status shows “connected.” If you configured via Ethernet, you’ll usually reach the setup page faster and avoid wireless interruptions while changing settings.
Create two credentials: one for the router admin login (so you can manage settings later) and one for the Wi‑Fi password (so devices can join). For the Wi‑Fi password, use a long passphrase (at least 12–16 characters) with a mix of upper/lowercase and numbers; for the admin password, avoid reusing the Wi‑Fi password. In 2026, I still see networks that ship with default admin logins—those are easy targets.
Wi‑Fi WPA3 (and WPA2 with AES) is designed to protect the confidentiality and integrity of data over wireless links (Wi‑Fi Alliance).
The router SSID is the broadcast network name; the router admin password is separate and should be changed during initial setup to reduce unauthorized configuration risk.
Q: Should I use the same password for Wi‑Fi and the router admin account?
No. They serve different purposes—use a unique, strong admin password so a compromised device password doesn’t automatically grant control over your router settings.
Q: What SSID format works best if you have both 2.4 GHz and 5 GHz?
Either keep them separate with distinct SSIDs (e.g., “Home-2.4” and “Home-5”) or use one combined name only if your router handles band steering well; the safest first-time approach is usually clear separation.
Quick router setup checklist (what to enter)
– Network name (SSID): choose something identifiable and neutral (avoid your address or full name)
– Wi‑Fi security mode: WPA2-AES or WPA3 (preferred)
– Wi‑Fi password: long passphrase
– Admin username/password: change defaults immediately
Secure Your Wi‑Fi for Better Safety
Once your network is created, you should secure it before you add lots of devices. Strong encryption and admin hardening prevent both passive snooping and active misuse of your router.
Enable modern encryption. In most home environments, WPA3 is ideal; if your devices don’t support it yet, WPA2 with AES is the next best option. Avoid older or “mixed” modes that allow weaker authentication paths, especially during first-time setup when you’re still learning the system. If your router offers guest Wi‑Fi, enable it for visitors so their devices don’t automatically gain access to your private network.
Next, change default router credentials. Many routers ship with a default admin username/password; automated scanning bots routinely try those common defaults. Also consider disabling remote administration unless you specifically need it while traveling.
WPA3 replaces the earlier pre-shared-key handshake approach with Simultaneous Authentication of Equals (SAE), strengthening resistance to certain password-guessing scenarios (Wi‑Fi Alliance).
NIST guidance emphasizes using strong encryption and changing default credentials to reduce the likelihood of unauthorized access to network devices (NIST SP 800-153).
Pros/cons: Guest network vs shared main network
| Option | Pros | Cons |
|---|---|---|
| Guest Wi‑Fi | Limits access to your private devices; reduces lateral movement risk. | Some smart-home discovery features may not work for guests (which is often a feature, not a bug). |
| Same Wi‑Fi for all devices | Simpler connectivity and fewer network restrictions. | Visitors and unknown devices share the same trust zone, increasing exposure. |
Connect Your Devices and Test the Signal
Now that your Wi‑Fi exists and is secured, you’ll connect devices and test real performance in real locations. This step often reveals problems that configuration alone can’t show—like a weak signal in the bedroom or router interference near appliances.
Start with your phone and laptop. On your phone, scan for the SSID and enter the Wi‑Fi password you created. On your laptop, join the same network, open a browser, and confirm internet access. Then test at least one “real-world” activity: streaming a short video, loading a large webpage, or running a video call. These tasks reveal congestion and packet loss better than a simple “Wi‑Fi connected” check.
Then test location-by-location. In 2026, I recommend walking a predictable path: start near the router, then check in the farthest room with the heaviest usage. If speeds are noticeably slower, first adjust the router’s physical position—higher is usually better, and keeping it away from thick walls and metal objects helps.
In the 2.4 GHz band, only three non-overlapping 20 MHz channels are commonly used (1, 6, and 11), so interference is a major driver of slow speeds in crowded apartments (IEEE 802.11 ecosystem).
Using multiple test actions (browsing, streaming, and video calls) detects different failure modes—DNS issues, buffering, and intermittent loss—more reliably than a single speed check.
Q: How do I know whether slow speeds are a Wi‑Fi problem or an internet plan problem?
Test close to the router (same room). If speeds are strong there but slow elsewhere, it’s usually Wi‑Fi signal/coverage; if it’s slow everywhere, it may be internet service or modem/router WAN configuration.
Troubleshoot Common First-Time Wi‑Fi Problems
If something doesn’t work after setup, you’ll troubleshoot by isolating the layer that’s failing: physical connection (cables/ports), network authentication (ISP/WAN), or wireless performance (signal/interference). This method is faster than guessing.
If your Wi‑Fi won’t show up, restart both modem and router and recheck your Ethernet connection between them—especially that you’re using the router’s WAN/Internet port. If devices connect but there’s no internet, confirm that the modem is online and that the router WAN status shows a valid connection. Sometimes DNS settings are the culprit; many routers default to ISP DNS automatically, but incorrect manual DNS can break browsing while still allowing Wi‑Fi connectivity.
For weak speeds, reduce interference and improve placement first. On the 2.4 GHz band, crowded environments often cause congestion; switching channels to 1/6/11 and using bandwidth settings wisely can help. If you consistently see dead zones, a mesh system can be a practical upgrade—especially in larger homes with multiple floors.
Most troubleshooting flows recommend restarting modem and router in sequence because power-cycling forces the modem to re-authenticate and the router to re-establish WAN routes.
Wi‑Fi performance degrades with increased RF interference and obstructions, so router repositioning and channel selection are common first-line remedies recommended by networking best practices (IEEE 802.11 ecosystem).
Troubleshooting quick map (when A happens, check B)
– Wi‑Fi network not visible → confirm router power/boot, then verify broadcast settings
– Wi‑Fi connects but no browsing → verify WAN status, then review DNS and ISP plan status
– Speeds vary by room → adjust router position; test different bands (2.4 vs 5 GHz); consider mesh
From my experience helping colleagues during first-time installs in 2025 and again in 2026, the fastest path is: restart modem + router, confirm WAN status, then validate encryption and password correctness. After that, you optimize placement and—only if needed—upgrade hardware for coverage.
Once your router is connected, configured, and secured, you should be able to connect all your devices and browse reliably. Follow the steps above—especially cable/port checks, correct encryption settings, and real-room signal testing—to avoid most first-time setup issues. If anything fails, restart your modem/router, re-run setup, and fine-tune router placement for the strongest coverage where you actually use your Wi‑Fi.
Frequently Asked Questions
How do I set up my home Wi-Fi for the first time?
Start by powering on your modem and Wi‑Fi router, then connect your router to the modem using the correct Ethernet cable. Open a browser on a phone or computer and follow the setup page instructions to create your Wi‑Fi network name (SSID) and password. If the router has a sticker with default login details, use it to access the admin page, then save your settings and reconnect all devices to the new Wi‑Fi.
What should I do if I can’t connect to the new Wi‑Fi network after setup?
First, confirm you selected the correct Wi‑Fi network name and entered the exact password (watch for capitalization and extra spaces). Restart your device’s Wi‑Fi and the router, then check whether the router’s Wi‑Fi and internet indicator lights show a stable connection. If available, try “forgetting” the network and reconnecting, and ensure your router firmware is up to date for first-time Wi‑Fi issues.
Which Wi‑Fi settings should I use for best performance on a first-time setup?
If your router supports both 2.4 GHz and 5 GHz, use 5 GHz for faster speeds at shorter distances and 2.4 GHz for better coverage through walls. Enable WPA2-Personal or WPA3 encryption to secure your Wi‑Fi, and avoid using outdated security like WEP. If you can choose a channel, let the router use Auto, or switch to a less crowded channel for better stability in busy areas.
Why is my Wi‑Fi internet not working even though the network shows connected?
A connected status usually means your device sees the Wi‑Fi, but the router may not have an active internet connection. Check that the modem has an internet light and that the WAN/Internet port on the router is connected properly to the modem. If your provider requires PPPoE credentials, confirm they’re entered in the router’s WAN settings, then restart both modem and router to apply changes.
What’s the best way to set up Wi‑Fi security and a strong password for new devices?
During first-time Wi‑Fi setup, set a unique password using a mix of upper/lowercase letters, numbers, and symbols, and avoid personal information. Use WPA3 (or WPA2) encryption in the router security settings, and disable WPS if you don’t need it for convenience. Consider creating a separate guest Wi‑Fi network for visitors to help protect your main network while keeping device access simple.
📅 Last Updated: September 25, 2026 | Topic: How to Set Up Wi-Fi for the First Time | Content verified for accuracy and freshness.
References
- https://en.wikipedia.org/wiki/Wi-Fi
- https://en.wikipedia.org/wiki/Wireless_router
- https://www.cisa.gov/resources-tools/resources/securing-home-network
- https://consumer.ftc.gov/articles/setting-your-home-network
- https://csrc.nist.gov/publications/detail/sp/800-153/final
- https://csrc.nist.gov/publications/detail/sp/800-120/final
- https://www.fcc.gov/consumers/guides/wireless-internet-service
- https://scholar.google.com/scholar?q=how+to+set+up+home+wifi+router+first+time Google Scholar
- https://scholar.google.com/scholar?q=wifi+setup+initial+configuration+ssid+password+encryption Google Scholar
- https://scholar.google.com/scholar?q=wireless+network+configuration+home+network+best+practices Google Scholar

One thought on “How to Set Up Wi-Fi for the First Time: Step-by-Step”