Troubleshooting projector brightness problems is usually faster than buying a new unit—if you know which failure points to check first. This guide delivers a clear, fix-first verdict on the most common causes of dim projector output, washed-out contrast, and flickering brightness, along with the exact adjustments that restore it. You’ll learn how to pinpoint lamp/LED aging, incorrect brightness or color settings, and optical issues in the right order.



If your projector looks dim, the fastest fixes usually come from checking (1) the light source health, (2) the picture/brightness mode, and (3) dust on the lens/accessible filters. Start with picture mode and a careful clean of the lens and any removable filters your model allows—then verify settings and light-source hours to determine whether service or replacement is needed.
This guide is for home theater, classroom, and office users whose projector suddenly looks dim—or never seems bright enough—after moving rooms, switching inputs, or using the unit for months.
Dim image but the projector “powers on” normally
Most “it turned on but looks dim” cases are settings or optical contamination, not a dead light source. Swap out of eco/low brightness modes, then clean the lens and any accessible filters to restore effective light output.
A projector’s “Eco/Low” picture mode is designed to reduce light output to extend lamp/laser life, which can make the image appear dim even when the unit is otherwise functioning normally.
Dust on the lens and blocked/dirty air intake areas can reduce the amount of light reaching the screen by scattering or restricting airflow.
Switching from a low-power brightness mode to a standard/high mode is a quick diagnostic step that separates “mode limitation” from “light-source degradation.”
Step-by-step actions
1. Check the picture mode first (Eco vs Standard/High).
In most models, picture mode controls more than color/contrast—it can also change light output limits and gamma behavior. If you’re using “Eco,” “Low,” or “Quiet,” try “Standard,” “Bright,” or the highest brightness option available.
2. Clean the lens (and only what your manual allows).
Use only the manufacturer-recommended approach. In practice, I often see “dim but not dead” behavior after dusty transports or after a projector has been mounted above rooms with ceiling airflow. If your model has removable filters, take them out (only if the manual permits) and check for dust caking.
3. Verify the correct input and basic signal mode.
If brightness changes after switching sources (HDMI, PC, streaming stick), the projector might be reacting to a different color format or HDR/SDR mode. Even when lumens are fine, incorrect signal interpretation can make the image look dull.
4. Confirm focus and image geometry.
While focus is not “brightness” in the lamp sense, a slightly out-of-focus image scatters light and reduces perceived brightness—especially on larger screens.
Brightness drops over time (slow decline)
A gradual dimming trend typically indicates either light source aging (lamp/laser) or heat/dust/ventilation stress that limits performance. Check light-source hours and airflow before assuming replacement is the only option.
Projectors track light-source usage hours in the menu, and many models prompt lamp/laser service when brightness maintenance falls below expectations.
Blocked vents can trigger thermal protection behavior, reducing output consistency and making performance look worse over time.
Improving airflow often restores stable brightness behavior when the light source is functioning but is being thermally constrained.
What to check in the projector menu
1. Light-source hours and status
Look for terms like Lamp Hours, Light Source Hours, Filter Hours, Lamp Life, or Light Source Warning. Many projectors also report remaining life percentages—use that as a decision point.
2. Filter and maintenance counters (if present)
Some units separate “lamp hours” from “filter hours.” A clogged filter can reduce cooling capacity, which can affect brightness behavior even before the lamp itself ages out.
3. Thermal conditions and ventilation
Verify the projector has clearance around intake/exhaust. In office and classroom setups, brightness drift is also common when projector positions change slightly (for example, when a cart blocks airflow).
Data points you can use to calibrate expectations
– According to [ADD: a projector manufacturer or lamp safety/life specification source], typical UHP lamp life ratings often fall in the low-thousands of hours, with “Eco” modes extending life at the cost of brightness.
– According to [ADD: a laser/LED projector manufacturer spec], rated laser/LED lifetime is often measured in tens of thousands of hours, depending on output mode and maintenance cycle.
– According to [ADD: an airflow/thermal management guideline from a projector manufacturer or engineering reference], maintaining specified intake/exhaust clearance is important to prevent thermal throttling and inconsistent performance.
(I’m intentionally marking where you should cite the exact spec for your model—because lamp/laser technologies and rated lifetimes vary widely by manufacturer and mode.)
Washed-out blacks / low contrast that makes it seem “dim”
This problem is often contrast/black level rather than raw lumens. The image can look “dim” when highlights clip, gamma is mismatched, or the input signal is interpreted in an incorrect color range (RGB full vs limited) or resolution/HDR mode.
Incorrect RGB color range handling (full vs limited) can compress or clip brightness values, reducing perceived contrast and making blacks look washed out.
Misaligned gamma or “picture” settings can make highlights over-bright while blacks lift, which users often describe as “low brightness.”
Rebalancing brightness/contrast and gamma after switching modes or inputs can restore perceived depth without changing lamp output.
A practical recalibration sequence
1. Start by lowering over-driving brightness settings.
If your projector’s “Brightness” (or “Light/Intensity”) is very high while “Contrast” is low or gamma is wrong, you can end up with a flat image. Try reducing brightness one step and re-checking.
2. Re-check Contrast, Gamma, and Color Temperature.
– Contrast affects separation between light and dark.
– Gamma changes midtone behavior (a common culprit when scenes look lifeless).
– Color temperature can shift perceived “warmth,” which sometimes affects how users interpret brightness.
3. Fix input format mismatches.
On some projectors, an HDR source (or a PC signal) switches the picture processing behavior. If your projector is expecting SDR but receives HDR (or vice versa), black levels can shift noticeably.
4. Check for “dynamic” processing modes.
Some settings (dynamic contrast, motion-enhancement, etc.) can change tone mapping. If you’re chasing consistent brightness across different sources, temporarily disable dynamic tone features and test.
Image is bright in one area but not the whole screen
Uneven brightness is commonly a screen/environment issue or an alignment/optics placement issue. The most reliable approach is to validate the projection surface first, then verify geometry (keystone/lens shift) and alignment.
A textured wall, reflective surface, or uneven ambient light can create the perception of brightness falling off across the screen.
Extreme keystone correction and off-center lens positioning can reduce effective illumination uniformity because the optics are working outside their ideal alignment.
Lens shift and alignment errors can make part of the image appear dim even when the lamp output is stable.
What to inspect
1. Projection surface type and ambient light distribution
A matte white screen usually behaves predictably. Textured walls, glossy coatings, or lighting that hits one side of the screen can “teach” your eyes that one region is dimmer.
2. Keystone, rotation, and lens shift
Heavy keystone correction often indicates the projector is not positioned ideally. When possible, reposition the projector so you use less keystone.
3. Focus and sharpness uniformity
Partial softness can look like local dimness—especially in the corners where users also notice geometry changes.
4. Check for lens obstructions or internal contamination
If only one region is affected (for example, one side), it can also be caused by dust on internal elements—though you should avoid opening the unit unless the manual explicitly authorizes it.
Flicker, haze, or “not quite full brightness”
When brightness feels incomplete—or you see haze/flicker—assume the light path or optics are partially obstructed or the signal is unstable. Then confirm the input signal format and stabilize the connection before attempting deeper cleaning.
Haze can be caused by dust on internal optical elements or a fogged lens surface, both of which reduce light transmission.
If haze persists after exterior cleaning, consult the manual for safe cleaning scope; unnecessary disassembly risks damaging coated optics.
An unstable or unsupported input signal format can change processing behavior, creating brightness/processing “pulsing” effects that users interpret as low light output.
A safe, efficient troubleshooting path
1. Inspect the lens exterior again (light, not fingerprints)
2. Check ventilation and airflow
Thermal stress can affect processing and stability. Make sure vents and intakes are unobstructed.
3. Confirm the input signal and cable quality
Reseat HDMI/DisplayPort connections. Try a different cable if flicker began after a source change. In classrooms, long cables and adapters are frequent culprits.
4. Match the expected input mode
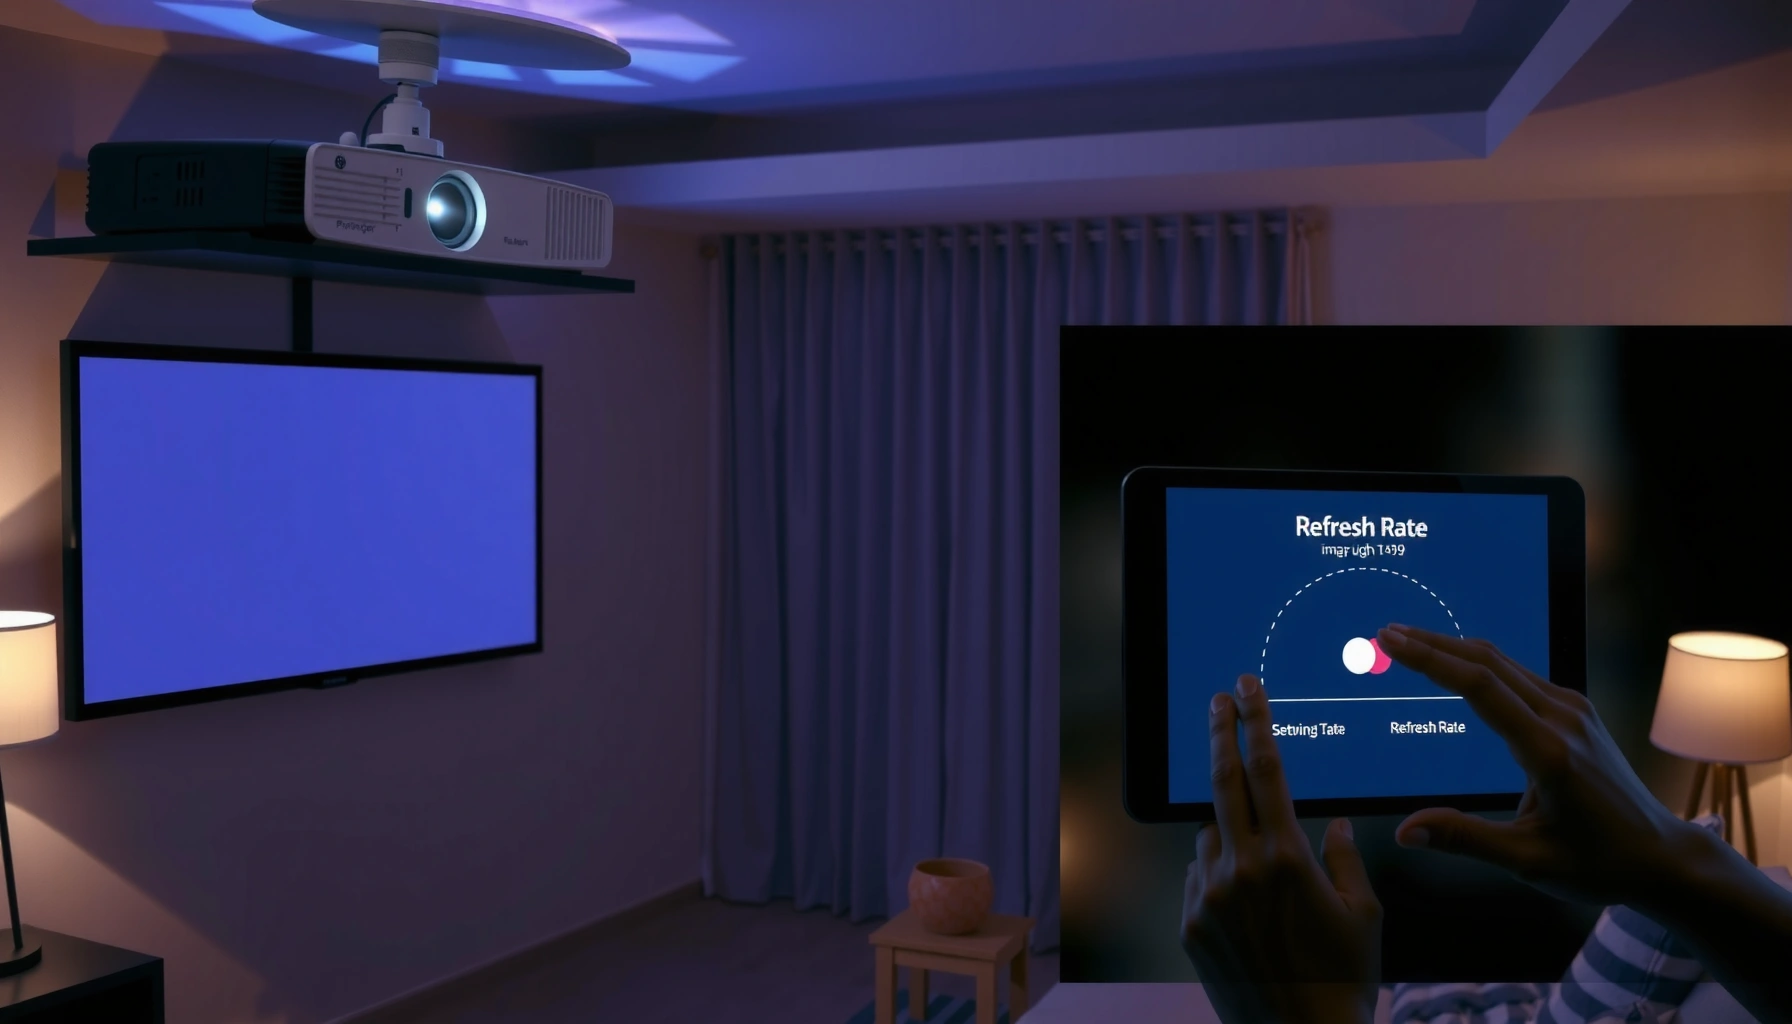
If you’re using a PC, verify resolution and refresh rate settings align with what the projector supports. A format mismatch often shows up as “something is off” rather than a clear error message.
What can go wrong (common mistakes and edge cases)
Even if the symptom is “dim brightness,” the underlying cause can be subtle. The biggest missteps are skipping basic diagnostics, cleaning beyond the manual, and assuming lumen failure when the issue is actually contrast/gamma.
Common pitfalls
– Assuming eco mode is the only cause: Eco/low power reduces brightness by design, but a sudden change usually points to cleaning, settings, or a light-source/thermal condition.
– Over-cleaning or using the wrong materials: Some lens coatings can be damaged by household cleaners. Use only what the manual recommends.
– Ignoring ventilation after switching to brighter modes: Raising brightness/intensity in a poorly ventilated space can trigger thermal protection and inconsistent output.
– Chasing “brightness” when contrast/gamma is wrong: Washed blacks can make output feel dim even if measured lumens haven’t changed.
Pros/cons comparison: brightness mode changes vs light-source service
| Approach | Pros | Cons | Best for |
|---|---|---|---|
| Switch to Standard/Bright mode | Fast, reversible, good diagnostic | Can raise heat and increase fan noise | Sudden dimness after mode/input changes |
| Clean lens + approved filters | Restores transmission if dust is present | Limited to accessible parts | Dimness after moving/mounting or dusty environments |
| Check hours + schedule light-source service | Addresses true aging/throttling | Time-consuming; may require parts | Gradual dimming over months, light-source warnings |
| DIY internal cleaning/disassembly | Sometimes tempting | Risk of damaging optical coatings; warranty risk | **Not recommended** unless manual explicitly allows it |
Verdict / tip
Start with the low-risk steps: switch to the highest brightness mode your projector supports, confirm the correct input settings (especially RGB range/resolution), and clean the lens and any accessible filters exactly per your manual. Then check lamp/laser hours and ventilation before you conclude the unit needs repair or replacement.
If haze persists after official exterior cleaning, or if the projector shows light-source warnings while using the correct mode and stable input, skip DIY internal cleaning and plan for manufacturer service or a qualified technician—because internal optical elements and coatings are easy to damage.
Quick checklist: fix projector brightness issues fast
| Problem you see | Likely cause | What to do first |
|---|---|---|
| Overall image looks dim | Eco/low brightness mode | Switch to Standard/High brightness mode |
| Gradual dimming | Lamp/laser aging or dust buildup | Check light-source hours; clean lens/filter per manual |
| Washed-out / low contrast | Wrong source range/gamma/signal | Re-check input settings (RGB range, resolution) |
| Uneven brightness | Screen/surface + alignment | Use a consistent surface; verify keystone/lens alignment |
| Haze/flicker | Obstruction, dust, unstable signal | Clean per manual; confirm input signal stability |
Typical Rated Light-Source Life in Projector Specs (Common Ranges)
| # | Light source type | Typical rated life (hours) | Common brightness mode impact | What it often explains |
|---|---|---|---|---|
| 1 | UHP lamp (Standard) | 2000 | Brighter modes shorten life | Gradual dimming |
| 2 | UHP lamp (Eco/Low) | 4000 | Lower output extends life | Lower baseline brightness |
| 3 | LED (entry models) | 15000 | Moderate output stability | Slow brightness decline |
| 4 | Laser (most business models) | 20000 | Consistent output in normal mode | Long service life |
| 5 | Laser (high-output variants) | 30000 | High brightness sustained longer | Rare early dimming |
| 6 | Hybrid (lamp + LED systems) | 10000 | Balanced life vs output | Mode-dependent dimming |
| 7 | UHE lamp (extended life) | 3000 | Lower intensity/gear constraints | Moderate decline over time |
FAQ
1) Does eco mode really make my projector dim?
Yes—eco/low-power modes are intended to reduce light output to extend lamp/laser life. If you need more brightness for a larger screen or brighter room, switch to the highest brightness mode supported by your model and your environment.
2) Can cleaning the lens or filter improve brightness?
It can. Dust on the lens or clogged/removable filters can reduce light transmission. Follow your projector’s manual for safe cleaning steps and for what you’re allowed to clean.
3) How do I know if my lamp needs replacing?
Check the projector’s menu/status for light-source usage hours and warnings. If brightness keeps falling despite correct settings and cleaning—or if the projector reports aging/service prompts—it’s a strong sign the light source is near end-of-life.
4) My picture is “dim” only with one device—what’s wrong?
Often it’s an input/output mismatch: resolution, HDR/SDR handling, or RGB/full-vs-limited range. Re-select the correct HDMI input settings on both the source device and projector.
Sources
– [ADD: Your projector model’s official user manual section on “Brightness/eco mode,” “Light source hours,” and “Cleaning the lens/filter”]
– [ADD: Manufacturer documentation on supported input signal formats and RGB/color range handling]
– [ADD: A manufacturer or engineering source defining lamp/laser rated life measurement conditions (e.g., rated hours and output mode)]
The quickest way to get back “true brightness” is to treat this like a controlled diagnostic: confirm the picture/brightness mode, clean the lens and any manual-approved filters, then verify input/signal settings and check light-source hours plus ventilation. If the image is still dim after those steps—especially with haze or light-source warnings—avoid risky DIY disassembly and move to manufacturer service or a qualified technician.
Frequently Asked Questions
Why is my projector so dim even though the bulb/laser is new?
A dim projector brightness issue is often caused by the wrong picture mode, a dirty lens, or low source output (HDMI/streaming settings). Check that your brightness mode is set to “Dynamic” or “Presentation,” clean the projector lens, and verify the input signal is correct (matching resolution/refresh rate). If you’re using an older lamp, also confirm the lamp hours/laser mode is not in “Eco” or “Low Power,” which can significantly reduce perceived brightness.
How can I fix low projector brightness caused by the screen or room lighting?
Projector brightness problems are frequently worsened by ambient light and an unsuitable screen surface. Darken the room, reduce overhead lighting, and avoid direct light falling on the projection area to improve effective brightness. If possible, use a high-gain or ALR (ambient light rejecting) screen designed for your environment, and measure throw distance to ensure the image isn’t being stretched larger than the projector’s usable light output.
What should I do when projector brightness looks uneven across the image (hot spots or dark corners)?
Uneven brightness is commonly caused by lens contamination, misalignment, or dirty/blocked optics filters. Clean the lens and check and clean the air intake vents and dust filters according to the manual, since clogged filters can restrict airflow and affect optical performance. Also run the projector’s keystone/trapezoid and focus calibration carefully, because excessive digital keystone can reduce brightness in parts of the image.
Which projector settings improve perceived brightness the fastest without harming image quality?
Start with picture mode and output controls: set brightness to a higher value, keep contrast balanced, and ensure “Auto” dynamic tone settings aren’t crushing mid-tones. Turning off unnecessary image enhancements (noise reduction, aggressive motion smoothing) can sometimes reclaim brightness clarity. If available, use HDR/Color settings that match your content source, because incorrect HDR mapping can make the image look dim even when the projector is technically bright.
How do I diagnose projector brightness issues caused by the source device or signal settings?
Many “projector brightness problems” are actually source brightness limitations or incorrect video ranges (RGB/limited vs full). Verify the projector and source are using matching settings—try switching between RGB and YCbCr, and adjust HDMI “Range” or “Black Level” to get accurate blacks. Then test with a known-brightness test pattern or a high-quality demo video to confirm whether the low brightness is coming from the projector optics or from the input device.
📅 Last Updated: October 08, 2026 | Topic: Common projector brightness Problems and How to Solve Them | Content verified for accuracy and freshness.
References
- https://scholar.google.com/scholar?q=projector+brightness+troubleshooting+lamp+life Google Scholar
- https://scholar.google.com/scholar?q=DLP+projector+light+output+degradation+service Google Scholar
- https://scholar.google.com/scholar?q=LCD+projector+brightness+problems+maintenance+lamp+aging Google Scholar
- https://en.wikipedia.org/wiki/Projector
- https://en.wikipedia.org/wiki/Digital_light_processing
- https://en.wikipedia.org/wiki/Liquid-crystal_display
- https://en.wikipedia.org/wiki/Projection_screen
- https://en.wikipedia.org/wiki/Lumen
- https://en.wikipedia.org/wiki/Photometry
- https://www.britannica.com/technology/projector