
To set up a sound system for recording music at home, you need to focus on three key components: your audio interface, microphones, and monitoring speakers. A well-structured home studio will not only enhance your recording quality but also make the process more enjoyable. In this guide, we’ll walk you through selecting the right equipment, arranging your space, and optimizing your sound for the best recording experience. Whether you’re a budding musician or a seasoned producer, these tips will help you create a professional-sounding setup right in your own home.




Understanding Your Audio Interface
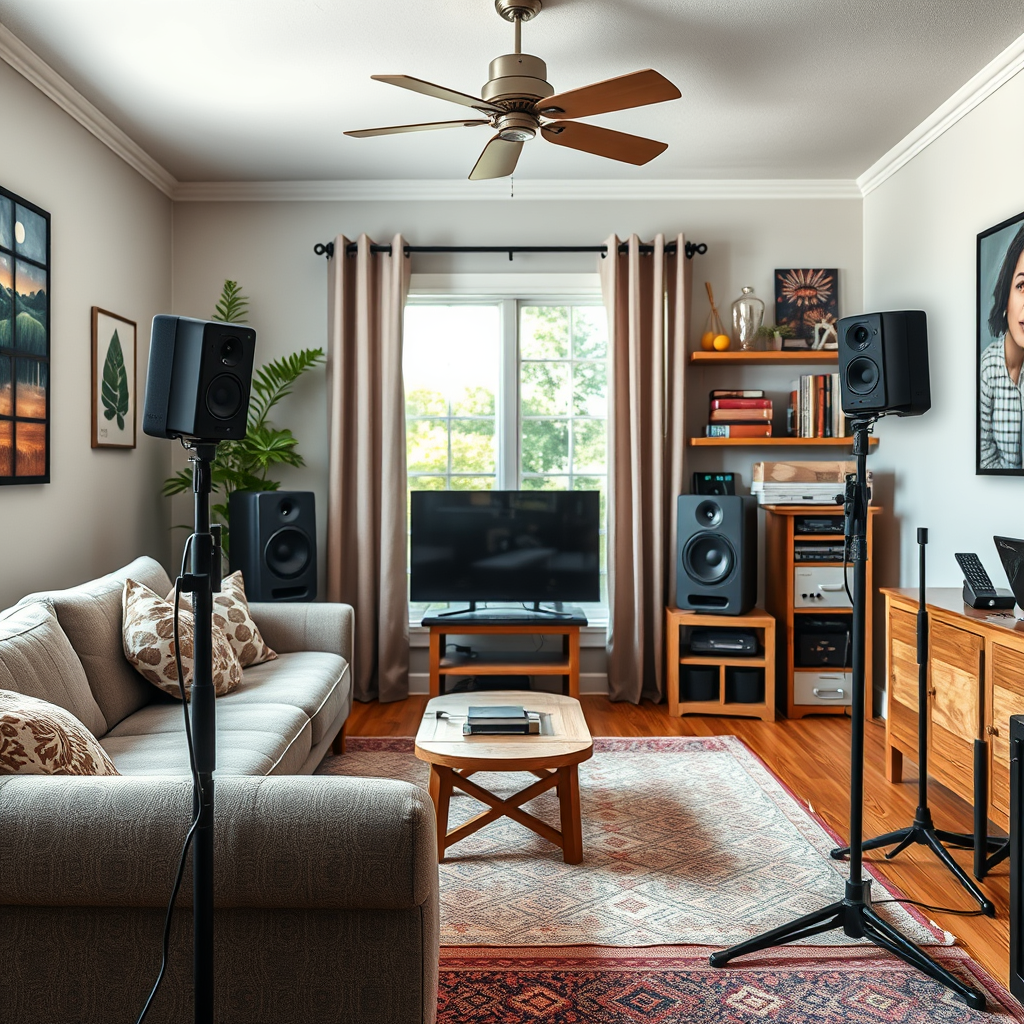
The audio interface is the heart of your home recording system, acting as the bridge between your instruments, microphones, and your computer. When choosing an interface, it’s essential to consider how many inputs and outputs you might need. For instance, if you plan to record multiple instruments simultaneously, look for an interface with at least four inputs. Interfaces like the Focusrite Scarlett 18i20 or PreSonus AudioBox are great options for home studios, offering a range of inputs at a manageable price.
Another crucial feature to look for is phantom power, which is necessary for condenser microphones. This is especially important if you’re recording vocals or acoustic instruments, as condenser mics tend to capture a wider frequency range and provide a more nuanced sound. Additionally, low-latency monitoring helps you hear your recordings in real-time without delay, which is vital for maintaining your rhythm and flow while recording.
Selecting the Right Microphones
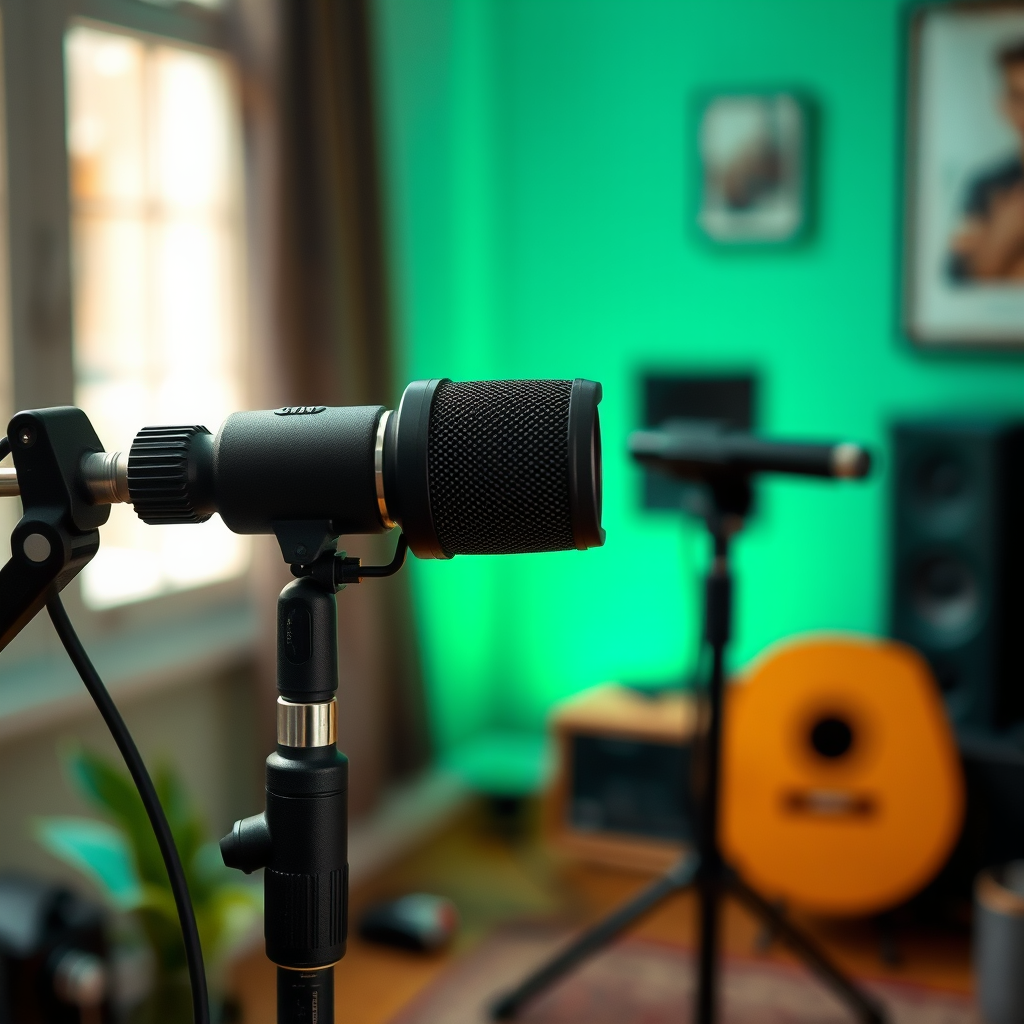
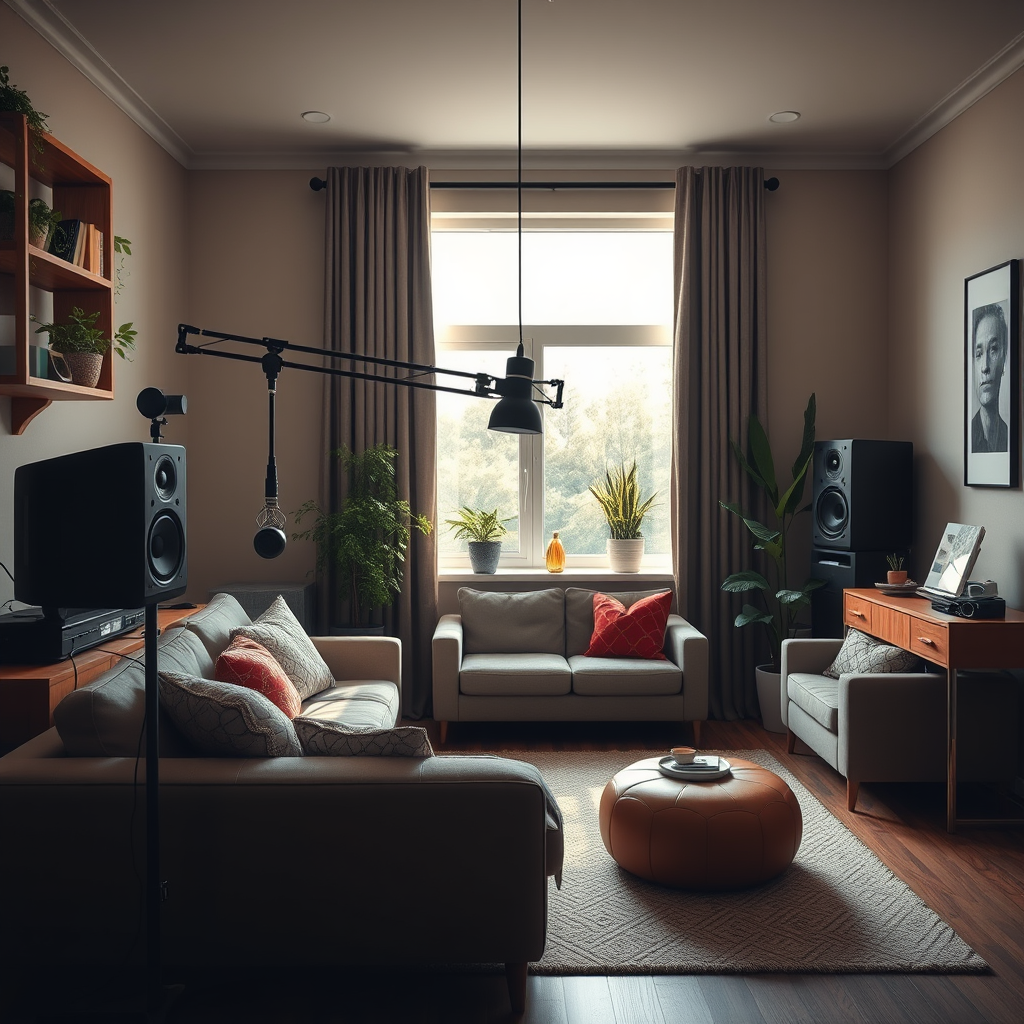
The microphone you choose can dramatically affect the quality of your recordings. Generally, there are two main types: dynamic and condenser microphones. Dynamic mics, such as the Shure SM57, are robust and perfect for loud sound sources like guitar amps or drums. They are less sensitive compared to condenser mics, making them great for live settings or untreated rooms.
On the other hand, condenser microphones, like the Audio-Technica AT2020, are excellent for capturing the subtle nuances of vocals and acoustic instruments, as they tend to have a broader frequency response. If you want to maximize versatility, consider having both types on hand. This way, you can tailor your mic choice to the specific sound you’re looking to achieve.
For those recording various instruments and vocals, think about using multiple microphones. A popular technique is to employ a combination of mics to capture different aspects of a sound source. For example, you could use a dynamic mic for a guitar amplifier while simultaneously using a condenser mic to capture the room ambience, resulting in a fuller sound.
Choosing Studio Monitors and Headphones
Once you have your microphones sorted, the next step is to invest in quality studio monitors and headphones. Studio monitors are designed for accurate sound reproduction, meaning they help you hear your recordings as they truly are—without any coloration. Brands like KRK and Yamaha offer excellent monitors that can fit various budgets. It’s wise to choose monitors that suit the size of your room; larger speakers may overwhelm a small space, while smaller monitors may lack the depth needed in a larger room.
Closed-back headphones are also essential for tracking, as they prevent sound bleed during recordings. This is particularly important when recording vocals or instruments, as any sound escaping the headphones can be picked up by the microphone, leading to an undesirable mix. Look for headphones with good isolation, such as the Audio-Technica ATH-M50x or the Beyerdynamic DT 770 Pro, which will help you focus on your performance without distractions.
Acoustic Treatment of Your Space
To achieve the best sound quality, you must consider the acoustics of your recording environment. Many home studios suffer from reflective surfaces that can create echoes and muddiness in recordings. Start by identifying these reflective surfaces—think walls, windows, and even floors. Adding sound-absorbing materials like foam panels, carpets, or heavy curtains can significantly improve your recording quality.
Bass traps are another effective solution, especially for managing low-frequency sounds that can build up in corners. These traps are designed to absorb excessive bass frequencies, leading to a more balanced sound in your recordings. Position these traps in the corners of your room, where low frequencies tend to accumulate, to help create a clearer listening environment.
Setting Up Your Recording Software
The software you choose to record and edit your music is just as important as the hardware. A Digital Audio Workstation (DAW) is essential for recording, editing, and mixing your tracks. Popular DAWs like Ableton Live, Logic Pro, and FL Studio each offer unique features catering to different styles and workflows. Take some time to explore these options and choose one that feels intuitive to you.
Once you’ve selected a DAW, familiarize yourself with its features. Spend time learning how to record audio tracks, edit MIDI, and mix your sounds. Many DAWs offer tutorials or user forums that can help you get started. The more comfortable you are with your recording software, the more efficiently you’ll be able to produce your music.
Testing and Calibration
Before diving into recording, it’s crucial to conduct sound tests to ensure everything is set up correctly. Start by adjusting the levels on your audio interface, monitors, and microphones to find the sweet spot where your recordings sound clear and balanced. Don’t hesitate to experiment with different mic placements; sometimes, moving a mic just a few inches can make a significant difference.
Calibrating your monitors and headphones is also essential for achieving a balanced listening environment. Use test tones or reference tracks to adjust the volume levels of your monitors and ensure that they are positioned correctly. Ideally, your monitors should form an equilateral triangle with your listening position to achieve the best soundstage.
Maintenance and Upgrades
To keep your sound system in top shape, regular maintenance is key. Periodically check all connections to ensure they are secure, and clean your microphones and other equipment to prevent dust buildup. This simple practice can extend the life of your gear and maintain optimal performance.
Additionally, staying updated on the latest gear and software can provide opportunities for potential upgrades that enhance your recording capabilities. Whether it’s a new microphone, an upgraded audio interface, or the latest version of your DAW, investing in quality gear can make a noticeable difference in your recordings.
Summarizing these steps will help you create a professional-sounding home recording setup. Start by gathering your equipment, treating your space acoustically, and familiarizing yourself with your recording software. With the right setup, you’ll be well on your way to producing high-quality music at home. Remember, the journey of recording music is as much about the process as it is about the final product, so enjoy every step along the way!
Frequently Asked Questions
What equipment do I need to set up a sound system for recording music at home?
To set up a sound system for recording music at home, you’ll need a few key pieces of equipment: a digital audio interface to connect your instruments and microphones to your computer, quality studio monitors for accurate sound playback, and a good microphone for capturing vocals and instruments. Additionally, consider using headphones for monitoring during recordings, and acoustic treatment for your room to minimize unwanted noise and reflections.
How do I choose the right microphone for home recording?
Choosing the right microphone for home recording depends on what you plan to record. For vocals, a condenser microphone is often recommended for its sensitivity and clarity, while dynamic microphones are great for live instruments due to their durability and sound rejection. Make sure to consider your budget, the sound characteristics you desire, and whether you need a USB or XLR mic based on your audio interface connectivity.
Why is acoustic treatment important for my home recording setup?
Acoustic treatment is crucial in a home recording setup because it helps to control sound reflections and reduce unwanted noise, which can significantly improve the quality of your recordings. By adding acoustic panels, bass traps, and diffusers, you can create a more balanced sound environment that allows for clearer recordings and more accurate mixing. This is especially important in smaller rooms where sound waves can bounce off walls and ceilings, leading to muddied audio.
What is the best way to position studio monitors for optimal sound?
The best way to position studio monitors is to create an equilateral triangle between the monitors and your listening position, ensuring that the distance from each monitor to your ears is equal. Place the monitors at ear level and angle them slightly towards your listening position to minimize room reflections. Additionally, avoid placing them directly against walls or in corners, as this can enhance bass frequencies and lead to a distorted sound.
Which software should I use for recording music at home?
The best software for recording music at home, often referred to as a Digital Audio Workstation (DAW), depends on your specific needs and budget. Popular options include Ableton Live for electronic music production, Logic Pro for Mac users, and FL Studio for beginners. If you’re looking for free software, consider using Audacity or GarageBand, which offer essential features for recording and editing without a financial investment.
References
- Sound recording and reproduction
- https://www.grammy.com/grammys/news/home-recording-tips-get-started
- https://www.npr.org/sections/therecord/2020/04/07/826482452/creating-a-home-studio-how-to-set-up-for-recording-music
- https://www.soundonsound.com/techniques/building-home-studio
- https://www.diyrecordingequipment.com/home-studio-guide/
- https://www.musictech.net/guides/buyers-guide/home-studio-setup-guide/
