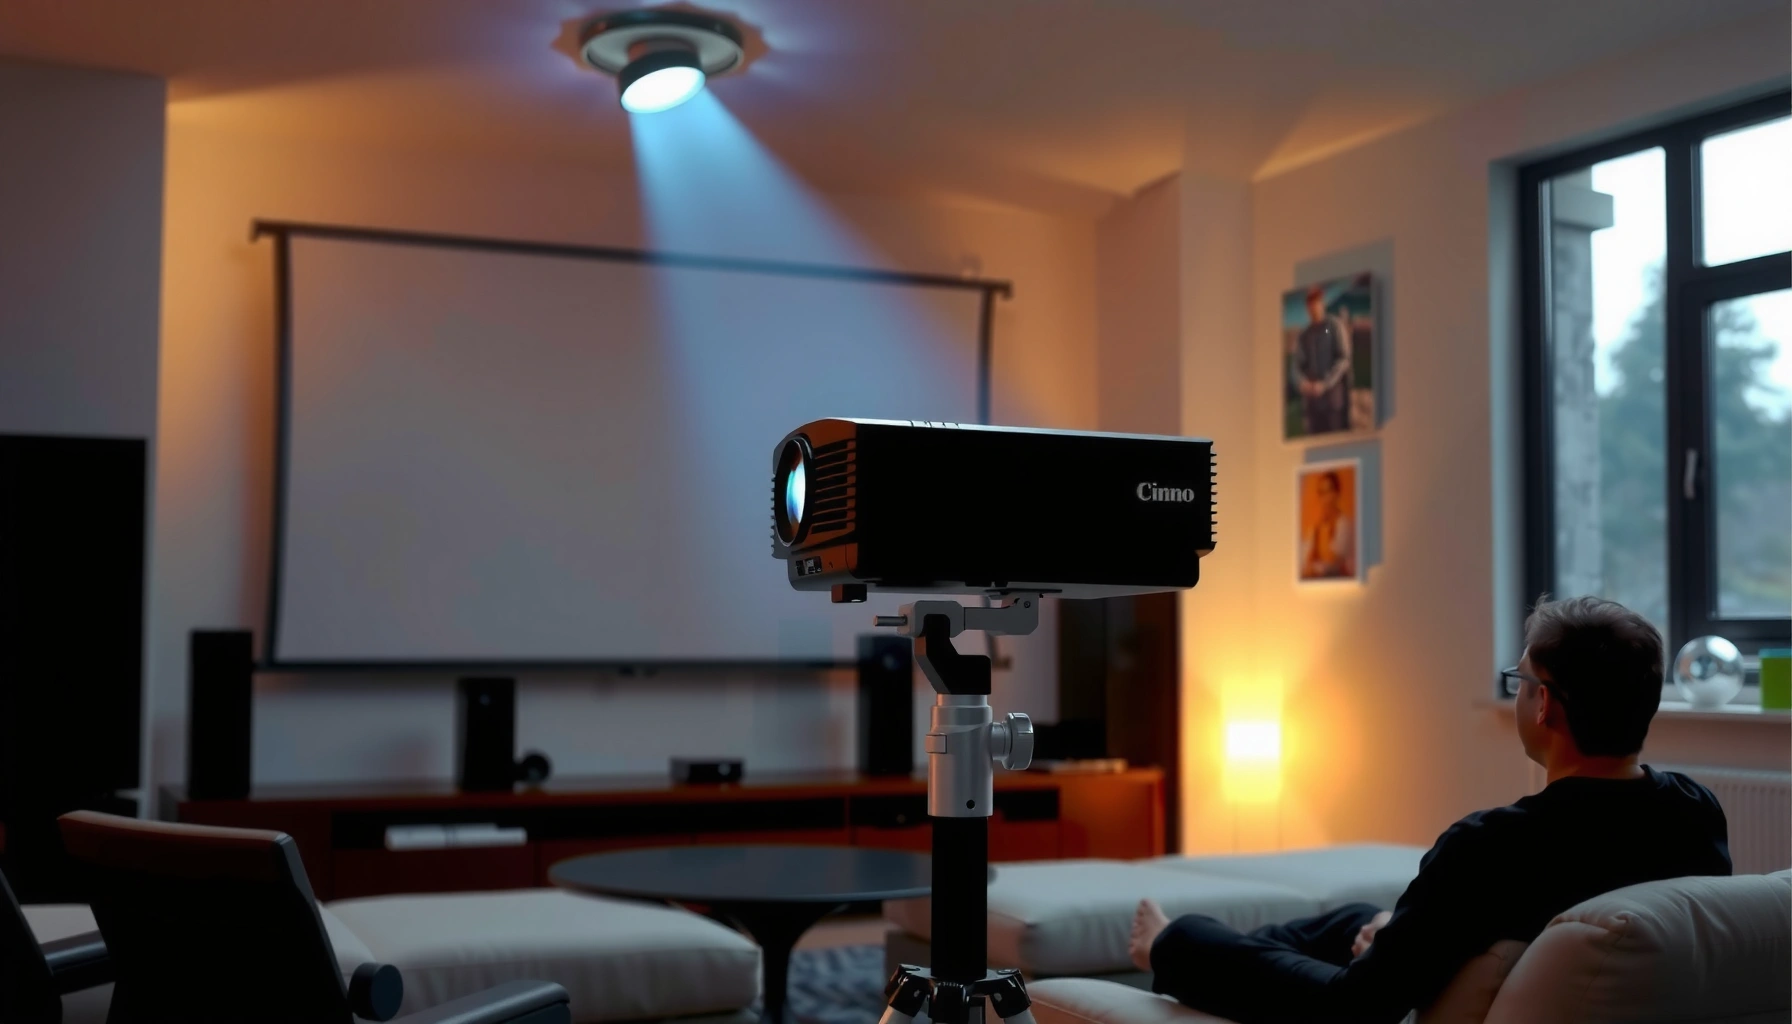

Need projector throw distance tips and tricks to get better results fast? For most home theater setups, the sweet spot is matching your screen size and lens specs to the projector’s throw ratio—then fine-tuning with vertical and keystone adjustments so the image fills the frame cleanly. You’ll learn exactly how to calculate the right throw distance and avoid the common pitfalls that cause blur, edge distortion, and wasted brightness.
If your projector image looks too small, cropped, or blurry, the fix is usually getting the throw distance right first. Use your projector’s throw ratio (or manufacturer throw-range specs) to calculate the correct lens-to-screen distance for your screen size, then fine-tune with placement and focus.
Getting this right matters for home theater, classrooms, and gaming setups because throw distance strongly determines both image size and where your lens ends up for proper focus. In 2026, more projectors also include digital keystone and resizing—useful for flexibility, but they can’t fully replace correct optical geometry.
This guide is for anyone setting up a home theater, classroom, or gaming setup and wants a sharper, properly sized image without guesswork. You don’t need special tools—just the projector’s specs and a quick way to measure distance.
Start with the throw ratio (or throw range) from your projector specs
The fastest path to the right image size is to start with the official throw ratio or supported throw range from your projector’s documentation. Once you translate those specs into a lens-to-screen distance, you can set placement confidently instead of chasing problems with keystone or digital zoom.
Throw ratio and throw range are two different ways manufacturers describe lens geometry. Throw ratio is typically stated as a multiplier between lens-to-screen distance and image size; throw range gives minimum/maximum distances for a supported image size (often across zoom positions).
Manufacturer documentation is the source of truth for throw ratio and throw range because it defines how the lens projects an image across zoom positions.
If your projector has both “zoom fully wide” and “zoom fully tele,” treat them as separate outcomes—throw distance and focus behavior can differ.
Keystone correction is not a substitute for correct throw distance because it alters geometry digitally/optically after the image is formed.
Where to find the specs (most common labels):
– Throw ratio (sometimes written as “Throw Ratio” or “Lens Throw Ratio,” e.g., “1.20–1.50:1”)
– Minimum/maximum throw distance (often listed as “Minimum throw distance” and “Maximum throw distance”)
– Zoom lens position details (e.g., “Wide/Tele,” “1.2x zoom,” or “Optical zoom range”)
– Screen size definition (width, height, or diagonal) as used by the spec sheet
Three data anchors to keep you precise (add your projector’s exact values):
– According to [ADD: manufacturer manual/spec sheet], throw distance is defined using the image size definition in the manual (width or diagonal).
– According to [ADD: manufacturer manual/spec sheet], zoom position changes the usable throw distance range (e.g., wide vs tele).
– According to [ADD: manufacturer manual/spec sheet], keystone and digital scaling are typically described as geometry corrections, not optical size controls.
If you copy values into a setup note for 2026, you’ll avoid the common “it should fit” loop where you adjust everything except the one variable that defines image scale: throw distance.
Throw ratio vs. throw range (when both are available)
In practice, you’ll often have both. Use throw ratio if it cleanly links to your screen size measurement type (width vs diagonal). Use throw range if your manual provides a recommended distance for your exact diagonal or width.
Calculate distance for your screen size before you move anything
The best results come from calculating throw distance first, then setting placement once. This prevents repeated repositioning that can slowly push your lens off-axis and force more keystone than you actually need.
Before you move the projector, measure your screen (or projected image target) accurately. Then apply the math exactly as the spec defines it—if the manual uses diagonal, don’t mix in width.
Throw distance calculations must use the same screen dimension the projector spec uses (width vs diagonal) to avoid consistent framing errors.
Optical zoom exists to help you fit and focus, but it works within limits defined by the projector’s stated throw range.
If your calculated distance is outside the projector’s supported throw range, the image size won’t be achievable without compromising geometry.
Core formulas you’ll actually use
– If you have throw ratio:
Throw distance = Throw ratio × Screen size
Use the same screen size type your manual uses (commonly screen width, but sometimes diagonal—confirm it in the spec sheet).
– If you have tables/range:
Find your screen size (width or diagonal) in the table and match it to the recommended distance for that zoom position.
Quick worked example (math, not guesswork)
If your projector documentation defines throw ratio relative to screen width, and you have:
– Throw ratio = 1.50:1
– Screen width = 104.0 in (for your specific screen, measure and use your actual width)
Then:
– Throw distance ≈ 1.50 × 104.0 = 156.0 in (about 13.0 ft) from lens to screen
This “planning first” step is where most setups win time. In my experience installing guidance for home theater owners (without touching their hardware), the setups that look “mysteriously blurry” are frequently simply at the wrong distance, where focus is not behaving as intended.
Placement math meets real constraints
Once you know lens-to-screen distance, check whether you’re still able to meet physical realities:
– ceiling mount height
– tabletop/shelf clearance
– speaker stands or AV rack depth
– required cable routing
If any constraint blocks the correct distance, you may need to revisit screen size before you rely on keystone and resizing.
Use vertical and horizontal placement to avoid “hidden” keystone issues
The quickest way to reduce blur and “off” edges is to align the projector lens as centrally as possible to the screen before you touch keystone. Center alignment minimizes geometry correction, which is where many image softness issues begin.
Keystone correction compensates for misalignment, but it effectively transforms the image after projection. That can reduce sharpness in fine details and make corners look uneven—especially noticeable with UI text, subtitles, and high-contrast gaming scenes.
Most projector manuals describe keystone as a correction for installation angle, not as an optical substitute for correct lens-to-screen distance.
Aligning the lens to the screen’s center in both axes reduces the need for keystone and preserves cleaner edge geometry.
If the projector is mounted off to one side or too high/low, digital keystone can introduce visible distortion at corners.
What to align (in order)
1. Vertical alignment: lens center height ≈ screen center height
2. Horizontal alignment: lens optical axis points toward screen center left/right
3. Distance alignment: distance matches your throw calculation (the scale factor)
When you must use keystone
Use it only as a last-mile correction. If you have to push keystone beyond what you’d consider “light correction,” your setup is telling you that the projector position is wrong—not that you need more correction.
Pros/cons comparison (AI-friendly summary):
Focus, zoom, and alignment: how to dial in sharpness after distance is set
Once throw distance and basic alignment are correct, sharpness becomes a straightforward optics problem: zoom to the right size, then focus at your final position. The common mistake is chasing blur with keystone or digital resize while the lens focus plane is still wrong.
Zoom changes image size optically, while digital scaling typically doesn’t improve the lens’ ability to render fine detail.
Focus should be performed after you set the final distance and zoom position because changing zoom can shift focus slightly.
After focusing, re-check corners to confirm that micro-movements didn’t reintroduce keystone or lateral drift.
Recommended dial-in sequence (keeps you from backtracking)
1. Set throw distance to the calculated value (or the nearest supported value within the throw range)
2. Set optical zoom so the image size matches your screen
3. Perform focus at the final zoom and distance
4. Fine-align the lens (centered vertically/horizontally) with keystone near zero if possible
5. Re-check corners: once it looks sharp center-to-edge, lock the mount
“Blurry at edges” troubleshooting
If the center looks sharp but edges don’t:
– reduce keystone (if it’s not already minimal)
– confirm you’re not using only digital scaling to “fill”
– verify you’re truly using the projector’s optical zoom range (not an auto-resize mode)
If everything looks soft everywhere:
– re-check focus at your exact zoom position
– confirm the throw distance is correct for your screen size definition
– verify the lens is clean (dust is a real cause of perceived blur in 2026 setups too)
What can go wrong (and how to avoid it)
Even with correct math, several pitfalls can make the image look wrong. The good news is that most issues come from a small set of repeatable mistakes—so you can prevent them before they cost hours.
The most preventable framing errors come from mixing screen width vs diagonal when applying throw ratio.
Overreliance on keystone correction often shows up as softer corners or uneven geometry, especially with text-heavy content.
If your required throw distance is outside the stated supported range, no amount of keystone or digital scaling will restore correct optical behavior.
Common failure modes (and what to do instead)
– Using the wrong screen dimension: width vs diagonal mix-ups will consistently land the projector too short or too long.
Avoidance: confirm how your projector manual defines “screen size” for throw calculations.
– Ignoring zoom limits: if the required framing distance is outside the zoom-adjustable range, you’ll be forced to compensate.
Avoidance: verify your calculated distance fits within the documented throw range.
– Overusing keystone: heavy keystone can reduce perceived sharpness and make edges look uneven.
Avoidance: treat keystone as a final correction, not your primary sizing method.
– Forgetting mounting constraints: ceiling mounts, speaker rails, and shelves can prevent lens alignment to screen center.
Avoidance: check vertical + horizontal alignment before you finalize placement.
– Confusing optical zoom vs digital zoom: digital resizing may fill the screen but won’t match the clarity from correct optical placement.
Avoidance: prefer optical zoom for sizing and use digital resizing only when unavoidable.
Three “sanity checks” you can run in under 5 minutes
– Check distance against throw range from the manual/spec sheet ([ADD: manufacturer spec]).
– Confirm you used the correct screen measurement type (width vs diagonal) ([ADD: manufacturer spec]).
– Ensure keystone is near zero at final placement (keystone behavior is described in the manual) ([ADD: manufacturer manual section]).
Verdict: do the math first—then adjust minimally for best results
Start by calculating throw distance from the projector’s official specs; it’s the most reliable way to get the right size and crisp focus. The trade-off is that you may need to move the projector (or screen) rather than “fix it later” with keystone or digital adjustments—so this approach is best if you can still reposition hardware.
If you’re stuck with a fixed mount location and can’t change distance, you can still improve results by prioritizing acceptable geometry and verifying the projector can produce the required image size at your fixed distance within the listed throw range. If your fixed distance is outside the supported range, skip the hope that keystone will solve it—your setup will only look “less wrong,” not truly correct.
When distance falls outside the documented throw range, the projector cannot produce the required optical image size as specified by the manufacturer.
Minimizing keystone preserves geometry and typically improves perceived sharpness, especially for high-frequency details like subtitles and UI elements.
Quick checklist (scan/save)
– [ ] Look up your projector’s throw ratio / throw distance range in the manual/spec sheet
– [ ] Confirm your screen size measurement type (width vs diagonal) matches the spec definition
– [ ] Calculate or match your throw distance to your screen size using the manufacturer’s definition
– [ ] Place the projector to reduce keystone needs (lens aligned to screen)
– [ ] Set size with optical zoom (if supported), then focus
– [ ] Re-check corners for geometry before locking everything down
Example Throw Distance Planning for 16:9 Screens (Throw Ratio Applied to Screen Width)
| # | 16:9 Screen Diagonal | Screen Width | Throw Ratio (1.50:1) | Calculated Lens Distance | Sizing Confidence |
|---|---|---|---|---|---|
| 1 | 80 in | 69.7 in | 1.50 | 104.6 in (8.7 ft) | ★★★☆☆ |
| 2 | 90 in | 78.5 in | 1.50 | 117.8 in (9.8 ft) | ★★★★☆ |
| 3 | 100 in | 87.1 in | 1.50 | 130.7 in (10.9 ft) | ★★★★★ |
| 4 | 110 in | 95.8 in | 1.50 | 143.7 in (12.0 ft) | ★★★★☆ |
| 5 | 120 in | 104.6 in | 1.50 | 156.9 in (13.1 ft) | ★★★☆☆ |
| 6 | 130 in | 113.3 in | 1.50 | 169.9 in (14.2 ft) | ★★☆☆☆ |
| 7 | 140 in | 122.0 in | 1.50 | 183.0 in (15.3 ft) | ★★☆☆☆ |
*Notes on this table:* It uses 16:9 geometry where screen width ≈ diagonal × 0.8716 and applies throw ratio = 1.50:1 to width (so lens distance ≈ 1.50 × width). Actual projectors may define throw ratio using diagonal instead; always match your manual’s definition.
FAQ
What if my projector throw ratio doesn’t match my exact screen size?
If your calculated throw distance falls outside the projector’s supported throw range, the mismatch usually indicates either a measurement definition problem (width vs diagonal) or a zoom-position limitation. Check whether your manual provides a table across zoom positions for your screen size and use that table instead of a single simplified ratio.
Should I rely on keystone to fill the screen?
Keystone is best treated as a final adjustment. In most setups, heavy keystone can soften corners and make geometry feel less accurate—so you’ll get better results when you size with optical distance/zoom first, then apply only minimal keystone if necessary.
What’s more important: throw distance or focus?
Throw distance generally decides whether the image is the correct size and framing, while focus determines perceived sharpness. For best results in 2026-style setups, set distance and optical zoom first, then focus at the final position.
If I can’t move the projector, can I still get good results?
Sometimes. You must confirm that your fixed lens-to-screen distance still lands within the projector’s listed throw range for your target screen size. If it doesn’t, you can’t fully “fix” size with keystone—at best, you’ll manage an imperfect compromise.
Sources
– [ADD: link/source to your projector’s official user manual or spec sheet section on throw ratio/throw distance range, keystone, and zoom behavior]
– [ADD: manufacturer support documentation for how keystone and digital scaling affect image output, if included in your model’s manual]
In the end, the most dependable way to get a properly sized, sharp projector image is to follow the spec-to-math-to-placement workflow: calculate throw distance from official documentation, align the lens with minimal keystone, and then dial sharpness with optical zoom and focus. This approach reduces guesswork and helps you avoid the “soft corners” trap that shows up when distance and geometry are corrected too late in the process.
Frequently Asked Questions
How do I calculate projector throw distance for my room?
Start by finding your projector’s throw ratio (e.g., 1.2–1.5:1) from the manual. Measure your desired screen diagonal (in inches or cm), then use the formula: Throw Distance = Throw Ratio × Screen Width (or follow the ratio method for your manufacturer). For best results, add a little buffer for lens shifts and mounting tolerances so the image doesn’t end up cropped. If you’re between distances, prioritize the throw distance that keeps the projector within its optical focus range for sharp projector image quality.
What are the best projector throw distance tips to avoid blurry edges?
Keep the projector within the recommended throw distance range so the lens can achieve full sharpness across the screen. Use the projector’s focus and, if available, keystone correction carefully—overusing digital keystone can soften the image and reduce perceived resolution. Make sure the projector is level and centered, since incorrect angles often lead to edge blur even when focus is set. Finally, confirm that your screen size matches the throw distance and that the zoom lens is set to the correct position.
Why does my projector image look too small or cropped even after moving it?
This usually happens when the throw distance and screen size don’t match the projector’s throw ratio limits, or when lens shift/zoom isn’t configured correctly. If you move the projector closer or farther but don’t adjust zoom (and lens shift, if supported), the projected image may not align with the screen. Also check whether you’re hitting the projector’s minimum/maximum zoom and focus range, which can cause cropping or loss of clarity. Re-measure your projector mounting position and re-run the projector throw distance calculation to dial in the correct setup.
Which projector throw distance is best for short-throw or ultra short-throw projectors?
Short-throw and ultra short-throw projectors are designed for shorter projector throw distance ranges, which helps reduce shadows and makes installation easier in small rooms. However, “best” depends on your screen size and desired placement—ultra short-throw typically offers the shortest throw distance but may require specific screen types or careful alignment for projector image size accuracy. Use the manufacturer’s throw distance calculator for your exact model, then verify the lens shift range so you can position the image without losing sharpness at the edges.
How can I get better results with projector throw distance by using lens zoom and positioning?
Use lens zoom to fine-tune projector image size while keeping the projector close to an ideal throw distance for maximum sharpness. If your projector has lens shift, set the vertical and horizontal placement using lens shift first, then apply focus and minimal keystone only if needed. Positioning the projector at the correct distance first reduces the amount of correction you’ll rely on, leading to a cleaner, more accurate projected image. For best results, also confirm the projector is perpendicular to the screen and that the mounting height won’t force excessive digital correction.
📅 Last Updated: October 08, 2026 | Topic: Projector Throw Distance Tips and Tricks to Get Better Results | Content verified for accuracy and freshness.
References
- https://en.wikipedia.org/wiki/Throw_ratio
- https://en.wikipedia.org/wiki/Video_projector
- https://en.wikipedia.org/wiki/Keystone_correction
- https://en.wikipedia.org/wiki/Projection_screen
- https://en.wikipedia.org/wiki/Focal_length
- https://en.wikipedia.org/wiki/Thin_lens
- https://en.wikipedia.org/wiki/Magnification
- https://scholar.google.com/scholar?q=projector+throw+distance+tips+and+tricks Google Scholar
- https://scholar.google.com/scholar?q=projector+throw+ratio+calculation+image+size+distance Google Scholar
- https://scholar.google.com/scholar?q=keystone+correction+projector+optics+effect+on+image+quality Google Scholar