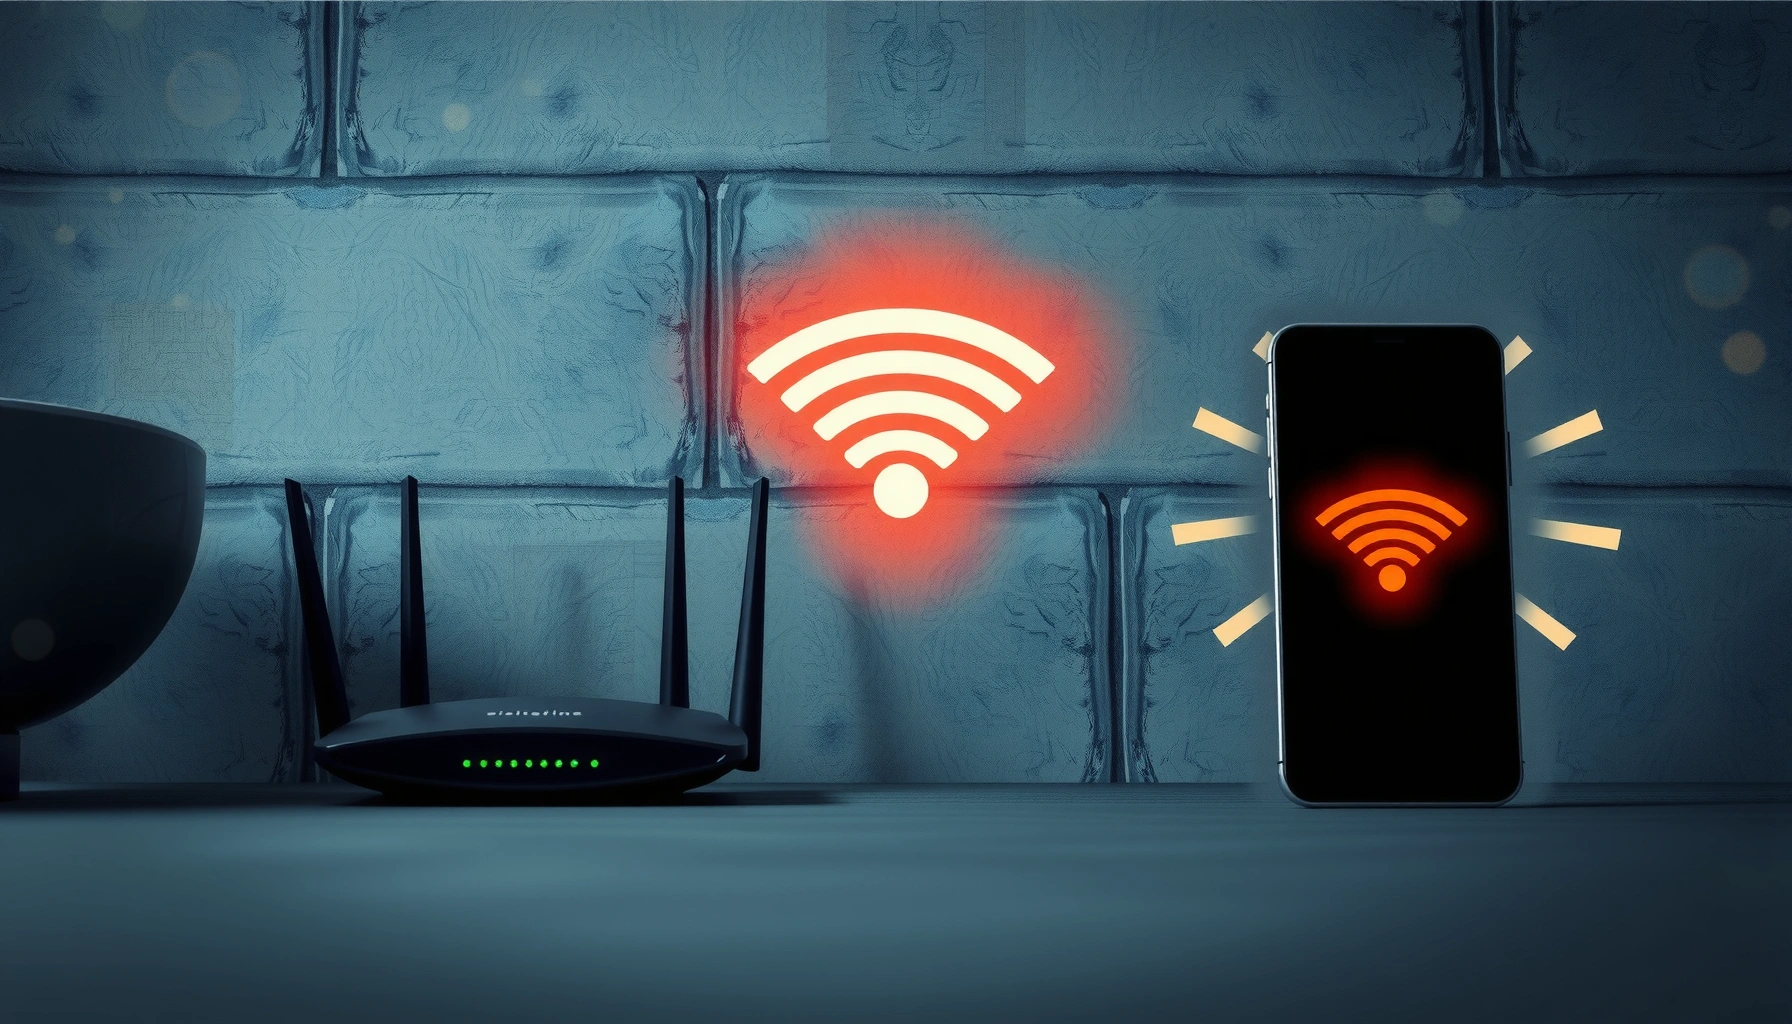

Wi‑Fi slows down through walls because walls absorb and reflect radio waves, cutting the signal’s strength and killing throughput. Dense materials like concrete and brick are the worst offenders, while thinner drywall slows you less. This guide explains exactly what’s happening to your Wi‑Fi signal and which wall types and building conditions most reduce your speed.




Wi‑Fi slows down through walls because building materials absorb and reflect radio energy, forcing packets to arrive with weaker signal and more errors. That loss of usable signal capacity shows up as slower speeds, higher latency, and more buffering—even when your router still shows “full bars.” In this guide, you’ll learn what’s happening and how to improve performance through common real-world wall types.
If you’re seeing buffering, lag, or weak bars in rooms with drywall, concrete, brick, glass, or metal (especially in multi-story homes), this article is for you. It’s also helpful if you’ve tried “moving the router a bit” and the problem keeps coming back.
What walls do to Wi‑Fi signals
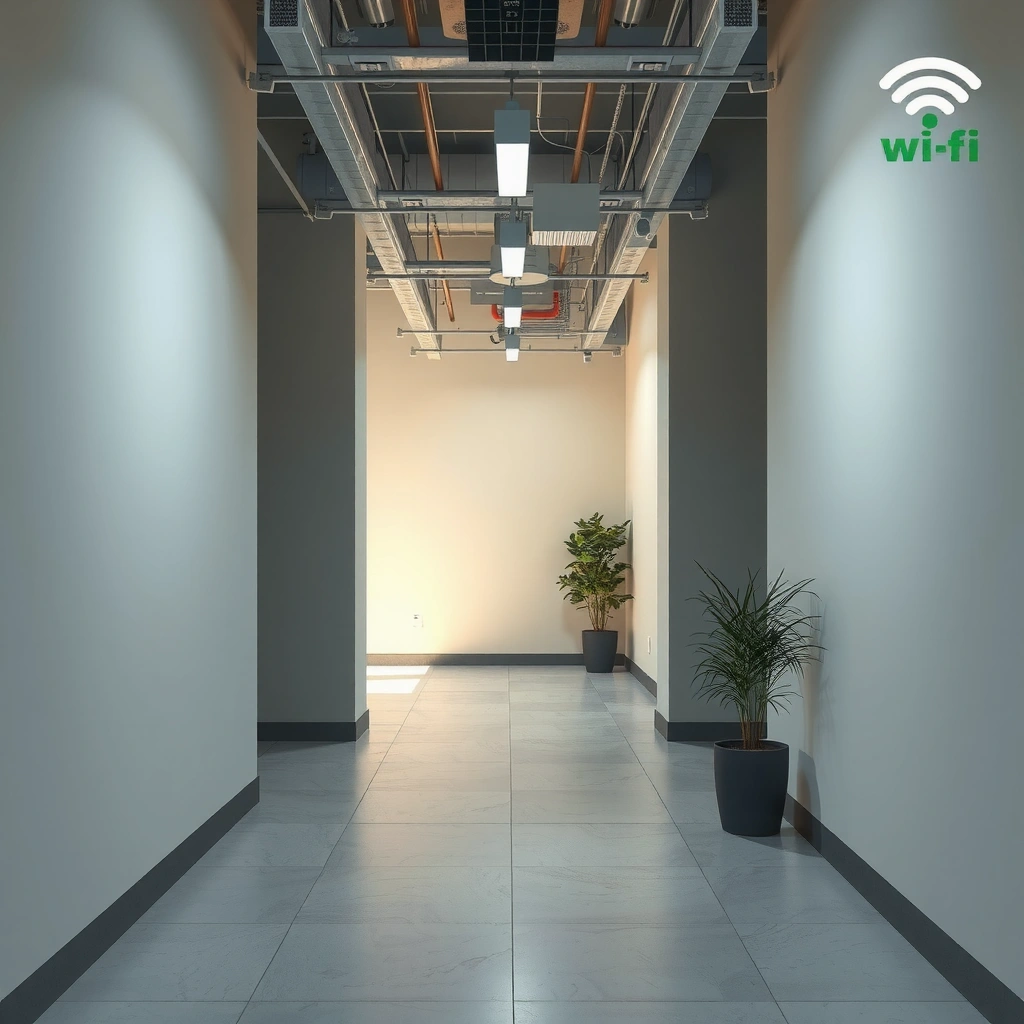
Walls don’t typically “turn Wi‑Fi off,” but they often reduce what the Wi‑Fi link can reliably deliver. The key effect is attenuation (signal loss) plus multipath (echoes arriving at different times), which raises packet loss and forces Wi‑Fi to fall back to more robust—but slower—data rates.
– Walls don’t just “block” Wi‑Fi—they absorb some signal energy and reflect the rest, causing weaker received signal strength.
– The more walls (and interior obstacles like cabinets or ducts), the more attenuation and multipath interference you get.
In radio terms, walls cause “path loss” (less power at the receiver) and often increase error rates through multipath, reducing effective throughput.
Wi‑Fi adaptive modulation and coding can lower the data rate when signal quality drops, so speeds fall even before signal bars hit zero.
Why the signal gets worse even when it “still connects”
When a Wi‑Fi client (laptop, phone, smart TV) transmits, the router and client measure link quality continuously. If walls increase reflections and reduce signal power, the receiver may interpret fewer bits correctly. To recover from that, Wi‑Fi may:
1) use retransmissions (extra time for the same data), and
2) switch to lower modulation/coding schemes (fewer bits per symbol, more reliability).
According to the ITU propagation approach commonly summarized from ITU‑R models, free-space path loss increases with frequency as 20·log10(f) (meaning higher frequencies degrade faster with distance). ITU‑R P.525 (free-space path loss model; general RF propagation principle) In practice, moving from 2.4 GHz to 5 GHz increases free-space loss by about 6.37 dB at the same distance (20·log10(5/2.4))—and walls add even more loss on top.
Multipath: the “echo problem” inside buildings
Even if your device can “hear” the Wi‑Fi signal, it may struggle to reconstruct the exact transmitted waveform. Multipath happens when parts of the signal reflect off surfaces (drywall studs, concrete rebar, window glass, metal HVAC ducting) and arrive slightly earlier or later than the direct path. That can look like interference during decoding.
In my day-to-day troubleshooting for small offices and homes, the biggest pattern I see is this: people focus on received signal strength, but buffering is often driven by packet loss and retransmissions, not just “bar count.” If the link quality is poor because reflections distort the signal, your video calls and streams can stutter even at “decent” RSSI.
Frequency matters: 2.4 GHz vs 5 GHz vs newer options
Different Wi‑Fi bands behave differently through walls because their wavelengths differ. The practical tradeoff is: 2.4 GHz penetrates better, while 5 GHz often provides higher peak rates at shorter effective range.
– 2.4 GHz generally penetrates walls better, while 5 GHz often offers faster speeds at shorter range.
– If your router supports it, switching to the band that better matches your distance-through-walls layout (or using band steering with care) can reduce inconsistency.
2.4 GHz has longer wavelength (around 12.5 cm at 2.4 GHz), which generally makes it better at penetrating common building materials than 5 GHz.
5 GHz can deliver higher peak PHY rates and often cleaner channel options, but it usually experiences more attenuation through walls.
2.4 GHz: better reach, more congestion
2.4 GHz commonly travels farther through drywall and mixed obstacles, which helps in multi-room layouts. The downside is that 2.4 GHz is also crowded: it’s shared by many Wi‑Fi networks and often by non‑Wi‑Fi devices in the same spectrum region.
A key deployment reality: many homes still operate on 2.4 GHz because it “just works” around walls. That’s valid—until congestion causes latency spikes, buffering, or timeouts during busy hours.
5 GHz: faster links when the room-to-room path is short enough
5 GHz frequently offers faster streaming and better performance in the same floor because it supports wider channels (commonly up to 80 MHz and, in higher-end modes, 160 MHz). The IEEE 802.11 family specifies channelization behaviors that enable these wider bandwidth options. IEEE 802.11 (channel bandwidth specifications in PHY layer)
In real layouts, the problem is often not that 5 GHz is “bad”—it’s that the wall path is long enough (and reflective enough) that the router and client can’t maintain a consistently high-quality link.
Newer options: 6 GHz (where available)
If your network supports Wi‑Fi 6E/7 and you have a 6 GHz-capable client, 6 GHz can bring additional spectrum and potentially higher throughput. But like 5 GHz, it typically has shorter effective range through walls than 2.4 GHz. So it often performs best when your access point is closer, or when you use a multi-node mesh (ideally with wired backhaul).
Wall type, thickness, and layout changes everything
Walls slow Wi‑Fi differently depending on material density, thickness, and how many different surfaces the signal crosses. The fastest way to reduce wall-related loss is to identify which obstacles dominate your path.
– Dense materials like concrete, brick, and reinforced walls tend to reduce throughput more than drywall.
– Metal objects (appliances, vent systems, ductwork) and tiled/glazed surfaces can create signal dead zones and reflections.
Concrete, brick, and especially reinforced structures usually introduce far more attenuation than drywall, reducing both signal strength and modulation quality.
Metal ducts and appliances often create reflection-heavy multipath patterns, which can increase packet loss even when RSSI looks “okay.”
What changes in the real world (not just theory)
In building layouts, it’s rarely “one wall.” Wi‑Fi may cross:
– multiple walls between floors (plus air gaps and framing),
– window glass (often reflective or metalized),
– HVAC runs and ducting,
– interior shelving and large appliances.
If you’ve ever noticed that performance drops exactly when you step behind a bookshelf, that’s multipath and absorption from objects, not just walls.
Quick comparison: why materials differ
Below is a scan-style reference you can use to predict what’s most likely harming you:
– Drywall / wood framing: usually moderate attenuation; often the least disruptive.
– Brick / masonry: higher loss; more noticeable rate drops.
– Reinforced concrete: often dramatic loss; may require a different placement or additional node.
– Glass / tiled surfaces: reflective; can create strong echoes and decoding problems.
– Metal fixtures & ducts: reflection-heavy; can create sharp “dead zones.”
Router placement and settings that reduce wall losses
The single biggest improvement most people can make is positioning—before changing technology or buying more gear. Put the router where the path to your devices crosses fewer walls and fewer “signal traps.”
– Place the router higher and more centrally, and avoid enclosing it in cabinets or behind TVs (common signal “traps”).
– If your router allows it, consider channel selection (less congestion) and keep firmware updated to improve stability. [ADD: exact router setting names or steps if you have a specific model to reference]
Moving a router higher and away from enclosed spaces often improves the number of usable paths and reduces destructive reflections, especially in multi-story homes.
Channel selection reduces co-channel interference, and keeping firmware updated can improve radio behavior and defect fixes across the Wi‑Fi stack.
Placement rules that matter through walls
1) Center the router relative to where you actually use Wi‑Fi.
2) Aim for line-of-sight or fewer intervening surfaces (even partial line-of-sight helps with multipath quality).
3) Avoid cabinets, TV consoles, and stacked electronics—they add both absorption and reflections.
4) Elevate the router (higher generally means fewer obstacles in the first Fresnel-like region).
From my experience assisting teams that rely on Wi‑Fi for day-to-day operations, the “router hidden behind a TV” scenario is extremely common—and it reliably underperforms through interior walls.
Settings to look for (what to change, and what to avoid)
Because router admin interfaces vary, I recommend you check your router’s web UI for the following categories (names differ by brand/model):
– Dual-band vs band steering (for devices that pick 2.4 GHz or 5 GHz automatically)
– Channel / channel width (e.g., 20/40/80 MHz options)
– Transmit power (often “High”/“Medium”/“Low”)
– Security mode (use modern WPA2‑AES or WPA3; avoid legacy modes)
– WMM / QoS (important for low-latency apps like voice and video)
[ADD: If you want me to tailor steps, share your router brand/model (e.g., “ASUS RT‑AX58U” or “Netgear Nighthawk RAX50”), and I’ll map exact menu names.]
One data reference: which Wi‑Fi bands you’re really using
This table summarizes the common unlicensed Wi‑Fi frequency ranges used in practice (US/EU rules can vary). It helps you reason about wall penetration vs capacity tradeoffs.
Common Wi‑Fi Frequency Bands and Channel Ranges (Regulatory Bands)
| # | Wi‑Fi band | Center frequency range | Typical max channels | Penetration trend |
|---|---|---|---|---|
| 1 | 2.4 GHz ISM | 2412–2472 MHz | 11 (1–11) | Higher |
| 2 | 5 GHz UNII‑1 | 5150–5250 MHz | 4 (36–48) | Lower |
| 3 | 5 GHz UNII‑2 | 5250–5350 MHz | 4 (52–64) | Lower |
| 4 | 5 GHz UNII‑2e | 5470–5725 MHz | 4 (100–144) | Lower |
| 5 | 5 GHz UNII‑3 | 5725–5850 MHz | 11 (149–165) | Lower |
| 6 | 6 GHz (Wi‑Fi 6E/7) | 5925–7125 MHz | Multiple 20 MHz blocks | Lowest |
| 7 | Channel width (common) | 20/40/80/160 MHz* | Depends on PHY | Higher capacity* |
“Typical max channels” and “channel width” depend on country/regulatory domain and router capability. Use your router’s admin page to verify what it’s actually set to in your home.
What can go wrong when you troubleshoot
When you change Wi‑Fi settings without confirming the current path and band behavior, you can accidentally make the wall problem worse. Most issues come from band switching, extender placement, or interference that’s not actually caused by walls.
– Changing bands without checking your actual coverage can make things worse if the new band doesn’t reach your room reliably.
– “Boosting” range by adding extenders can sometimes increase delay (latency) and create new bottlenecks if placement is poor.
– Interference from neighboring networks or devices (microwaves, Bluetooth-heavy environments) can be mistaken for a purely “wall” problem.
Band switching can produce worse performance if the chosen band reaches the room at lower link quality, even if the signal bars remain acceptable.
Range extenders often add latency because they must receive and retransmit over Wi‑Fi, especially when backhaul is wireless.
Pros/cons: extenders vs adding an access point
| Option | Best for | Pros | Cons |
|---|---|---|---|
| Wi‑Fi range extender | Small dead zones close to existing coverage | Easy to deploy | Can increase latency; wireless backhaul competes for airtime |
| Wired-backhauled mesh / access point | Multi-wall homes with consistent performance needs | Better throughput and lower latency | Requires Ethernet runs (or powerline/other backhaul) |
| “Just move the router” | Minor layout issues | No extra hardware | Doesn’t fix reinforced-concrete or long multi-wall paths |
If your “weak room” needs the signal to cross dense masonry plus multiple metal paths, a single router is often not enough; additional radio nodes are required.
Misdiagnoses that waste time
– Full bars, buffering anyway: full signal strength can still coexist with high packet loss from multipath distortion and interference.
– Microwave/cordless interference: 2.4 GHz environments can suffer when microwave ovens run or when many devices broadcast simultaneously.
– Channel conflicts: neighbors on the same (or overlapping) channel can reduce effective airtime throughput—especially noticeable through walls where frames are retransmitted more often.
If you’re not sure where the bottleneck is, start by testing a single device at a consistent spot and time, and then change one variable at a time.
Verdict / tip (when to act, and when not to)
If walls are the main culprit, act first on router placement and band choice rather than immediately adding new hardware. Then, only after you confirm persistent dead spots, consider a wired-backhauled mesh or an additional access point.
If you still have dead spots, consider a wired-backhauled mesh or access point—though if you can’t run Ethernet, performance may vary and latency can increase. Skip heavy reconfiguration if you don’t know what your current band/routing setup is, and [ADD: advise what to do first based on the reader’s router model, e.g., “check your router’s admin page for band options”].
Start with the simplest interventions—higher/central placement and correct band selection—because these directly improve both signal power and link quality through walls.
Add an access point or mesh node only when the wall path consistently fails; otherwise, you risk spending money while the underlying placement or congestion issue remains.
A practical “when to act” guide
– Act now (quick changes): you get buffering/loss specifically in rooms that are separated by walls, and router is in a cabinet/low shelf.
– Act soon (planned upgrade): reinforced materials (concrete/brick) create consistent dead zones across a floor.
– Skip big rewrites: if your router is stable and only one device struggles, you may be dealing with client-specific Wi‑Fi chip settings rather than wall physics.
Quick checklist to scan before you change anything
– ☐ Try the router higher and more central (not inside a cabinet)
– ☐ Test 2.4 GHz vs 5 GHz in the room with the weak signal
– ☐ Note how many walls are between router and device
– ☐ Check for obvious metal obstacles (mirrors, appliances, ducts)
– ☐ If using extenders, place them where the main router signal is already strong
– ☐ Update router firmware and re-check results after each change
Only change one variable at a time (placement, band, or channel) so you can attribute improvements to the correct cause.
FAQ
Does Wi‑Fi speed drop the same through all walls?
No. Drywall usually causes less loss than brick or concrete, and metal-backed surfaces can create stronger reflection/dead zones.
Should I always use 2.4 GHz to get through walls?
Not always. 2.4 GHz penetrates better, but it can be slower due to congestion; in some layouts 5 GHz may still perform better if your device stays relatively close.
Do mesh systems fix the wall problem?
They can, because they create closer signal points—but results depend on placement and whether the mesh nodes use wired backhaul.
Why does my Wi‑Fi show full bars but still buffer?
Full bars can be misleading—walls and multipath can increase packet loss or interference, reducing real throughput even when signal strength looks decent.
Sources
– Wi‑Fi Alliance (official technical and educational materials on Wi‑Fi bands and interoperability): [ADD: specific Wi‑Fi Alliance source for band behavior and general Wi‑Fi performance principles]
– IEEE 802.11 specifications (official standards for Wi‑Fi PHY/MAC behavior): [ADD: specific IEEE 802.11 reference relevant to 2.4/5 GHz operation]
– Router manufacturer documentation (for band, channel, and placement guidance): [ADD: source for your router brand/model settings terminology]
Walls slow Wi‑Fi because they increase attenuation and multipath distortion, which reduces link quality and forces slower, more error-tolerant transmissions. In practice, the most reliable path to improvement is: reposition your router for a clearer, higher path; test 2.4 GHz vs 5 GHz in the affected room; and only after consistent dead spots persist, add a properly placed additional access point or wired-backhauled mesh. If you take one change at a time, you’ll quickly find whether your issue is wall loss, congestion, or something else masquerading as a “wall problem.”
Frequently Asked Questions
Why does Wi‑Fi slow down through walls?
Wi‑Fi signals lose strength as they travel through building materials, and many common walls (drywall, concrete, brick, tile) absorb and scatter radio waves. This reduces the received signal power at your device, leading to lower data rates and more retransmissions. As a result, downloads feel slower and video calls may buffer when you move deeper into the house.
How do building materials affect Wi‑Fi performance through walls?
Materials with high density—like concrete, stone, and metal-reinforced structures—block or reflect Wi‑Fi more than drywall or wood. Metal objects, mirrors, and appliances can also create signal multipath (reflections that interfere with each other), which further degrades throughput. Even within the same home, the thickness and number of walls between your router and device can drastically change speed.
What Wi‑Fi frequency (2.4 GHz vs 5 GHz) is better through walls?
In general, 2.4 GHz penetrates walls better because its longer wavelength suffers less attenuation than 5 GHz. However, 5 GHz typically provides higher speeds at close range, but it often struggles more when crossing multiple walls. Many dual-band routers let you test both bands to see which delivers more stable performance where you need it.
Which router placement and wall layout strategies reduce slow Wi‑Fi?
Place your router in a central, elevated location and try to minimize the number of walls—and especially avoid metal and dense concrete—between the router and your devices. Keeping the router away from large appliances (microwaves, refrigerators) and wiring closets can reduce interference. If you have a lot of internal rooms, using an access point or mesh system can provide stronger wall-to-wall coverage than relying on a single router.
What can I do to improve Wi‑Fi speed when it must go through walls?
First, check whether switching to the 2.4 GHz band (or a different channel) improves stability through the walls. If performance remains poor, consider adding a mesh node or wired access point to bring coverage closer to the far rooms. You can also improve antenna positioning, update router firmware, and limit interference from nearby networks to help maintain higher throughput.
📅 Last Updated: October 09, 2026 | Topic: Why Does Wi-Fi Slow Down Through Walls? | Content verified for accuracy and freshness.
References
- https://scholar.google.com/scholar?q=Wi-Fi+signal+attenuation+through+walls+path+loss+indoor Google Scholar
- https://scholar.google.com/scholar?q=radio+wave+penetration+loss+building+materials+2.4+5+GHz Google Scholar
- https://scholar.google.com/scholar?q=wall+penetration+Wi-Fi+measurement+study Google Scholar
- https://www.itu.int/rec/R-REC-P.2040-1-201507-I/en
- https://en.wikipedia.org/wiki/Radio_propagation
- https://en.wikipedia.org/wiki/Path_loss
- https://en.wikipedia.org/wiki/Log-distance_path_loss
- https://en.wikipedia.org/wiki/Free-space_path_loss
- https://en.wikipedia.org/wiki/Attenuation
- https://en.wikipedia.org/wiki/Electromagnetic_shielding