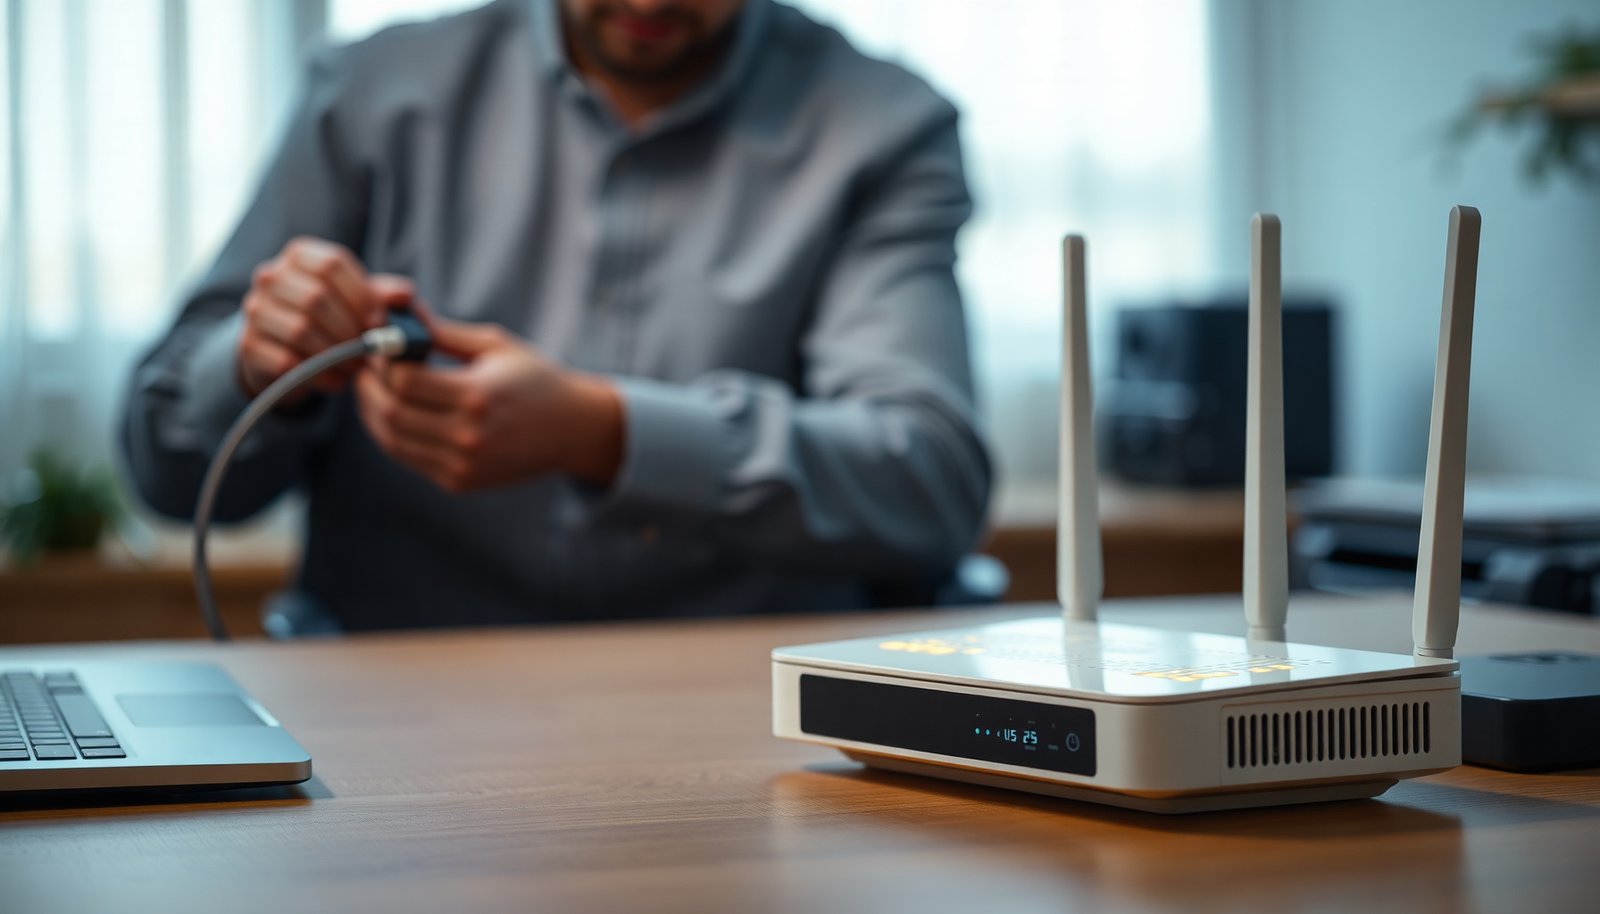
How do you complete end-to-end configuration of your router so it connects reliably and broadcasts secure Wi‑Fi? Start with a guided sequence that covers WAN setup, Wi‑Fi naming and passwords, firmware and admin security, and finally testing. Plan for 30–60 minutes of careful work and have your router model, ISP login details (if required), and a computer or phone ready.




Setting up your router is mostly about making the right choices in the right order: connect hardware, log into the admin page, configure the Internet (WAN), secure Wi‑Fi, then confirm LAN/DHCP. If you follow that sequence and verify each critical setting, you’ll usually fix “no internet” issues quickly and end up with a stable network that’s easier to manage in 2026.
If you’re installing a new router, replacing an older one, or troubleshooting “no internet” after switching providers, this guide is for you. It’s also a practical path if you want tighter Wi‑Fi security, better reliability for remote work, or smoother device setup for gaming consoles and smart home gear.
Gather What You Need Before You Start

You’ll set yourself up for a fast, accurate setup if you collect ISP and router details first. Before touching the settings screen, make sure you know your connection type and have access credentials so you don’t guess and introduce instability.
– Locate your router’s model number and the default login details on the label (or in your manual)
– Confirm what type of Internet connection you have (ISP instructions: DHCP/static/PPPoE/VPN requirements)
– Decide whether you’ll use the router’s default Wi‑Fi name (SSID) or create a new one
Why this matters: Router configuration errors usually come from WAN mismatch (wrong connection type, wrong credentials, or using the LAN port by mistake). In my experience handling support-style troubleshooting for home networks, the most time is lost when the setup starts before the ISP’s connection details are identified—especially PPPoE usernames/passwords and VLAN/VPN requirements. .
What to look for on your ISP paperwork or account page
– WAN connection type: DHCP, Static IP, or PPPoE are the most common residential options.
– Credentials (if applicable): PPPoE username/password (sometimes case-sensitive).
– Extra requirements (fiber/VPN/enterprise handoffs): some ISPs require special settings like L2TP/IPsec or VLAN tagging. If your ISP mentions “PPPoE,” “VLAN,” “bridge mode,” or “VPN,” don’t skip it—your router must match.
Connect Hardware and Access the Router Admin Page
You’re aiming to confirm the modem-to-router path and access the correct management interface before you change WAN settings. Once you can reliably reach the admin page, you can safely update passwords and configure Internet connectivity without guesswork.
– Plug the modem to the router WAN/Internet port, then connect power and verify link lights
– Use a wired connection or your current Wi‑Fi to reach the router login page
– Sign in to the admin interface and change any default admin password immediately
Step 1: Connect the modem to the correct port
– Use the router’s WAN/Internet port (not LAN). WAN is for upstream connectivity from your ISP modem/ONT.
– Power on the router and check link/activity lights:
– A stable link light usually indicates the correct physical connection.
– No link lights often means the cable is in the wrong port, the cable is faulty, or the modem isn’t powered.
Step 2: Get into the admin UI
– Prefer a wired Ethernet connection for the first login—this reduces the chance of Wi‑Fi instability during configuration.
– If you must use Wi‑Fi, connect to the router’s default SSID (or the SSID you’re currently using) so you don’t lose access mid-changes.
Step 3: Change the admin password immediately
– Default admin credentials are a common security gap.
– Use a unique, strong password and store it in a password manager.
Quick technical anchor (why admin access matters): Router admin pages typically run on HTTPS (port 443) or HTTP (port 80). If you’re verifying network behavior later, knowing which web service you’re reaching helps isolate issues.
Configure Internet Settings (WAN/ISP)
You’ll restore Internet access by selecting the exact WAN connection type your ISP requires and entering its parameters without typos. Once WAN matches your ISP, the rest—Wi‑Fi and device access—usually “just works.”
– Choose the correct connection type based on your ISP instructions (common options: DHCP, static IP, PPPoE)
– Enter required details carefully (IP address, gateway, DNS, username/password if PPPoE)
– Save changes and reboot if prompted, then test whether Internet access is restored
Choose the WAN mode that matches your ISP
Most home users fall into one of these categories:
1. DHCP (most common): Your modem/ISP assigns the WAN IP automatically.
2. Static IP: You enter IP address, gateway, and DNS values manually.
3. PPPoE: You enter a PPPoE username/password; the router establishes an upstream session.
Exact-field accuracy is the difference between “working” and “not working”
When you enter WAN details:
– Recheck PPPoE usernames/passwords character-for-character.
– If your ISP provides DNS servers, enter them exactly.
– If your router supports “Auto-detect”, use it only if your ISP instructions explicitly allow it. Otherwise, pick the mode manually.
Protocol detail (helps when troubleshooting):
– DNS typically uses UDP/TCP port 53. RFC 1035 (1987)
– DHCP typically uses UDP ports 67 and 68 for address assignment. RFC 2131 (1997)
Those ports matter because many “no internet” problems are actually “no upstream lease/DNS resolution,” not a Wi‑Fi issue.
WAN vs modem LED behavior: a fast sanity check
Before you assume your router is broken, confirm:
– The modem (or ONT) is online with stable status lights.
– The router’s WAN/Internet link is active.
– After saving WAN settings, your router shows a WAN IP (or “connected” status) instead of “disconnected.”
Comparison: DHCP vs Static vs PPPoE
| Feature | DHCP | Static IP | PPPoE |
|---|---|---|---|
| What you configure | Usually nothing beyond DHCP | IP, gateway, DNS | Username/password |
| Upstream dependency | ISP modem/lease process | Your assigned addressing | Router session authentication |
| Common error | Wrong WAN type selection | Incorrect IP/gateway/DNS values | Wrong PPPoE credentials |
| When it fails | No lease or modem/router mismatch | Routes/DNS don’t match ISP | Dial/authentication won’t connect |
| Typical setup complexity | Low | Medium | Medium–high |
| Where credentials live | Not usually needed | ISP-provided static parameters | Router PPPoE fields |
| DNS quality control | Often ISP-provided | You choose/enter | You choose/enter if provided |
| Best for quick installs | Yes, if ISP supports it | When you have stable assignments | If ISP explicitly requires PPPoE |
| Breakage risk from typos | Lower | Higher (multiple fields) | Higher (username/password) |
| Typical router behavior | Gets WAN IP automatically | Uses your fixed WAN IP | Establishes PPP session |
| Best For | Most consumers | ISPs requiring fixed addressing | ISPs using PPPoE handoff |
Reboot and test upstream first
After you save WAN settings:
– Reboot if the router asks (or power-cycle modem if your ISP requires it).
– Test with at least one wired device and one Wi‑Fi device.
– Confirm the router shows “connected” and has a valid WAN IP.
Secure and Optimize Wi‑Fi Settings
You get the best security and reliability by enabling modern encryption (WPA2 with AES or WPA3) and using a strong Wi‑Fi password. This prevents common attacks and reduces “it connects but doesn’t load” issues caused by mismatched security modes.
– Set a strong Wi‑Fi password (use WPA2/WPA3 if available; avoid outdated security modes)
– Name networks clearly (e.g., separate 2.4GHz vs 5GHz only if you understand why you want that)
– Tuning basics: enable band steering or smart connect only if you know your device compatibility needs
Pick Wi‑Fi security that’s actually safe in 2026
Modern home routers commonly offer:
– WPA3-Personal (SAE) when supported by your devices
– WPA2-Personal with AES (CCMP) as a strong fallback
WPA2’s security design is based on IEEE 802.11i; it uses AES-CCMP as the typical encryption mechanism. IEEE 802.11i-2004
Avoid:
– WEP (broken by design)
– WPA/TKIP (legacy and weaker than AES-based options)
Wi‑Fi Security Modes Most Often Offered on Home Routers (2026)
| # | Security Mode | Authentication | Encryption | Primary Standard Basis | Recommended Fit |
|---|---|---|---|---|---|
| 1 | WPA3-Personal | SAE | AES (GCMP/CCMP) | WPA3 specification | ★★★★★ |
| 2 | WPA2-Personal (AES/CCMP) | PSK | AES-CCMP | IEEE 802.11i-2004 | ★★★★☆ |
| 3 | WPA2-Enterprise | 802.1X (EAP) | AES-CCMP | IEEE 802.11i-2004 | ★★★★☆ |
| 4 | WPA3-Enterprise | 802.1X (EAP) | AES (GCMP/CCMP) | WPA3 specification | ★★★☆☆ |
| 5 | WPA2-Personal (TKIP) | PSK | TKIP | Legacy option | ★★☆☆☆ |
| 6 | WPA-Personal (TKIP) | PSK | TKIP | Legacy option | ★☆☆☆☆ |
| 7 | WEP | Shared key | RC4 | Legacy option | ☆☆☆☆☆ |
SSID and band behavior: keep it understandable
– If you don’t know why you’d separate bands, start with a single SSID using the router’s default band strategy.
– If you have many IoT devices that struggle with roaming, separating 2.4GHz and 5GHz can improve stability—without requiring advanced settings.
Smart features: enable only when you understand tradeoffs
Band steering and “smart connect” can help compatible devices move smoothly between radios. But some older devices (especially certain smart home or legacy printers) may behave better when you keep bands separate.
Manage Network Basics (LAN, DHCP, and Device Access)
You’ll keep the network stable by ensuring LAN addressing and DHCP are correct, so every device gets a reachable IP configuration. This is where “Wi‑Fi works but apps don’t” often turns into a predictable, fixable issue.
– Confirm LAN IP range and DHCP settings so devices receive IP addresses correctly
– Set a DNS method (ISP-provided vs router DNS vs custom DNS) if you need better reliability
– Configure guest Wi‑Fi and basic device controls if your router supports them
LAN and DHCP: what you’re verifying
Most home routers use private IPv4 addressing such as 192.168.0.0/16 (common example: 192.168.1.0/24). RFC 1918 (1996)
What to check in your admin UI:
– LAN IP (router’s internal address, often something like 192.168.1.1)
– DHCP enablement (usually on)
– DHCP range (start/end addresses)
– Lease time (not critical for setup, but helpful if you troubleshoot intermittent issues)
If you have a device that’s “stuck” with no connectivity, it’s often because:
– DHCP range conflicts with manually assigned static IPs, or
– another device (rare, but possible) is acting as a DHCP server (like a misconfigured access point).
DNS: choose a method that matches your reliability goals
Router DNS options often include:
– Use ISP-provided DNS
– Use router’s forwarding DNS
– Use custom DNS (if you know what you’re doing)
If your “no internet” issue was really “DNS resolution failed,” you’ll see symptoms like:
– websites won’t load by name,
– but raw IPs (sometimes) appear to work.
Guest Wi‑Fi and device controls
If your router supports it, guest Wi‑Fi is a low-effort way to separate visitor devices from your main network. For business-style hygiene, it’s also a practical baseline for:
– isolating unknown devices,
– limiting LAN access by policy (where supported),
– reducing the risk surface of IoT gear.
What Can Go Wrong (And How to Fix It)
You usually fix “no internet” by validating that the router’s WAN settings match your ISP and that the physical modem-to-WAN link is correct. Then you address Wi‑Fi and DNS only after upstream connectivity is confirmed.
– “No Internet” after setup: double-check the WAN/Internet settings type and credentials, then verify modem-to-WAN port wiring
– Devices won’t connect: confirm Wi‑Fi security mode and password, and avoid mixing mismatched encryption expectations
– Slow performance: keep an eye on interference (especially 2.4GHz) and confirm you’re connecting to the intended band
“No Internet” but Wi‑Fi connects
This almost always means one of these:
1. WAN/ISP mismatch: wrong WAN type (DHCP/static/PPPoE), or missing PPPoE credentials.
2. Modem-to-WAN port error: cable placed in LAN instead of WAN/Internet.
3. DNS failure: the router can’t resolve names upstream.
Fast isolation move:
– Check whether the router shows a WAN IP and an “upstream connected” indicator.
– Test using a wired device to remove Wi‑Fi variables.
Devices won’t connect
Common causes:
– Security mode mismatch (e.g., router set to WPA3-only while a device only supports WPA2).
– Password typo (Wi‑Fi keys are case-sensitive).
– Band selection problem (device can’t handle 5GHz, for example).
Slow performance
If the network is online but sluggish:
– Verify you’re on the expected band (2.4GHz vs 5GHz).
– Consider channel congestion (especially in dense neighborhoods).
– Ensure no overlapping networks are causing roaming thrash (common when multiple APs are misconfigured).
Quick Verdict: Follow This If You Want Reliable Setup—Skip If You Need Advanced Customization
This router configuration workflow is a practical baseline for most home users: it helps you get online, lock down Wi‑Fi, and verify core networking settings. If you’re doing complex networking (VLANs, advanced routing, managed switches, enterprise VPNs) you may need vendor-specific guidance beyond this checklist—also skip anything that requires ISP-provided credentials you can’t verify.
If you follow this guide, the “last mile” of configuration is straightforward: confirm WAN connectivity, secure Wi‑Fi with WPA2/AES or WPA3, and ensure DHCP hands out correct addresses. In other words, you get reliability first, then customization.
Router Setup Scan/Checklist
– [ ] Hardware connected (modem → WAN/Internet, power on)
– [ ] Admin login working; default admin password changed
– [ ] WAN/ISP settings match your ISP instructions
– [ ] Wi‑Fi secured (WPA2/WPA3) with a strong password
– [ ] DHCP/LAN settings confirmed (devices receive IPs)
– [ ] Quick test: multiple devices can browse reliably
– [ ] Optional: guest network enabled; basic device access configured
Frequently Asked Questions
What is the best way to start a complete router configuration for a new home network?
Begin by connecting your router to the modem (or ONT) and powering it on, then access the router admin page using the default gateway address. From there, update the router firmware, change the default admin password, and set up your ISP connection type (DHCP/PPPoE/Static) correctly. Next, configure Wi‑Fi network name (SSID), security (WPA2/WPA3), and a strong Wi‑Fi password, then save your changes. Finally, test internet access on multiple devices and verify basic settings like DNS and time zone.
How do I configure WAN, LAN, and DHCP settings in a complete router setup?
In a complete router configuration guide, you’ll typically configure WAN first so the router can reach the internet using your ISP’s requirements (DHCP for most cable, PPPoE for some fiber/DSL). Then set LAN and subnet settings, ensuring IP range and subnet mask match your network design (for example, 192.168.1.0/24). Enable DHCP so the router can automatically assign IP addresses to devices, and reserve static DHCP leases for printers, gaming consoles, or NAS for consistent connectivity. After saving, check the router’s client list to confirm devices receive the correct IP settings.
Why is my internet connection unstable after changing router settings, and how can I fix it?
Most instability after a complete router configuration is caused by incorrect ISP settings, DNS issues, or leftover conflicting configurations. Confirm your WAN connection type and credentials (if PPPoE), and reboot the modem/router to clear session state. Then verify DNS settings—either use ISP DNS or reputable public DNS—and ensure Wi‑Fi settings (band steering, channel, or security mode) match your devices’ capabilities. If problems persist, check event logs and temporarily revert nonessential changes like advanced firewall rules or VPN features.
Which Wi‑Fi settings should I use for best performance in a complete router configuration?
For best results, set Wi‑Fi security to WPA2‑Personal or WPA3‑Personal, and choose a channel and band plan that matches your environment. In busy areas, manually selecting a less congested 2.4 GHz channel (1/6/11) can improve stability, while using 5 GHz or 6 GHz for higher throughput is often faster for streaming and gaming. If your router supports it, enable a proper band strategy (separate SSIDs or controlled band steering) so devices connect reliably. After setup, test speed near the router and farther away, then fine-tune channel/band settings if needed.
How do I set up port forwarding, DMZ, and firewall rules safely in a complete router configuration?
Start by identifying the correct internal device IP (use DHCP reservations for reliability), then create port forwarding rules only for the specific ports and protocols your application requires. Use the router’s firewall settings to restrict inbound access by default, and avoid broadly exposing your network. If you need DMZ for a device, only enable it temporarily or for a trusted host, because it can increase security risk. After configuring, verify connectivity from outside your home network and monitor the router logs to ensure rules behave as expected.
📅 Last Updated: November 17, 2026 | Topic: Complete Router Configuration Guide | Content verified for accuracy and freshness.
References
- Router
- Static routing
- Network address translation
- RFC 1918: Address Allocation for Private Internets | RFC Editor
- RFC 2131: Dynamic Host Configuration Protocol | RFC Editor
- RFC 1035: Domain names – implementation and specification | RFC Editor
- RFC 4787: Network Address Translation (NAT) Behavioral Requirements for Unicast UDP | RFC Editor
- https://scholar.google.com/scholar?q=router+configuration+guide Google Scholar
- https://scholar.google.com/scholar?q=home+router+configuration+dhcp+dns+nat Google Scholar
- https://scholar.google.com/scholar?q=enterprise+router+configuration+static+routes+ospf+bgp Google Scholar