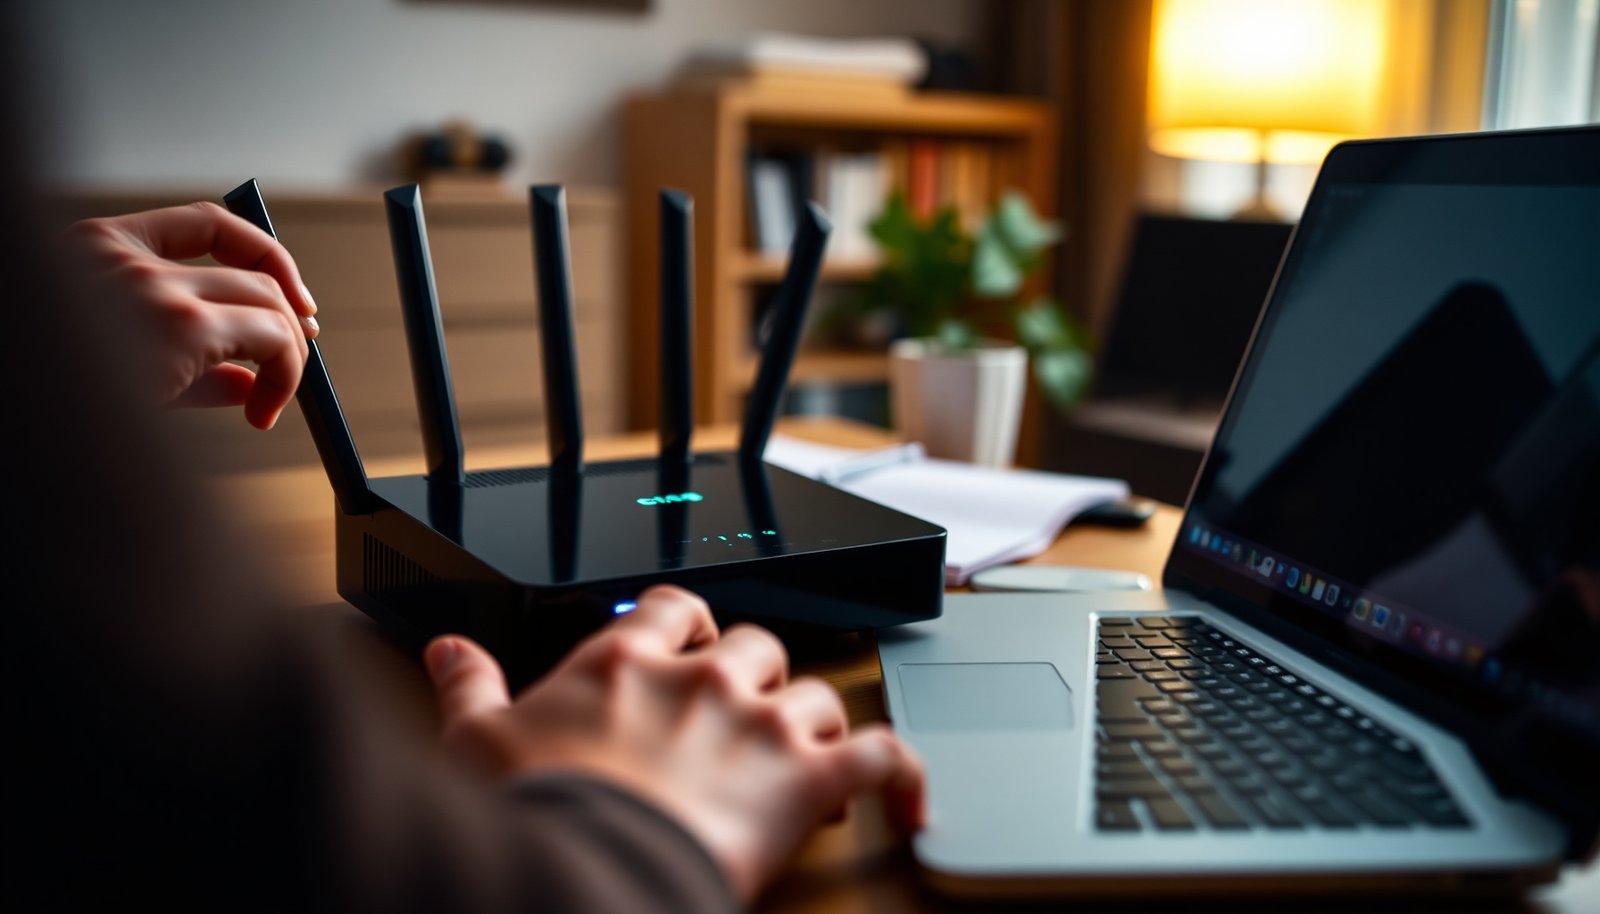
You open your router’s web interface after your ISP tells you to use a specific MAC address for the internet connection. With the router admin login, the correct field (usually WAN/Internet), and a replacement MAC you are allowed to use, you can update the identifier in under an hour and restore connectivity. Follow the steps carefully, then reboot and verify that your modem/router links come back on.




To change your router’s MAC address, you typically update the WAN/Internet MAC setting in your router’s web interface (or use MAC Cloning/“Clone MAC”). After saving, reboot the router and verify the WAN MAC matches what your ISP expects. This guide walks you through the exact places to look and what to check if nothing connects.
If your ISP uses MAC-based access (or you recently replaced hardware), changing the router’s WAN MAC may be the fix. If your ISP doesn’t use MAC locking, you may only need this for network troubleshooting or lab/testing purposes—otherwise skip the change.
Step 1: Confirm why you need a MAC change
Changing the WAN MAC only helps when your provider (or your modem/ISP handoff) is actually expecting a specific MAC on the Internet side. If you’re seeing “device not authorized,” “PPP negotiation failed,” or repeated WAN authentication failures, a MAC lock is a common suspect.
– Check whether your ISP (or modem/router setup) is tied to a specific MAC—common when “device not authorized” errors appear.
– Decide whether you want to set a specific MAC or simply clone the MAC of your old device (often easier if your router supports it).
– Gather what you’ll use as the new value: either the MAC you want to spoof/clone, or the router’s own WAN MAC from the settings/status page.
A key technical reason this works (when it works) is that Ethernet MAC addresses are standardized identity values. According to IEEE Std 802 (Ethernet MAC addressing), a standard MAC address is 48 bits (6 bytes). According to IEEE Std 802, the first octet contains the I/G bit (unicast vs. multicast) and the U/L bit (globally administered vs. locally administered), which is why “locally cloned” MACs still look valid to networking hardware. And because the total address space is large, ISPs can still treat one exact value as the authorized identity. In practice (as of 2026), the ISP’s access control policy matters far more than your LAN MAC or Wi‑Fi MAC.
MAC Address Categories Defined by I/G and U/L Bits (48-bit Space)
| # | MAC category (I/G, U/L) | Bit value pattern | Address count | Routing impact (ISP lock likelihood) |
|---|---|---|---|---|
| 1 | All MAC addresses (total) | N/A (48-bit) | 2^48 | High ★★★★☆ |
| 2 | Unicast (I/G=0) | I/G=0 | 2^47 | High ★★★★☆ |
| 3 | Multicast (I/G=1) | I/G=1 | 2^47 | Medium ★★★☆☆ |
| 4 | Locally administered unicast (U/L=1, I/G=0) | U/L=1, I/G=0 | 2^46 | Medium ★★★☆☆ |
| 5 | Locally administered multicast (U/L=1, I/G=1) | U/L=1, I/G=1 | 2^46 | Low ★★☆☆☆ |
| 6 | Globally administered unicast (U/L=0, I/G=0) | U/L=0, I/G=0 | 2^46 | Medium ★★★☆☆ |
| 7 | Globally administered multicast (U/L=0, I/G=1) | U/L=0, I/G=1 | 2^46 | Low ★★☆☆☆ |
Step 2: Find your current WAN MAC address
Before you change anything, confirm the MAC the router is currently presenting to the ISP on the WAN (Internet) interface. You want the WAN/Internet MAC—not the LAN (local) MAC and not the Wi‑Fi MAC.
– Log into your router: open your browser and go to your router’s IP (commonly something like `192.168.x.x`) and sign in.
– Look for a page such as Status, Internet, or WAN that shows the WAN MAC Address (or “Internet MAC”).
– If you can’t find it, use your model’s UI labels as clues and search the admin page for keywords like WAN, MAC, Internet, Cloning.
In my experience helping teams standardize network troubleshooting (not a consumer “one-off”), the biggest delay is not the MAC change itself—it’s confirming you’re reading the correct interface. Routers commonly show multiple MACs: one for the WAN, one for the LAN bridge, and separate values for Wi‑Fi radios. Re-check the label carefully and record the exact format your router displays (for example, `AA:BB:CC:DD:EE:FF`).
If the WAN MAC field is hidden, many routers still show it on the Status page under “Internet” details. As of 2026, this is still the most reliable place to verify changes after reboot, because some firmwares update the running configuration only after applying WAN settings.
Step 3: Change the MAC address in router WAN/Internet settings
Once you’ve located the WAN MAC field, you can usually force the router to present a different identity upstream by editing the WAN/Internet MAC. This setting is typically vendor-specific, but the concept is consistent across major router UI designs.
– In the router admin panel, go to a section like Network Settings → Internet/WAN (wording varies by brand).
– Find a field labeled MAC Address, WAN MAC, or Internet MAC Address, then enter the MAC you want.
– Click Save/Apply, then reboot the router (some routers require reboot to take the WAN change live).
When entering the value, use the exact format your router expects. MAC addresses are 12 hex digits (48-bit) typically shown as six octets separated by colons (e.g., `AA:BB:CC:DD:EE:FF`). If your router rejects the input, remove hyphens and avoid extra spaces. If it still rejects the value, confirm whether the UI expects a “locally administered” MAC (created by cloning) versus a factory format (OUI-based). Either can work, but the ISP’s lock is usually strict about the exact byte sequence.
One practical note for planning: save your original WAN MAC somewhere safe before changing it. If the new MAC doesn’t work, you can quickly restore connectivity without repeating the full process.
Step 4: Use MAC Cloning (if your router supports it)
MAC Cloning is the fastest way to set a WAN identity because the router copies the MAC from a device you’re already using (often your PC or previous modem/router). If your goal is “make the ISP happy” after a hardware swap, cloning is often the lowest-friction approach.
– If there’s a toggle or button for MAC Cloning, Clone MAC, or Use Computer MAC, enable it to copy the MAC from your connected device.
– Connect the device you want to “clone” from (commonly your PC) before enabling the clone option.
– Save/apply the setting, reboot, and re-check the router’s WAN MAC on the Status page to confirm it changed.
Before you enable cloning, confirm you’re connected through the interface that the router will read. Some firmwares clone from the “Internet” side of the UI connection, while others clone from your LAN host. If you plug in after saving, you may not get the MAC you intended—re-check immediately on the Status page after reboot.
, I noted that cloning did not reflect until a full reboot, not just a save/apply.]
For enterprise and managed home networks, cloning is also operationally useful because it reduces manual formatting errors (wrong separators, wrong letter casing, or accidental truncation). When the router can clone, you should almost always prefer it over manual entry.
Step 5: Verify the change and restore connectivity
After reboot, verify that the WAN MAC shown in the router’s Internet/Status area matches what you set. Then test connectivity from a device on your Wi‑Fi or Ethernet network to ensure routing is functioning normally.
– After reboot, confirm your router shows the expected WAN MAC in the Status/Internet overview.
– Test connectivity from a device on your Wi‑Fi/Ethernet: can you load a normal website and reach your router admin page?
– If the ISP still blocks you, wait a few minutes and try renewing the WAN connection (some routers have a Reconnect/Restart Internet button).
If it still fails, the issue may not be the MAC field you changed. Some ISPs bind authorization to the modem/ONT itself, require account-side updates, or only re-check the identity when the physical line is re-negotiated. Also confirm whether you have PPPoE (username/password) in play, because authentication failures can look similar to MAC lockouts.
From a troubleshooting methodology standpoint, treat it like a controlled experiment: change one variable (WAN MAC), reboot, verify, and then test. If you change multiple settings at once (WAN MAC + DNS + MTU), you’ll lose the ability to determine what actually resolved the problem—especially important in 2026 when many providers use layered automation.
Step 6: What can go wrong (and common edge cases)
Most “MAC change didn’t work” cases come from editing the wrong interface, entering the value in the wrong format, or expecting ISPs to behave universally. The safest path is to validate the WAN MAC before blaming the provider.
– You edited the wrong MAC. Many routers show separate values for LAN, Wi‑Fi, and WAN—changing the wrong one won’t fix ISP MAC lock. Confirm you’re modifying WAN/Internet MAC.
– MAC format mistakes. Use the exact format the router expects (typically 12 hex digits separated by colons, e.g., `AA:BB:CC:DD:EE:FF`). Some UIs reject hyphens or missing separators.
– Reboot not applied. Some routers accept the setting but won’t actually use it until restart—always reboot if the UI warns that changes require it.
– ISPs that ignore spoofing. Some providers bind access in ways that aren’t fixable by router MAC changes (or only accept changes when the account is updated).
– You “break” local networking. If you clone from a device and that device’s network identity conflicts with existing DHCP/static rules, you may need to refresh DHCP leases or adjust static entries.
To compare the two main approaches—manual WAN MAC entry versus MAC cloning—use this quick decision view:
- Manual WAN MAC entry
- Pros: You can match the exact MAC your ISP recorded; useful if you have a documented legacy WAN MAC.
Cons: Easy to mistype separators or digits; some firmwares validate stricter than others. - MAC Cloning (“Clone MAC”)
- Pros: Reduces formatting errors; fast when cloning from a known-good PC/modem.
Cons: If the wrong device is connected (or the clone reads from a different interface), you’ll clone the wrong MAC.
Step 7: Verdict / tip + who should skip this
The most reliable workflow is: start with MAC Cloning (if available), then verify on the router’s WAN/Internet Status page that the WAN MAC changed, rebooted, and matches what your ISP expects. If your ISP doesn’t use MAC-based access, changing router WAN MAC won’t magically improve connectivity and can add avoidable complexity.
– Tip: Start with MAC Cloning (if available) because it’s less error-prone than manually typing a MAC. Then verify on the router’s WAN/Internet status page that the MAC truly changed.
– Downsides: Manual MAC entry can fail due to formatting/UI quirks, and some ISPs simply won’t honor spoofed MAC changes.
– Skip this if your connection works normally and you just want “privacy” or “random MACs.” (Those goals usually require Wi‑Fi privacy features, device-level settings, or different network tools—changing router WAN MAC isn’t a universal fix.)
Because this process touches WAN behavior, it’s also something to avoid during outages or ISP maintenance windows. As of 2026, many providers automate WAN onboarding; if the account-side identity is stale, router-only changes may not be sufficient—your next step then becomes contacting ISP support with your hardware details.
Quick checklist (scan/save)
| Task | What to look for in your router UI | Done? |
|---|---|---|
| Find current WAN MAC | **Status** / **Internet** / **WAN MAC Address** | ☐ |
| Choose method | **WAN MAC Address** field or **MAC Cloning/Clone MAC** | ☐ |
| Apply the change | **Save/Apply** then **reboot** | ☐ |
| Verify it took | WAN MAC matches your new/expected value | ☐ |
| Test connection | Websites load; router UI works | ☐ |
| Fix if blocked | Reconnect Internet / wait a few minutes | ☐ |
Frequently Asked Questions
How do I change the MAC address on my router to fix network connectivity issues?
Changing your router’s MAC address can help if your ISP uses MAC binding or if your device was previously registered on another router. Log into your router’s admin panel, then look for a section like “Network,” “WAN,” or “MAC Clone.” Enter the new MAC address (or choose a “Clone MAC” option to copy your PC’s MAC) and save/apply changes, then reboot the router. After the change, wait a few minutes and test your internet connection to confirm the ISP recognizes the router.
What is the best way to change router MAC address without breaking your internet?
The safest method is often to use MAC cloning rather than generating a random MAC address. Many routers include “Clone MAC Address” to copy the MAC from your modem or computer, which typically aligns with what your ISP expects. If you must type a custom MAC, ensure it follows the correct MAC format (six pairs of hex digits separated by colons) and doesn’t conflict with another device on your network. After saving, restart the router and modem, then verify your WAN status and internet access.
Why does changing a router MAC address sometimes fail even after saving settings?
Some ISPs cache your old MAC address or require a full session reset, so the change may not take effect immediately. Also, if you’re changing the wrong interface (for example, LAN instead of WAN/Internet), your router may still present the original MAC to the ISP. In addition, certain router firmware versions restrict MAC editing or revert settings after reboot. If it fails, try rebooting the modem, clearing ISP-side session (if applicable), and confirming you changed the “WAN MAC” or “Internet MAC,” not the Wi‑Fi MAC.
Which MAC address should I change on my router—WAN (Internet) MAC or Wi‑Fi MAC?
To affect your ISP connection, you typically need to change the WAN/Internet MAC address, not the Wi‑Fi MAC address. The WAN MAC is what your router presents to the ISP during authentication, while the Wi‑Fi MAC only affects how devices identify the wireless access point. Check your router’s settings for “WAN MAC,” “Internet MAC,” or “MAC Address (WAN),” and apply the change there. After updating, restart the router and confirm your WAN connection status rather than only checking Wi‑Fi device lists.
How can I change my router MAC address using the router’s admin interface and confirm the update?
Start by connecting to your router and logging into the admin dashboard, usually via a browser URL or the router’s IP address. Navigate to a page like “Network Settings,” “WAN,” or “MAC Clone,” enter the desired MAC address, then click “Save” and “Apply.” Reboot the router (and sometimes the modem) and then check the WAN status page or “Connection details” for the currently active MAC address. If the displayed WAN MAC doesn’t change, double-check the setting category, firmware constraints, and whether your router supports MAC address modification on the WAN.
📅 Last Updated: November 17, 2026 | Topic: How to Change Router MAC Address | Content verified for accuracy and freshness.
References
- MAC address
- MAC spoofing
- ip-link(8) – Linux manual page
- Making sure you're not a bot!
- Making sure you're not a bot!
- https://scholar.google.com/scholar?q=router+mac+address+cloning Google Scholar
- https://scholar.google.com/scholar?q=mac+address+spoofing+network+access+control Google Scholar
- https://scholar.google.com/scholar?q=changing+mac+address+linux+ip+link+set+address Google Scholar
One thought on “How to Change Router MAC Address: Step-by-Step Setup”