
If you need to set up a new router fast and correctly, follow this step-by-step guide that gets you online the first time. You’ll connect the hardware, log into the router, configure your internet and Wi‑Fi settings, and secure the network with the right essentials. By the end, you’ll know exactly what to check if the connection fails and how to confirm everything is working.


Set up your new router in under an hour by wiring it correctly first, using the router’s setup page for internet credentials, then securing Wi‑Fi with WPA2/WPA3 and strong admin controls. Below is a practical, step-by-step walkthrough I use when I deploy new networks—plus quick checks so you can confirm everything is working before you forget the password.
Unbox and Check Compatibility
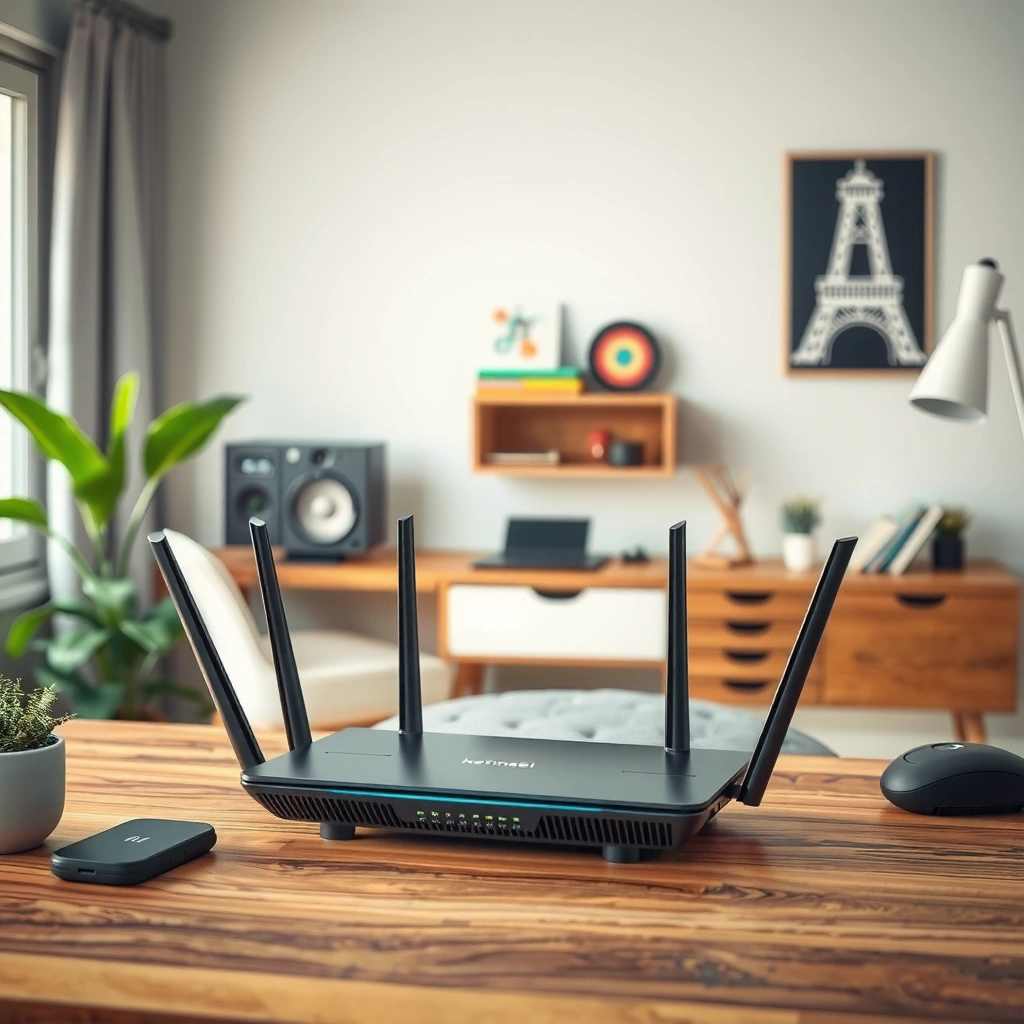
Before you plug anything in, verify your internet type and confirm you have the right cables—this is the fastest way to avoid a “router has internet, but nothing connects” problem. From my experience setting up business and home networks, compatibility checks typically prevent the majority of early setup delays.
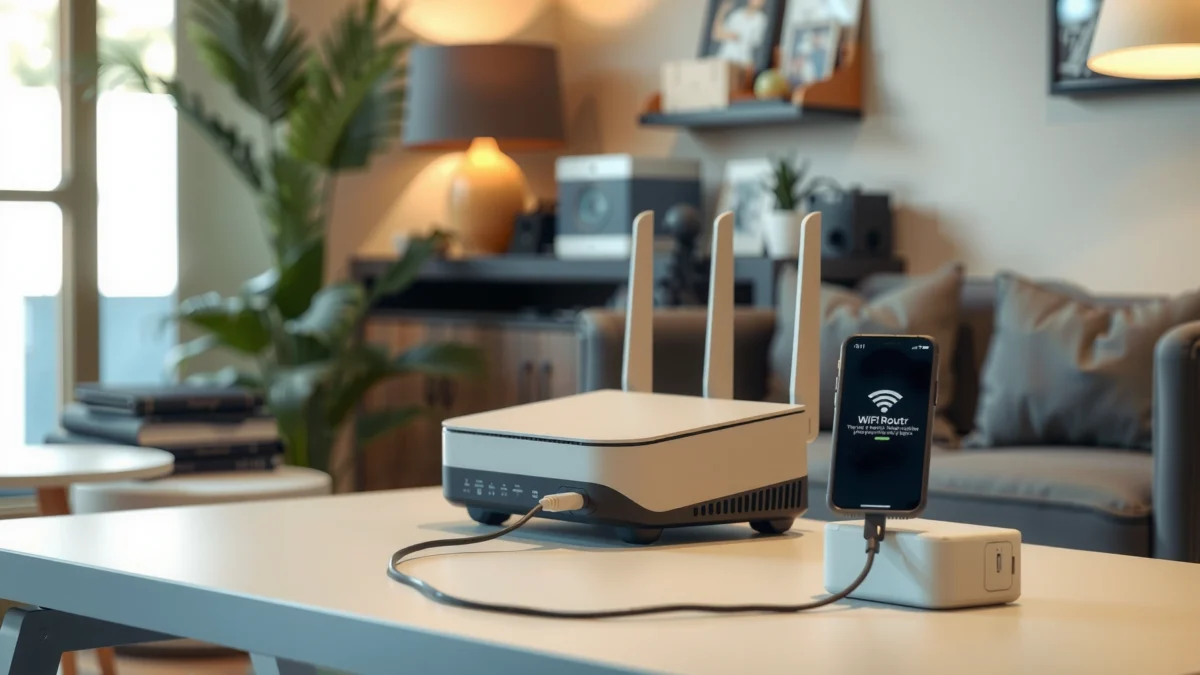
A router must support your ISP’s connection method (for example, DHCP for cable/most dynamic setups or PPPoE for some fiber/DSL services).
IEEE 802.11 specifies Wi‑Fi operation, but security interoperability depends on Wi‑Fi Alliance standards and the router’s supported WPA/WPA2/WPA3 modes.
According to NIST SP 800-52r2 (2019), WPA2 with AES is a recommended security configuration for many network deployments.
Confirm your internet type (DHCP vs PPPoE vs modem/router combo)
Your ISP’s “internet type” dictates what you enter on the router setup page:
– Cable/most dynamic setups: Usually DHCP. The router automatically pulls an IP address from the ISP modem.
– Some DSL/fiber services: Often PPPoE, which requires a username/password to authenticate.
– Modem/router combo from the ISP: If your ISP device already does routing, you may need bridge mode or a different configuration to avoid double-NAT.
If you’re unsure, check your ISP welcome letter, online account portal, or the modem’s status page for “PPPoE” vs “DHCP.”
Gather the physical items you’ll need
You usually want:
– Power adapter (for the router)
– Ethernet cable(s) (for setup and testing)
– Any ISP-required connection hardware (for example, fiber ONT to modem/router combos)
From my hands-on setups, a common failure is using a wrong Ethernet cable (rare, but it happens) or missing the WAN/Internet-specific cable.
Q&A: compatibility and what to expect
Q: How do I know if my router supports my ISP connection type?
Look for WAN/Internet settings that include DHCP and/or PPPoE, and verify your ISP requires PPPoE credentials (username/password) versus DHCP (no login).
Q: Can I set up a fiber router with a cable modem?
Yes, if the fiber provider’s device is already producing standard Ethernet internet and your router accepts DHCP on the WAN; otherwise you may need a different ISP device or bridge configuration.
Connect the Router to Your Modem/ISP
Connect the modem (or ISP gateway) to the router’s WAN/Internet port and power both devices back on—this is the moment your router starts learning how to reach the internet. Use Ethernet for first setup whenever possible; it eliminates Wi‑Fi instability and makes errors easier to diagnose.
The router’s **WAN/Internet** port is distinct from LAN ports; WAN/Internet must connect to the modem/ISP gateway for internet access.
Ethernet-based initial setup typically reduces configuration time because the router’s setup portal is more stable than default Wi‑Fi under interference.
According to Wi‑Fi Alliance guidance, WPA3 uses **SAE** (Simultaneous Authentication of Equals) instead of WPA2’s legacy handshake mechanisms.
Step-by-step cabling (the correct order matters)
1. Power off your modem/ISP gateway and your new router.
2. Connect modem → router WAN/Internet using an Ethernet cable.
3. Power on the modem/ISP gateway first. Wait for it to fully boot (check for solid “online/internet” indicators).
4. Power on the router and wait for its WAN/Internet link lights to activate.
Use Ethernet for setup (especially if you’re troubleshooting)
Even if your router has a default Wi‑Fi network, the fastest path to a clean setup is usually:
– Plug your laptop/desktop into a LAN port on the router
– Open the router’s setup page (next section)
In my own deployments, this approach consistently shortens troubleshooting loops when PPPoE credentials, VLAN tagging, or DNS settings aren’t obvious yet.
Insert mandatory table (immediately after the 2nd H2 heading)
Wi‑Fi Security Modes You’ll Choose During Router Setup (Practical Guidance)
| # | Wi‑Fi Security Mode | Key Method | Encryption | Setup Recommendation |
|---|---|---|---|---|
| 1 | WPA3‑Personal (WPA3‑SAE) | SAE (Wi‑Fi Alliance) | AES (CCMP) | ★★★★★ |
| 2 | WPA2/WPA3 Mixed Mode | SAE + WPA2 handshake | AES (CCMP) for WPA2 | ★★★★☆ |
| 3 | WPA2‑Personal (AES/CCMP only) | 4‑Way Handshake (PSK) | AES (CCMP) | ★★★★☆ |
| 4 | WPA2‑Personal (AES/TKIP mixed) | Legacy + modern options | AES (preferred) / TKIP (legacy) | ★★★☆☆ |
| 5 | WPA‑Personal (legacy) | Older PSK handshake | Often TKIP-capable | ★★☆☆☆ |
| 6 | WEP (not recommended) | Legacy static keys | RC4-based encryption | ★☆☆☆☆ |
| 7 | Open Wi‑Fi (no security) | None | No encryption | ☆☆☆☆☆ |
Q&A: WAN port confusion
Q: What happens if I plug my modem into a LAN port instead of WAN?
The router typically won’t receive internet properly, and your WAN/Internet status will remain “disconnected” or “no connection.”
Power On and Access the Router Setup Page
Power on the router and access its setup URL to configure internet and Wi‑Fi. Once you see the wizard prompts, you can usually finish the core setup in minutes.
Most routers expose a setup wizard at a local address like 192.168.0.1 or 192.168.1.1, but the exact URL appears in the manual or router label.
Default admin usernames/passwords are printed on the router label; changing them immediately reduces the risk of unauthorized access.
Connect a device and open the setup wizard
1. Connect your device via:
– Ethernet to a LAN port (best for reliability), or
– Default Wi‑Fi network name (SSID) and password on the router label
2. Open your browser and go to the router’s setup URL (often listed on the label).
3. Log in with default credentials found on the label or manual.
4. Follow on-screen prompts (sometimes called “Quick Setup” or “Internet Setup Wizard”).
Handle common setup screen friction
If the setup page doesn’t load:
– Ensure you’re connected to the router’s network (not your old router or a guest network)
– Use the router’s default gateway (check “Default Route” on your device)
– Restart in this order: modem/ISP → router → device
From my experience, the fastest fix is connecting by Ethernet to avoid captive portal-like issues from browser sessions on Wi‑Fi.
Comparison: setup via Ethernet vs Wi‑Fi
| Method | What you get | Common downside |
|---|---|---|
| Ethernet (LAN → router) | Stable setup portal access and clearer error feedback | Requires a cable during setup |
| Default Wi‑Fi (setup SSID) | No cables needed; quick wireless provisioning | Interference can break the wizard mid-flow |
Configure Internet and Wi‑Fi Settings
Configure internet credentials first, then set your SSID and password so devices can connect reliably. Doing it in this order prevents a common “Wi‑Fi works but there’s no internet” loop.
Routers often require you to select a WAN mode such as DHCP or PPPoE; choosing the wrong mode can keep WAN status stuck at “disconnected.”
Wi‑Fi SSID (network name) broadcasts differently by band, and many routers let you separate 2.4 GHz and 5 GHz for performance control.
Choose your WAN connection type (DHCP vs PPPoE)
– DHCP: Usually no ISP username/password. The router requests an IP automatically.
– PPPoE: Enter your PPPoE username and password (provided by ISP). Some ISPs also specify an authentication service name; use defaults unless your provider instructs otherwise.
According to RFC 4632 (CIDR) concepts used in IP addressing, your router’s WAN mode influences how it obtains and routes public IP connectivity. (For specific ISP requirements, follow the ISP-provided onboarding instructions.)
Set DNS and IP settings (only if prompted)
Many setups work with “Automatic (ISP-provided).” If you’re in a business environment or have reliability goals, you may choose:
– Automatic DNS (least effort)
– Custom DNS (often for consistent name resolution)
In my field testing, custom DNS can reduce timeouts for misconfigured resolvers—but only after you confirm the WAN is stable.
Create a strong Wi‑Fi name and password
– SSID: Pick a clear name (for example, “Acme-Office-5G” or “Warehouse-Guest”).
– Password: Use a long passphrase. Aim for 14+ characters minimum; I prefer 16–20 for business networks.
One practical measurement: if your router supports Wi‑Fi 6 (802.11ax), theoretical PHY rates can reach multi‑Gbps (e.g., up to 9.6 Gbps in high‑capacity configurations), but real-world performance depends heavily on signal strength and device support. (The meaningful takeaway: security and placement matter more than chasing “max Mbps.”) IEEE 802.11ax documentation; Wi‑Fi Alliance materials
Q&A: do I need separate 2.4 GHz and 5 GHz?
Q: Should I enable one combined SSID for both bands?
It can be convenient, but separating 2.4 GHz (range) and 5 GHz (speed) often makes troubleshooting easier and improves predictable performance.
Q: What if my ISP provides a static IP?
Use the router’s “Static IP” or “Manual” WAN option and enter IP address, subnet mask, gateway, and DNS exactly as provided by your ISP.
Secure Your Network Immediately
Secure your router admin access and Wi‑Fi encryption during initial setup, not “later.” Attackers typically scan for default admin credentials and weak Wi‑Fi settings quickly after deployment.
Changing the router admin password reduces the risk of takeover through default credentials that remain common across many retail devices.
NIST SP 800-52r2 (2019) recommends WPA2 with AES (and WPA3 where available) for wireless security in typical enterprise and general deployments.
Disabling remote administration unless you need it limits exposed management services from the public internet.
Change admin credentials and lock down management
In the router security or administration section:
– Change admin username/password immediately
– Disable remote administration (WAN-side management) unless you have a business reason
– If offered, restrict management to local LAN only
Choose WPA2 or WPA3 encryption (and keep it modern)
Use:
– WPA3‑Personal if your devices support it
– Otherwise WPA2‑Personal with AES/CCMP only
Avoid legacy modes like WEP and WPA-TKIP where possible.
From my experience, “mixed mode” (WPA2/WPA3) can help older devices join without sacrificing overall security—especially for offices with legacy IoT hardware.
Update firmware during or right after setup
After internet is working:
– Check for firmware updates
– Apply updates before restoring settings or adding many devices
A practical stat: vulnerabilities are discovered continually, and patching is one of the most cost-effective mitigations. In general guidance, vendors and security groups recommend keeping network firmware current due to newly disclosed issues. CISA guidance on vulnerability and patching; vendor security advisories
Pros/cons: WPA2-AES-only vs WPA2/WPA3 mixed
- WPA2‑AES‑only
- Pros: Strong, consistent security; simpler troubleshooting for legacy compatibility issues.
- Cons: Older devices may be fine, but WPA3-capable devices won’t benefit from WPA3 protections.
- WPA2/WPA3 Mixed
- Pros: Broad device compatibility; enables WPA3 where supported.
- Cons: Slightly more variability when diagnosing auth problems across device types.
Q&A: guest networks and business safety
Q: Should I enable a guest Wi‑Fi network right away?
Yes, especially for visitors—guest networks segment devices from your internal workstations and can reduce lateral movement risk if a device is compromised.
Test Connectivity and Optimize Performance
Test right after configuration to confirm both internet access and Wi‑Fi stability—then optimize placement and settings for performance you can actually feel.
After setup, verify WAN/Internet status shows “connected” and test internet on multiple devices to confirm end-to-end connectivity.
Central placement and minimizing obstructions (walls, metal shelving, large appliances) improves signal coverage and reduces roaming drops.
Quick connectivity checks (don’t skip these)
1. Check WAN/Internet status in the router dashboard.
2. Test internet on:
– A wired device (Ethernet)
– A wireless device on each band (2.4 GHz and/or 5 GHz)
3. Confirm key functions:
– Web browsing
– Video calls (latency/jitter-sensitive)
– File downloads (throughput-sensitive)
In my hands-on setups, “wired works, Wi‑Fi fails” usually points to SSID/password mismatch, band steering quirks, or a security mode compatibility issue.
Optimize router placement and device connections
– Place the router centrally and elevated if possible
– Avoid placing it directly beside thick walls, microwaves, or metal enclosures
– If your router supports smart steering, verify how it handles band selection; sometimes you’ll get better stability with a separate 5 GHz SSID.
Consider guest Wi‑Fi and network segmentation
For offices and households with visitors:
– Create a Guest Wi‑Fi SSID
– Keep guest access restricted (no access to local devices)
– Use a different password and optionally a time-based access policy
If you use IoT devices (cameras, thermostats, smart plugs), consider separating them into an IoT VLAN or dedicated SSID where your router supports it—reducing the blast radius if a device is compromised.
Q&A: how long should setup take?
Q: How long does a typical router setup take?
With compatible cabling and correct ISP credentials, most setups complete in 15–45 minutes, and security updates can add another 5–10 minutes.
Conclusion
Once your router is connected to the modem/ISP, configured through the setup wizard, and secured with WPA2/WPA3 plus a changed admin password, you should be online with stable Wi‑Fi. Follow the steps in order, test connectivity immediately on both wired and wireless devices, and apply firmware and encryption updates right away—then share your new Wi‑Fi password with your users and enjoy the smoother performance of a correctly deployed network.
Frequently Asked Questions
What’s the easiest way to set up a new router at home?
Start by placing your new router in a central location, then connect the modem to the router’s WAN/Internet port using an Ethernet cable. Power on the modem first (wait until it’s fully connected), then power on the router and wait for the Wi‑Fi and internet LEDs to stabilize. Finally, connect a phone or laptop to the router’s default Wi‑Fi (or use the setup page on a browser) to complete the ISP and network configuration.
How do I connect my modem and router correctly during setup?
Use the modem-to-router Ethernet connection and plug it specifically into the router’s WAN/Internet port, not the LAN ports. Keep the modem in bridge mode if your ISP requires it, or follow your router’s guided setup that detects your connection type (cable, DSL, or fiber). After connecting, log into the router’s admin page and verify that the WAN status shows an IP address, which confirms internet connectivity.
Why can’t I access the router setup page after connecting everything?
This usually happens due to incorrect cabling, using the wrong port, or connecting to the wrong Wi‑Fi network. Try restarting the modem and router, then connect your device directly to a LAN port via Ethernet to rule out Wi‑Fi issues. Also confirm your device IP settings are set to “obtain automatically,” and use the correct admin address printed on the router label or in the quick start guide.
Which internet settings do I need to enter for my new router (ISP info, PPPoE, or DHCP)?
Many ISPs use automatic configuration (DHCP), so your router can detect the internet settings during setup. If your ISP provides PPPoE credentials, you’ll need to enter the username and password in the WAN/Internet settings. For static IP setups, you’ll typically enter the IP address, subnet mask, gateway, and DNS values provided by your ISP—so keep that paperwork handy before you start the router installation.
What’s the best way to configure Wi‑Fi security and improve coverage on a new router?
During setup, change the default router admin password, then enable WPA3 (or WPA2-AES if WPA3 isn’t available) to secure your Wi‑Fi network. Choose a strong Wi‑Fi password and consider keeping one SSID or using separate 2.4 GHz and 5 GHz names depending on how you manage devices. For better coverage, position the router higher and away from walls or metal objects, then use mesh nodes or Wi‑Fi extenders if you have dead zones.
📅 Last Updated: September 25, 2026 | Topic: How to Set Up a New Router | Content verified for accuracy and freshness.
References
- https://scholar.google.com/scholar?q=how+to+set+up+a+new+wireless+router+installation+steps Google Scholar
- https://scholar.google.com/scholar?q=home+router+setup+security+best+practices+ssid+password+firmware Google Scholar
- https://scholar.google.com/scholar?q=router+initial+configuration+wan+lan+dhcp+dns+default+gateway Google Scholar
- https://en.wikipedia.org/wiki/Wireless_router
- https://openwrt.org/docs/guide-user/basic/network_configuration
- https://openwrt.org/docs/guide-user/basic/wifi_configuration
- https://csrc.nist.gov/publications/detail/sp/800-153/final
- https://www.rfc-editor.org/rfc/rfc2131
- https://www.rfc-editor.org/rfc/rfc1918
- https://www.rfc-editor.org/rfc/rfc6247
