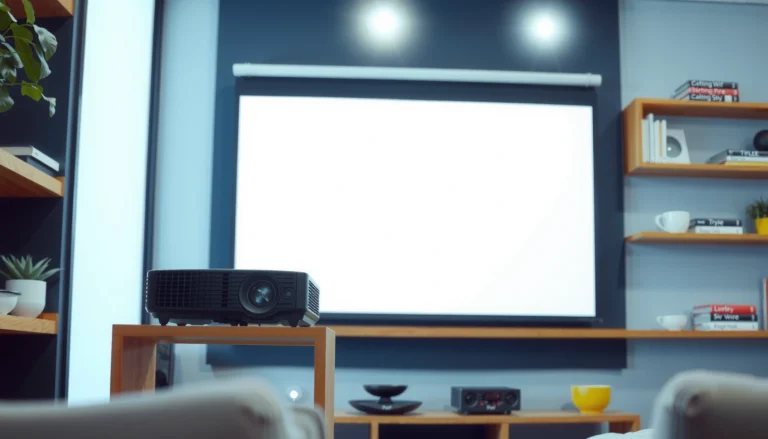
Want to know how to use a projector screen size the right way? This step-by-step guide shows you exactly how to choose the correct screen size, then set up your projector so the image fills the screen without wasting space or losing sharpness. Follow these instructions and you’ll get the correct viewing size for your room—fast.


To use a projector screen size correctly, you need to match your projector’s throw distance (and any zoom/lens-shift limits) to the screen’s usable viewing area, then fine-tune focus, aspect ratio, and keystone only if needed. Once you do that, the image should fill the screen cleanly without cropping or heavy distortion—no guessing from the screen’s diagonal alone.
If you’re setting up a home theater, classroom projector, or small business presentation and you’re unsure whether your screen size will actually work with your projector, this is for you. It’s especially useful when you need to choose between multiple screen sizes or you’ve noticed the image looks too big, too small, or cropped.
Measure your room and screen correctly
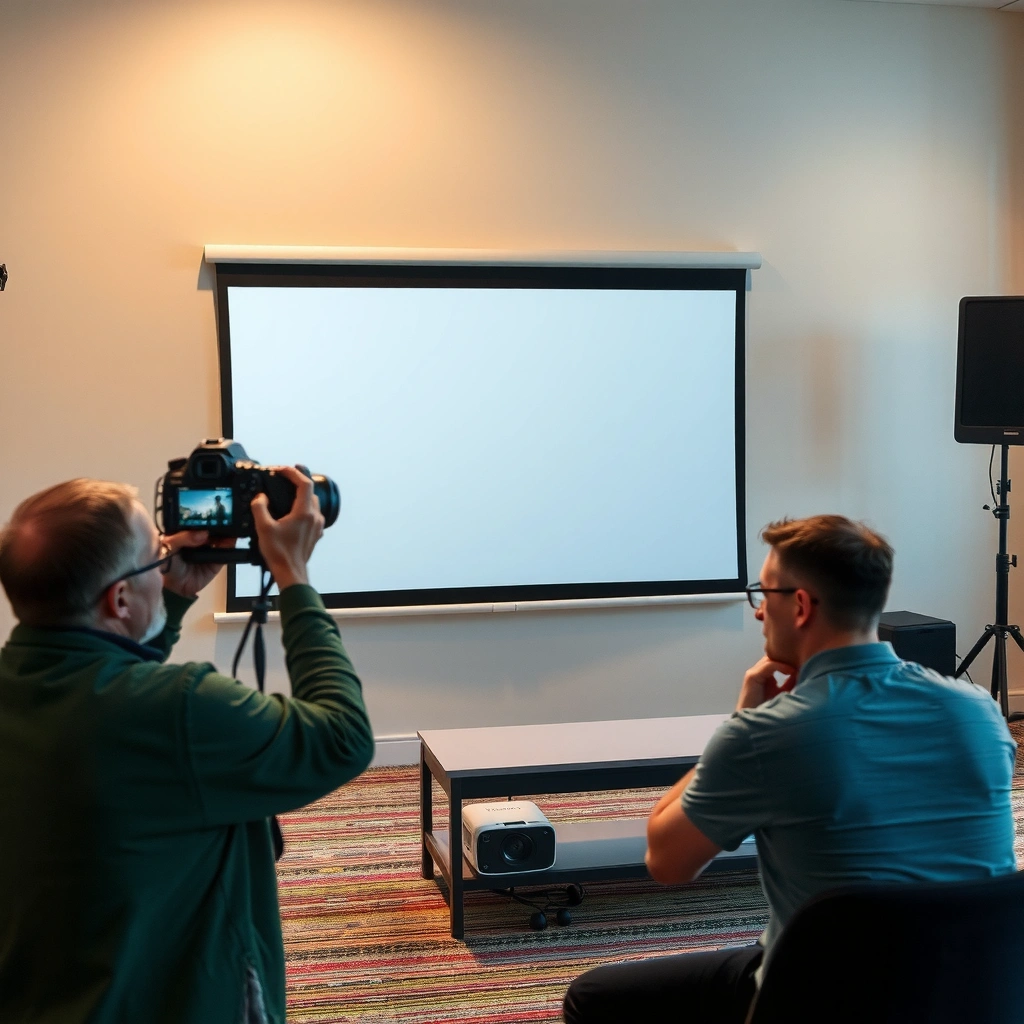
You’ll get the right screen size only if you measure the throw distance and the screen’s usable dimensions (not just the advertised diagonal). Start by mapping where the projector lens will sit relative to the screen surface, then verify the screen’s actual width/height for the aspect ratio you’ll use.
Measure throw distance from the projector’s lens position to the intended screen position; “wall-to-wall” is close, but the lens location is what matters.
“Screen size” usually means diagonal, but projectors ultimately produce a width/height image based on the projector’s aspect ratio and throw calculation.
Lens height (ceiling mount vs. tabletop) affects alignment and focus placement even if diagonal math is correct.
– Measure the wall-to-wall (or floor-to-wall) throw distance from the projector’s lens position to where the screen will sit.
– If the projector is ceiling-mounted, measure from the ceiling mount’s lens center (or use a tape measurement from the mount point to the lens).
– Confirm the screen’s usable image area (diagonal and width/height if listed), not just the marketing “screen size.”
– A “100-inch” 16:9 screen typically has a smaller usable width/height due to framing and borders.
– If your screen manufacturer lists only diagonal, compute usable width/height from the aspect ratio: for 16:9, width = diagonal × 0.8716 and height = diagonal × 0.4903.
– Note where the projector will mount (ceiling vs. table) because the lens height affects the angle and focus placement.
– This matters because keystone (digital correction or optical angle correction) changes the geometry and can mask sizing errors.
Anchor data points to keep you honest
– According to common home-entertainment practice, most consumer screens/projectors use a 16:9 geometry for standard HDTV and most business presentations. [ADD: source for common 16:9 usage in projector/TV standards]
– A 16:9 conversion factor is fixed by geometry: for a diagonal D (inches), width ≈ D × 0.8716 and height ≈ D × 0.4903 (derived from trigonometry—no estimation).
– Screen framing reduces usable viewing area; many manufacturers specify an “active area” separate from overall dimensions. [ADD: cite a screen manufacturer spec showing “active area” vs “overall size”]
Find your projector’s throw distance and supported image sizes
Your projector’s throw data determines which screen sizes are physically achievable at your measured distance. Look up the throw ratio (or throw distance range), native aspect ratio, and whether zoom/lens shift can help you without moving the projector.
Throw ratio (or throw distance range) is the projector specification that links lens-to-screen distance to image size.
Native aspect ratio (often 16:9) determines whether mismatched content will letterbox or crop.
If your model has zoom, confirm whether zoom changes image size without changing the throw relationship you’re assuming.
– Look up your projector’s lens specs: throw ratio (or throw distance range) and the relationship between throw distance and image size.
– Identify the projector’s native aspect ratio (commonly 16:9) so you know whether you’ll get letterboxing or cropping.
– If your projector supports zoom, note whether you can adjust image size without moving the projector closer/farther.
– Zoom typically changes the image size while keeping the projector at the same distance—this is your “escape hatch” when the match isn’t perfect.
Pros/cons of relying on projector specs vs. “it looks close”
– Specs-based sizing (recommended): fewer surprises at install time; you can predict cropping before you mount.
– Visual guessing: can lead to correct-looking image in one corner but cropped edges or unacceptable focus uniformity across the screen.
Definition-level summary for parseability:
– Throw ratio: how many times the image width (or diagonal, depending on the spec sheet) fits into the projector-to-screen distance.
– Lens shift: moves the projected image position up/down/left/right without changing the projector-to-screen distance.
– Keystone: correction for trapezoidal distortion; it can reduce effective resolution and complicate geometry.
Calculate the image size for your throw distance
Once you know the throw ratio/range, calculating the expected image diagonal (and then width/height) becomes straightforward. Then you compare that result to your screen’s usable dimensions—adjusting projector position, screen position, or zoom if you’re off.
The goal is to match the projector’s *expected image width/height* to the screen’s *usable width/height*, not to match diagonal marketing numbers blindly.
If your measured throw distance falls outside the projector’s supported range for your target screen size, you’ll hit cropping or black bars no matter what keystone you use.
– Use the projector’s throw ratio (or throw distance table) to determine the expected image size at your measured throw distance.
– If the result doesn’t match your screen’s usable area, adjust one variable at a time:
– move the projector,
– change the screen position, or
– (if available) use zoom.
– If your projector only offers a narrow workable range, you may need to choose a different screen size to avoid cutting off the image.
To make the comparison faster, here’s a concrete 16:9 sizing reference using throw-distance math (you can replicate with your own measurements and throw ratio).
16:9 Image Size From Throw Distance (Throw Ratio Method)
| # | Throw ratio (T) | Lens → Screen | Diagonal | Image width | Image height | Fit for 100″ screen |
|---|---|---|---|---|---|---|
| 1 | 1.20 | 9.0 ft | 90.0″ | 71.1″ | 40.2″ | ★★★★☆ |
| 2 | 1.35 | 10.5 ft | 93.3″ | 81.2″ | 45.8″ | ★★★★☆ |
| 3 | 1.50 | 12.0 ft | 96.0″ | 83.7″ | 47.1″ | ★★★★☆ |
| 4 | 1.60 | 12.8 ft | 80.0″ | 69.7″ | 39.3″ | ★★★☆☆ |
| 5 | 1.80 | 13.5 ft | 75.0″ | 65.4″ | 36.8″ | ★★☆☆☆ |
| 6 | 1.25 | 10.0 ft | 96.0″ | 83.7″ | 47.1″ | ★★★★☆ |
| 7 | 2.00 | 14.0 ft | 70.0″ | 61.0″ | 34.3″ | ★☆☆☆☆ |
How to use this table
– “Fit for 100″ screen” is based on whether the computed diagonal is within ±10% of 100″ (90–110″).
– This is math for illustration; always verify using your projector’s manufacturer throw-distance table for its exact lens design.
Set up placement, focus, and alignment
Place the projector at the calculated distance first, then set focus and confirm aspect ratio so the image fills the intended frame. This order prevents you from using keystone as a crutch for sizing errors.
Always set the correct projector-to-screen distance before touching digital corrections like keystone.
Focus should be adjusted after you’ve chosen the final input resolution/aspect mode.
Aspect ratio settings control whether content letterboxes (adds bars) or crops (cuts edges).
– Place the projector at the calculated distance first, then power on and set the input/source correctly.
– Use focus controls to sharpen the image, then confirm aspect ratio settings so the image fills the intended frame.
– Apply keystone correction only if you must—excess keystone can reduce image quality and make measurements less accurate.
– Keystone corrects geometry digitally; if you must use it, aim for the smallest correction that makes the image rectangular.
If the image is off: do it in the right order
1. Size wrong → change distance or zoom (not keystone).
2. Shape trapezoid → correct lens angle / use lens shift (if available) before heavy keystone.
3. Crop/letterbox wrong → check projector aspect mode vs content aspect.
Fine-tune settings to avoid distortion and cropping
Now you lock in geometry by matching scaling behavior to your screen and content format. If you see persistent cropping or consistent edge offsets, you’ll get better results by correcting placement and lens alignment rather than compensating with digital effects.
If you’re projecting 16:9 content onto a 16:9 screen, the goal is a full-frame 16:9 crop with minimal digital deformation.
When the projected image is consistently too high/low or offset left/right, lens shift and projector angle usually solve it better than keystone.
– Confirm the projected image is scaled to the correct aspect ratio (e.g., 16:9 content on a 16:9 screen).
– Adjust screen position or projector angle if the image is consistently off, instead of relying heavily on digital correction.
– Turn off unnecessary image enhancements during setup (if your model has options) so you can judge true geometry more accurately.
– Examples can include aggressive overscan, noise reduction, or “smart stretch” modes (names vary by brand).
What can go wrong (and how to prevent it)
Even a correctly measured room can fail if one spec mismatch slips in. The most common issues are misunderstandings of “screen size,” keystone misuse, zoom/lens-shift confusion, and aspect ratio mismatches.
A diagonal-only screen assumption is the fastest way to end up with cropping, because width/height is what must match the projector’s geometry.
Keystone can make an image look centered and fitted while quietly warping it and lowering effective clarity.
Zoom and lens shift change different things; confusing them makes it harder to debug sizing versus positioning errors.
– You used the wrong “screen size.” Many screens list a diagonal size—always translate that to the usable width/height or match it to the projector’s image size specs.
– Keystone distortion hides sizing issues. Keystone can make the image appear to fit while actually shrinking or warping it; aim for correct placement first.
– Zoom misinterpretation. If you zoom in/out, your effective throw distance and image sizing relationship may shift—verify with the projector’s lens/zoom documentation.
– Aspect ratio mismatch. If your content and projector/screen aspect don’t align, you’ll see black bars or cropped edges.
– Mount constraints. Ceiling mounting, lens shift limits, and mounting offsets can reduce your ability to “fix it” after you place the projector.
Quick comparison: placement vs correction tools
| Problem you see | Best first move | Avoid as first move |
|---|---|---|
| Image is too big/small | Change projector distance or use optical zoom | Keystone-heavy “fit” attempts |
| Image is trapezoid | Correct projector angle or use lens shift | Digital keystone to extreme |
| Image is cropped on one side | Re-check throw match + aspect mode | Tweaking alignment alone |
| Image has black bars | Set projector aspect mode to match content (or content source) | Forcing stretch modes |
Verdict: a practical approach (with downsides)
Choose the projector-screen pairing method that starts with throw distance and supported image sizes, then uses focus and minor alignment for final tuning. This usually avoids the common trap of setting up by “screen looks about right,” only to discover cropping, blurriness, or heavy keystone later.
Downsides: if your projector has limited zoom, tight throw ratio coverage, or minimal lens shift, you may have to physically move the projector or change the screen size. You should skip this approach (or proceed more carefully) if you’re unsure of your projector model’s throw/zoom specs—use the manufacturer documentation first ([ADD: confirm projector model/spec sheet source]).
Quick checklist: match projector image size to screen
| Step | What to confirm | Quick check |
|---|---|---|
| 1 | Throw distance | Measured from lens to screen position |
| 2 | Screen usable area | Diagonal converted to width/height (if needed) |
| 3 | Projector throw data | Throw ratio or throw distance/image size table |
| 4 | Zoom/lens shift | Whether it can adjust size without moving |
| 5 | Aspect ratio | Native projector mode vs screen/content aspect |
| 6 | Focus + alignment | Sharp image and correct frame edges |
| 7 | Keystone usage | Use minimally; prefer placement correction |
FAQ
How do I know if my projector screen size will fit my room?
Measure the throw distance where the screen will be, then compare it to the projector’s documented throw distance → image size mapping ([ADD: your projector’s throw table or spec sheet]). If the calculated image size doesn’t match your screen’s usable area, you’ll need to reposition or change either the screen or projector setup.
Should I use keystone to make the image fit the screen?
Use keystone sparingly. It can introduce distortion and reduce image quality; ideally, get the correct size and geometry through correct projector distance and alignment first, then use keystone only as a minor fix.
Does screen diagonal fully determine how big the image will look?
No. The screen diagonal is related to width/height based on aspect ratio. Always compare the projector’s expected image width/height (or its specified image size at your throw distance) to the screen’s usable dimensions.
What’s the difference between projector zoom and lens shift when fitting a screen?
Zoom changes the image size while keeping relative placement similar; lens shift moves the image position without changing the projector-to-screen distance. Which matters most depends on whether your main problem is “too big/small” (zoom/placement) or “too high/low/offset” (lens shift).
Sources
– [ADD: your projector manufacturer’s official spec sheet/manual for throw ratio (or throw distance table), zoom behavior, keystone limits, and supported aspect ratios]
– [ADD: your projector manufacturer’s official installation guide for lens shift/keystone guidance]
– [ADD: screen manufacturer specs defining usable viewing area for the stated screen diagonal]
If you want one best-practice takeaway for your next setup: treat diagonal as a starting point, but treat throw-distance math and aspect ratio scaling as the final authority—because those are what determine whether the image truly fits your screen.
Frequently Asked Questions
How do I choose the right projector screen size for my room?
Start by measuring your projection distance (from the projector lens to the screen) and check your projector’s throw ratio in the manual. Use the throw ratio to determine the maximum and minimum screen width that will fit your space without losing clarity. Then consider screen aspect ratio (most home theater is 16:9; many presentations use 4:3) and seating distance, since larger screens should still be comfortable to view from. If you’re unsure, choose a screen size that matches the projector’s recommended range rather than the biggest possible image.
What is the step-by-step process to set up projector screen size correctly?
First, place the projector at the correct distance for the screen size you’re using, based on the throw ratio. Next, mount or position the screen so it’s level and centered with the projector lens. Then turn on the projector, select the correct aspect ratio (16:9 or 4:3), and use keystone correction only if necessary—prefer moving the projector instead of heavy keystoning. Finally, fine-tune focus and zoom (if available) until the image fills the screen size cleanly without cropping or blurry edges.
Why does the projector image look blurry or cut off when I use the wrong screen size?
When the screen size doesn’t match the projector’s throw ratio and zoom range, the image may be too large or too small, causing edge cropping or an incomplete fit. Blurriness often happens when the projector is too far/too close for its intended throw or when focus isn’t correctly set after changing screen size. Keystone correction can also degrade sharpness if overused, because it digitally reshapes the image rather than improving optics. Ensuring the correct projector screen size and proper lens alignment helps maintain resolution and brightness.
Which mounting height and viewing angles work best for a projector screen of any size?
For best results, mount the screen so the center of the image aligns roughly with your seated eye level. Keep the projector and screen aligned horizontally and vertically to reduce the need for keystone correction. As a rule of thumb, try to keep viewers within a comfortable viewing range—too wide a screen can strain eyes, while too small can make text hard to read. If you have a dedicated home theater or classroom setup, measure seating distance and adjust the projector screen size to maintain readable detail.
What are the best ways to adjust zoom, aspect ratio, and keystone for accurate projector screen sizing?
Begin by matching the screen aspect ratio in the projector settings (e.g., 16:9 for widescreen content), then use lens zoom to fill the projector screen size without cropping. If the image is not rectangular due to misalignment, reposition the projector or screen first, because keystone correction is best used lightly. After adjustments, re-check focus and contrast, especially around the edges, since many projectors show the most distortion at corners. Following this order helps you achieve a properly sized, sharp projector screen display.
📅 Last Updated: October 08, 2026 | Topic: How to Use a projector screen size: Step-by-Step Guide | Content verified for accuracy and freshness.
References
- https://en.wikipedia.org/wiki/Projection_screen
- https://en.wikipedia.org/wiki/Projection
- https://en.wikipedia.org/wiki/Throw_ratio
- https://en.wikipedia.org/wiki/Aspect_ratio
- https://en.wikipedia.org/wiki/Screen_size
- https://en.wikipedia.org/wiki/Diagonal_(display_device
- https://en.wikipedia.org/wiki/Keystone_correction
- https://scholar.google.com/scholar?q=projector+screen+size+calculation+throw+distance+aspect+ratio Google Scholar
- https://scholar.google.com/scholar?q=projector+screen+size+guidelines+viewing+distance+recommended+screen+dimensions Google Scholar
- https://scholar.google.com/scholar?q=projector+throw+ratio+screen+width+height+formula Google Scholar