To improve sound clarity on your Pioneer home theater, start by ensuring proper speaker placement, adjusting audio settings, and utilizing calibration tools. This guide will help you understand specific techniques and settings that can significantly enhance your audio experience.
Achieving optimal sound clarity in a home theater system is critical for an immersive viewing experience. With a Pioneer home theater, you have a robust platform for enhancing audio quality. By following systematic techniques such as speaker placement, audio settings tweaks, and room acoustics management, you can dramatically elevate your sound experience. Below, we explore these strategies in detail to ensure you enjoy every nuance of your favorite films and music.
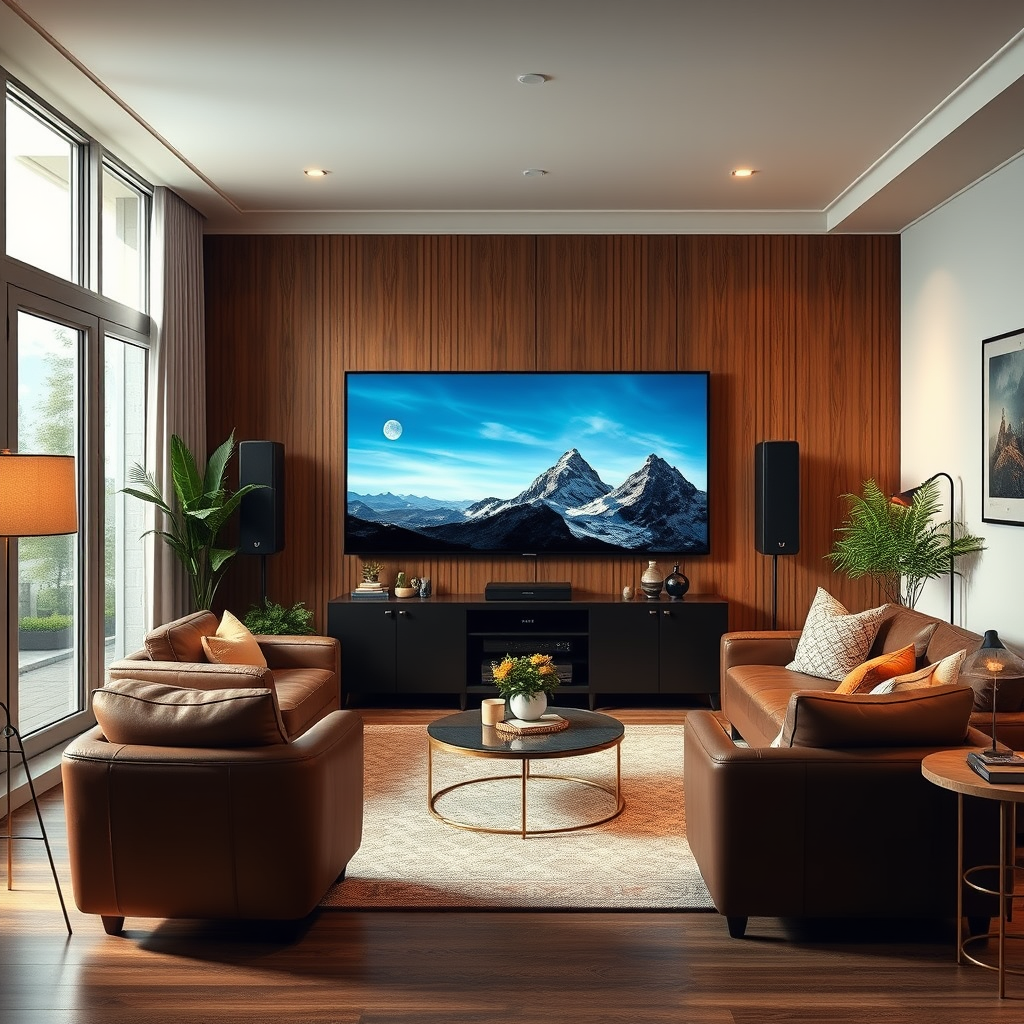
Speaker Placement Optimization

Proper speaker placement is essential for achieving the best sound clarity in your Pioneer home theater. The positioning of your speakers can make a significant difference in how sound is perceived.
– Position speakers at ear level for optimal sound delivery. This ensures that the sound waves reach your ears directly without significant reflection off surfaces. For front speakers, aim for a height that aligns with the listeners’ ears when seated. Surround speakers should also be at ear level or slightly above to create an enveloping sound experience.
– Ensure speakers are spaced evenly around the room to create a balanced soundstage. Ideally, the front left and right speakers should be about 30 degrees from your primary seating position, while the center speaker should be directly in front of you. Rear speakers should be placed behind the listening area, slightly above ear level if possible. This configuration helps maintain a cohesive sound field, allowing you to experience the full depth and clarity of audio.
Audio Settings Adjustment

Adjusting the audio settings on your Pioneer home theater system is crucial to achieving the desired sound clarity.
– Access the audio settings menu and adjust the equalizer to emphasize clarity. Most Pioneer receivers come with customizable equalizer settings that allow you to enhance specific frequencies. Consider boosting the mid and high frequencies, as these are essential for dialogue clarity and the sparkle of musical instruments.
– Experiment with different sound modes to find the best fit for your content. Pioneer home theaters often include various sound modes such as Movie, Music, and Game. Each mode adjusts the audio output in a way that enhances the listening experience for different types of content. Take the time to test each mode to see which one works best for your specific needs.
Room Acoustics Management
Room acoustics play a vital role in sound clarity and overall audio quality. By managing the acoustics of your home theater, you can minimize unwanted echoes and enhance sound definition.
– Use rugs, curtains, and cushions to absorb excess sound reflections. Hard surfaces in a room can create echoes that muddy the sound. Soft furnishings can help absorb these sound waves, resulting in clearer audio. For example, placing a thick rug on the floor and heavy curtains on the windows can significantly improve sound quality.
– Consider placing sound-absorbing panels on walls to minimize echoes. Acoustic panels can be strategically placed on the walls to absorb sound and control reflections. Focus on areas where sound waves are likely to bounce, such as the first reflection points on the side walls. This approach helps in reducing the overall noise in the room and enhances clarity.
Sound Absorption Rates of Common Materials
| # | Material | Absorption Coefficient | Best Use |
|---|---|---|---|
| 1 | Carpet | 0.30 | Floor |
| 2 | Curtains | 0.45 | Windows |
| 3 | Acoustic Panels | 0.80 | Walls |
| 4 | Foam Panels | 0.85 | Walls |
| 5 | Drywall | 0.10 | General |
| 6 | Wood Panels | 0.15 | General |
| 7 | Glass | 0.05 | General |
Utilizing Calibration Tools
Calibration tools are invaluable for optimizing sound clarity and ensuring your audio system performs at its best.
– Use the Pioneer Auto Room Calibration feature to automatically adjust settings. This feature analyzes your room’s acoustics and adjusts speaker levels, distances, and equalization settings to provide an optimal listening experience. Follow the on-screen instructions carefully for the best results.
– Fine-tune calibration results manually for personalized sound preferences. After using the automatic calibration, you may still want to make manual adjustments to cater to your specific tastes. Experiment with the equalizer settings and speaker levels based on your listening environment and content type to find the perfect balance.
Connecting External Audio Equipment
Enhancing sound clarity can often be achieved by integrating additional audio equipment into your home theater setup.
– Consider adding a quality soundbar or subwoofer for enhanced depth and clarity. A soundbar can provide an expansive soundstage, while a subwoofer can deliver the low frequencies that add depth to music and movie soundtracks. Ensure that any additional equipment is compatible with your Pioneer home theater system for a seamless audio experience.
– Use high-quality HDMI cables to reduce signal loss and improve sound fidelity. The choice of cables can impact the overall audio clarity. Opt for high-speed HDMI cables that support audio return channel (ARC) features to ensure you maximize audio quality from your devices.
Regular Maintenance Tips
Maintaining your home theater equipment is crucial for consistent sound clarity over time.
– Keep your speakers and equipment dust-free for optimal performance. Dust accumulation can affect speaker performance and even lead to damage over time. Regularly clean your speakers and the surrounding area to ensure they operate at peak performance.
– Regularly update your receiver’s firmware to benefit from the latest audio enhancements. Manufacturers often release firmware updates that can improve performance and add new features. Check the Pioneer website periodically for updates and follow the instructions to keep your system up to date.
Experimenting with Content
Finally, the type of content you are playing can significantly affect perceived sound clarity.
– Test various audio formats (e.g., Dolby Atmos, DTS) to find what works best in your space. Different formats utilize your speakers in unique ways, so exploring various options can help you find the most satisfying audio experience for your room.
– Use high-quality audio sources to appreciate the full capabilities of your system. Streaming services, Blu-ray discs, and high-resolution audio files often offer superior sound quality compared to standard formats. Investing in quality sources can dramatically enhance your listening experience.
Sound Clarity Ratings by Audio Format
Improving sound clarity on your Pioneer home theater is achievable with careful attention to speaker placement, adjustments to audio settings, and management of your room acoustics. By employing calibration tools and maintaining your equipment, you can create an immersive audio experience. Take these steps today to elevate your home theater sound quality!
Frequently Asked Questions
How can I adjust the settings on my Pioneer home theater to improve sound clarity?
To enhance sound clarity on your Pioneer home theater, access the setup menu and navigate to the audio settings. Adjust the equalizer to boost midrange frequencies, which can help dialogues and vocals stand out. Additionally, enable features like Auto Room Tuning, which calibrates the audio output based on your room’s acoustics.
What are the best speaker placements for optimal sound clarity in a Pioneer home theater system?
For optimal sound clarity, position your front speakers at ear level and form an equilateral triangle with your main seating area. Surround speakers should be placed slightly above ear level and positioned to the sides or behind the seating area for immersive sound. Ensuring there are no obstructions, like furniture, will help maintain sound integrity and clarity.
Why is my Pioneer home theater system producing muffled sound, and how can I fix it?
Muffled sound in your Pioneer home theater may be caused by poor speaker placement, incorrect audio settings, or obstructed sound paths. First, check that speakers are properly positioned and not blocked by furniture. Then, adjust the audio settings, including the bass and treble levels, to ensure a balanced sound output.
Which audio formats should I use on my Pioneer home theater for the best sound clarity?
For the best sound clarity on your Pioneer home theater, use high-quality audio formats such as Dolby TrueHD or DTS-HD Master Audio. These formats retain more detail and provide a richer sound experience compared to standard formats like MP3. Make sure your source devices support these formats to maximize audio quality.
How can I minimize background noise when using my Pioneer home theater system?
To minimize background noise while using your Pioneer home theater, ensure your speakers are properly calibrated and that the volume levels are balanced. You can also use soundproofing materials, such as acoustic panels or thick curtains, to absorb excess noise in the room. Additionally, check for any electronic interference from nearby devices that may affect sound quality.
References
- Home cinema
https://en.wikipedia.org/wiki/Home_theater - Google Scholar Google Scholar
https://scholar.google.com/scholar?q=improve+sound+clarity+Pioneer+home+theater - Secrets of Home Theater and High Fidelity
https://www.hometheaterhifi.com/ - https://www.soundandvision.com/content/home-theater-guide
https://www.soundandvision.com/content/home-theater-guide - Google Scholar Google Scholar
https://scholar.google.com/scholar?q=home+theater+sound+clarity - https://www.noisehelp.com/soundproofing.html
https://www.noisehelp.com/soundproofing.html - https://www.audioholics.com/tweaks/home-theater-tweaks
https://www.audioholics.com/tweaks/home-theater-tweaks - https://www.sciencedirect.com/science/article/pii/S2351978915001749
https://www.sciencedirect.com/science/article/pii/S2351978915001749 - https://scholar.google.com/scholar?q=How+to+Improve+Sound+Clarity+on+a+Pioneer+Home+Theater Google Scholar
https://scholar.google.com/scholar?q=How+to+Improve+Sound+Clarity+on+a+Pioneer+Home+Theater - How to Improve Sound Clarity on a Pioneer Home Theater – Search results
https://en.wikipedia.org/wiki/Special:Search?search=How+to+Improve+Sound+Clarity+on+a+Pioneer+Home+Theater