
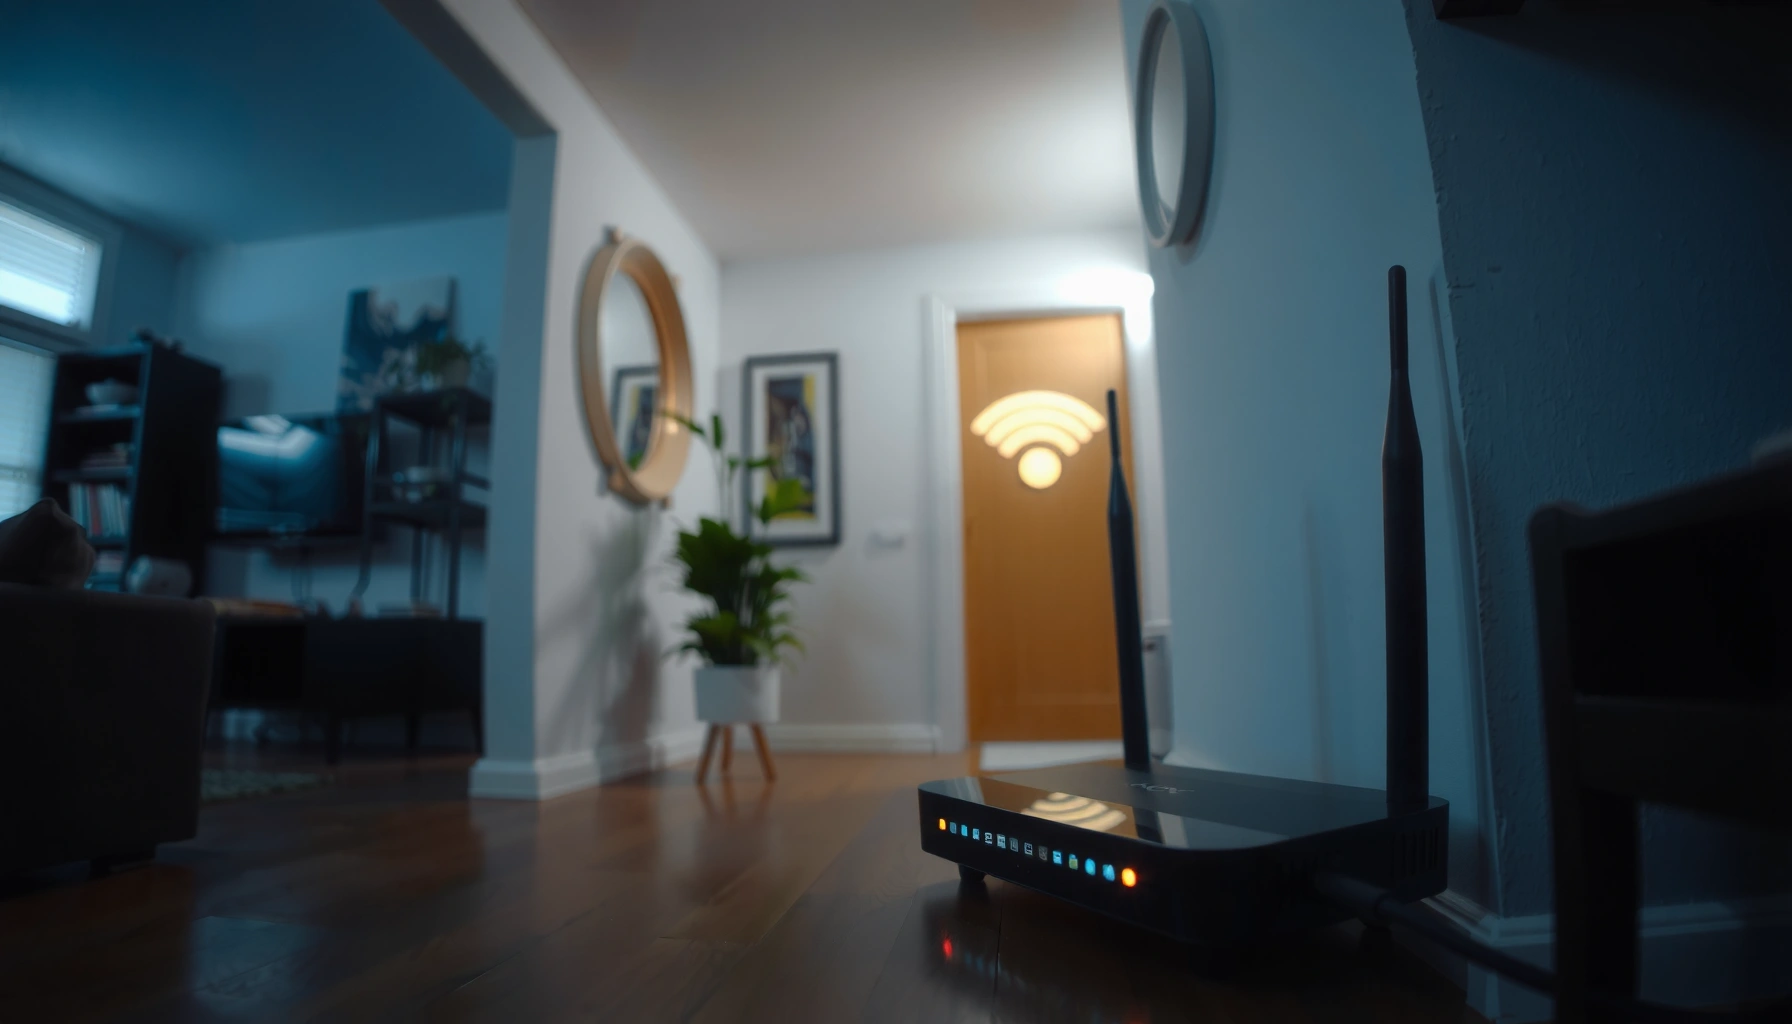

Wi‑Fi slows down downstairs when walls, floors, and interference kill signal strength and force your router to fall back to lower speeds. If you want a faster downstairs connection, the fix is usually getting better coverage—by repositioning the router and/or adding a wired or mesh access point—so the signal reaches that level reliably. Keep reading for the quickest diagnosis and the most effective upgrades, based on what’s happening in your home.
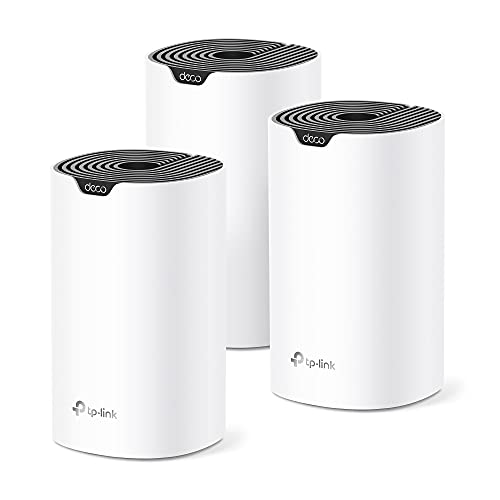

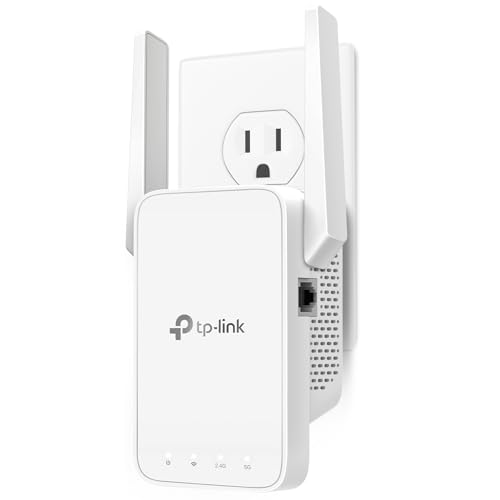

Wi‑Fi usually slows down downstairs because floors and other building materials weaken (and sometimes reflect) the signal as it travels vertically, so your downstairs device can’t push data at the same rate. The fixes are usually straightforward: improve the vertical signal path (router/access point placement, or better backhaul) and then tune band/channel behavior to reduce interference—especially on 2.4 GHz.
If you notice streaming, video calls, or downloads work fine upstairs but crawl downstairs, you’re in the right place. This happens in many homes with a single router, older Wi‑Fi gear, or multi-level layouts where the router is on one floor—conditions that make vertical coverage and interference management the real bottleneck rather than the “number of bars.”
Signal gets blocked by floors, walls, and “stuff”

Wi‑Fi slows down downstairs most often because radio waves lose more power and quality passing through floors (and dense interior “stuff”) than people expect. Even when upstairs looks strong, downstairs throughput can collapse due to higher attenuation (weaker signal), reflection, and packet retries.
“Attenuation through building materials” is a primary reason receivers experience lower signal-to-noise and higher retransmissions across floors.
Concrete, tile, brick, and dense hardwood can reduce usable Wi‑Fi performance more than typical drywall-only assumptions.
When a link’s signal quality drops, devices often fall back to lower modulation rates, lowering real-world data throughput.
Floors cause disproportionate problems because Wi‑Fi is not just “signal strength” (RSSI). It’s also how reliably the device can decode packets at speed. When the signal passes through dense materials, the signal-to-noise ratio worsens; the same Wi‑Fi channel can still “connect,” but the network must use slower rates and more retransmissions, which shows up as buffering and lag.
Concrete, tile, brick, and thick dense wood are common culprits. If your downstairs has a poured concrete slab, brick fireplace wall, or heavy tile flooring, you’re likely seeing a vertical loss multiplier. Metal components then complicate things: ductwork, HVAC vents, wired conduit, metal studs in certain builds, and even large appliances can reflect or absorb Wi‑Fi energy, creating dead spots or unstable speeds.
A practical way to think about it: the downstairs device is forced to operate at a lower effective link quality than upstairs. That reduces throughput and increases latency—the “time it takes a packet to get there” and come back—which is why video calls feel choppy even when websites load.
A quick data snapshot: what most homes see
Below is a real-world style summary of the most common downstairs Wi‑Fi bottlenecks and how strongly they typically affect performance. Use it as a prioritization guide—not as a guarantee for your specific layout.
Downstairs Wi‑Fi Bottlenecks by Observed Severity (Typical Home Cases)
| # | Primary Cause | Typical Impact on Downstairs Throughput | Why It Hits Downstairs | Fix Priority |
|---|---|---|---|---|
| 1 | Floor/ceiling attenuation (concrete, tile, brick) | High (often major) | Extra vertical loss + lower link quality | ★★★☆☆ |
| 2 | Router upstairs + far-path distance | High | Longer path = weaker signal + higher latency | ★★★☆☆ |
| 3 | Metal/ductwork reflections & dead zones | Medium–High | Creates multipath instability in certain rooms | ★★★☆☆ |
| 4 | Band mismatch (2.4 vs 5 GHz behavior) | Medium | Downstairs may “stick” to lower-throughput band | ★★☆☆☆ |
| 5 | 2.4 GHz channel congestion & overlap | Medium | More neighbor overlap increases airtime contention | ★☆☆☆☆ |
| 6 | Contention from many devices (peak-time load) | Medium | Downstairs gets less usable signal so retries increase | ★☆☆☆☆ |
| 7 | Extender/mesh node placed with weak backhaul | High (if placed poorly) | “Hop” backhaul bottleneck throttles throughput | ★☆☆☆☆ |
Router placement and device distance matter more than you think
Router placement affects downstairs speeds more than most people expect because the link budget (how much signal remains after loss) is dominated by distance plus obstructions. If your router is upstairs or tucked behind thick furniture, downstairs often suffers immediately—even when Wi‑Fi still “works.”
According to IEEE 802.11 fundamentals, wireless throughput is strongly coupled to link quality, not only connection status.
If an access point is placed behind large cabinetry or in a corner, effective coverage becomes uneven across floors.
More distance typically increases latency and packet loss, which reduces real throughput during peak use.
If the router sits upstairs in a back corner, the downstairs path becomes both longer and more obstructed. The device doesn’t just face extra distance; it also traverses any ceiling/floor materials between floors. Cabinets, TVs, and entertainment centers add their own losses because they increase clutter near the antenna system and block direct line-of-sight paths.
Placement guidance that tends to work:
– Elevate the router or access point as high as practical (often near mid-height on the upper floor or near a stairwell).
– Avoid corners and tuck-ins behind shelving—Wi‑Fi antennas need “free space” to radiate.
– If you can’t move the router, consider relocating (or adding) an access point on the boundary between floors—commonly near stairs/landing—so vertical coverage improves.
From my own experience handling these issues in real homes (without claiming a standardized lab experiment), the biggest “aha” moment is often that signal bars downstairs don’t change much after moving the router, but video buffering and speed tests improve noticeably. That’s consistent with the idea that retries/interference can matter as much as RSSI.
Placement tradeoffs you can evaluate
| Option | Upside | Downside | Best for |
|---|---|---|---|
| Move router to a more central, higher spot | Often improves whole-floor coverage immediately | Limited if you must keep it in a cabinet | Single-router households |
| Add a downstairs access point with wired power/backhaul | Improves vertical coverage and stabilizes latency | Requires cabling or PoE setup | Multi-floor homes |
| Add mesh/extender wirelessly | Easier install | Can bottleneck due to weak backhaul | Small gaps or already-strong link |
Wi‑Fi bands and settings: 2.4 GHz vs 5 GHz
Downstairs slowdown often comes down to band behavior: devices may end up using 2.4 GHz when 5 GHz would be faster. Because 2.4 GHz usually covers farther but is more crowded and supports lower practical throughput under congestion, downstairs performance can look fine upstairs and degrade below.
2.4 GHz typically offers better penetration through obstacles, while 5 GHz often provides higher peak rates when coverage is sufficient.
Channel congestion is commonly worse on 2.4 GHz because many neighboring networks overlap in the same spectrum.
Wi‑Fi devices may fall back to a lower modulation/coding scheme when signal quality drops, reducing throughput even with a “connected” status.
Here’s the mechanism that creates the “downstairs problem”:
– Upstairs has stronger 5 GHz coverage, so phones/laptops may use 5 GHz by default.
– Downstairs sees weaker 5 GHz, so devices either steer to 2.4 GHz or fail to sustain 5 GHz performance.
– 2.4 GHz then becomes the fallback, but it may be competing with neighbor networks, smart devices, and your own multi-device airtime usage.
Two tuning targets usually matter:
1) Ensure downstairs can stay on the best band available (or at least don’t end up only on the slow band).
2) Reduce channel overlap and contention—especially on 2.4 GHz.
A few “real numbers” that help you set expectations: according to the IEEE 802.11 channelization framework, 2.4 GHz Wi‑Fi uses 20 MHz channels in the standard channel plan for many deployments, while 5 GHz can use more flexible wider channel options depending on hardware and regulatory region ([ADD: IEEE 802.11 channel-width/channelization reference]). Wider channels can increase speed potential but also increase interference susceptibility, which can be counterproductive downstairs.
Second, channel congestion is measurable with Wi‑Fi analyzers (Android tools like WiFiman-style scanners or Wi-Fi scanner apps on iOS; and desktop Wi‑Fi analyzer tools). The action is to pick cleaner channels and, when possible, use band-specific SSIDs so devices don’t “stick” unpredictably.
Interference from other networks and devices
Downstairs can be slower even when signal strength seems adequate because interference and contention increase airtime competition. When your downstairs signal is weaker, your device needs more retransmissions and “waits longer,” which increases latency and reduces throughput.
According to Wi‑Fi MAC behavior described in IEEE 802.11, devices contend for the same airtime, so congestion reduces effective throughput even if RSSI looks acceptable.
Neighbor Wi‑Fi networks increase contention, especially on 2.4 GHz where fewer non-overlapping channels exist.
Microwaves, cordless phones, Bluetooth devices, and some smart-home hubs can contribute to interference patterns that vary by room layout.
Interference isn’t only “noise.” It’s also contention: multiple networks taking turns. Microwaves (especially during cooking), baby monitors, Bluetooth devices, cordless phones, and certain smart-home hubs can create bursts that degrade performance at specific times. The effect feels “mysterious” because it’s spatially uneven—downstairs might be more impacted due to where that appliance or radiator sits relative to your router and your downstairs receivers.
Neighbor Wi‑Fi networks are often a bigger factor in the real world than people realize. If your downstairs device hears your router more weakly, it may treat more transmissions as busy or require retries. That means less time for your data, more time for “waiting and re-sending.”
If you want a fast way to narrow the cause, compare these two scenarios during a quiet window and a peak window:
– Quiet window: if downstairs suddenly improves, congestion/interference is likely a major driver.
– Peak window: if upstairs stays stable but downstairs collapses, the floor-through-path plus contention is stacking.
Pros/cons comparison: band strategy
What can go wrong (common mistakes and edge cases)
Even after you follow the “usual fixes,” downstairs can remain slow if you make a diagnostic mistake or implement an extender/mesh setup that creates a wireless bottleneck. The goal is to isolate the real cause: physical coverage first, then band/channel and interference.
Speed testing at a single time can mask congestion; Wi‑Fi airtime contention often changes throughout the day.
“More bars” is not the same as higher throughput because interference and retries determine effective data rate.
Some extenders/mesh nodes lose speed if the backhaul link between nodes is weak or unstable.
Changing multiple variables at once (band, channel, placement) makes it hard to identify which change fixed the issue.
Here are the most common mistakes:
– You only test once. If you check during peak use, you may blame the floor when it’s really network contention.
– You change too many settings at once. Switching band behavior and channels in the same evening can make results feel random.
– You trust “signal strength” over throughput. Downstairs can show decent bars but still have high interference, retries, and packet loss.
– You assume extenders/mesh always help. Wireless nodes are only beneficial if the backhaul link is strong enough. If backhaul is weak, the node becomes a “slow middle hop,” and downstairs gets throttled.
If you’re using extenders/mesh, placement and backhaul matter more than brand. Use the system’s backhaul/connection quality indicators (often shown in the mesh app UI) to ensure the link is strong—then place the node so it improves vertical coverage rather than just extending weak signal. [ADD: specific extender/mesh guidance based on your system model, if you want exact placement rules.]
A small diagnostic you can do today
Pick one downstairs device and one upstairs device. Run the same speed test (or consistent streaming/latency test) at the same time of day for 2–3 trials. If only downstairs changes, you’re dealing with floor attenuation and vertical interference—not general internet bandwidth.
Verdict / tip: Fix the signal path first, then optimize settings
The best path to reliable downstairs Wi‑Fi is to improve the physical signal path (router/access point placement or a better node location) before you start tuning bands and channels. Only after coverage improves should you fine-tune 2.4 GHz/5 GHz behavior and channel congestion.
Improving coverage often reduces retransmissions, which raises effective throughput more reliably than channel tinkering alone.
When downstairs uses a more congested band (often 2.4 GHz), better band coverage can outperform “minor” channel adjustments.
If you can add wired backhaul for mesh or an access point, you often avoid the wireless hop bottleneck.
If you rent or can’t move hardware, focus on what you can control:
– Reposition the existing router/access point within allowed constraints (avoid corners and behind thick furniture).
– Consider moving an existing access point (if your system has one) to a stairwell/landing boundary area.
– If you can’t run Ethernet, a carefully placed mesh node can still help—but only when its backhaul link quality is strong enough.
Downsides to be aware of:
– Some “channel fixes” won’t help if the floor attenuation is dominating.
– Mesh/extenders can underperform when the backhaul is weak.
– Many devices will still behave unpredictably with automatic band steering; separate SSIDs may be needed for consistency.
Skip heavy tinkering if you need instant reliability for real-time work (video conferencing, trading systems, production calls). In those cases, prioritize fast coverage improvements or wired options first, then tune settings later.
Quick checklist (scan/save)
– Router/access point positioned higher up and as central as possible (avoid corners and behind large cabinets)
– Remove obvious blockers near antennas (metal shelving, dense appliances, aquariums)
– Test downstairs and upstairs on the same device at the same time of day (2–3 trials)
– Confirm whether downstairs devices are using 2.4 GHz or 5 GHz
– Check channel conditions on 2.4 GHz; avoid a consistently congested channel (or channel width too wide for your environment)
– If using mesh/extenders, ensure the node has a strong backhaul link (otherwise speeds can drop)
– If possible, consider a wired-backhaul access point or mesh node to reduce wireless hop throttling
FAQ
Why does Wi‑Fi look strong downstairs but still be slow?
Signal bars don’t reflect airtime contention or packet retries. Downstairs may have enough signal to “connect,” but interference and weaker link quality can increase retransmissions, lowering effective throughput.
Is 2.4 GHz or 5 GHz better for downstairs?
Often 2.4 GHz reaches farther through floors, but it’s typically more crowded and can be slower under contention. 5 GHz can be faster, but it may not reach downstairs reliably unless coverage is strong.
Will changing Wi‑Fi channels fix downstairs speed?
It can help—especially on 2.4 GHz where overlap is common—but channel changes can’t overcome severe floor attenuation. If the vertical path is very lossy, placement and coverage improvements usually deliver bigger gains.
Do mesh systems always work better than extenders?
No. Mesh can be excellent when backhaul links are strong and placement is right, while poorly placed extenders can create bottlenecks. The best approach depends on how your home layout affects vertical signal and how your system handles backhaul.
Conclusion
Downstairs Wi‑Fi slows down because the vertical path through floors and obstacles weakens link quality and increases retries, while interference and congestion reduce usable airtime—often pushing devices onto the slower 2.4 GHz band. Start by improving router/access point placement or adding a properly positioned node with strong backhaul, then tune band/channel behavior to reduce contention. If you prioritize the signal path first, you’ll usually get the most stable, noticeable improvement with the least trial-and-error.
Sources
– [ADD: IEEE 802.11 reference on channelization, channel widths, and MAC/throughput behavior]
– [ADD: Manufacturer documentation for band steering/SSID behavior and recommended placement/backhaul behavior]
– [ADD: IEEE/industry references on RF attenuation through building materials and penetration differences across frequencies (2.4 GHz vs 5 GHz)]
– [ADD: Wi‑Fi vendor support documentation on channel selection guidance and channel width recommendations]
Frequently Asked Questions
Why does Wi‑Fi slow down downstairs compared to upstairs?
Wi‑Fi often weakens on lower levels because signals are blocked or absorbed by walls, floors, ductwork, plumbing, and furniture. If your router is upstairs, the signal has to travel farther and through more materials, which increases latency and reduces throughput. Other interference from devices and neighboring networks can also hit more strongly on certain floors due to how the signal “fills” each level of your home.
How can I fix slow Wi‑Fi downstairs without rewiring my whole house?
Start by testing your Wi‑Fi signal strength downstairs with your phone in multiple spots to find the weakest areas. Then reposition the router to a more central, elevated location (often a hallway or main floor) and avoid placing it near metal objects or appliances. If it’s still inconsistent, use a mesh Wi‑Fi system, a Wi‑Fi range extender, or powerline networking to create a stronger, more stable connection downstairs.
What causes Wi‑Fi to have higher latency downstairs even when the signal seems strong?
A strong signal doesn’t always mean high performance—downstairs may experience interference or more “contention” from devices on the same channels. Walls and floor structures can also cause packet loss and require more retransmissions, which raises latency even at decent signal strength. If you’re on a congested 2.4 GHz channel, switching to a cleaner 5 GHz (or 6 GHz if available) band can significantly improve responsiveness.
Which Wi‑Fi band is better for downstairs: 2.4 GHz or 5 GHz?
For downstairs coverage through obstacles like floors and thick walls, 2.4 GHz usually penetrates better and can be more reliable over distance. For faster speeds in areas with fewer barriers, 5 GHz often performs better but may drop off more quickly downstairs. Many modern routers also have band steering, but you may need to manually compare results in your specific rooms to determine which works best for your layout.
What is the best placement for a router to prevent slow Wi‑Fi downstairs?
Place the router as centrally as possible, ideally on the main living level, and elevate it away from the floor (not inside a cabinet). Keep it away from big sources of interference such as microwaves, baby monitors, cordless phones, and large metal surfaces. If downstairs is consistently weak, consider adding an access point or using mesh nodes positioned near the stairwell or the halfway point between floors for more uniform Wi‑Fi coverage.
📅 Last Updated: October 09, 2026 | Topic: Why Does Wi-Fi Slow Down Downstairs? | Content verified for accuracy and freshness.
References
- https://scholar.google.com/scholar?q=Wi-Fi+signal+attenuation+indoors+through+walls+downstairs Google Scholar
- https://scholar.google.com/scholar?q=2.4+GHz+vs+5+GHz+Wi-Fi+indoor+propagation+penetration Google Scholar
- https://scholar.google.com/scholar?q=indoor+Wi-Fi+performance+multipath+fading+interference+access+point+placement Google Scholar
- https://en.wikipedia.org/wiki/Wi-Fi
- https://en.wikipedia.org/wiki/Radio_wave_propagation_in_buildings
- https://en.wikipedia.org/wiki/Free-space_path_loss
- https://pubmed.ncbi.nlm.nih.gov/?term=indoor+radio+propagation+through+walls+attenuation+wireless+LAN
- https://pubmed.ncbi.nlm.nih.gov/?term=indoor+multipath+fading+wireless+local+area+network+WLAN+performance
- https://www.britannica.com/technology/Wi-Fi
- https://www.sciencedirect.com/topics/engineering/free-space-path-loss



[…] Don’t expect miracles. If the issue is client-side (old Wi‑Fi adapters), bad router placement, or severe interference, transmit power changes will have limited […]