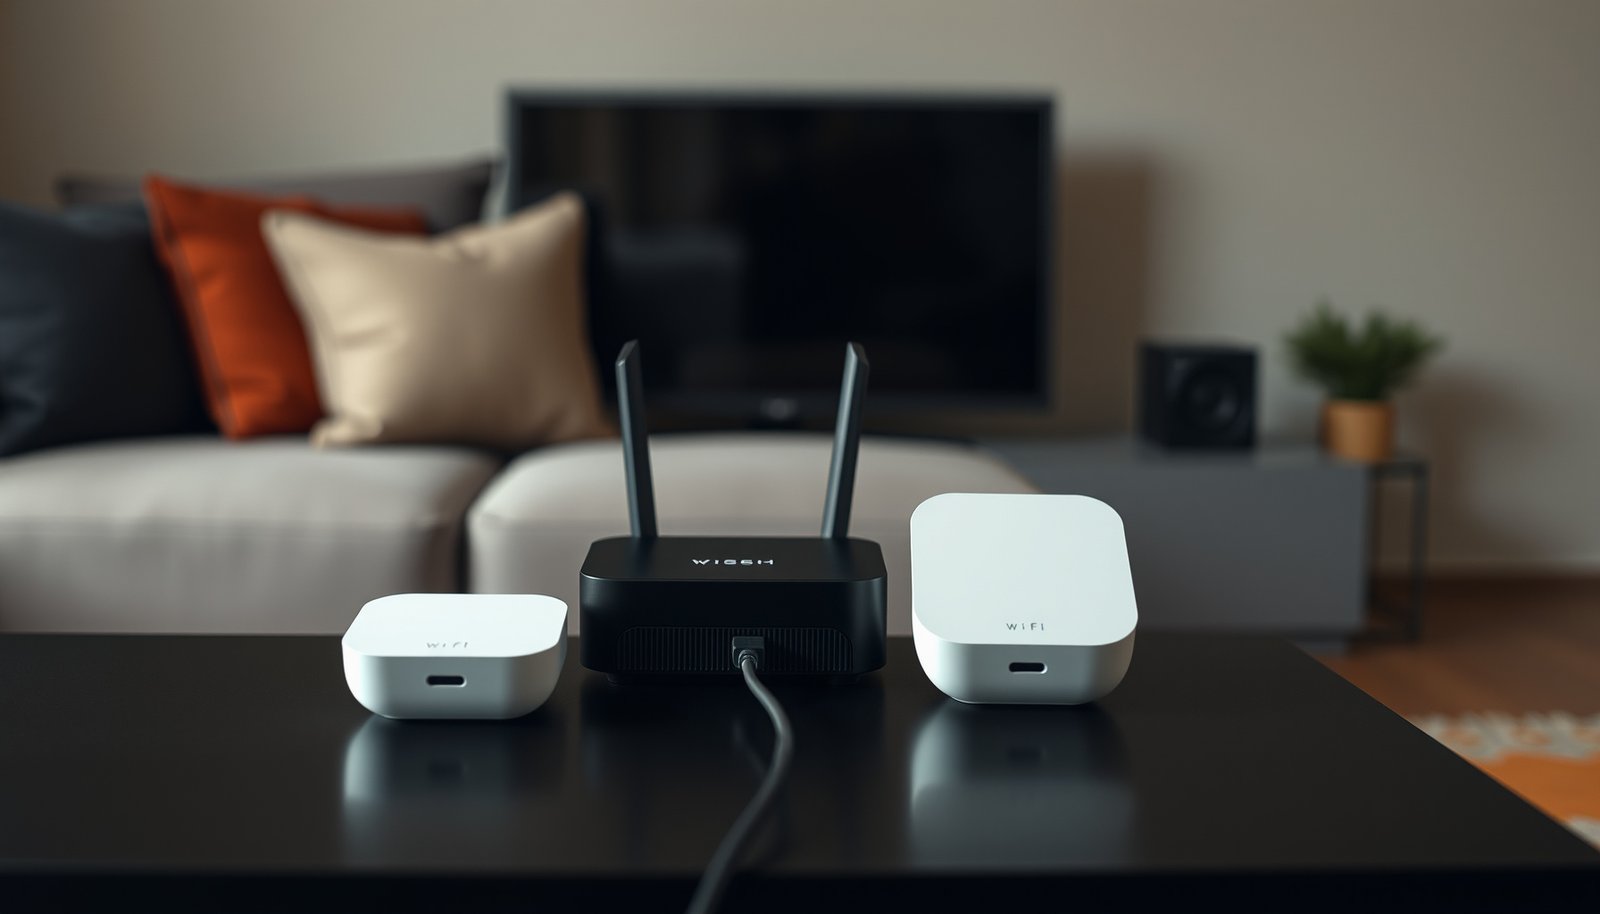
Mesh Wi-Fi with bridge mode is the better choice when you want wider wireless coverage while keeping your existing router in control. If you want the mesh system to manage your network instead, bridging your ISP gateway is usually the better setup. This guide answers which device to bridge, how to avoid double NAT, and which mesh features you may lose.


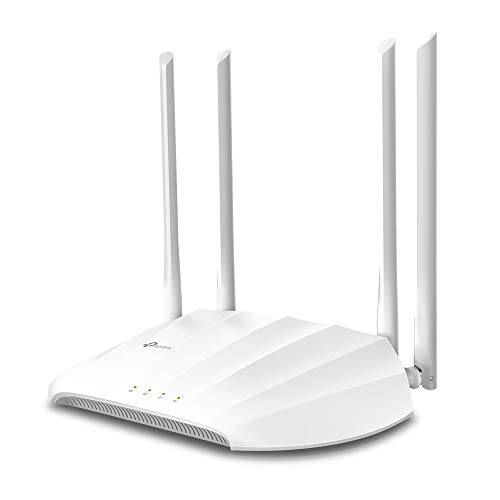
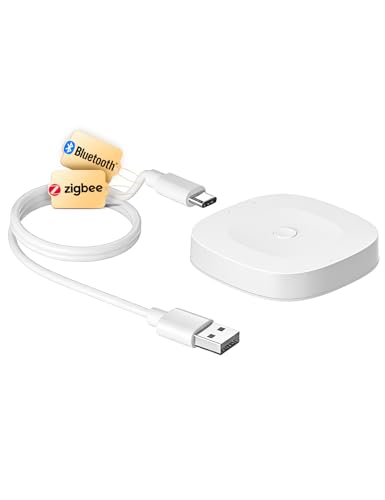
Mesh Wi-Fi can work in bridge mode if the system supports it, allowing your existing router to manage routing while the mesh provides Wi-Fi coverage. However, some systems restrict multi-node operation or disable important features in this mode, so choose which device should handle routing and check the manufacturer’s requirements before changing settings.
This guide is for readers who want to add mesh coverage without replacing their existing router, especially when an internet provider’s gateway must remain in place.
What Bridge Mode Means for Mesh Wi-Fi

Bridge mode generally turns a mesh system into a wireless access system rather than a separate routed network. Your existing router continues handling routing, network address translation (NAT), and Dynamic Host Configuration Protocol (DHCP), which assigns local IP addresses.
The mesh units provide wireless connections and forward traffic to the existing router. NAT translates between private network addresses and the internet-facing address; disabling that function on the mesh avoids creating another routed layer.
In a supported mesh bridge configuration, the existing router handles routing and DHCP while the mesh system provides wireless access.
Bridging the ISP gateway is a different arrangement. There, the mesh typically stays in router mode and becomes responsible for the home network. The gateway passes the internet connection through, subject to the provider’s implementation.
Bridging a mesh system preserves the upstream router’s role; bridging an ISP gateway typically transfers that role to the mesh router.
Manufacturers use different terminology. TP-Link Deco calls its relevant setting Access Point mode, while eero uses bridge mode. Follow instructions for the exact model rather than assuming those labels guarantee identical functionality.
Check Compatibility Before Changing Settings
Confirm multi-node operation, supported backhaul connections, and lost features before enabling bridge or access point mode. Support for a single bridged device does not necessarily mean support for a bridged mesh.
Backhaul is the connection between mesh nodes. Wireless backhaul uses radio links; Ethernet backhaul uses network cables.
According to Google Nest Help’s bridge-mode documentation, bridge mode supports only one Google Wifi or Nest Wifi device, not a multi-device mesh. According to eero’s bridge-mode instructions, one eero must remain wired into the network as the gateway eero. According to TP-Link’s Deco mode comparison, Deco offers two operating modes: Router and Access Point. These documented distinctions are important compatibility checks for a 2026 installation.
Google Wifi and Nest Wifi do not support a multi-device mesh when their primary device operates in bridge mode.
The following table summarizes the documented operating arrangements. Confirm current firmware, hardware revision, and regional documentation before applying these configurations.
Bridge and Access Point Support Across Seven Mesh Models
| # | Model | Operating Mode | Supported Connections in This Mode | Multi-Node Mesh |
|---|---|---|---|---|
| 1 | eero 6 router | Bridge | Ethernet or wireless backhaul | Supported |
| 2 | eero 6+ | Bridge | Ethernet or wireless backhaul | Supported |
| 3 | eero Pro 6 | Bridge | Ethernet or wireless backhaul | Supported |
| 4 | TP-Link Deco X20 | Access Point | Ethernet or wireless backhaul | Supported |
| 5 | TP-Link Deco X55 | Access Point | Ethernet or wireless backhaul | Supported |
| 6 | Google Wifi | Bridge | Single-device Ethernet uplink | Not supported |
| 7 | Nest Wifi router | Bridge | Single-device Ethernet uplink | Not supported |
Feature losses also matter. TP-Link’s mode comparison identifies router-dependent functions unavailable in Deco Access Point mode; eero documents restrictions affecting advanced networking and some security features in bridge mode. Check parental controls, device prioritization, guest access, and subscription benefits individually.
Bridge-mode compatibility includes both node connectivity and retained features; successful internet access alone does not establish full compatibility.
Finally, check ISP requirements for television receivers, telephone service, authentication, and gateway management. A working internet connection does not prove those additional services will survive a gateway configuration change.
Set Up the Mesh Without Competing Routers
Use this intended arrangement: existing router handling routing → main mesh unit in supported bridge/access point mode → additional mesh nodes. Keep DHCP enabled on the existing router.
1. Save the current configuration. Export settings where supported and record Wi-Fi credentials, DHCP reservations, and cable connections.
2. Follow the manufacturer’s setup sequence. Some systems require initial setup before switching modes.
3. Use the specified Ethernet port and topology. Do not assume every port or switch placement is interchangeable.
4. Verify operation. Confirm internet access, node status, local-device access, and the upstream router’s DHCP lease list.
For example, eero documents its app-based bridge setting, while TP-Link provides a separate Deco Access Point procedure. Use the official instructions linked below rather than transferring steps between brands.
A bridged mesh should obtain its upstream network connection from the router that remains responsible for DHCP and routing.
After testing, disabling the existing router’s Wi-Fi may reduce unnecessary overlap. First confirm that televisions, smart-home devices, and other clients can reconnect to the mesh.
Disabling an existing router’s Wi-Fi does not disable its routing functions.
What Can Go Wrong
The main configuration risk is leaving both devices in router mode when only one routed home network is intended. This creates double NAT, where traffic passes through two address-translation layers.
Double NAT often permits ordinary browsing, but it can complicate inbound connections, port forwarding, gaming connectivity, and remote access. Check the topology before changing unrelated wireless settings.
Double NAT is a routing condition, not a measurement of Wi-Fi signal strength.
Model-dependent problems include satellite nodes becoming unavailable, guest isolation changing, or management controls disappearing. Google’s single-device bridge restriction is especially important: bridging the primary device is not a supported way to retain its multi-device mesh.
Mesh bridge mode cannot repair weak wireless backhaul, poor node placement, or radio interference.
Diagnose coverage separately: compare connectivity near the main node and near each satellite, inspect backhaul status, and reposition nodes where necessary. Avoid placing a wireless satellite inside the dead zone it is supposed to serve.
When Bridge Mode Is—and Isn’t—the Right Choice
Choose mesh bridge/access point mode when the existing router must remain responsible for the network and the mesh retains the coverage and controls you need. Consider bridging the ISP gateway instead when you want the mesh’s routing features and the provider supports that arrangement.
- Mesh bridge/access point mode
- Advantage: preserves existing routing and DHCP configuration. Downside: may remove mesh security, prioritization, or parental-control features.
- ISP gateway bridge mode
- Advantage: lets the mesh manage the home network. Downside: requires compatible ISP service and gateway configuration.
Mesh bridge mode is appropriate when preserving the existing router matters more than retaining the mesh system’s routing features.
Avoid mesh bridge mode if it prevents multi-node operation or removes essential controls. A purpose-built, supported access-point system may fit better than a mesh product whose bridge implementation conflicts with your requirements.
A supported access-point system is a better choice than an unsupported bridged mesh topology.
Save This Pre-Setup Checklist
Save the configuration and recovery instructions before changing operating modes. Check these items against current documentation for your exact hardware and firmware in 2026.
– [ ] Confirm which device will handle routing and DHCP, and save the current configuration before making changes.
– [ ] Verify multi-node support, backhaul requirements, and any features lost in bridge/access point mode.
– [ ] Keep the official setup and recovery instructions available, then check connectivity throughout the home after switching.
A saved configuration provides a recovery path if a mesh operating-mode change interrupts connectivity.
Post-change testing should include satellite connectivity, local devices, and any ISP-provided television or telephone services.
Sources to Support the Instructions
Use manufacturer documentation for topology and feature decisions, and ISP documentation for gateway changes. These primary sources support the model families and configuration distinctions discussed above.
– eero: [How do I bridge my eeros?](https://support.eero.com/hc/en-us/articles/208276903-How-do-I-bridge-my-eeros) — setup and required topology.
– eero: [Features lost in bridge mode](https://support.eero.com/hc/en-us/articles/115000825206-What-advanced-features-do-I-lose-if-I-put-my-eeros-into-bridge-mode) — advanced-feature restrictions.
– TP-Link: [Set up Deco in Access Point mode](https://www.tp-link.com/us/support/faq/1842/) and [Router versus Access Point mode](https://www.tp-link.com/us/support/faq/2399/) — setup and feature comparison.
– TP-Link: [Deco Ethernet backhaul guidance](https://www.tp-link.com/us/support/faq/1794/) — wired topology requirements.
– Google Nest: [Bridge mode](https://support.google.com/googlenest/answer/6240987) — single-device restriction and disabled functions.
– Xfinity: [Enable or disable bridge mode](https://www.xfinity.com/support/articles/wireless-gateway-enable-disable-bridge-mode) — gateway configuration and reversal instructions.
Manufacturer instructions determine whether a mesh topology is supported; ISP instructions determine whether gateway bridging is permitted.
Gateway recovery procedures should be available before changing the device that manages the home network.
Mesh Wi-Fi in bridge mode is a practical option when you want wider coverage while keeping your existing router in charge, but compatibility and feature losses matter. Start with your mesh model’s official documentation, choose which device should handle routing, and save your current settings before making the change.
Frequently Asked Questions
What is mesh Wi-Fi bridge mode, and when should I use it?
Mesh Wi-Fi bridge mode allows your mesh system to work with your existing router by disabling its routing/NAT functions while still extending Wi‑Fi coverage. You should use it when you want to keep a separate gateway or modem as the main router, but still need seamless coverage throughout your home using mesh access points. It’s also helpful if your current router has features like VPN, advanced firewall rules, or specific port management you don’t want to lose.
How do I enable bridge mode on a mesh Wi-Fi system without breaking my network?
Start by connecting your mesh node to your main router (usually via Ethernet) and then open the mesh app to locate “Bridge Mode,” “Access Point Mode,” or “IP Passthrough.” Follow the on-screen steps to disable routing/NAT on the mesh device, and confirm that your main router remains the one handing out IP addresses (DHCP). After the change, reboot both the router and the mesh unit, then test with devices that previously had weak signal to verify stable roaming and connectivity.
Why doesn’t my mesh Wi‑Fi work properly after switching to bridge mode?
Common causes include incorrect Ethernet wiring, keeping the mesh system’s DHCP enabled while the main router also provides DHCP, or using the wrong connection type (WAN vs LAN ports). Double NAT, IP address conflicts, or an incompatible router setup can also lead to issues like “no internet,” slow speeds, or devices dropping connections. To fix it, verify DHCP settings, ensure bridge mode is truly enabled on the mesh node, and check that the mesh WAN/internet port is configured correctly for pass-through.
Which mesh systems support bridge mode, and what features matter most?
Many popular mesh Wi‑Fi systems support bridge mode (often called Access Point mode), but compatibility can vary by model and firmware version. Look for a product that explicitly documents “bridge mode,” supports wired backhaul for best performance, and maintains smooth client roaming. It’s also important to confirm whether the system keeps its own Wi‑Fi name (SSID) options and whether it supports the bridge setup using Ethernet rather than relying on wireless backhaul.
What is the best way to set up mesh Wi‑Fi with bridge mode for optimal coverage and speed?
For best results, use a wired Ethernet backhaul from your main router (or switch) to the main mesh node and then connect additional nodes via Ethernet when possible. Place nodes to cover dead zones without overlapping too aggressively, and keep the same SSID and security settings across nodes to encourage seamless handoff. After setup, run a quick bandwidth/speed test in problem areas and check that you aren’t experiencing double NAT by confirming WAN IP behavior on your main router.
📅 Last Updated: October 16, 2026 | Topic: Mesh Wi-Fi With Bridge Mode | Content verified for accuracy and freshness.
References
- Wireless mesh network
- IEEE 802.11s
- Network bridge
- Spanning Tree Protocol
- Wireless distribution system
- Wireless access point
- RFC 1493: Definitions of Managed Objects for Bridges | RFC Editor
- https://scholar.google.com/scholar?q=mesh+wi-fi+bridge+mode Google Scholar
- https://scholar.google.com/scholar?q=wifi+mesh+access+point+bridge+configuration Google Scholar
- https://scholar.google.com/scholar?q=IEEE+802.11s+mesh+bridging+spanning+tree Google Scholar


One thought on “Mesh Wi-Fi With Bridge Mode”