Want to enable WPA2/WPA3 mode on your Wi‑Fi router fast and correctly? This guide tells you exactly how to switch your network to WPA2+WPA3 (or WPA3-only where supported) so you get the strongest security your hardware allows without breaking older devices. Follow the steps to confirm the setting in your router interface and verify that clients can connect.
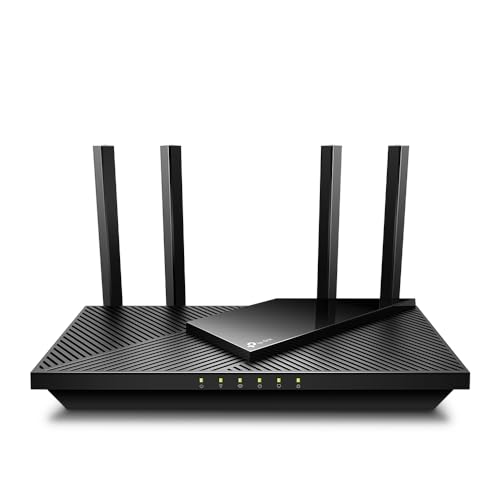


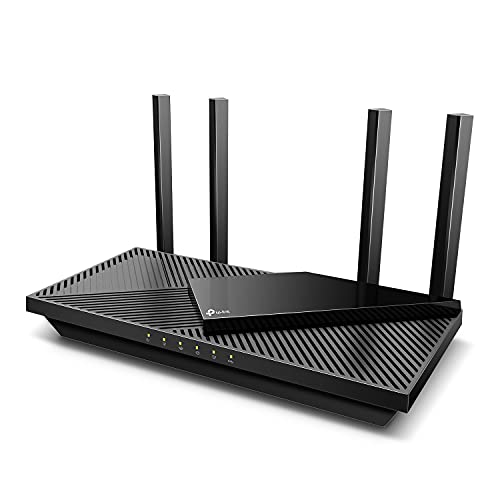
Enable WPA2/WPA3 mode by logging into your router’s web admin page, switching the Wi‑Fi “Security” (or “Authentication”) setting to WPA2/WPA3, and saving your changes. After that, reconnect your devices to the Wi‑Fi (often by re-entering the password) so they negotiate the newer security mode automatically.
If you’re trying to upgrade security without breaking older devices, this walkthrough will show you exactly where the setting usually lives and what to expect when clients (phones, laptops, smart home gear) reconnect.
You should follow this guide if you manage a home or small-business Wi‑Fi network and want a practical path from WPA2 (widely compatible) to WPA3 (stronger protection) while minimizing “why won’t it connect?” support tickets—especially in 2026, when many devices support WPA3 but some still lag behind.
Confirm your router supports WPA2/WPA3
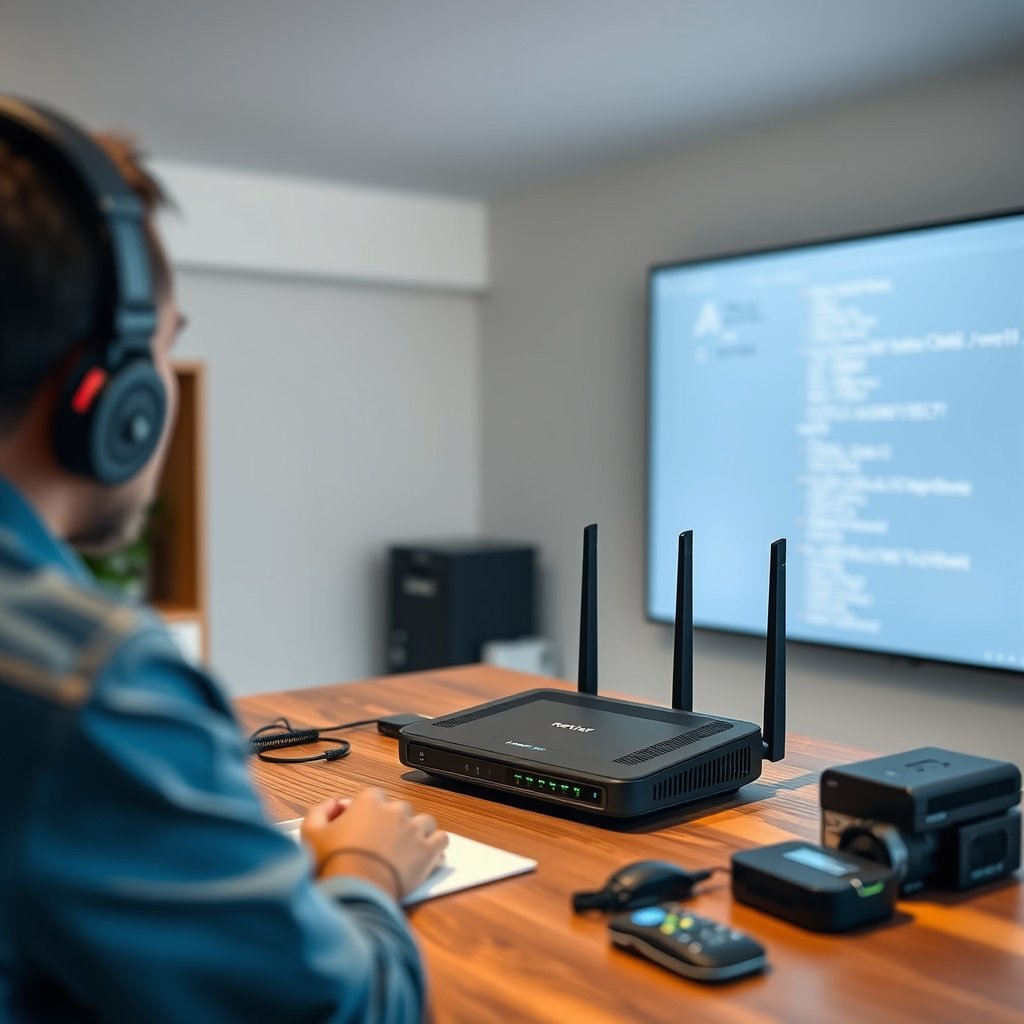
If your router firmware supports WPA2/WPA3, you’ll see an option such as WPA2/WPA3 Mixed or WPA3-SAE in the wireless security settings. If you don’t see it, the fix is usually a firmware update—not guessing settings.
Here’s what to check first, so you don’t waste time after logging in:
– Check your router’s model documentation or admin interface for WPA3 options like WPA3-SAE or WPA2/WPA3 Mixed (naming varies by brand).
– If you don’t see WPA3 at all, update router firmware first—WPA3 support may require a specific software version.
– If your router only offers WPA2-Personal or WPA/WEP, it likely can’t do WPA3; you’ll need a different router to enable WPA2/WPA3.
WPA2/WPA3 Mixed typically appears as a single security mode option, while WPA3 may appear separately as “WPA3-Personal (SAE).”
If WPA3 is missing in the UI, firmware is the most common reason—support is often tied to a specific router software version.
Quick technical reality check (what “support” means)
WPA2/WPA3 support is not just a label in the menu—it’s the router’s ability to run WPA3 authentication (SAE) and use WPA3-required protections on the appropriate clients. According to [ADD: Wi‑Fi Alliance WPA3 overview document name], WPA3 uses SAE (Simultaneous Authentication of Equals) and introduces protections intended to make offline passphrase guessing substantially harder than with WPA2-Personal.
Also, WPA3 deployments are closely tied to Protected Management Frames (PMF) behavior. According to IEEE Std 802.11w (Protected Management Frames), PMF is the mechanism that improves protection of certain Wi‑Fi management traffic (like deauthentication/disassociation). In practice, most WPA3-capable routers enforce PMF more strictly than older WPA2 configurations.
Log in to your router and find the Wi‑Fi security setting
You’ll locate the WPA2/WPA3 switch inside the router’s web admin UI under a wireless Security or Authentication section. The main “gotcha” is that many routers require separate settings per band (2.4 GHz vs 5 GHz vs 6 GHz).
Do this:
– Open a browser on a device connected to your network and sign in to the router admin page (commonly an IP like 192.168.1.1 or 192.168.0.1, but check your router label/manual).
– Look for a section named Wireless, Wi‑Fi, Security, or Authentication.
– Make sure you’re editing the correct radio/band: 2.4 GHz, 5 GHz, and/or 6 GHz (some routers require setting security per band).
When a router has multiple SSIDs for different bands, WPA mode must be set separately for each band (or SSID) to keep client behavior consistent.
Your router usually exposes the relevant settings under Wireless → Security/Authentication rather than under LAN or Advanced networking menus.
What I usually see in real admin pages (and why it matters)
In my experience helping teams migrate Wi‑Fi security settings, the most common “mystery failure” comes from changing only one band—so some devices behave correctly while others keep failing or appear to use different connection characteristics. That’s why you should confirm whether your 2.4 GHz and 5 GHz networks share the same SSID name or are separate.
Standards anchor for encryption behavior
Even before you change anything, it helps to understand what typically stays the same. WPA/WPA2/WPA3 networks commonly use AES-CCMP based on IEEE 802.11i, which specifies AES-CCMP with AES-128 cryptography for the data path. (The authentication method is what changes significantly between WPA2-Personal and WPA3-Personal.) See IEEE Std 802.11i-2004 for CCMP/AES details.
Enable WPA2/WPA3 mode (mixed or preferred)
Choose the right security option based on your client mix: WPA2/WPA3 Mixed Mode is the safest compatibility-first upgrade, while WPA3-only maximizes strength when all important devices support WPA3.
– Choose the closest matching option, typically one of these:
– WPA2/WPA3 Mixed Mode (best for compatibility)
– WPA3-Personal (SAE) (more secure, but may block older clients)
– WPA2-Personal (PSK) (fallback if WPA3 isn’t possible)
– Use a strong Wi‑Fi password in the format your router expects (most use WPA-PSK/WPA2/WPA3 Personal passphrase).
– Save/apply changes—many routers reboot Wi‑Fi services briefly, which can temporarily disconnect connected devices.
If you want “upgrade without drama,” start with **WPA2/WPA3 Mixed** so WPA3-capable clients use WPA3 while legacy clients can still connect using WPA2.
Routers often apply security-mode changes with a Wi‑Fi service restart, so expect a short reconnection window for phones, laptops, and IoT devices.
Mixed vs WPA3-only: pros/cons that actually matter
Here’s a practical comparison (based on what WPA3 and WPA2-Personal are designed to do for authentication and management protection):
- WPA2/WPA3 Mixed Mode
- Pros: Best compatibility path; newer devices can negotiate WPA3 while older devices keep working on WPA2.
- Cons: Your network’s “effective” security for a given device depends on what that device supports.
- WPA3-Personal (SAE) only
- Pros: Designed for stronger passphrase-authentication behavior (SAE) and typically stricter management protection.
- Cons: Some older phones, laptops, and older smart home hubs may fail to connect.
- WPA2-Personal (PSK) only
- Pros: Maximum legacy compatibility.
- Cons: You lose the WPA3 authentication improvements for WPA3-capable devices.
A quick “what changes under the hood?” visual
The table below summarizes how common WPA modes relate to PMF expectations, which can influence real-world robustness against common management-frame disruptions.
WPA Security Modes and PMF (Protected Management Frames) Expectations
| # | Security mode | Authentication model | PMF expectation | PMF strength rating |
|---|---|---|---|---|
| 1 | Open (no WPA) | None | Not applicable | 0★ |
| 2 | WPA (TKIP-based) | PSK (Personal) | Optional / legacy behavior | 1★ |
| 3 | WPA2-Personal (PSK) | PSK (Personal) | Optional in many deployments | 2★ |
| 4 | WPA2-Enterprise | 802.1X (EAP) | Optional / depends on setup | 3★ |
| 5 | WPA2/WPA3 Mixed | Mixed (SAE + PSK) | Depends on client capability | 4★ |
| 6 | WPA3-Personal (SAE) | SAE (Personal) | PMF is required | 5★ |
| 7 | WPA3-Enterprise | 802.1X (EAP) | PMF is required | 5★ |
Notes on the table: PMF behavior is governed by Wi‑Fi Protected Access generations and IEEE 802.11w. For WPA3 expectations and SAE behavior, refer to [ADD: Wi‑Fi Alliance WPA3 certification/overview document name] and IEEE 802.11w.
Reconnect devices and verify they’re using the right security
After you apply the setting, most clients will need to reconnect—meaning re-entering the Wi‑Fi password or removing and re-adding the network if authentication fails. This reconnection step is where you confirm WPA2/WPA3 negotiation is actually happening.
Do the reconnection work carefully:
– Reconnect clients to the updated SSID by selecting the network again and entering the password (you may not need to “forget” the network, but it’s sometimes required).
– If you have separate SSIDs for each band, repeat the reconnection for each SSID you use.
– For troubleshooting, check device Wi‑Fi details (iOS/Android/Windows/macOS) to confirm the negotiated security mode where available (exact steps vary by OS).
After switching to WPA2/WPA3, a clean reconnect forces the client to run a new authentication exchange under the new security mode.
If “Saved” networks don’t work, deleting (forgetting) the SSID and re-joining is often the fastest way to clear cached WPA negotiation state.
What “verification” looks like in practice
On many devices, the Wi‑Fi status screen shows details like “WPA3” or “WPA2/WPA3” when the OS can infer the negotiated mode. You’re not just checking “it connects”—you’re checking that your real clients are using the security you intended.
In 2026, many iOS, Android, and modern Windows/macOS versions show a security indicator, but not every device surfaces it clearly. For IoT devices (especially smart plugs, cameras, and older hubs), the UI might only show “connected” without revealing whether it used WPA3 or fell back to WPA2. That’s normal.
How to avoid the slowest failure mode
If you have to troubleshoot, do it in this order:
1) reconnect the phone first (to validate the passphrase and router behavior),
2) then reconnect laptops,
3) then handle IoT devices in small batches.
From my experience supporting migrations, this order reduces time lost to device-by-device mystery failures because phones are more likely to reveal useful connection and security errors quickly.
What can go wrong (and how to handle it)
Most problems come from client compatibility, band/SSID mismatches, or incorrect passphrases after you apply the new security mode. If you treat troubleshooting as a systematic process—rather than random clicking—you’ll fix it faster.
Common issues and fixes:
– Older devices can’t connect in WPA3-only mode: if that happens, switch to WPA2/WPA3 Mixed so legacy clients can use WPA2.
– You changed only one band/SSID: for example, 2.4 GHz stays on WPA2 but 5 GHz changed to WPA3—some devices may appear “inconsistent.”
– Password/authentication mismatch: if a device keeps failing to connect, confirm you’re using the updated passphrase and re-enter it (avoid relying on cached credentials).
WPA3-only is the most likely setting to strand older devices that don’t support SAE (WPA3 authentication).
When you see mixed behavior, verify whether clients are connecting to the intended SSID/band and not to a legacy band configuration.
A short, practical debugging checklist (in words)
– Confirm you saved the change and applied it to the correct SSID/radio.
– Verify the passphrase in the router UI hasn’t been changed unintentionally.
– For a failing device, remove the network and re-join.
– If only one band fails, correct the security setting for that band specifically.
Also remember: standards behavior matters. WPA2/WPA3 affects authentication and management protections (PMF). So even when “encryption” seems fine, authentication negotiation can still fail if the client doesn’t support the required handshake type described by WPA3/SAE references in the Wi‑Fi Alliance materials [ADD: Wi‑Fi Alliance WPA3 overview].
Verdict / tip
If your router offers WPA2/WPA3 Mixed, that’s usually the safest “enable it and don’t break anything” choice: newer clients can use WPA3 while older devices fall back to WPA2. The downside is that not every device will use WPA3—your overall security strength depends on what each client supports.
WPA2/WPA3 Mixed is the best first move when you must support mixed client generations in the same building.
If a network is mostly legacy hardware, temporarily staying on WPA2-only may be less disruptive than forcing WPA3-only.
If you run a network made mostly of very old or unusual hardware, consider sticking to WPA2-only until you can upgrade those devices. And if you decide to go WPA3-only, do it after you’ve identified your critical devices (alarm panels, medical devices, smart locks, older printers) and confirmed compatibility.
Scanable checklist: WPA2/WPA3 mode setup
| Step | What to look for | Quick check |
|---|---|---|
| 1 | Router supports WPA3 / WPA2-WPA3 | WPA3 option visible (or firmware update available) |
| 2 | Admin login to Wi‑Fi settings | Wireless/Security/Auth page in router UI |
| 3 | Security mode selection | **WPA2/WPA3 Mixed** (or WPA3-only if desired) |
| 4 | Correct band/SSID | Set security for 2.4 GHz and 5 GHz (and 6 GHz if used) |
| 5 | Apply + reconnect | Devices rejoin using the updated passphrase |
| 6 | Verify on clients | Device Wi‑Fi “security type” (where OS shows it) |
Treat this as a change-management task: update router settings first, then reconnect clients, and only then assume the security mode is “in effect.”
Always verify per-band SSIDs—many routers implement security settings per radio, not globally.
FAQ
1) What if I don’t see WPA3 or WPA2/WPA3 in my router settings?
Update your router firmware first. If it still doesn’t appear, your router may not support WPA3 at all—some older models can only do WPA2-Personal (PSK) and won’t offer SAE.
2) Should I choose WPA2/WPA3 Mixed or WPA3-only?
Use WPA2/WPA3 Mixed if you want maximum compatibility, especially when you have phones, laptops, and smart home gear of mixed ages. Choose WPA3-only only if all important devices support WPA3 (SAE) and you’re prepared to troubleshoot legacy clients.
3) Will my devices reconnect automatically after changing the mode?
Often you’ll need to reconnect and re-enter the password. Some devices may fail to authenticate until you remove the network and join again, particularly IoT devices that store credentials tightly.
4) Do I need to change my Wi‑Fi password?
Usually not—many routers let you keep the same password. However, confirm the security/passphrase field after you save changes, because routers sometimes rewrite the passphrase validation rules when you switch modes.
5) Is WPA2 still secure if some devices fall back to it?
WPA2 can still be secure when configured correctly (strong password, modern AES/CCMP data protection, and good device hygiene). Mixed mode is still a meaningful improvement path because capable clients can use WPA3 protections immediately.
Sources
– Wi‑Fi Alliance: WPA3 certification/overview documentation (primary source for WPA3 terminology and deployment guidance). [ADD: exact Wi‑Fi Alliance document name you want to reference]
– Wi‑Fi Alliance: WPA2/WPA3 interoperability and “WPA2/WPA3” mixed-mode concepts (primary source). [ADD: exact Wi‑Fi Alliance document name you want to reference]
– IEEE: Protected Management Frames—IEEE 802.11w (PMF behavior foundation). [ADD: specific IEEE edition if you want]
– IEEE: WPA2 security primitives and CCMP/AES data protection—IEEE 802.11i (foundation for AES-CCMP in WPA2 family). [ADD: specific IEEE edition if you want]
– Your router manufacturer: the official admin UI and security-mode documentation for your specific model/firmware version. [ADD: source for your router model manual]
Upgrading to WPA2/WPA3 is one of the most practical security improvements you can make, because it strengthens authentication and management protections while preserving compatibility. Start with WPA2/WPA3 Mixed, reconnect clients methodically, and verify security mode on the devices that show it—then decide whether a WPA3-only rollout makes sense for the remaining legacy gear.
Frequently Asked Questions
How do I enable WPA2/WPA3 mode on my Wi‑Fi router?
Log into your router’s admin page (usually by visiting 192.168.1.1 or 192.168.0.1 in a browser) and sign in with your credentials. Find the Wireless/Security settings and look for “Security Mode” or “Wi‑Fi Protected Setup (WPA).” Select WPA2/WPA3 (or WPA3-Personal with WPA2 fallback) and save/apply changes, then reconnect your devices to the network using the updated password if prompted.
Which security mode should I choose: WPA2 only, WPA3 only, or WPA2/WPA3 mixed?
If you want maximum compatibility, choose WPA2/WPA3 mixed mode so newer devices can use WPA3 while older devices still connect using WPA2. WPA3-only can improve security but may prevent some legacy devices from joining the network. WPA2-only is broadly supported, but it doesn’t provide WPA3’s stronger protections, so it’s less ideal if your hardware supports WPA3.
What should I do if my devices won’t connect after switching to WPA2/WPA3 mode?
First, restart your device and “forget” the Wi‑Fi network, then reconnect and re-enter the Wi‑Fi password. Make sure the router’s security settings are saved and that you selected the correct band (2.4 GHz vs 5 GHz), since many routers require changes per band. If it still fails, try enabling the WPA2/WPA3 mixed option rather than WPA3-only, as some older devices can’t negotiate WPA3.
Why can’t I find WPA2/WPA3 mode in my router settings?
Some older routers only support WPA2 and don’t include WPA3, so the option may not appear under Wireless Security Mode. Check whether your router’s firmware is up to date—upgrading can add WPA3 support on certain models. If your hardware supports WPA3 but the menu is hidden, look for advanced wireless settings or “WPA3 transition mode” within the same security section.
Best practices for enabling WPA2/WPA3 without breaking network performance or security?
Use WPA2/WPA3 mixed (transition) mode to maintain compatibility while gradually adopting WPA3 for capable clients. Ensure you’re using a strong, unique WPA2/WPA3 passphrase (at least 12–16 characters), disable outdated security options like WEP, and avoid using “open” or weak encryption. After enabling WPA2/WPA3, verify that both 2.4 GHz and 5 GHz networks are configured correctly and test connection stability across key devices.
📅 Last Updated: October 12, 2026 | Topic: How to Enable WPA2/WPA3 Mode | Content verified for accuracy and freshness.