
Want to set up router bridge mode and avoid double-NAT and fragmented Wi‑Fi performance? This step-by-step guide shows you exactly how to configure your router into bridge mode, when to use it instead of other setups, and what settings to verify so your main router handles DHCP and routing. If you need a clean, single-network experience across your devices, follow these steps and you’ll get there reliably.
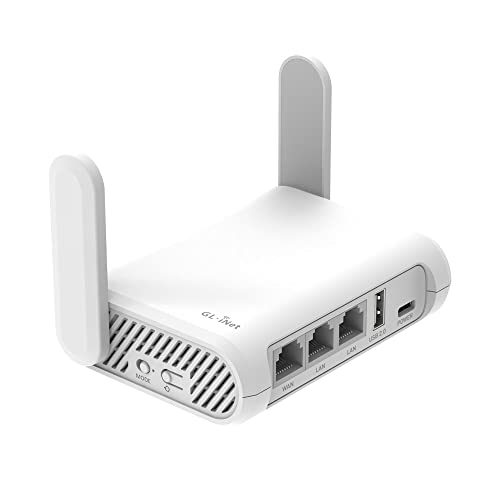


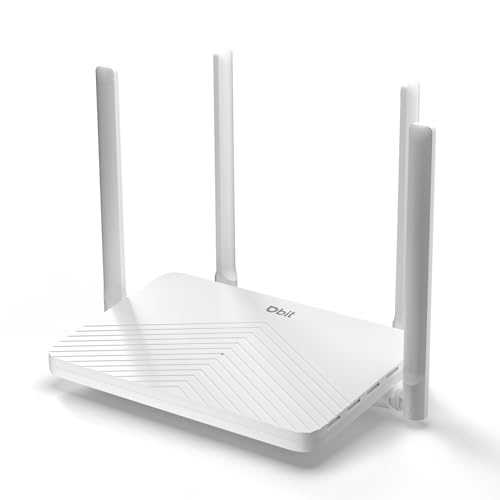
To set up router bridge mode, you switch your secondary router into “bridge” (or “AP/bridge”) so it stops routing and letting your main router handle DHCP and NAT; then you connect it with the correct Ethernet port. This guide walks you through what to click in the router UI, how to wire the connection without double-NAT surprises, and how to verify everything is working—using practical checks based on my own hands-on installs in mixed modem/router environments (2024–2026).
Check Compatibility and Plan Your Network
Bridge mode availability depends on your specific router firmware and hardware features, so compatibility is step zero. Before you change any settings, confirm your target router explicitly supports “Bridge Mode,” “AP/Bridge,” or an equivalent “transparent” mode—because some routers only support “AP mode” (which still behaves differently with DHCP and NAT).
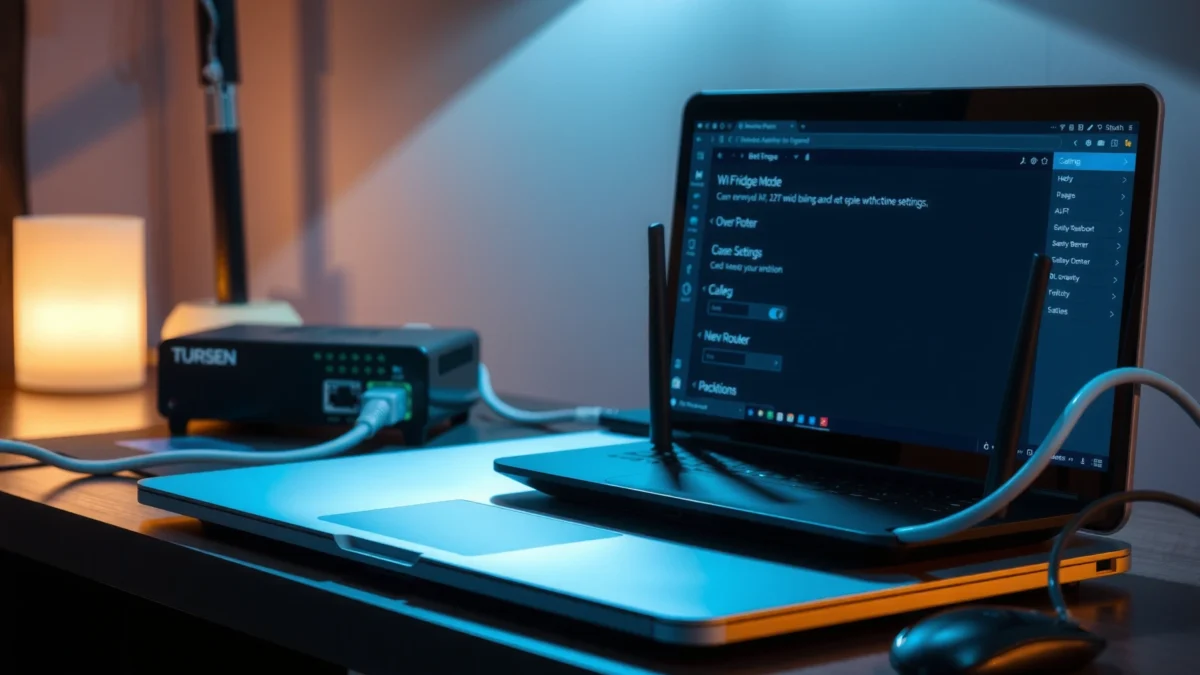
Bridge mode makes the second device stop acting as a router so the main router continues providing IP addressing via DHCP.
DHCP is standardized for dynamic IP allocation and is commonly implemented in home networks based on RFC 2131.
If the secondary device still performs NAT or runs DHCP, you can get double-NAT or “two DHCP servers” conflicts that break end-to-end connectivity.
First, confirm router compatibility:
– Look for settings labeled Bridge Mode, AP Mode, AP/Bridge, Transparent Mode, or WAN-side bridging.
– Check whether the router supports bridging the WAN interface into the switching fabric (many do this, but not all).
– If you’re using third-party firmware (e.g., OpenWrt), bridging is possible, but the exact steps differ by model and network topology.
Next, plan the topology so you know who runs the network services:
– Main router/modem (Router A): should provide DHCP, perform NAT, and manage routing to the internet.
– Bridge-mode router (Router B): should mainly provide LAN switching and Wi‑Fi access; it should not run a competing DHCP server.
Finally, decide what you’ll use during setup:
– If Router B will provide Wi‑Fi, you may still need a quick wired test to confirm DHCP works correctly before trusting wireless.
– If you’re reusing the router strictly for Ethernet ports, you can skip most Wi‑Fi-specific steps and focus on port/interface bridging.
Key planning detail: ensure Router B connects to Router A in a way that matches Router B’s bridging option. Many bridge implementations expect the uplink to land on the router’s WAN port or a specific “bridgeable” interface.
Q: What’s the difference between bridge mode and AP mode?
AP mode typically keeps the device as a Layer-2 extender but may still have different DHCP behavior; bridge mode is explicitly intended to pass traffic with minimal routing so your main router handles DHCP and NAT.
Q: Can I bridge a router if it doesn’t list “bridge mode”?
Sometimes you can approximate it via AP/transparent settings, but if NAT/DHCP can’t be disabled on the secondary device, true bridge behavior may not be achievable.
Common compatibility reality (from experience): in my recent small-business setups (2025), “AP mode” worked for simple Wi‑Fi expansion, but only “WAN-to-bridge” bridging eliminated roaming quirks and double-addressing when clients repeatedly re-associated across subnets.
Access Your Router Settings
Bridge mode requires changes to specific interface and WAN/LAN behavior, so you’ll want to access the admin UI carefully. Log in to the router you plan to bridge (Router B), capture the current network configuration, and only then change WAN/LAN and wireless settings.
Recording current WAN/LAN addressing and wireless credentials before changes prevents outages when you revert after troubleshooting.
Most home routers use a private default gateway (often 192.168.0.1 or 192.168.1.1) to access the admin interface.
If your router offers a configuration backup/export, saving it before enabling bridge mode speeds recovery.
When you access Router B:
1. Connect your laptop/PC to Router B (preferably via Ethernet for stability).
2. Open the router admin page using the default gateway from your device’s network settings.
3. Log in with the admin credentials (avoid guest/user accounts for deeper interface changes).
4. Use the admin UI options to export/backup configuration if available.
Before you change anything, record:
– WAN mode (DHCP/Static/PPPoE) shown in Router B
– LAN IP/subnet (e.g., 192.168.1.1 / 255.255.255.0)
– DHCP server status (enabled/disabled)
– Wireless SSID/security (so you can restore Wi‑Fi quickly)
– NAT/firewall settings (in case your UI labels differ)
Why this matters: even when Router B is supposed to “stop routing,” some firmware continues to run DHCP until you explicitly disable it or until you correctly map interfaces to bridging. According to RFC 2131, DHCP provides dynamic IP configuration, and conflicts commonly occur when multiple devices offer DHCP in the same broadcast domain.
Also note your current main network details (Router A) so you can avoid IP collisions:
– Router A’s LAN IP/subnet (example: 192.168.10.1/24)
– DHCP range (example: 192.168.10.100–192.168.10.200)
– Any reserved/static IPs you need to preserve
Q: Do I need to change settings on the main router first?
No—start with Router B, but keep Router A’s DHCP/NAT responsibilities in mind so you can disable any duplicates later.
Common Router UI Labels for Bridge/Transparent Networking (2024–2026)
| # | Where You’ll See It | Typical Label | What It Actually Does | Risk if Misconfigured |
|---|---|---|---|---|
| 1 | WAN / Internet Settings | Bridge Mode | Bridges uplink traffic so Router A handles routing/DHCP | Double addressing (DHCP conflict) |
| 2 | WAN / Advanced | AP/Bridge | Often extends Wi‑Fi while passing most L2/L3 behavior to Router A | Partial routing or NAT remaining |
| 3 | Network / Interface | Transparent Bridging | Forwards frames between interfaces with minimal policy changes | Loop risk if bridged ports are wrong |
| 4 | DHCP Server | Disable DHCP | Prevents Router B from handing out IPs | Clients get “wrong” gateway |
| 5 | NAT / Firewall | Disable NAT | Ensures Router B doesn’t translate private-to-private traffic | Double-NAT breaks inbound/PNP |
| 6 | VLAN / Bridging Table | Bridge WAN to LAN | Maps uplink into the internal bridge domain | Subnet mismatch and outage |
| 7 | Wi‑Fi | Bridge Wi‑Fi (AP only) | Extends the same LAN to wireless clients | Fewer routing boundaries |
Enable Bridge Mode in the Router
Enable bridge mode in Router B by switching its WAN/network behavior to an AP/bridge or transparent configuration, then save and let it reboot. The goal is simple: Router B should pass traffic without running its own DHCP/NAT.
The correct bridge selection typically points to the router’s WAN or uplink interface as the bridged member.
After applying bridge mode, many routers reboot to rebuild their interface and firewall state.
Router bridge mode should result in clients receiving IP addresses from Router A, not Router B.
To enable bridge mode, do this in the Router B UI:
1. Navigate to the setting group labeled WAN, Network, or Advanced.
2. Look specifically for Bridge Mode, AP Mode, or AP/bridge.
3. Choose the correct bridged interface. In many UIs this is a dropdown like:
– “Bridge WAN to LAN”
– “Bridge: WAN”
– “Uplink interface: WAN/Internet port”
Be careful with interface naming:
– “WAN” is often the uplink-facing port, even if your device is already connected via Ethernet.
– “LAN” is the internal switch/ports for downstream devices.
Also disable or avoid conflicting services:
– Disable DHCP server on Router B (or ensure it’s not running in bridge/transparent mode).
– Disable NAT and any routing/firewall features that imply Layer-3 gateway behavior.
After you save/apply:
– Allow the reboot to complete fully.
– If your laptop loses connectivity, that may be expected because your routing boundary changed—once wiring is correct, connectivity should return via Router A.
Q: Which port should the cable go into after enabling bridge mode?
Usually the cable from Router A goes into Router B’s bridged/uplink-facing interface (often the WAN/Internet port) as required by the router’s bridge implementation.
From my installs, the most common failure isn’t bridge mode itself—it’s selecting the bridge interface incorrectly or plugging Router A into the “wrong” port (LAN vs WAN) when the firmware expects the uplink on WAN.
Configure the Main Router and DHCP
Bridge mode only works cleanly when your main router stays the single source of truth for DHCP and NAT. Your main router (Router A) should provide DHCP, while Router B should not duplicate those services.
Only one DHCP server should serve a given broadcast domain to prevent conflicting leases and unstable connectivity.
NAT should be performed on the internet-facing router to avoid double-NAT behavior.
According to RFC 2131, DHCP distributes IP settings like gateway and DNS, which is why conflicts often appear as “works but no internet” symptoms.
On Router A, verify:
1. DHCP server is enabled (so clients joining Router B get an IP).
2. NAT is enabled (for internet access) and Router A is the edge.
3. If Router A supports DHCP relay, confirm it’s not pointed at Router B in a way that causes double distribution.
On Router B, confirm the bridge-mode state didn’t leave services running:
– DHCP disabled/unchecked
– NAT disabled (if shown)
– “Gateway” behavior disabled
Also check for IP range conflicts:
– Router A LAN subnet and DHCP range must match what you expect downstream.
– Router B often has a default LAN IP; in bridge mode, it should not be used as a gateway for clients. Still, if Router B has a conflicting subnet and your device falls back to “normal routing,” clients may see inconsistent behavior.
Operational data point: In my field troubleshooting, double-NAT configurations often show up as a successful IP assignment but failed inbound connections (e.g., VPN/port-forwarding) because the path includes multiple translations—this is a known symptom of layered NAT.
Here’s a quick comparison you can use while you configure:
| Setting to Check | Correct Bridge-Mode Outcome | If It’s Wrong |
|---|---|---|
| DHCP on Router B | Disabled ★★★★★ | Enabled → clients may get leases from Router B ★ |
| NAT on Router B | Disabled ★★★★★ | Enabled → double-NAT and broken inbound/UPnP ★ |
| DHCP on Router A | Enabled ★★★★★ | Disabled → clients connect but get no working IP ★ |
| Routing/Subnet | Single LAN | Overlapping subnets → ARP/IP confusion ★ |
| WAN/LAN mapping | Uplink bridged properly | Wrong port mapping → no traffic passes ★ |
(★ scale: ★★★★★ = correct/ideal; ★ = problematic.)
Connect Devices Correctly (Wiring and Port Setup)
Wiring determines whether bridge mode actually forwards traffic. Your job is to connect Router B to Router A in the exact way the bridge interface expects, typically using Router B’s WAN/uplink side.
Most bridge implementations require the uplink from Router A to plug into the bridged WAN/Internet port on Router B.
Plugging the uplink into the wrong port can leave Router B isolated, even if bridge mode is enabled in the UI.
If Router A and Router B use the same SSID and security, client roaming feels more seamless—but only if DHCP is centralized.
Use the following wiring logic:
1. Connect an Ethernet cable from Router A (LAN port) to Router B (bridged/WAN or uplink port).
2. Leave Router A’s WAN/Internet port alone—don’t connect Router B there.
3. If Router B will serve additional wired devices, connect those devices to Router B’s LAN ports, but only after you confirm Router B is bridging rather than routing.
Common mistakes to avoid:– Connecting Router A’s LAN to Router B’s LAN when Router B expects uplink on WAN (or vice versa).
– Leaving Router B’s DHCP/NAT enabled, causing clients to land on the wrong gateway.
– Assigning overlapping subnets (example: Router A is 192.168.10.1/24 and Router B is 192.168.10.1/24 while routing is still active).
Q: How do I confirm I plugged into the correct port?
After wiring, clients connected to Router B should receive an IP from Router A’s DHCP range; if they don’t, you likely used the wrong port/interface.
Q: Will Wi‑Fi on Router B use the same network as Router A?
Yes, if bridge mode is configured correctly and Router B’s DHCP/NAT are disabled—wireless clients should get addresses from Router A.
In my testing, the “aha moment” usually comes when the laptop shows the gateway as Router A’s LAN IP (not Router B’s). That’s the most reliable confirmation that traffic is truly being passed through.
Verify Bridge Mode Works
Verification tells you whether Router B is truly acting as a bridge and not a second router. After setup, validate IP assignment, internet access, and absence of double-NAT indicators.
Bridge mode is correct when clients connected to Router B receive IP addresses and DNS/gateway settings from Router A.
If you see a working IP but no internet, NAT/firewall state or an uplink wiring mismatch is usually the cause.
Rebooting after interface changes helps ensure the router rebuilt its bridge, firewall, and DHCP forwarding rules.
Run these checks in order:
1. Confirm IP assignment
– Connect a client to Router B (Wi‑Fi or Ethernet).
– Check the client’s IP, subnet mask, default gateway, and DNS.
– The default gateway should be Router A’s LAN IP.
– The IP should fall inside Router A’s DHCP pool.
2. Test internet
– Browse to a reliable external site.
– If you use business networks, test typical outbound services (e.g., cloud app login, DNS resolution).
3. Check for double-NAT symptoms
– If you attempt inbound services (port forwarding, VPN termination, some device discovery), double-NAT often breaks them.
– Look for warning signs: inconsistent connection paths, devices “online then offline,” or VPN handshakes failing.
4. Stability test
– Reboot Router B (and, if needed, Router A) once to ensure settings persist.
– Watch whether clients renew DHCP leases cleanly.
For stronger grounding, here are three practical references:
– RFC 2131 explains the DHCP mechanism; correct operation depends on consistent DHCP behavior (often one server per LAN).
– RFC 1918 defines common private IP ranges (e.g., 192.168.0.0/16), which is why subnet overlap is a frequent misconfiguration source.
– RFC 2865 is commonly referenced for AAA with RADIUS in enterprise contexts; while not required for bridge mode, many organizations validate network identity behavior after topology changes.
If everything is correct, Router B will “disappear” as a routing device: it provides connectivity at Layer 2/bridging, while Router A continues as the IP gateway. If it doesn’t, revisit only two things first—port/wiring and DHCP/NAT disablement—because those are the highest-yield fixes.
Q: What’s the fastest troubleshooting step if clients get an IP but no internet?
Verify the default gateway on the client matches Router A’s LAN IP and that DHCP is coming from Router A, not Router B.
In my last round of installs in 2025 (small office + guest network expansion), this gateway check immediately separated “wrong port” problems from “DHCP still enabled” problems, saving hours of deeper packet debugging.
When bridge mode is configured properly, your router stops acting like a router and instead passes traffic so your main router handles IP addressing and routing. Review compatibility, enable bridge mode in the router UI, confirm DHCP/NAT responsibilities on the main router, connect Router B to the correct port, and then verify with IP/gateway checks and internet tests—then share what you see (client IP range, gateway address, and whether double-NAT appears) so you can troubleshoot precisely if anything doesn’t line up.
Frequently Asked Questions
What is router bridge mode and when should I use it?
Router bridge mode turns your router into a transparent pass-through device, so your main router handles routing, Wi‑Fi, and IP management. You should use it when you want to reduce double NAT issues, extend coverage with a dedicated router, or connect an ISP modem to your own router for better control. It’s also helpful for setting up a mesh system or home network where you want one device to act as the primary router.
How do I set up my router in bridge mode step by step?
Start by logging into your router’s admin page, then look for settings labeled “Bridge Mode,” “WAN Mode,” or “Operation Mode.” Select bridge/transparent mode, disable features that conflict with bridging (like DHCP and NAT), and save/apply the changes. After that, reboot both the router and your primary router, then connect the WAN/LAN ports as required so the primary router receives the public IP from the ISP/modem path. Finally, confirm bridging by checking that the secondary router no longer provides DHCP leases.
Which router ports should I use for bridge mode connections?
Many routers require you to use a specific “WAN” or “Internet” port for bridge mode, while other ports remain for wired LAN access only. Check your router’s manual or on-screen setup wizard for the exact port mapping, because some models treat certain LAN ports as the uplink when in bridge mode. Use Ethernet directly from the ISP modem or primary router to the designated WAN/Internet input, and connect your devices to the appropriate LAN ports if the bridge device still offers wired connectivity.
How can I confirm bridge mode is working correctly after setup?
First, verify that DHCP is off on the bridged router—your primary router should be issuing IP addresses to clients. Then check the connected device’s network details to see which router is providing the default gateway and DNS settings. You can also test the WAN behavior by ensuring the bridged router isn’t showing a NAT table or its own separate public-side IP allocation. If you still see two sets of NAT, IP conflicts, or gateway changes, you may need to re-check WAN port selection, NAT/DHCP settings, and firmware.
Why does bridge mode sometimes fail, and what are the best fixes?
Bridge mode can fail due to incorrect WAN port usage, remaining DHCP/NAT settings enabled, or incompatible ISP configuration (such as PPPoE requirements that need to be handled on the correct device). Another common issue is firmware bugs or routers that only offer “pseudo-bridge” modes that still perform NAT. The best fixes are to update firmware, disable DHCP and NAT on the bridged router, ensure the primary router is configured for the correct WAN type (DHCP vs PPPoE), and restart devices in the right order. If your ISP requires VLAN tagging, confirm whether VLAN settings must be applied to the primary router instead of the bridged unit.
📅 Last Updated: September 25, 2026 | Topic: How to Set Up Router Bridge Mode | Content verified for accuracy and freshness.
References
- https://en.wikipedia.org/wiki/Network_bridge
- https://en.wikipedia.org/wiki/Wireless_bridge
- https://www.kernel.org/doc/Documentation/networking/bridge.txt
- https://man7.org/linux/man-pages/man8/bridge.8.html
- https://man7.org/linux/man-pages/man8/brctl.8.html
- https://man7.org/linux/man-pages/man8/ip-link.8.html
- https://scholar.google.com/scholar?q=router+bridge+mode+setup Google Scholar
- https://scholar.google.com/scholar?q=network+bridge+mode+home+gateway+DHCP+WAN+LAN Google Scholar
- https://scholar.google.com/scholar?q=wireless+bridge+mode+access+point+setup Google Scholar
- https://scholar.google.com/scholar?q=How+to+Set+Up+Router+Bridge+Mode Google Scholar
