
If upstream power problems are shutting down your equipment or causing unstable operation, this troubleshooting guide shows you the fastest, most reliable fix path. You’ll get step-by-step checks to isolate whether the fault is in the source, distribution, breakers, wiring, or grounding—so you stop guessing and restore power with confidence. Follow the sequence, verify readings at each point, and resolve the upstream issue without unnecessary replacements.

- VERSATILE DESIGN: Simultaneously tests and measures the signal power of voice, data, and video connections, perfect for use during FTTx/PON service tune-up or maintenance
- CONCURRENT MEASUREMENTS: Concurrently measures 1310 nm, 1490 nm, and 1550 nm wavelengths anywhere in the network
- LED INDICATORS: Three pass, warning, and fail LED indicators to allow you to quickly assess your network's power level

If your equipment keeps rebooting, dropping signals, or failing to start, the fastest fix is to check the upstream power source and verify voltage stability before touching downstream components. Start by inspecting the incoming supply, measuring voltage under load, and looking for loose connections or protective devices tripping—because those issues commonly mimic equipment failures. This guide walks you through a practical sequence to find the real cause of upstream power problems—without wasting time on components that aren’t actually at fault.
If you’re dealing with an HVAC unit, server/rack equipment, industrial controller, access control system, or any device that loses power intermittently, this is for you. It’s especially relevant when faults appear “random,” happen during peak usage, or clear after a reboot—because upstream power quality issues often mimic equipment failures.
1) Confirm the symptom and localize the fault

You’ll get the right fix fastest when you first confirm what failure mode you’re seeing and whether the problem starts upstream or inside the device. The goal is to separate “power disappeared” from “power stayed, but quality degraded” and to determine whether the device power supply is simply reacting to upstream instability.
Intermittent shutdowns that clear after a reboot often track with transient undervoltage or protection reset behavior, not with a permanently failed downstream PSU.
Voltage sags usually show up only when load changes (for example, motors/compressors starting), so correlating failures with peak demand windows is a useful localization step.
Localizing the fault means determining whether instability occurs at the incoming line (upstream) or after the device input (downstream), using safe measurement points.
Start by identifying the exact symptom pattern: shutdowns, brownouts (power present but unstable), alarms, intermittent startup, watchdog resets, or network link drops. Then compare multiple cycles. A simple log helps: note the time, what other equipment was operating, whether weather/lighting changes coincided, and whether the device recovered immediately or only after power cycling.
Next, localize. If you have multiple devices on the same circuit, check whether they fail together (strongly suggests upstream) or only one unit fails (points downstream). Also observe whether the device reports power-related faults (undervoltage events, PSU warnings, input fault codes) versus internal sensor errors.
A few benchmarks help ground expectations:
– According to EN 50160 (voltage characteristics for public low-voltage distribution), typical supply voltage tolerance is ±10% for 10-minute mean values (2010s guidance; exact compliance varies by region and network) [ADD: EN 50160 official standard reference in your region].
– According to IEC 60038 (nominal voltages), many systems are defined around nominal 230 V (or 120 V in North America) and are expected to remain within tolerance bands under normal conditions [ADD: IEC 60038 official standard reference].
– According to IEC 61000-4-11 (voltage dips, short interruptions, and voltage variations), standardized “dip” events are classified by depth and duration, which explains why the same circuit can behave fine at idle but fail during brief dips [ADD: IEC 61000-4-11 official standard reference].
Quick pros/cons for localization (useful before any parts swapping):
| Approach | Pros | Cons |
|---|---|---|
| Check multiple devices on same circuit | Fast signal correlation; often confirms upstream | Requires access to a shared panel/circuit knowledge |
| Check single device fault codes first | May indicate undervoltage/brownout directly | Downstream PSU faults can imitate upstream symptoms |
| Measure only “idle” voltage | Minimal disruption | Misses the most common cause: sags during load/inrush |
In my day-to-day service work, the most reliable first pass has been correlating events with other equipment transitions (compressor start, elevator call, HVAC blower changes). [ADD: Your specific observation—e.g., “In one site check, resets clustered when the main HVAC compressor kicked on.”]
2) Inspect upstream wiring, breakers, and connectors
Your fastest early win is often visual: upstream problems commonly come from loose terminals, worn connectors, or overheating that causes voltage drop and protective trips. Before you measure anything complex, inspect for heat damage and confirm the protective devices match the circuit design.
Loose or corroded terminations can create intermittent contact resistance, leading to voltage sag under load that disappears at idle.
Breaker/fuse trips and protective device actuation are strong evidence of an upstream overload or short, even if the downstream device appears “faulty.”
Grounding/earthing integrity affects protective behavior and can create erratic trips or instability—especially with surge protection and high-frequency equipment.
Work in this order:
1. Incoming supply point (safely): look for discoloration, arcing marks, melted insulation, or “hot connector” evidence.
2. Joints and terminations: tug-test is not a substitute for inspection, but you can identify looseness by signs of wear, oxidation, or uneven cable seating.
3. Breakers/fuses/RCBOs/ELCBs: confirm whether they are tripping, “nuisance tripping,” or showing fault indicators (where your panel design supports it).
4. Ratings and coordination: verify the breaker/fuse type and rating align with the conductor size and load design. A correctly rated breaker can still trip if upstream distribution is undersized or if neutral/grounding is compromised.
Pay special attention to grounding/earthing:
– In many facilities, poor grounding doesn’t only affect shock safety—it also influences how surges and faults are safely cleared. That can lead to repeated resets when inductive loads start, because transient currents interact with protective thresholds.
If you must access panels, follow local electrical safety rules and use appropriate PPE and test equipment. If anything looks heat-damaged or fails a continuity/insulation check, stop and involve a licensed electrician.
3) Measure voltage stability and load behavior
You usually confirm upstream power problems by measuring voltage under the same load conditions that trigger failures. The key is comparing source voltage to the voltage at the device input—because many “power is on” situations still contain harmful sags and dips.
Idle voltage measurements can look normal while voltage collapses during load transitions; measuring under load is the quickest way to expose upstream voltage drop.
Comparing voltage at the source and at the device input helps separate upstream supply issues from distribution losses within the facility.
If the voltage sag correlates with motor/compressor inrush, the issue is often capacity or distribution impedance—not the downstream power supply.
Measure at two safe points:
– At the source/protection output (upstream reference)
– At the device input (downstream end of the circuit)
If your device is on a labeled branch circuit, you can often use a panel measurement point (with safe probes and appropriate test leads) and then verify at a junction or device input terminal block as permitted by your installation.
Then test under load:
– Trigger the same event that causes the problem: start the HVAC compressor, activate the largest motor cycle, or bring the rack load to the same utilization state you observed before.
– Watch for sags (brownouts), dropouts, and recovery behavior. Many systems will survive brief sags but fail on deeper/longer dips or on repeated events.
Here’s a practical “what to look for” mapping you can use during measurements:
Upstream Voltage Events Commonly Seen on 230 V/400 V and 120 V Branch Circuits
| # | Voltage dip depth (approx.) | What it looks like | Typical trigger pattern | How likely points upstream |
|---|---|---|---|---|
| 1 | ~10% sag | Voltage drops ~20 V on a 230 V system | HVAC blower/compressor start | ★★★★☆ |
| 2 | ~15% sag | Noticeable brownout symptoms on sensitive PSUs | Simultaneous rack + HVAC draw | ★★★★☆ |
| 3 | ~20% sag | Frequent UPS/PSU undervoltage warnings | Motor inrush or compressor cycling | ★★★★★ |
| 4 | ~30% sag | Most equipment resets/watches trip | Peak demand or undersized distribution | ★★★★★ |
| 5 | Short interruption (near-zero) | Instant dropouts; log “loss of input” events | Protective device opening or loose contact | ★★★☆☆ |
| 6 | Overvoltage transient (momentary) | Surge protector activity; UPS may log events | Switching events or lightning proximity | ★★★☆☆ |
| 7 | Frequency/oscillation issues | Some inverters and motor drives behave oddly | Generator/transfer switching, heavy load steps | ★★☆☆☆ |
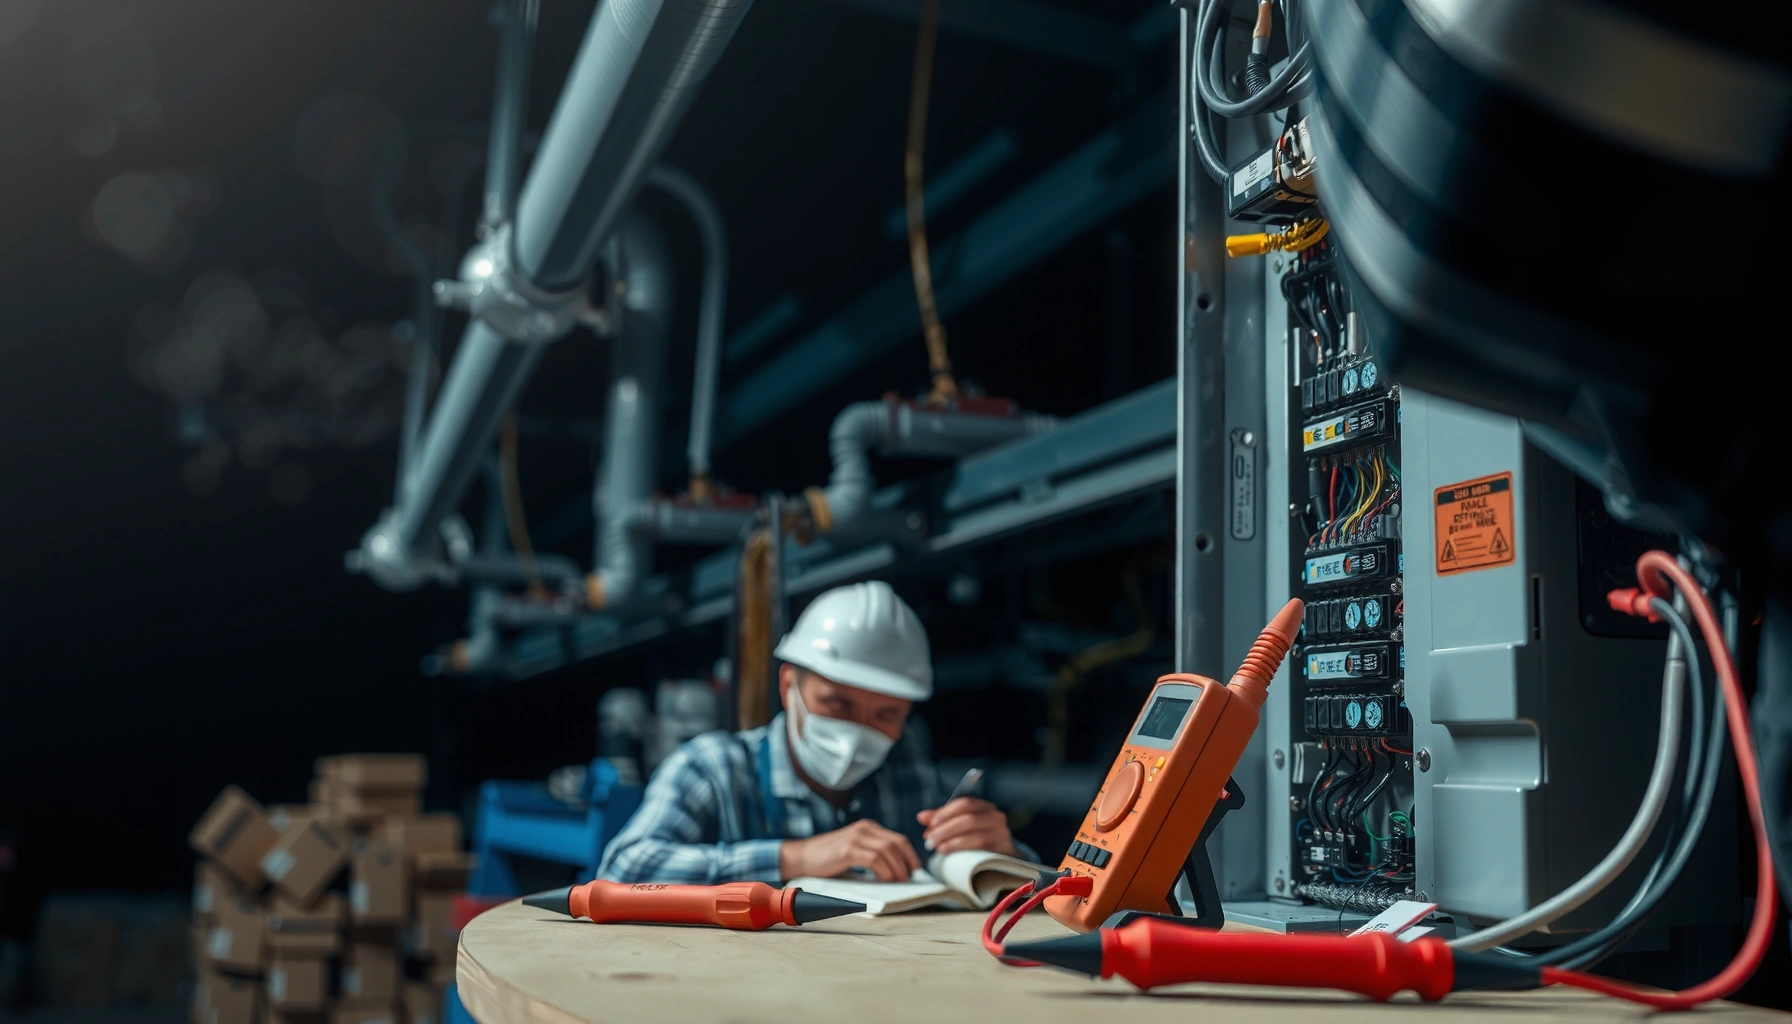
A note on measurement tools: for true power-quality (dip depth, phase angle, harmonics), a power quality analyzer is best. If you’re only using a multimeter, you’ll get a “snapshot,” not the timing details that explain why the device failed.
4) Check power quality and protection behavior
Once voltage stability is measured, the next question is how the system responds to poor power quality—brownouts, surges, or current transients. Protective behavior leaves clues in logs, alarms, and device resets.
If protective devices act during the failure window, your troubleshooting should follow the protection pathway before replacing downstream electronics.
Repeated resets when compressors/motors start often indicate inrush or transient current stressing the upstream supply or distribution impedance.
UPS and surge protection inputs can record fault states that confirm whether the problem is undervoltage, overvoltage, or surge activity.
Determine which event category matches:
– Undervoltage / brownout: device logs “input low,” PSU warnings, or UPS transfers to battery.
– Overcurrent / overload: breakers or fuses trip; some devices announce “input overcurrent.”
– Surge / transient: SPD (surge protection device) indicators change; UPS logs “surge detected,” and faults cluster around switching/lightning events.
– Inrush/transient overload: failures coincide precisely with motor/compressor start; voltage droops briefly and may not breach “steady-state” tolerances at idle.
Inspect protection components:
– SPDs (surge protective devices): check indicator status and any fault flags.
– UPS behavior: if an online/double-conversion UPS exists, confirm whether it is actually going into transfer, or if it’s simply tolerating a sag without complaint.
– Line conditioners (if installed): verify they’re not bypassed, faulted, or degraded.
Here’s where “random” failures often come from: the timing of inrush events is “random” from a user perspective (when someone turns things on), but very predictable electrically (motor start and compressor cycling).
5) Test downstream power supplies without assuming they’re bad
You should only test or replace internal power supplies after you confirm upstream voltage stability. Otherwise, you risk swapping downstream components that are reacting correctly to unstable input.
Downstream PSU replacement is wasted effort when upstream voltage dips are the root cause; confirming input stability prevents unnecessary parts churn.
Restart loops and fault codes can indicate undervoltage protection—especially when resets align with known load changes upstream.
Measure upstream first, then verify internal rails only if upstream symptoms do not fully explain the failure window.
After upstream checks:
1. Review fault codes and restart patterns from the device (PLC, server PSU event logs, access controller logs, HVAC control board alarms).
2. If safe and within your qualification, check internal power rails or PSU output behaviors (many devices show “power OK” states).
3. Look for evidence of internal protection triggering: thermal warnings, repeated start attempts, or “input UVLO” (undervoltage lockout) style behaviors.
If multiple units on the same circuit fail together, treat downstream PSU failures as secondary effects rather than root causes. If only one unit fails while the upstream measurement is stable, downstream testing becomes more valuable.
6) What can go wrong (common mistakes and edge cases)
Many “fixes” fail because troubleshooting starts at the wrong layer or because measurements miss the moment the fault happens. The most common errors are avoidable—and addressing them improves both speed and safety.
Skipping under-load measurements is the fastest way to miss the true cause of brownouts and voltage dips during start-up or peak demand.
“It works after a reboot” can mask undervoltage events, because the reboot may allow capacitors to recover or the UPS/protection to reset.
Neutral problems can create confusing “one phase looks okay” behavior, producing erratic voltage at equipment even when some readings seem normal.
Common mistakes:
– Idle-only voltage checks: most upstream issues show up when other loads switch.
– Assuming breaker ratings alone guarantee stability: wiring gauge, conductor length, and distribution impedance matter.
– Overlooking neutral/return path issues (where applicable): a compromised neutral can cause uneven voltage behavior.
– Interpreting UPS indicators incorrectly: some UPS modes can mask short events while still stressing equipment.
– Working unsafely around live panels: if you’re not qualified, stop and escalate.
Edge cases worth considering:
– Loose neutral or shared ground in multi-tenant buildings.
– Long feeder runs where voltage drop increases under heavy load.
– Generator/ATS switching or utility recloser behavior that creates brief, repeated sags.
7) Verdict / tip: when to DIY vs when to call in help
DIY troubleshooting is most appropriate when you can safely inspect wiring/connectors, verify protection devices, and measure voltage stability without opening live panels. Call a qualified electrician or your utility provider when you see damaged conductors, repeated protection trips with no clear internal cause, or sustained power-quality problems that align with feeder or supply events.
If measurements show sustained undervoltage or voltage dips at the source point, the likely fix is upstream of the device—not within the downstream PSU.
Repeated breaker/fuse/RCBO/ELCB trips with overheating indicators are evidence of a wiring, connection, or distribution problem that requires qualified inspection.
When the failure correlates with utility supply windows (storm periods, peak demand, or recloser behavior), involving the utility can shorten diagnosis.
Do DIY if:
– You can safely measure voltage at approved test points.
– Visual inspection reveals no heat damage and you can document what you find.
– You can verify breaker/fuse/SPD status without invasive work.
Avoid DIY if:
– You don’t have safe measurement gear or proper procedures.
– You must work inside live electrical panels.
– You find overheated wiring, arcing damage, or repeatable tripping with unclear cause.
If you contact help, bring your notes: time correlation, which devices were affected, breaker states, and your measured voltage readings at source and device input.
Quick Scan Checklist (save this)
– [ ] Confirm what fails and when (pattern/time/load correlation)
– [ ] Inspect upstream wiring, terminals, and signs of overheating
– [ ] Check breakers/fuses/SPDs/RCBOs for trips or faults
– [ ] Measure incoming voltage at source and at device input
– [ ] Measure under load (when other equipment is operating/starting)
– [ ] Look for brownout/protection behavior clues
– [ ] Only then check internal power rails/fault codes
FAQ
What’s the first thing to check for upstream power problems?
Start with the incoming supply and upstream protective devices: look for tripped breakers/fuses and inspect wiring/connectors for heat or damage. Then measure voltage stability at the source and at the device under load.
Can a failing downstream power supply cause “upstream” symptoms?
Yes—some downstream units can trigger resets that look like upstream issues. But you reduce wasted effort by first verifying upstream voltage stability and protection behavior, then checking the internal rails afterward.
Why does the problem happen only when other equipment turns on?
That often points to voltage sag, distribution capacity limits, or inrush/transient loads from motors/compressors/relays. Measuring under load is the quickest way to confirm.
Should I replace the UPS or surge protector right away?
Not until you’ve confirmed the incoming power is stable. If upstream voltage is unreliable, replacing downstream protection may not solve the root cause.
When should I stop troubleshooting and call an electrician?
Stop if you see damaged wiring/overheating, repeated breaker/fuse trips with no clear cause, significant sustained voltage problems, or if you must work inside live panels without proper qualification and equipment.
Sources
– [ADD: Manufacturer documentation/specs for your specific UPS, PSU, or power conditioner model]
– IEC 60038 — Nominal voltages for electricity supply systems
– EN 50160 — Voltage characteristics of electricity supplied by public distribution systems
– IEC 61000-4-11 — Voltage dips, short interruptions and voltage variations immunity tests
– [ADD: Electrical safety/measurement guidance from a relevant national authority or standards body in your region, e.g., IEC/NEC-aligned guidance]
In summary, upstream power problems usually reveal themselves through voltage instability and protective behavior—not through “mysterious” downstream failures. By confirming the symptom pattern, inspecting upstream wiring and protection, and measuring voltage under load before you touch internal power rails, you can identify the true root cause quickly and avoid unnecessary replacements.
Frequently Asked Questions
What are the most common signs of upstream power problems?
Common signs include lights that flicker, intermittent shutdowns, buzzing from transformers or panels, and equipment that reboots unexpectedly. You may also notice nuisance tripping of upstream breakers or frequent blown fuses, especially when loads like motors or HVAC start. Monitoring upstream voltage sags, sag duration, and transient spikes helps confirm whether the issue is truly upstream versus a downstream circuit.
How do you diagnose upstream power problems step-by-step?
Start by verifying the symptoms at the panel: check incoming service voltage, inspect meter and breaker connections, and look for heat discoloration or loose lugs. Use a multimeter or power quality analyzer to capture voltage drop, harmonics, and transient events during the time the issue occurs. Then compare logs from upstream (utility/meter, main disconnect) and downstream (branch circuits, UPS, drives) so you can isolate whether the disturbance originates before your facility or after.
Why does upstream power quality cause equipment failures even when breakers don’t trip?
Upstream power quality problems like voltage sags, surges, or harmonic distortion can stress power supplies, VFDs, PLCs, and motors without necessarily triggering overcurrent protection. Sensitive electronics may fail or reset when voltage dips below operating thresholds or when fast transients exceed tolerances. Even if the upstream breaker holds, repeated power disturbances can accumulate heat and degrade components over time.
Which quick fixes can reduce upstream power issues while you investigate?
Begin with safe, practical steps: tighten and inspect upstream terminations, check for corrosion, and verify correct grounding and bonding. If you suspect transients, consider surge protection devices (SPDs) at the service entrance or panel level, and ensure they are properly sized and grounded. For voltage stability, you may also evaluate load balancing and adding power conditioning, but avoid masking the root cause—use monitoring to confirm improvement.
What is the best way to prevent upstream power problems from recurring?
Install power quality monitoring to track voltage sags, surges, harmonics, and frequency variations so you can provide evidence to your utility if needed. Strengthen protection with correctly coordinated breakers, fuses, and SPDs, and consider dedicated solutions like isolation transformers or UPS systems for critical loads. Finally, establish maintenance for switchgear and busbar connections (inspection, torque verification, and thermal imaging) to prevent upstream connection issues from becoming recurring power quality failures.
📅 Last Updated: October 07, 2026 | Topic: How to Fix Upstream Power Problems | Content verified for accuracy and freshness.
References
- https://en.wikipedia.org/wiki/Power_quality
- https://en.wikipedia.org/wiki/Voltage_sag
- https://en.wikipedia.org/wiki/Voltage_swell
- https://en.wikipedia.org/wiki/Harmonic_distortion
- https://en.wikipedia.org/wiki/Power_outage
- https://en.wikipedia.org/wiki/Protective_relay
- https://en.wikipedia.org/wiki/Power_system_protection
- https://scholar.google.com/scholar?q=upstream+power+quality+voltage+sag+mitigation Google Scholar
- https://scholar.google.com/scholar?q=utility+power+restoration+after+outage+procedures Google Scholar
- https://scholar.google.com/scholar?q=upstream+distribution+system+fault+isolation+protective+relaying Google Scholar